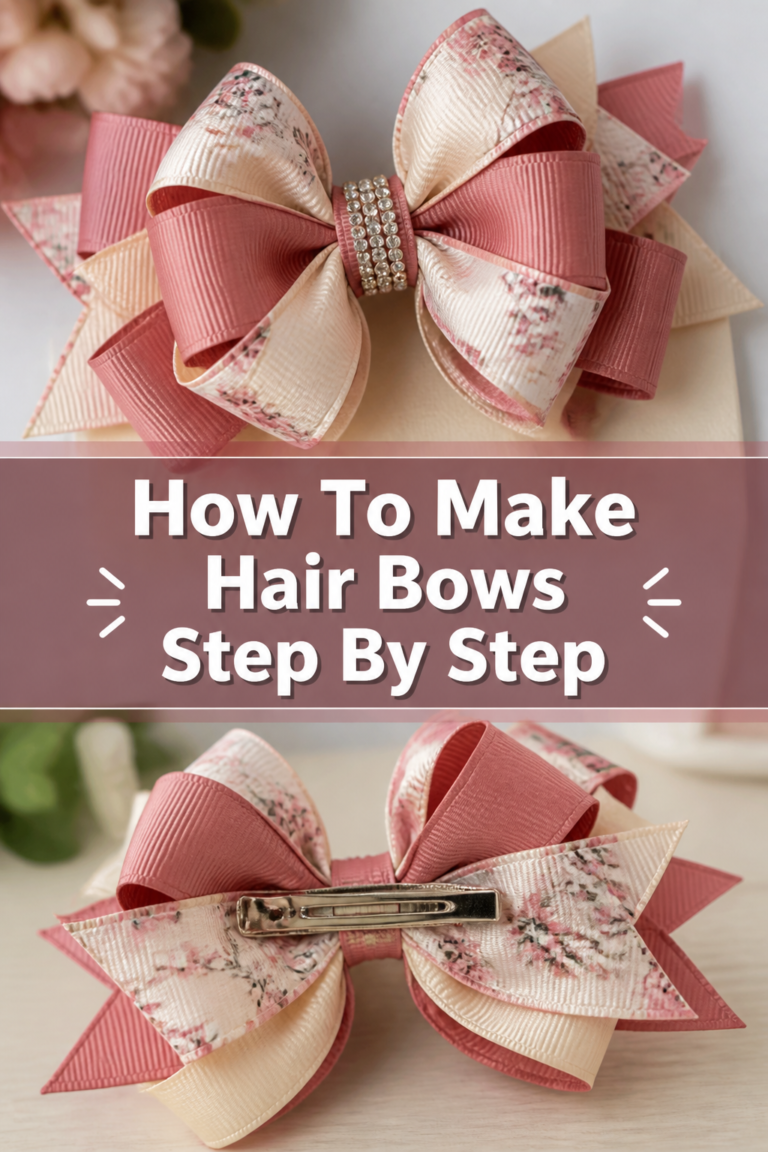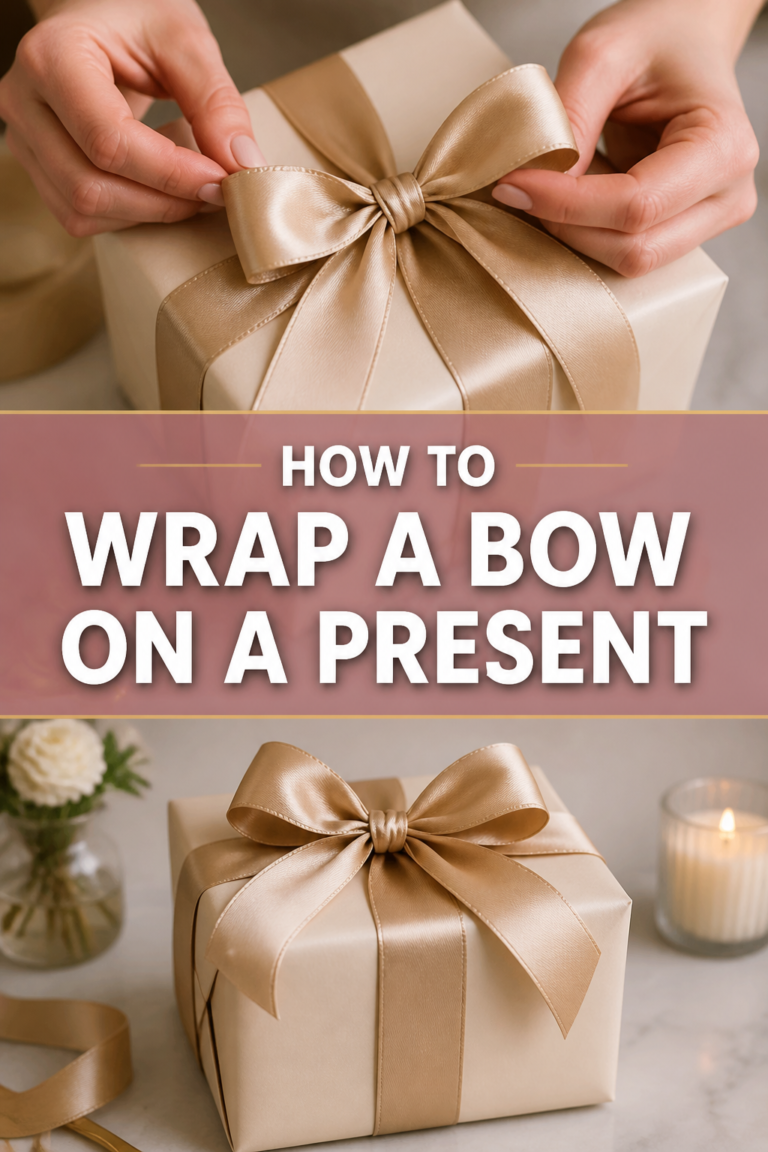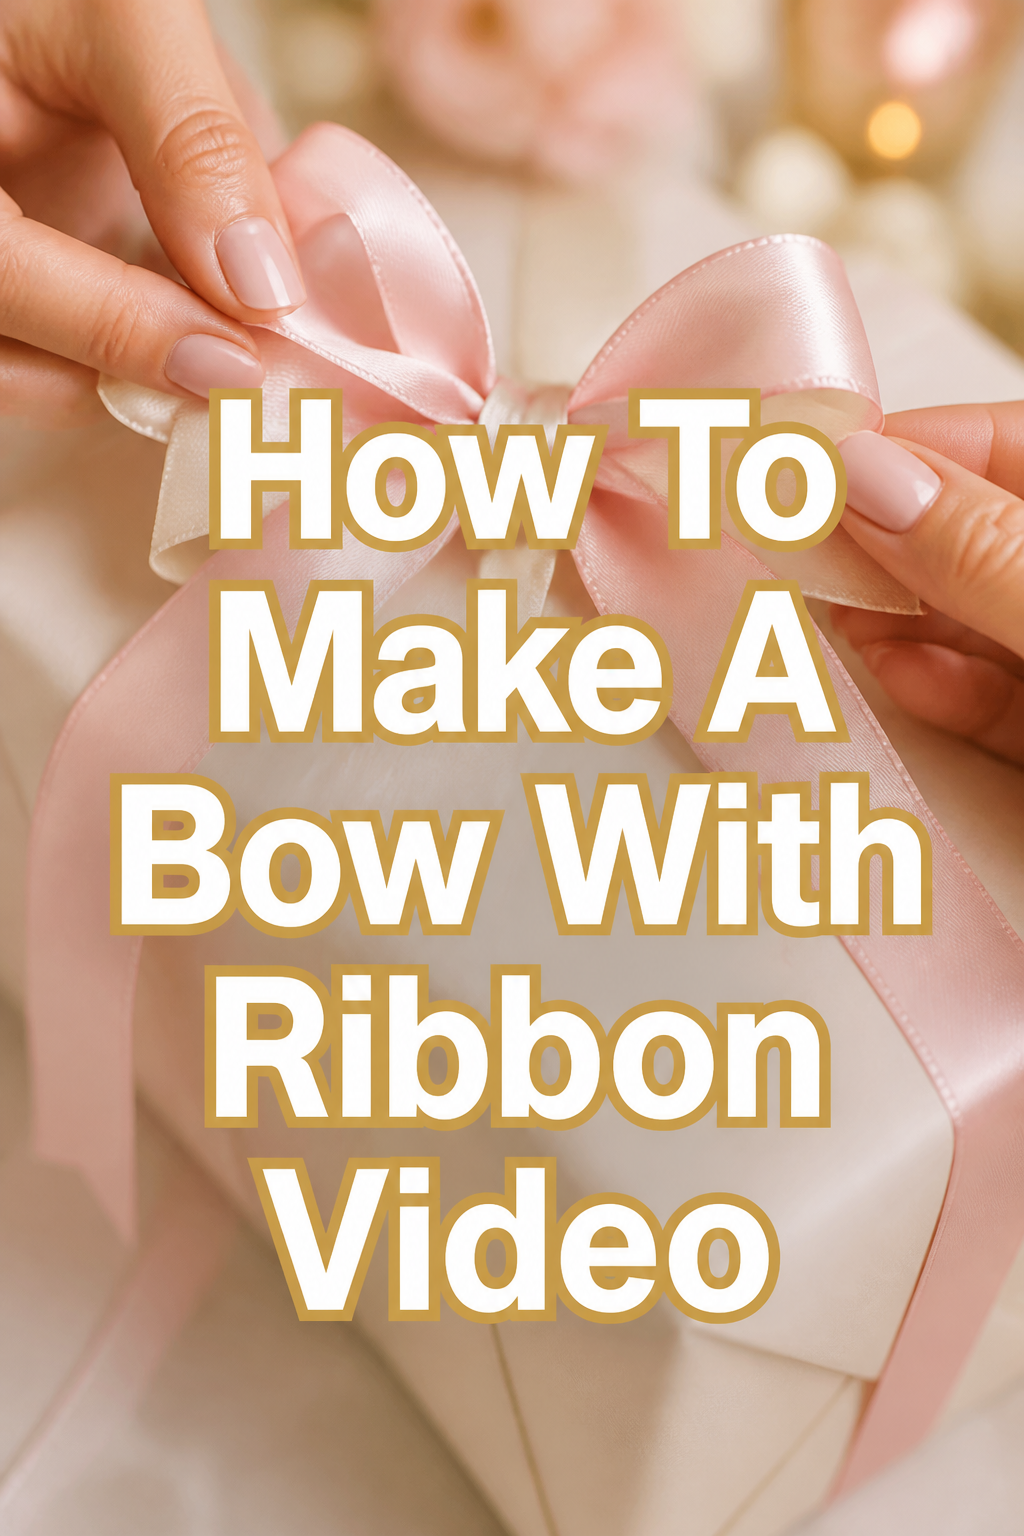
🎀 How To Make A Bow With Ribbon Video

Beginner-friendly templates, step-by-step guides,
and weekly project ideas in your inbox.
Learning to make a beautiful ribbon bow transforms any gift or decoration. It adds a personal touch that store-bought bows simply can’t replicate. I remember struggling with tangled ribbon and uneven loops when I first started.
This guide shares the tried-and-true methods I’ve perfected over years of crafting. You’ll soon create perfect bows for any occasion.
Quick Overview
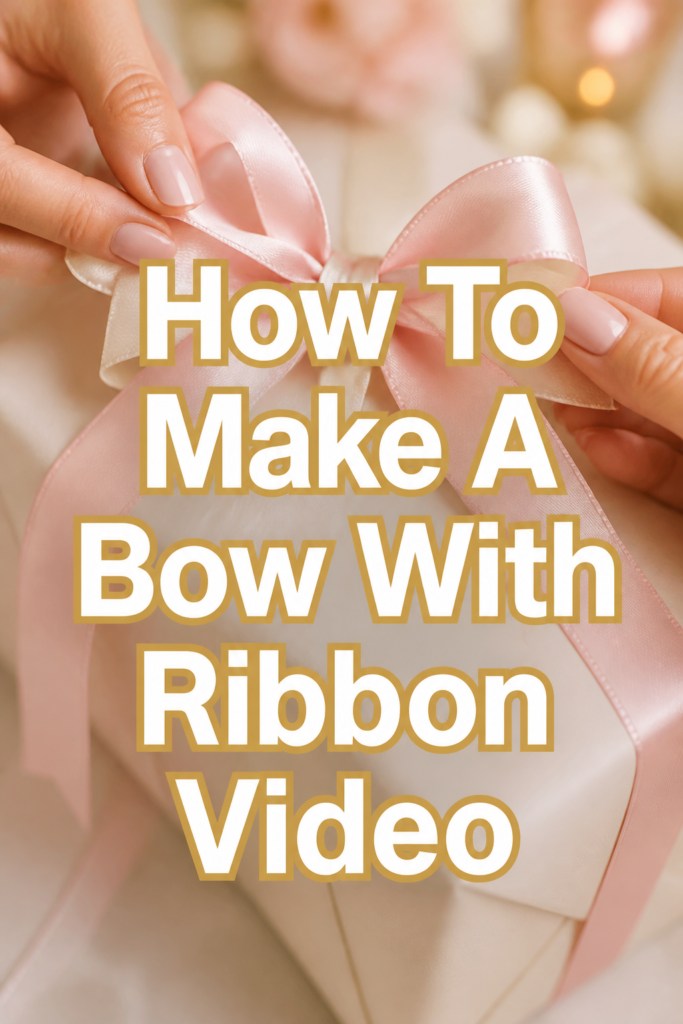
This guide will walk you through creating stunning ribbon bows, perfect for gifts, hair accessories, or home decor. You’ll master the art of forming elegant loops and securing them neatly.
- Time needed: 10-20 minutes (per bow, once practiced)
- Difficulty: Beginner
- What you’ll need: Ribbon, sharp scissors, floral wire or thin craft wire (optional), ruler or measuring tape (optional)
Step-by-Step Instructions
Step 1: Choose Your Ribbon
Select a ribbon that suits your project. Consider its width, texture, and material. Wider ribbons create more dramatic bows, while thinner ones offer delicate accents.
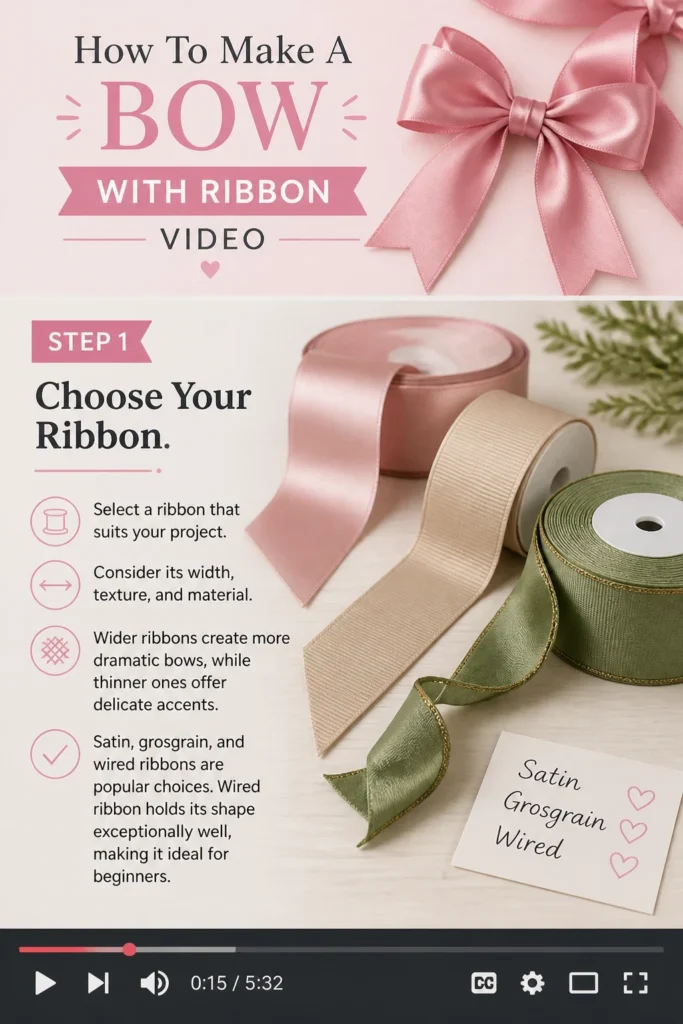
Satin, grosgrain, and wired ribbons are popular choices. Wired ribbon holds its shape exceptionally well, making it ideal for beginners.
Step 2: Measure and Cut Your Initial Piece
Determine the desired size of your finished bow. A good starting point for a medium bow is about 24-36 inches (60-90 cm) of ribbon. You can always trim excess later. For larger bows, you’ll need significantly more ribbon.
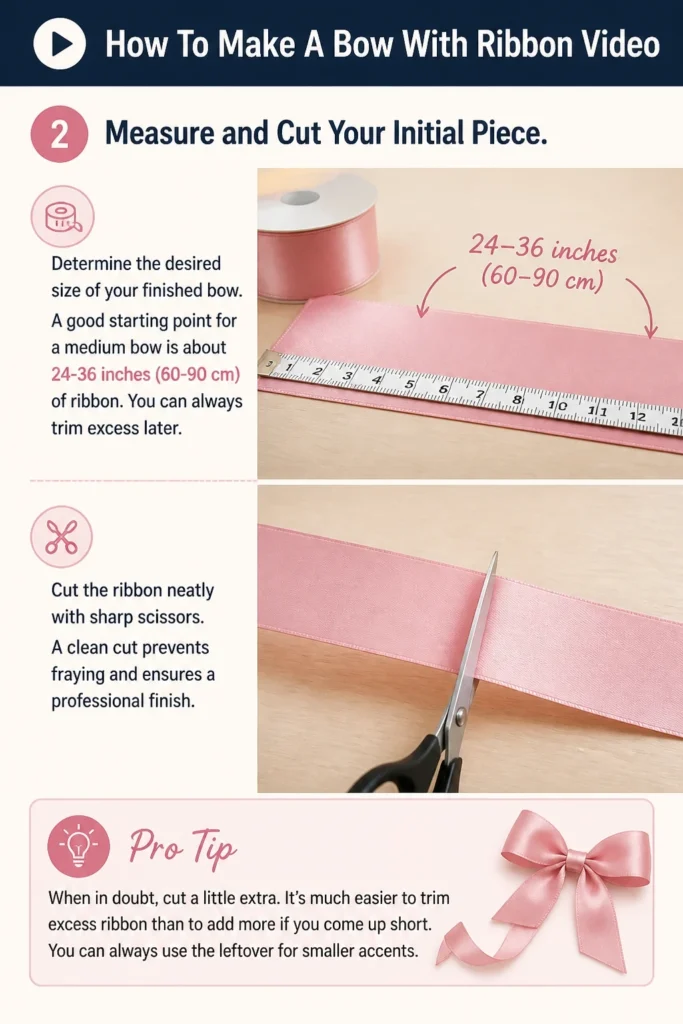
Cut the ribbon neatly with sharp scissors. A clean cut prevents fraying and ensures a professional finish.
Pro Tip: When in doubt, cut a little extra. It’s much easier to trim excess ribbon than to add more if you come up short. You can always use the leftover for smaller accents.
Step 3: Create the First Loop
Hold one end of the ribbon in your non-dominant hand. Bring the ribbon across your palm, forming a loop towards your thumb. This will be one side of your bow.
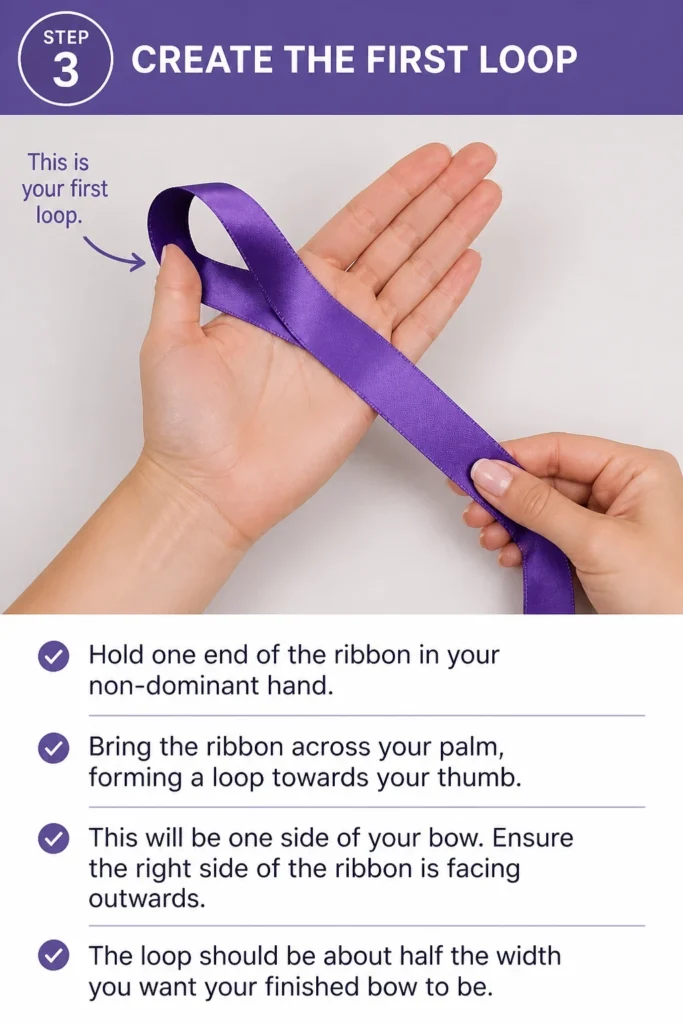
Ensure the “right” side of the ribbon is facing outwards. The loop should be about half the width you want your finished bow to be.
Step 4: Form the Second Loop
Bring the ribbon back across the center, creating a second loop on the opposite side. This loop should mirror the first one in size and shape. You’ll now have two rabbit-ear-like loops.
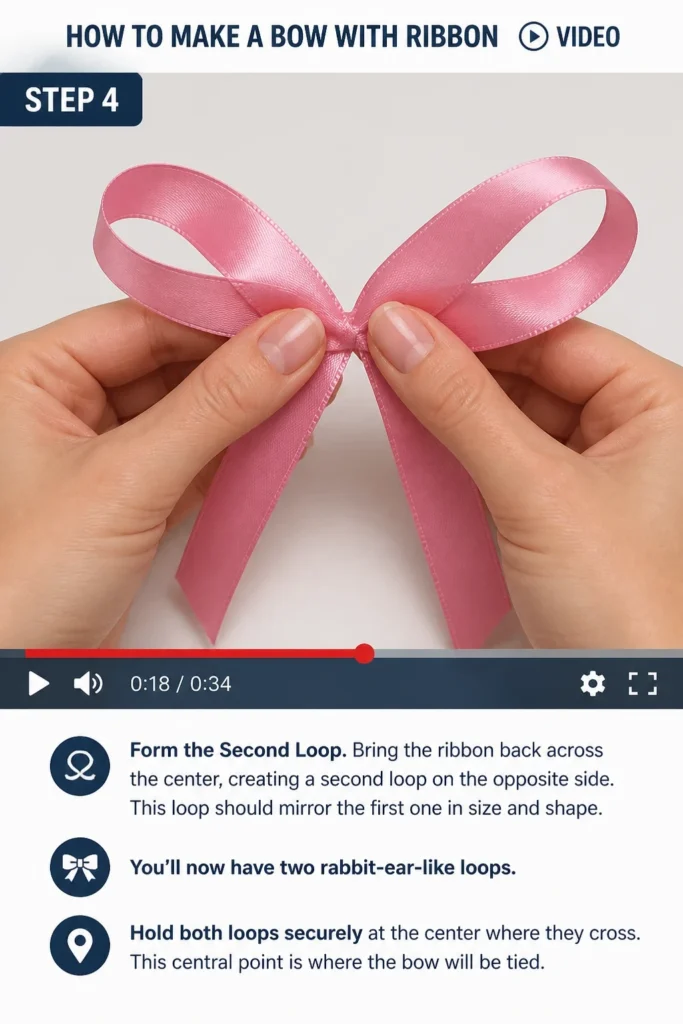
Hold both loops securely at the center where they cross. This central point is where the bow will be tied.
Step 5: Secure the Center with a Knot
Cross the working end of the ribbon (the longer, uncut end) over the top of the two loops, bringing it around the back. Thread it through the opening you created at the center. Pull it through to form a simple knot.
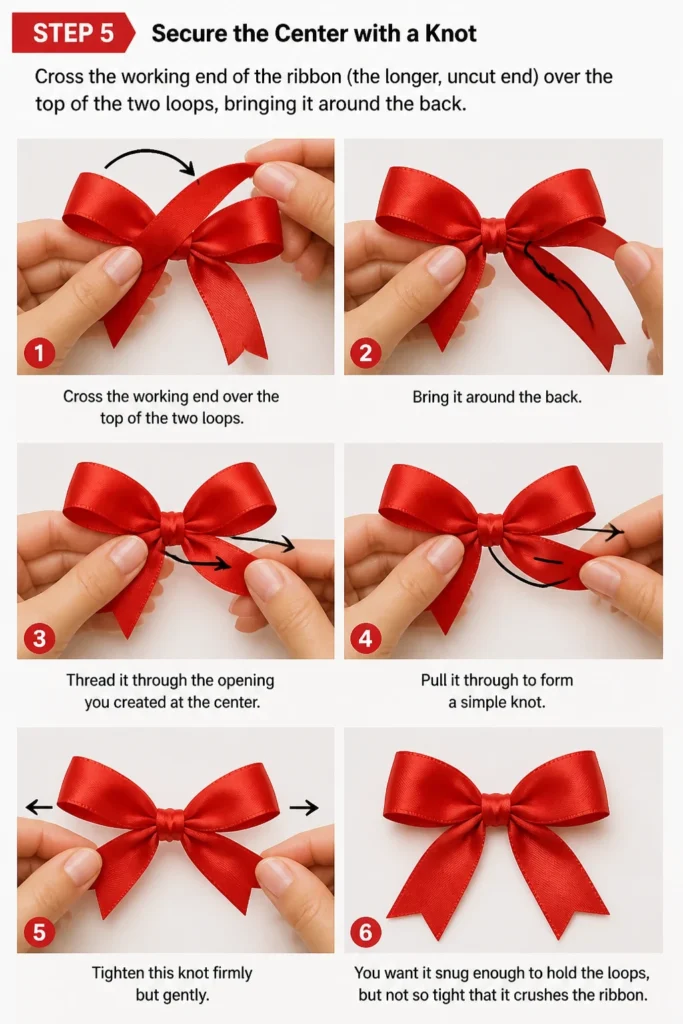
Tighten this knot firmly but gently. You want it snug enough to hold the loops, but not so tight that it crushes the ribbon.
Step 6: Adjust and Fluff the Loops
Gently pull and shape each loop until they are even and symmetrical. You can twist and turn them to ensure the “right” side of the ribbon is always facing outwards. Fluff the loops to give the bow volume and dimension.
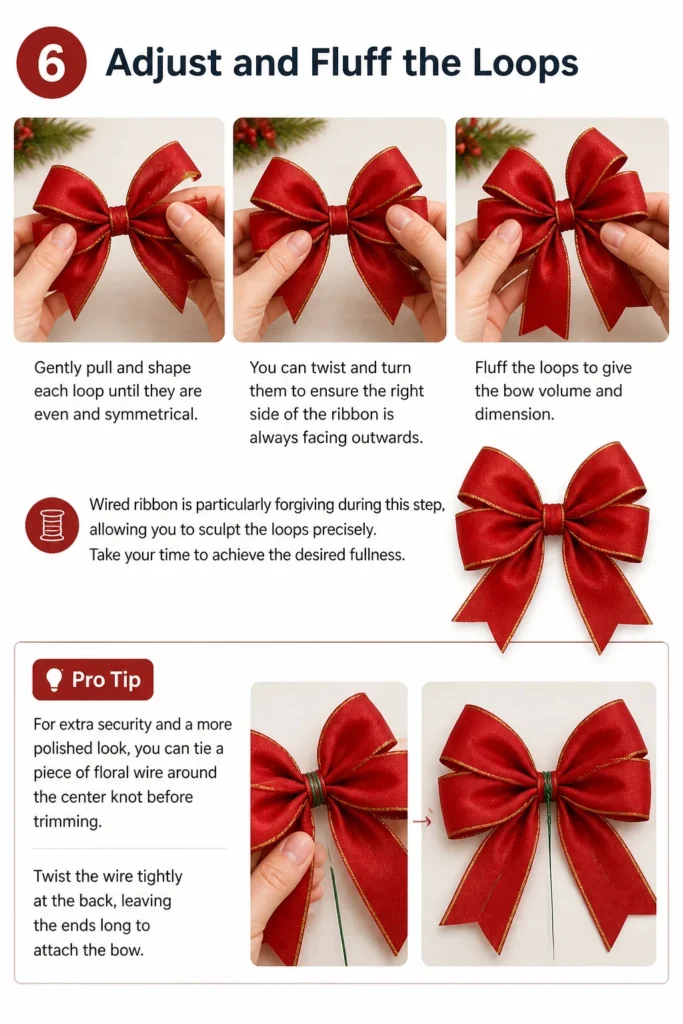
Wired ribbon is particularly forgiving during this step, allowing you to sculpt the loops precisely. Take your time to achieve the desired fullness.
Pro Tip: For extra security and a more polished look, you can tie a piece of floral wire around the center knot before trimming. Twist the wire tightly at the back, leaving the ends long to attach the bow.
Step 7: Trim the Tails
Decide how long you want the bow’s tails to be. Cut them to your desired length. You can cut them straight across, diagonally, or create a V-shape (dovetail) for a more decorative finish.
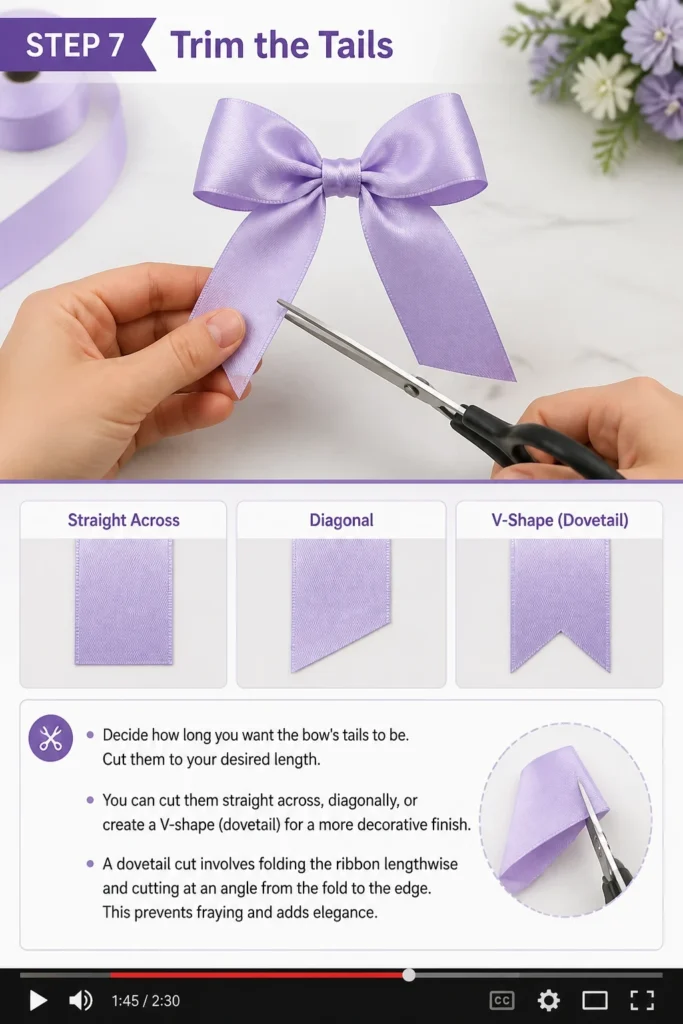
A dovetail cut involves folding the ribbon lengthwise and cutting at an angle from the fold to the edge. This prevents fraying and adds elegance.
Step 8: Final Adjustments
Examine your finished bow from all angles. Make any last-minute adjustments to the loops and tails. Ensure everything looks balanced and neat.
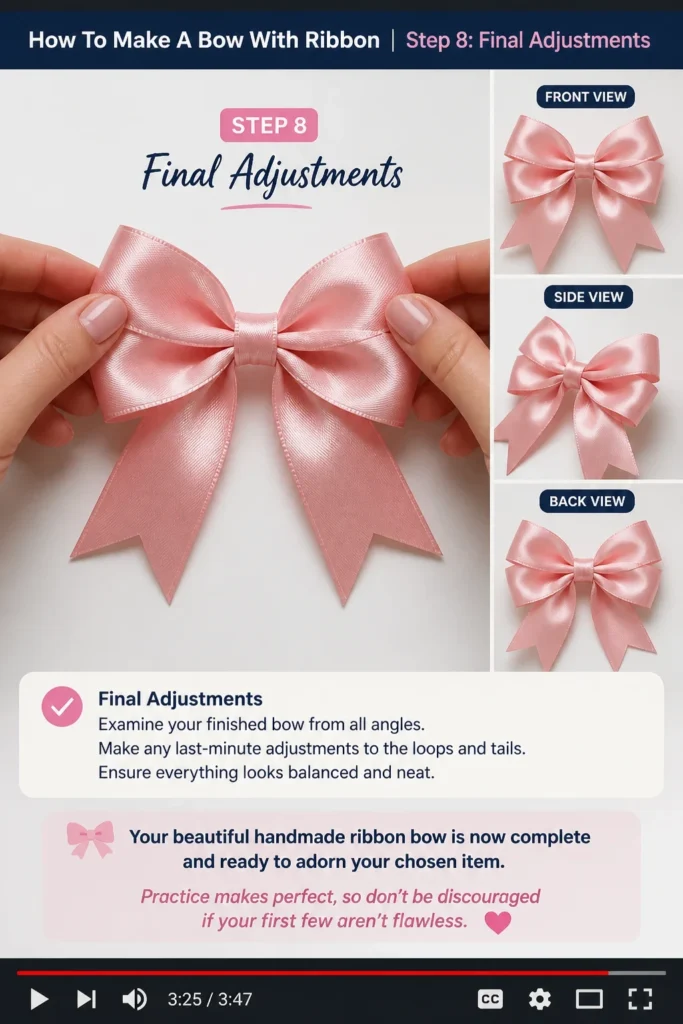
Your beautiful handmade ribbon bow is now complete and ready to adorn your chosen item. Practice makes perfect, so don’t be discouraged if your first few aren’t flawless.
Common Mistakes to Avoid
Using Dull Scissors
Dull scissors will fray the edges of your ribbon, giving your bow a messy and unprofessional look. This is especially true for delicate materials like satin. Always use sharp scissors specifically designated for crafts or fabric. A clean, crisp cut is essential for a polished finish.
Uneven Loop Sizes
One of the most common issues is having loops that are not symmetrical. This makes the bow look lopsided and unbalanced. Pay close attention in Step 4 to ensure both loops are formed to the same size. Gently adjust them before tightening the knot.
Over-tightening the Center Knot
While you want the knot to be secure, pulling it too tightly can crush the ribbon, creating a flat and lifeless center. This also makes fluffing the loops more difficult. Aim for a firm but gentle pull to secure the loops without deforming the ribbon.
Not Fluffing the Bow
After tying, many beginners skip the crucial step of fluffing and shaping the loops. This leaves the bow looking flat and uninspired. Take the time in Step 6 to gently pull, twist, and arrange each loop to give your bow its full, three-dimensional appearance.
Troubleshooting
Bow Looks Flat and Lifeless
If your bow lacks volume, it likely needs more fluffing. Go back to Step 6 and gently pull each loop outward and upward. Twist the ribbon slightly at the base of each loop to help it stand out. Using wired ribbon can also significantly improve volume.
Loops Keep Slipping Out
This usually means the center knot wasn’t tied securely enough. Untie the bow carefully, re-form your loops, and tie the knot more firmly. For very slippery ribbons like satin, consider using a small piece of floral wire twisted around the center for extra hold before tying the ribbon knot itself.
Ribbon Fraying at the Edges
Fraying is often caused by dull scissors or using a ribbon type prone to fraying. Ensure your scissors are sharp. For ribbons that fray easily, you can lightly apply a small amount of clear fabric glue or fray check to the cut edges. This creates a seal and prevents further unraveling.
Key Takeaways
- Preparation is Key: Begin with sharp scissors and enough ribbon for your desired bow size.
- Symmetry Matters: Strive for evenly sized loops to create a balanced and professional-looking bow.
- Gentle Securing: Tie the center knot firmly but avoid crushing the ribbon to maintain volume.
- Fluff for Volume: Always take time to adjust and fluff your loops for a full, three-dimensional appearance.
- Practice Makes Perfect: Don’t get discouraged; each bow you make will improve your technique and confidence.
- Wired Ribbon is Your Friend: Especially for beginners, wired ribbon makes shaping and holding loops much easier.
Frequently Asked Questions
What type of ribbon is best for beginners?
Wired ribbon is highly recommended for beginners. Its embedded wire allows it to hold its shape beautifully, making it much easier to form and adjust loops without them collapsing. Grosgrain ribbon is also a good, sturdy choice.
How do I make a multi-loop bow?
To make a multi-loop bow, you simply repeat the looping process more times before tying the center. Instead of just two loops, you’ll create several pairs, layering them on top of each other. Secure the center with wire or thread before tying the ribbon knot.
Can I make bows without cutting the ribbon from the spool?
Yes, you absolutely can! This technique is great for large bows where you want to conserve ribbon. You’ll form all your loops directly from the spool, leaving a long tail, then secure the center. Only cut the ribbon from the spool once the bow is complete and secured.
How do I attach my finished bow to a gift or package?
If you used floral wire to secure the center, simply use the wire ends to twist around your package or attach to a gift tag. If you only used ribbon, you can use double-sided tape, a dab of hot glue, or even tie the bow’s tails directly around the item.
Our Top Recommended Finds
- High-Quality Wired Ribbon Assortment: Offers versatility in colors and patterns, and the wire makes shaping effortless.
- Sharp Fabric Scissors: Essential for clean cuts, preventing fraying, and ensuring a professional finish every time.
- Thin Floral Wire (26-gauge): Perfect for securely tying the center of bows, especially multi-loop designs, and for easy attachment.
Craft Your Next Masterpiece
You now have all the practical knowledge needed to create stunning ribbon bows. This skill is incredibly versatile, enhancing gifts, home decor, hair accessories, and so much more. Don’t let another plain package leave your hands.
Start with a beautiful wired ribbon and watch your confidence grow with each loop you form. Experiment with different colors and textures to find your unique style. Grab your ribbon and scissors today – your next crafting adventure awaits!
Beginner-friendly templates, step-by-step guides,
and weekly project ideas in your inbox.