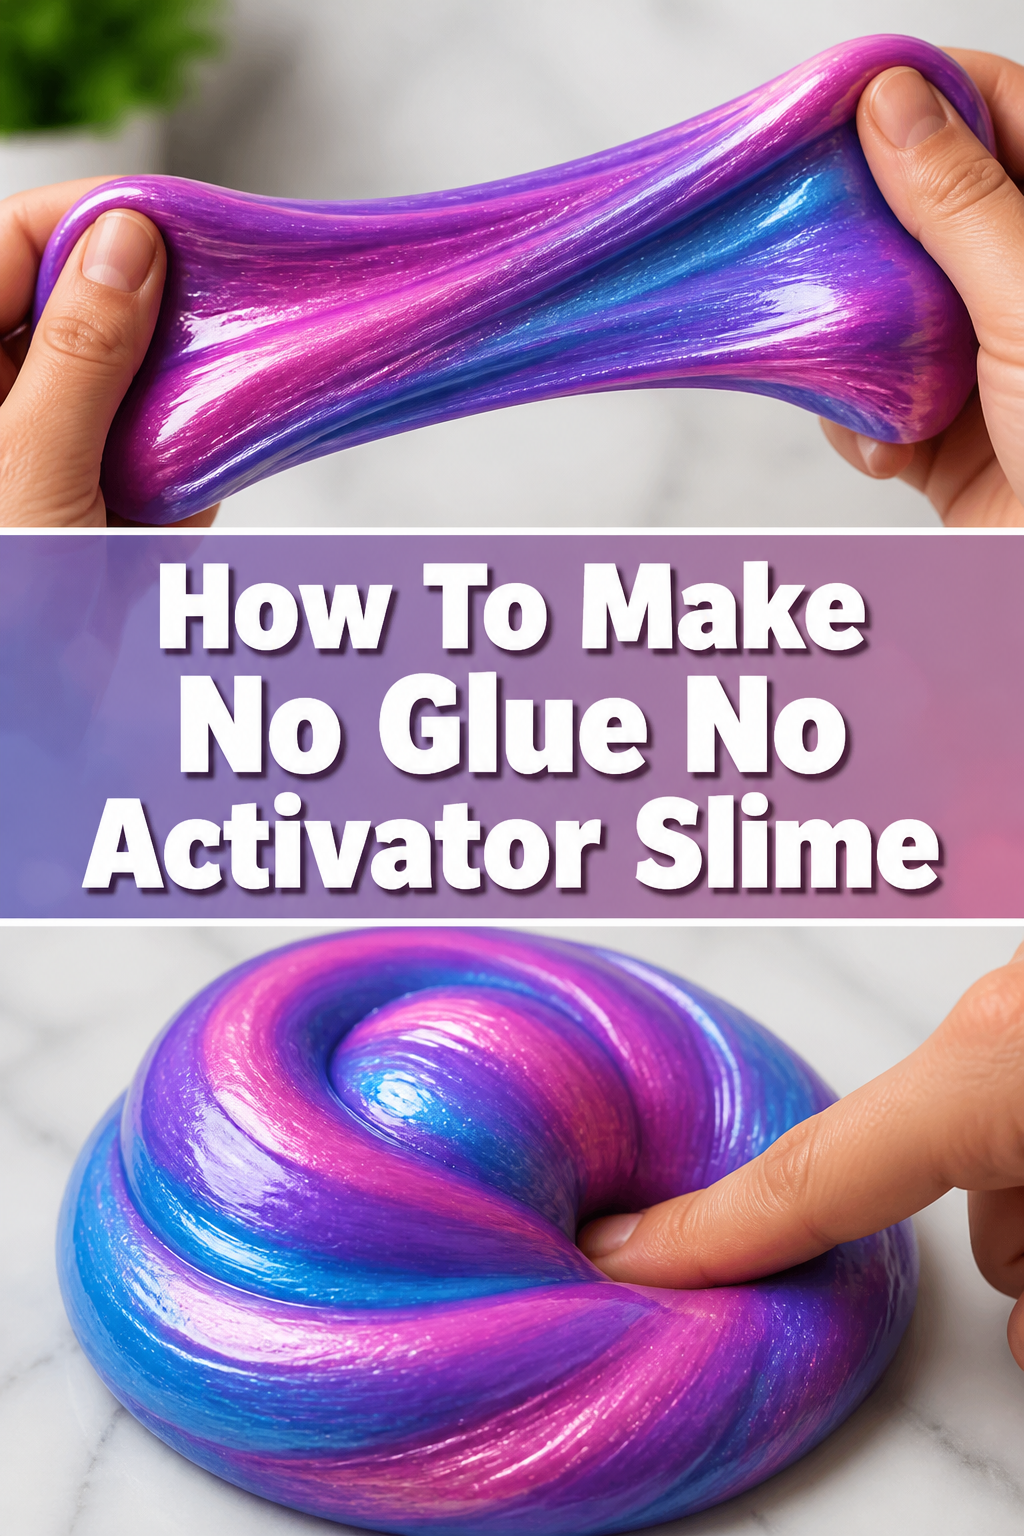
🌟 How To Make No Glue No Activator Slime

Beginner-friendly templates, step-by-step guides,
and weekly project ideas in your inbox.
Making slime without traditional glue and activator might sound tricky, but it’s incredibly fun and rewarding. I remember the excitement of discovering this method, transforming everyday household items into a squishy, satisfying toy.
This guide shares my personal, tried-and-true approaches to crafting amazing, stretchy slime. You’ll learn exactly how to achieve that perfect texture, step by step.
Get ready to experiment and create something truly unique, all without special ingredients.
Quick Overview
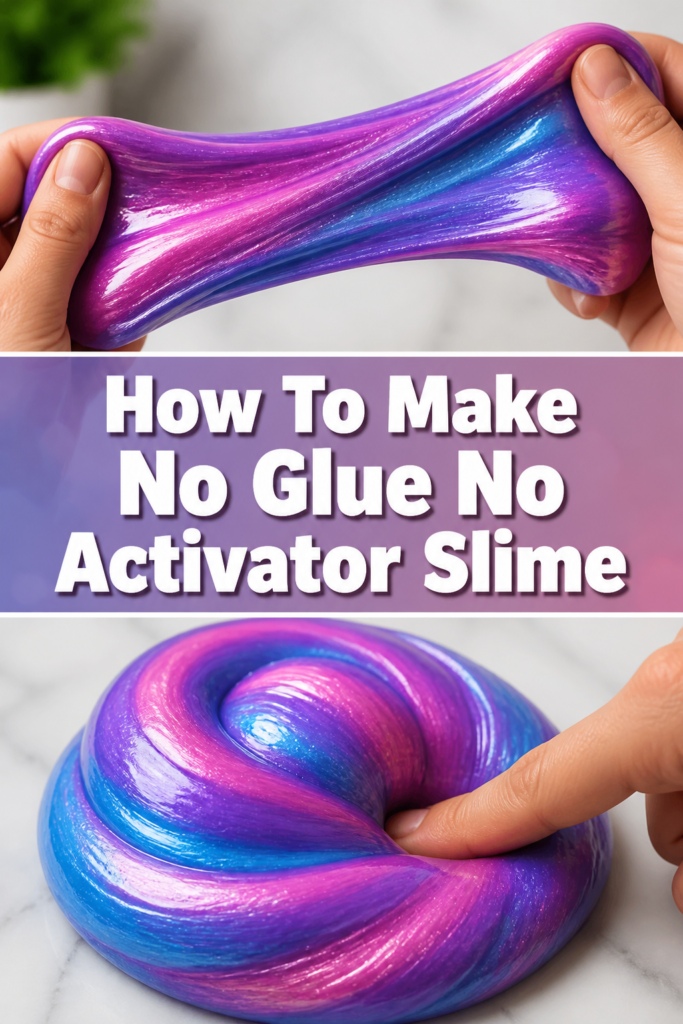
You’re about to discover how to create a fantastic, stretchy slime using common items found around your home. This process is surprisingly simple and yields impressive results.
- Time needed: 15-30 minutes (plus optional chilling time)
- Difficulty: Beginner
- What you’ll need: Shampoo/conditioner, cornstarch, mixing bowl, spoon, measuring cups/spoons
Step-by-Step Instructions
Step 1: Gather Your Ingredients and Tools
Collect all your necessary items before you begin. Having everything at hand makes the process smooth and enjoyable.
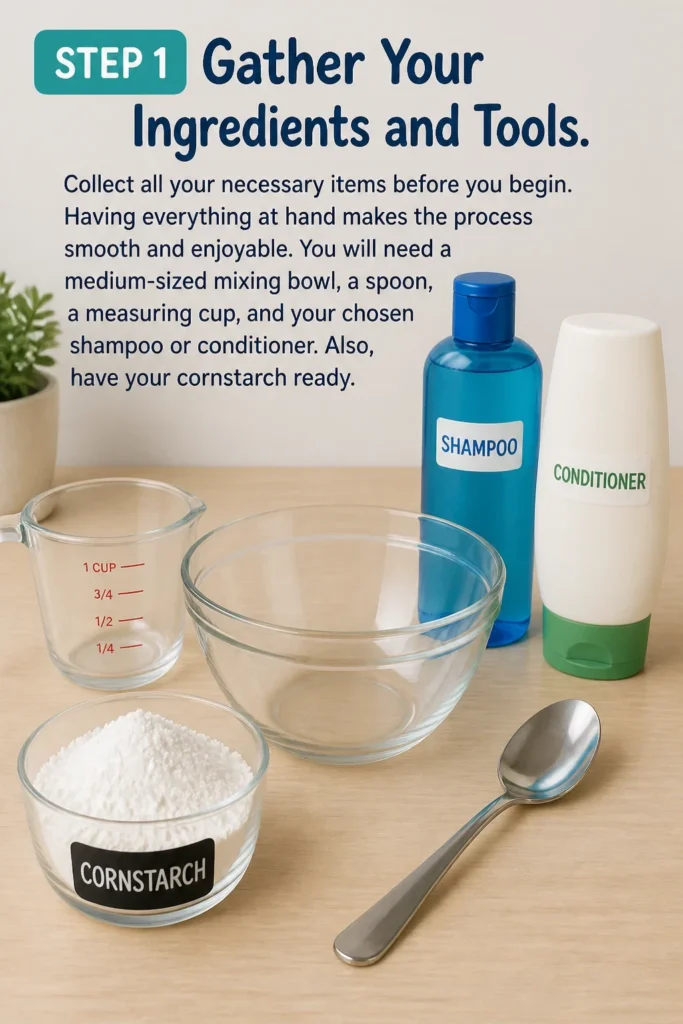
You will need a medium-sized mixing bowl, a spoon, a measuring cup, and your chosen shampoo or conditioner. Also, have your cornstarch ready.
Step 2: Measure Your Shampoo or Conditioner
Pour 1/2 cup of your chosen shampoo or conditioner into the mixing bowl. The type of product you use matters significantly for the final texture.
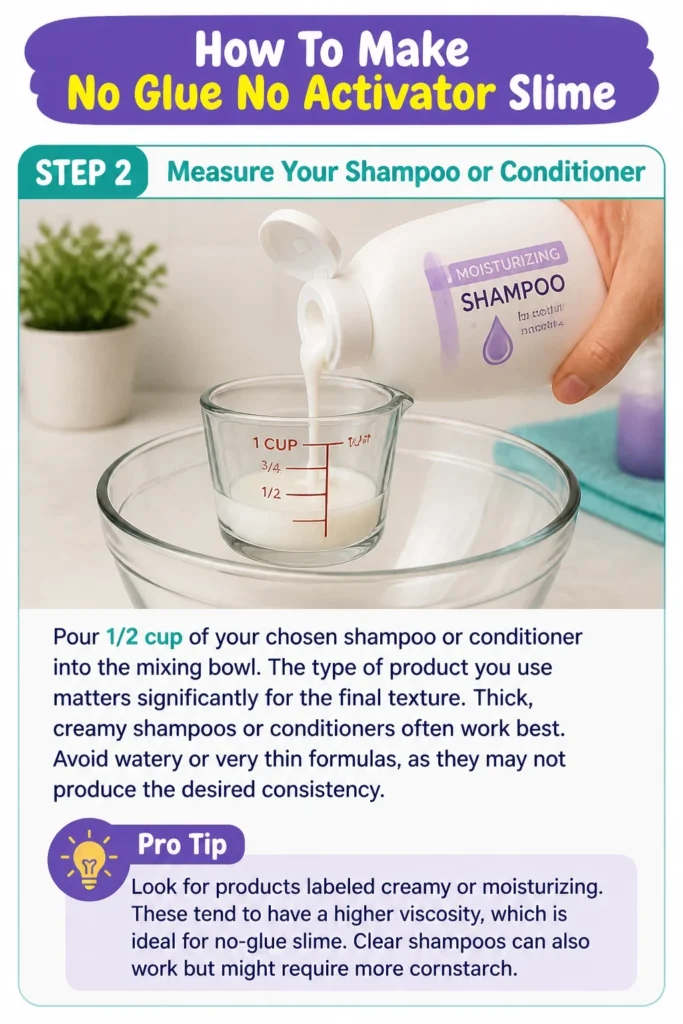
Thick, creamy shampoos or conditioners often work best. Avoid watery or very thin formulas, as they may not produce the desired consistency.
Pro Tip: Look for products labeled “creamy” or “moisturizing.” These tend to have a higher viscosity, which is ideal for no-glue slime. Clear shampoos can also work but might require more cornstarch.
Step 3: Add Your Cornstarch
Measure out approximately 1/4 cup of cornstarch. Gradually add this to the shampoo or conditioner in your bowl.
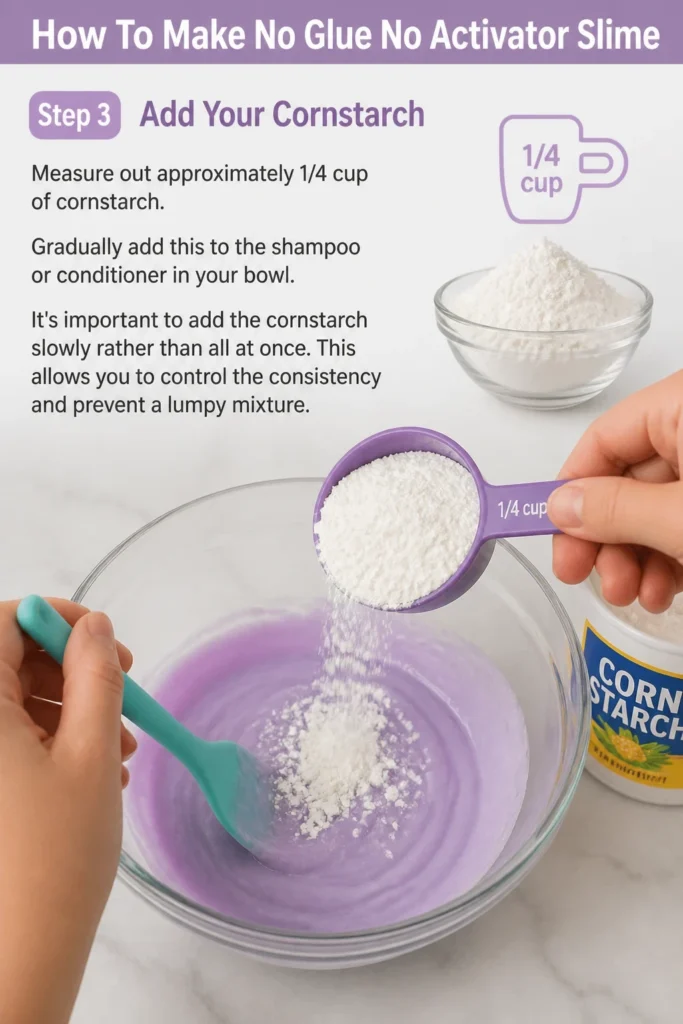
It’s important to add the cornstarch slowly rather than all at once. This allows you to control the consistency and prevent a lumpy mixture.
Step 4: Begin Mixing the Ingredients
Using your spoon, gently stir the shampoo and cornstarch together. Start with slow, circular motions to incorporate the dry ingredients into the wet ones.
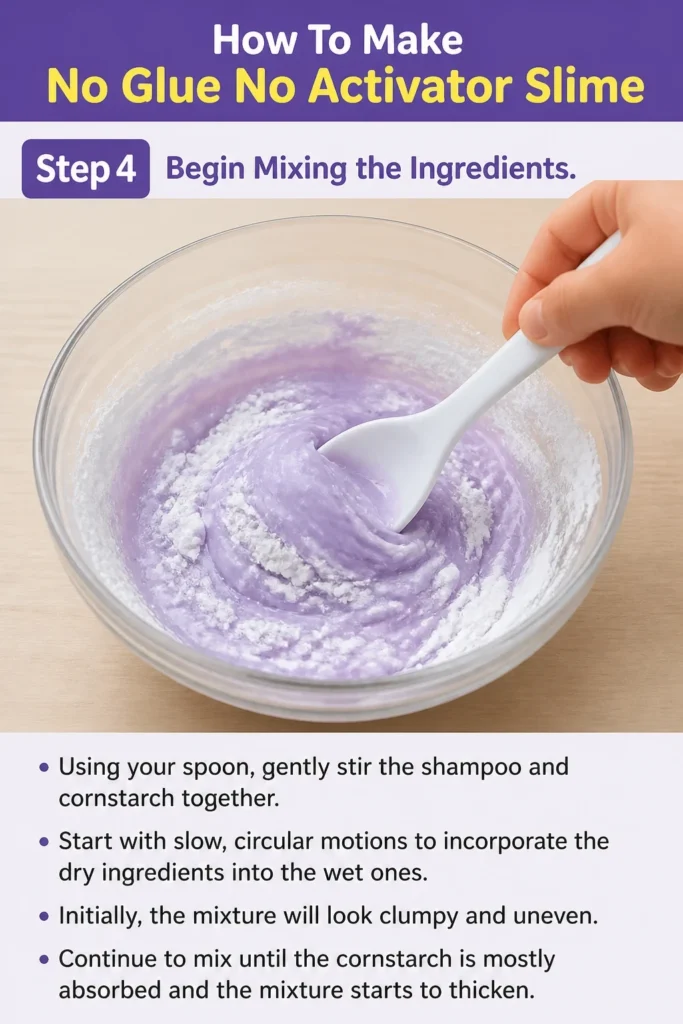
Initially, the mixture will look clumpy and uneven. Continue to mix until the cornstarch is mostly absorbed and the mixture starts to thicken.
Step 5: Adjust Consistency with More Cornstarch (or Shampoo)
As you mix, observe the texture. If the mixture is still too sticky or runny, add another tablespoon of cornstarch. Mix it in thoroughly.
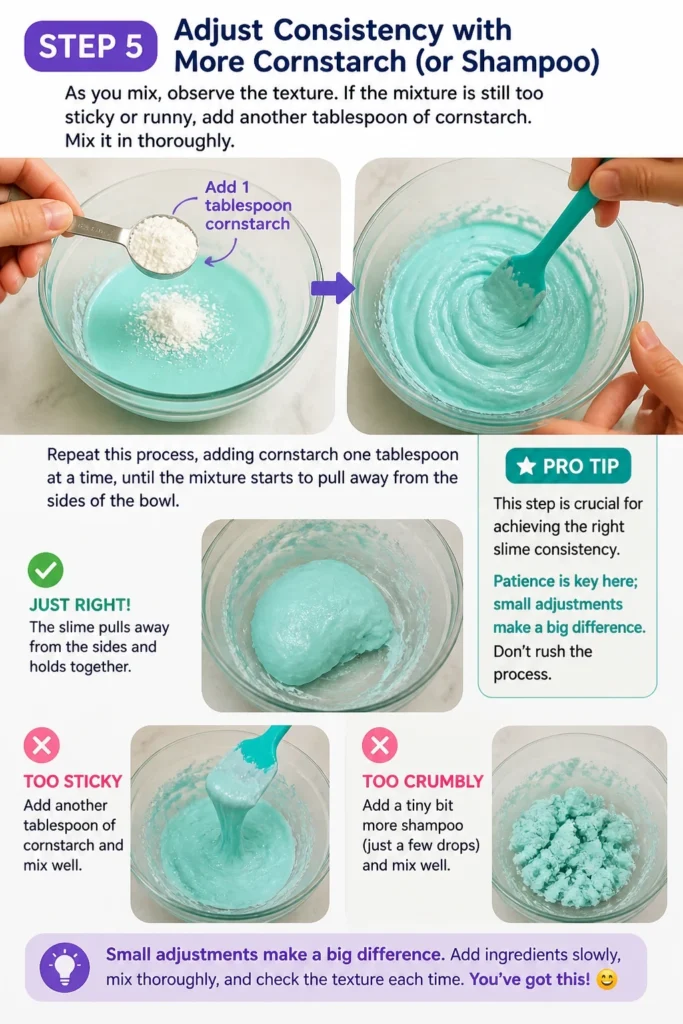
Repeat this process, adding cornstarch one tablespoon at a time, until the mixture starts to pull away from the sides of the bowl. Conversely, if it becomes too crumbly, add a tiny bit more shampoo.
Pro Tip: This step is crucial for achieving the right slime consistency. Patience is key here; small adjustments make a big difference. Don’t rush the process.
Step 6: Knead the Slime
Once the mixture is firm enough to handle, transfer it from the bowl to a clean, flat surface. Lightly dust your hands with a little cornstarch to prevent sticking.
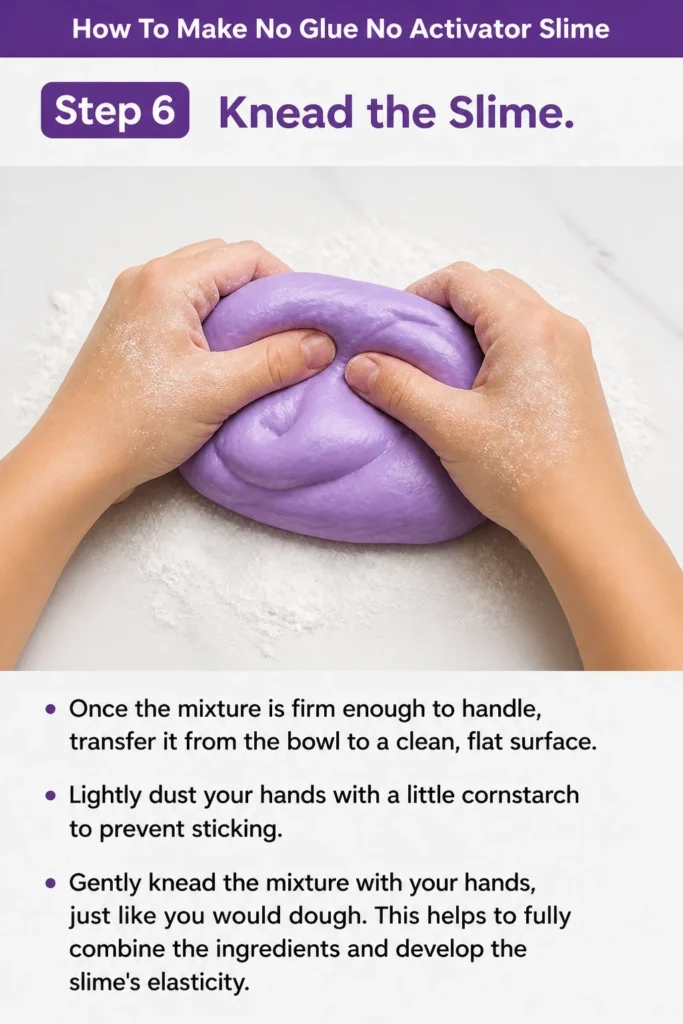
Gently knead the mixture with your hands, just like you would dough. This helps to fully combine the ingredients and develop the slime’s elasticity.
Step 7: Continue Kneading Until Smooth
Keep kneading for about 5-10 minutes. The slime will gradually become smoother, less sticky, and more stretchy as you work it.
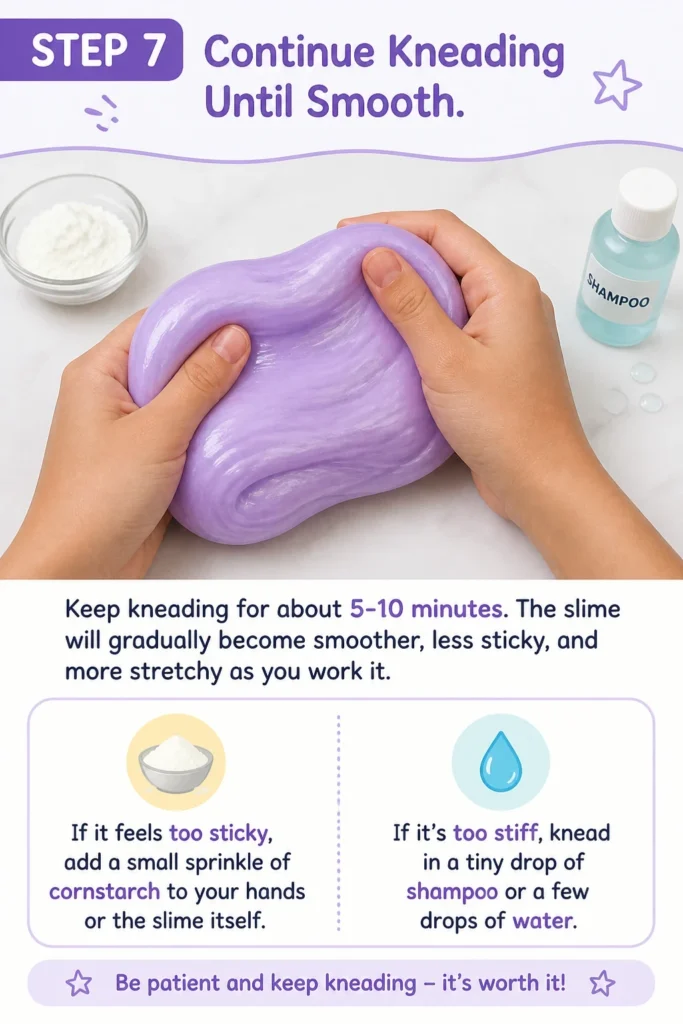
If it feels too sticky, add a small sprinkle of cornstarch to your hands or the slime itself. If it’s too stiff, knead in a tiny drop of shampoo or a few drops of water.
Step 8: Chill for Enhanced Texture (Optional)
For an even better texture, place your finished slime in an airtight container. Refrigerate it for about 15-30 minutes.
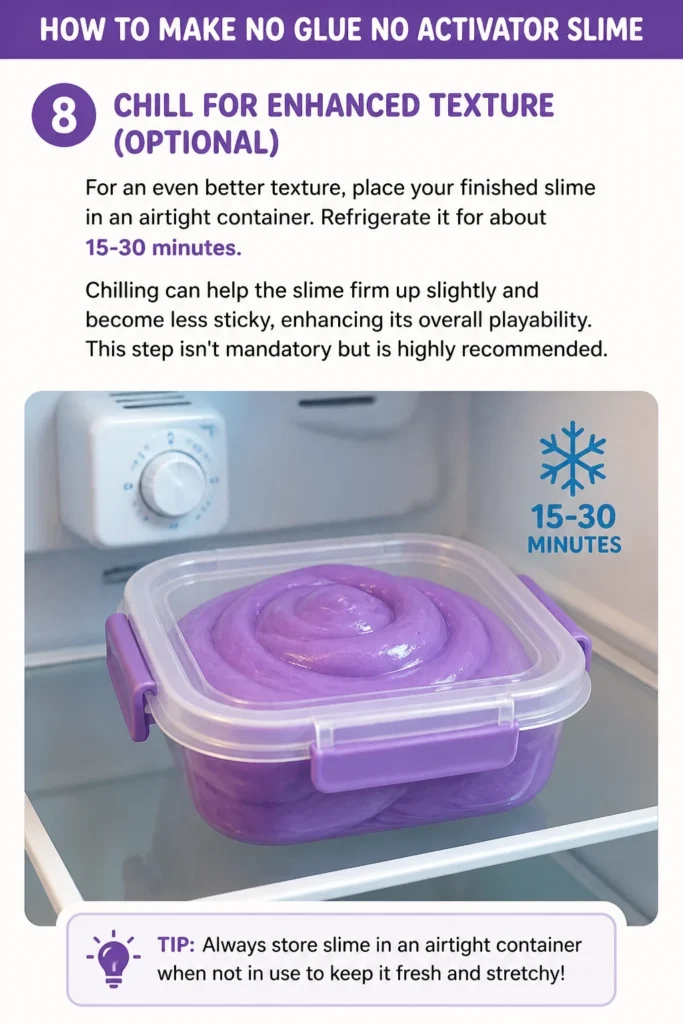
Chilling can help the slime firm up slightly and become less sticky, enhancing its overall playability. This step isn’t mandatory but is highly recommended.
Step 9: Store Your Slime Properly
When you’re done playing, store your no-glue, no-activator slime in an airtight container or a sealed plastic bag. This prevents it from drying out.
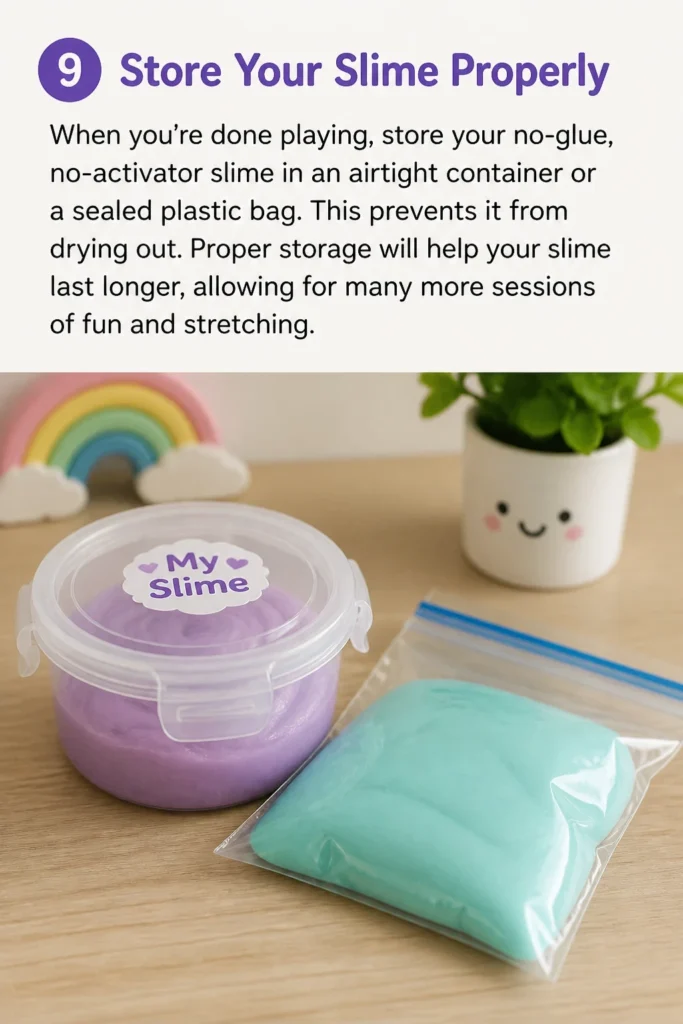
Proper storage will help your slime last longer, allowing for many more sessions of fun and stretching.
Common Mistakes to Avoid
Adding Too Much Cornstarch at Once
Many beginners tend to dump all the cornstarch into the shampoo right away. This often results in a lumpy, crumbly mess that’s hard to salvage.
Always add cornstarch gradually, one tablespoon at a time. This method allows you to precisely control the consistency and avoid over-thickening.
Using Watery Shampoo or Conditioner
Opting for a very thin or watery shampoo can make it incredibly difficult to achieve a good slime consistency. These products lack the necessary viscosity.
Choose thick, creamy formulas for the best results. If you only have thin products, you might need significantly more cornstarch, and the texture might still be less ideal.
Not Kneading Enough
Some people stop kneading too soon, leaving the slime feeling sticky or not fully combined. Kneading is essential for developing the slime’s elasticity and smoothness.
Dedicate at least 5-10 minutes to kneading. This process fully integrates the ingredients, making the slime less sticky and much more enjoyable to play with.
Improper Storage
Leaving your no-glue slime exposed to air will cause it to dry out quickly, becoming hard and unusable. This is a common oversight.
Always store your slime in an airtight container or a sealed plastic bag immediately after playing. This simple step extends its lifespan significantly.
Troubleshooting
Slime is Too Sticky
If your slime feels excessively sticky and clings to your hands, it likely needs more cornstarch. This is a very common issue, especially in warmer environments.
Gradually add small pinches of cornstarch to the slime while kneading. Continue to work it in until the stickiness reduces to a manageable level.
Slime is Too Crumbly or Stiff
When your slime is too dry, breaking apart easily, or feels like playdough, you’ve probably added too much cornstarch. Don’t worry, it’s often fixable.
Gently knead in a very small amount of shampoo, conditioner, or even a few drops of water. Add it slowly, drop by drop, until the slime becomes pliable again.
Slime Has Lumps
Lumps usually indicate that the cornstarch wasn’t fully incorporated during the initial mixing phase. This can happen if you add too much cornstarch at once.
Continue kneading the slime vigorously. The warmth and pressure from your hands will help break down the lumps and create a smoother consistency over time.
Key Takeaways
- Choose a thick, creamy shampoo or conditioner for the best no-glue slime results.
- Always add cornstarch gradually, adjusting the amount based on your mixture’s consistency.
- Kneading is a vital step; it develops elasticity and reduces stickiness, so don’t skip it.
- Properly store your slime in an airtight container to prevent it from drying out.
- Experimentation with ingredient ratios is key; small adjustments can significantly impact the outcome.
- This slime recipe offers a fun, safe, and inexpensive way to create a satisfying sensory toy.
Frequently Asked Questions
How long does no-glue slime last?
No-glue, no-activator slime typically lasts for about 3-7 days when stored correctly. Its lifespan can vary depending on humidity, ingredients used, and how often it’s played with.
Can I use any type of cornstarch?
Yes, standard cornstarch (corn flour in some regions) works perfectly for this recipe. There’s no need for any special or modified cornstarch varieties.
Why is my slime not stretchy?
Lack of stretchiness is often due to too much cornstarch, making the slime too stiff. It can also be a result of not enough kneading, which helps develop its elastic properties.
Can I add food coloring or glitter?
Absolutely! You can add a few drops of food coloring or a sprinkle of glitter during Step 4, when you’re mixing the shampoo and cornstarch. This allows for fun customization.
Our Top Recommended Finds
- Large Mixing Bowl Set: Essential for mess-free mixing and containing your ingredients. A good set offers various sizes for different projects.
- Silicone Spatulas: Ideal for scraping down the sides of bowls, ensuring all ingredients are incorporated without waste. They’re also easy to clean.
- Airtight Storage Containers: Crucial for keeping your homemade slime fresh and preventing it from drying out. Look for small, sealable plastic containers.
Your Next Slime Adventure Awaits
You’ve just learned how to create fantastic slime using simple household items, proving that amazing crafts don’t always require specialty supplies. This skill opens up a world of creative possibilities.
Now that you’ve mastered this technique, why not experiment with different scents? Try adding a drop of essential oil to your next batch for a calming or invigorating aroma.
Don’t wait! Gather your ingredients and start making your very own no-glue, no-activator slime today. The joy of creating something so tactile and fun is just a few steps away.
Beginner-friendly templates, step-by-step guides,
and weekly project ideas in your inbox.