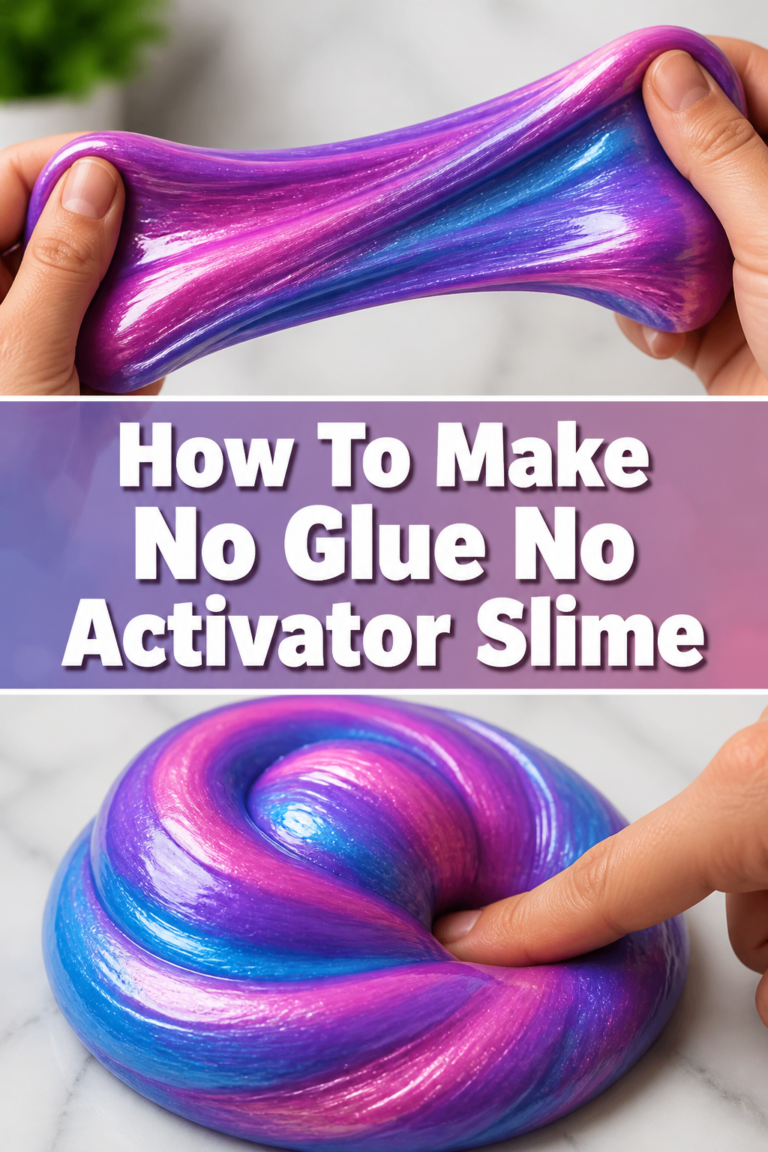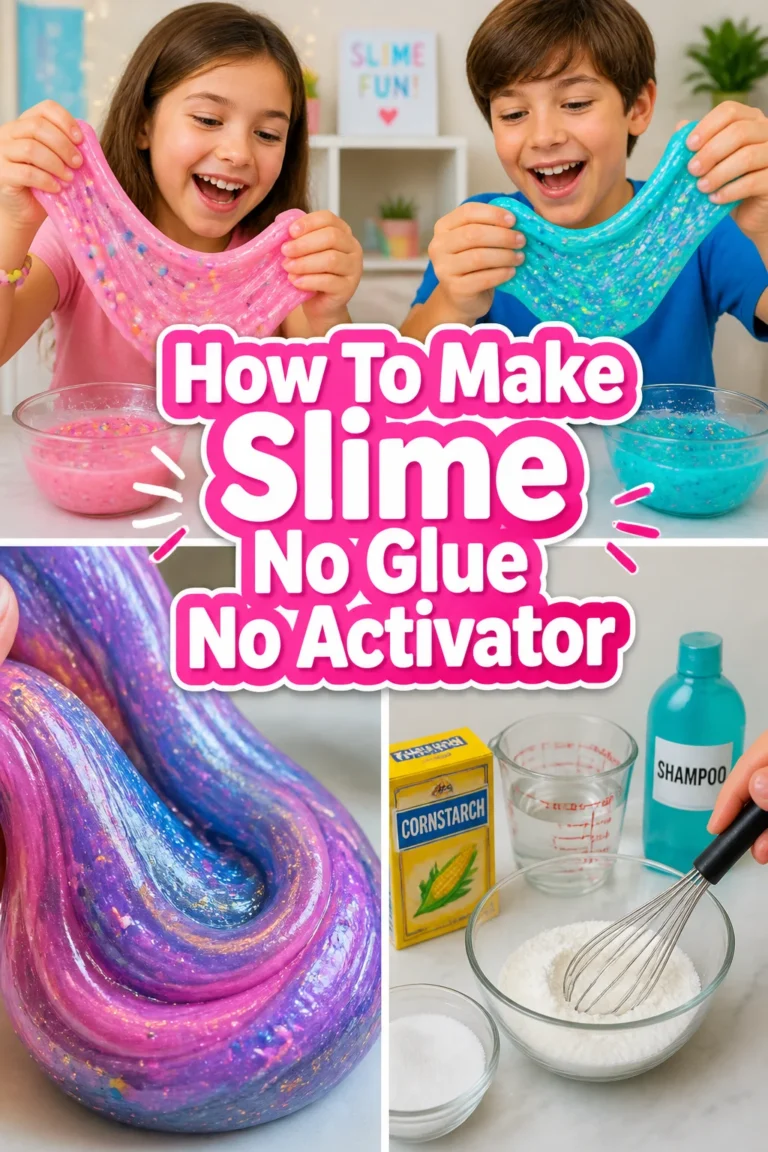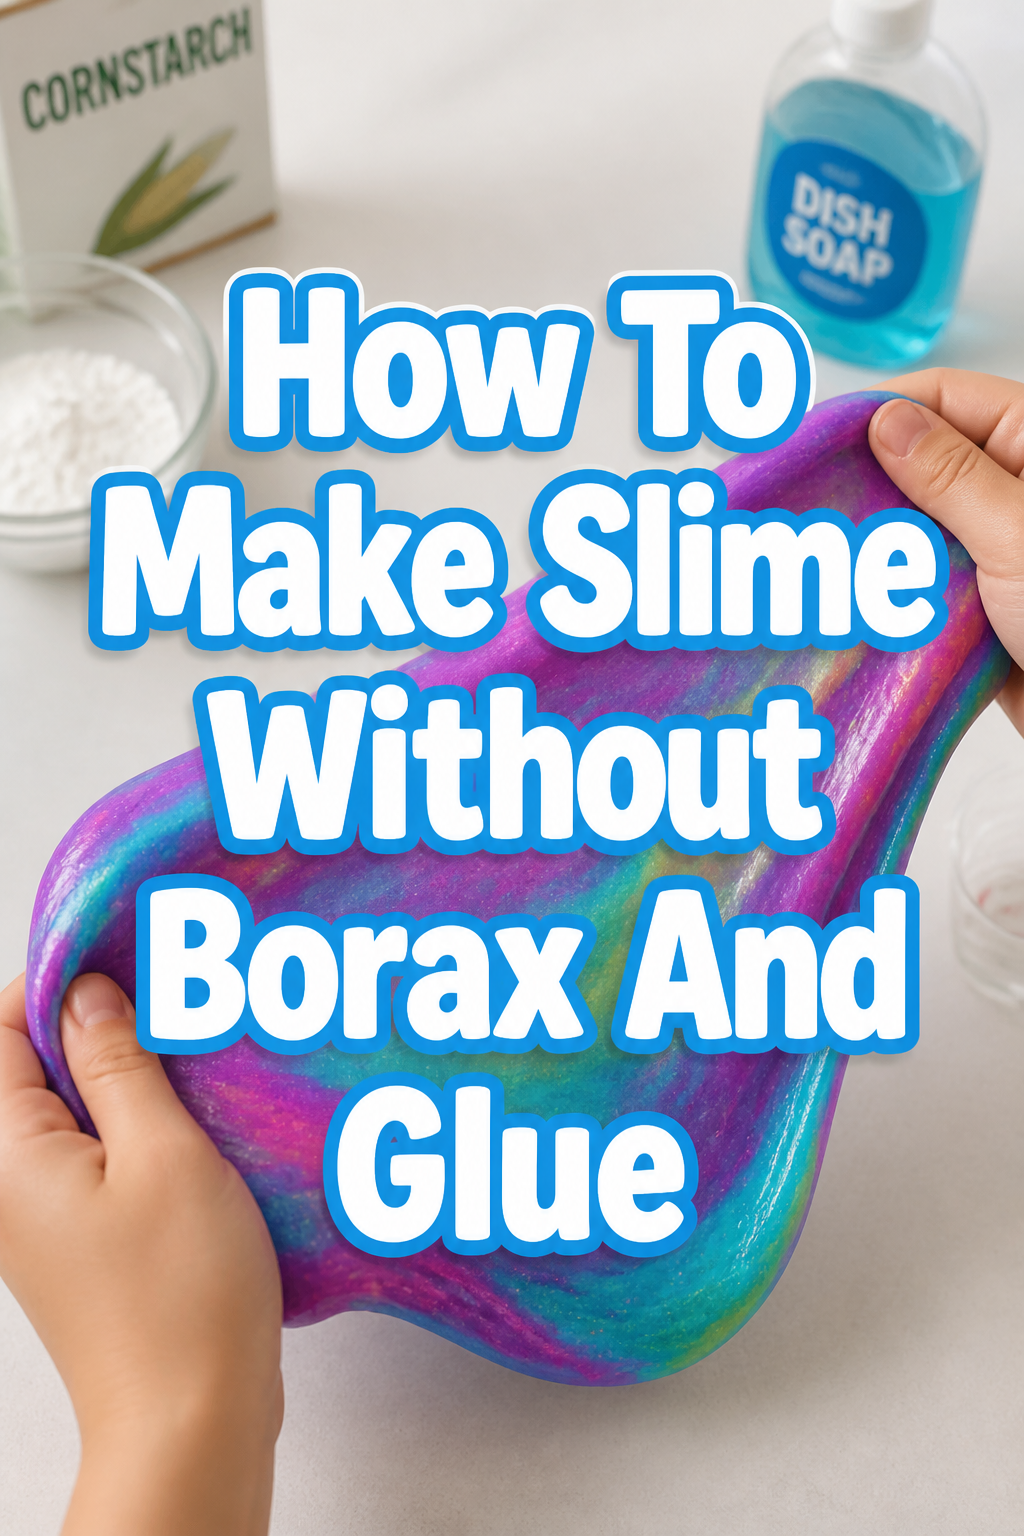
✨ How To Make Slime Without Borax And Glue

Beginner-friendly templates, step-by-step guides,
and weekly project ideas in your inbox.
Remember the days of sticky fingers and endless fun trying to create the perfect gooey concoction?
I’ve personally experimented with countless slime recipes, and the challenge of making it without traditional borax or glue always fascinated me.
This guide shares my tested, easy methods to achieve that satisfying stretch and squish, ensuring a safe and engaging activity for everyone.
Quick Overview
You’re about to create amazing, sensory slime using simple household ingredients. This project is perfect for a rainy afternoon or a creative burst.
Get ready for some hands-on fun without any harsh chemicals.
- Time needed: 15-25 minutes (plus optional chilling time)
- Difficulty: Beginner
- What you’ll need: Cornstarch, dish soap, water, mixing bowls, spoon, food coloring (optional)
Step-by-Step Instructions
Let’s dive into making your very own borax- and glue-free slime. We’ll focus on a reliable cornstarch and dish soap method first, known for its unique Oobleck-like texture that can be both solid and liquid.
Step 1: Gather Your Ingredients and Tools
Collect all your materials before you begin. Having everything at hand makes the process smooth and enjoyable.
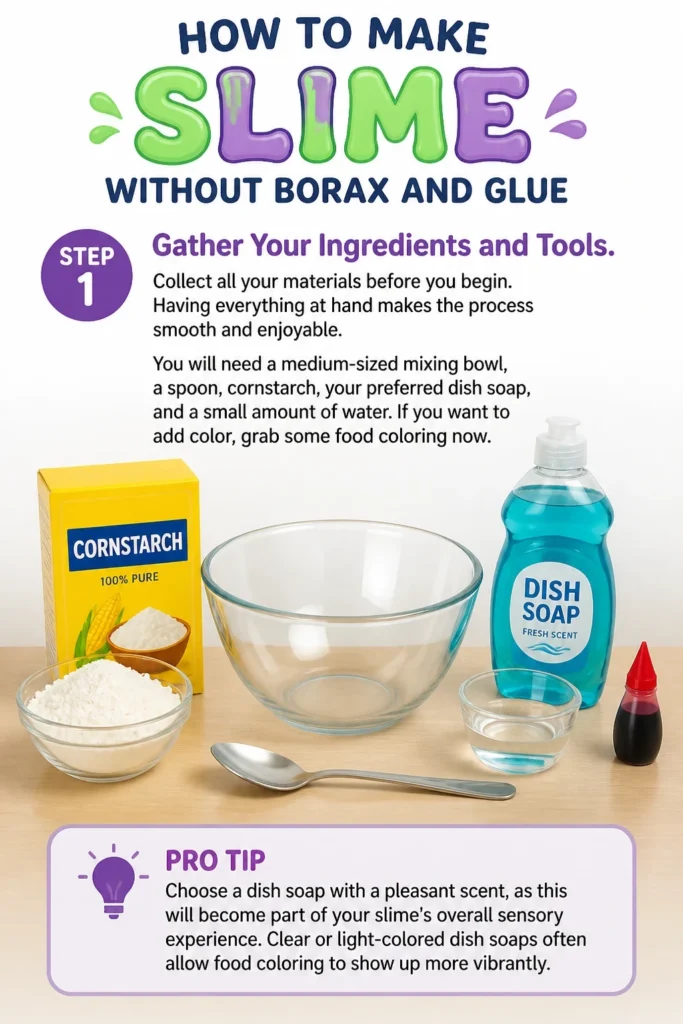
You will need a medium-sized mixing bowl, a spoon, cornstarch, your preferred dish soap, and a small amount of water. If you want to add color, grab some food coloring now.
Pro Tip: Choose a dish soap with a pleasant scent, as this will become part of your slime’s overall sensory experience. Clear or light-colored dish soaps often allow food coloring to show up more vibrantly.
Step 2: Measure the Cornstarch
Pour approximately one cup of cornstarch into your mixing bowl. Accuracy here is helpful, but don’t worry about being absolutely precise.
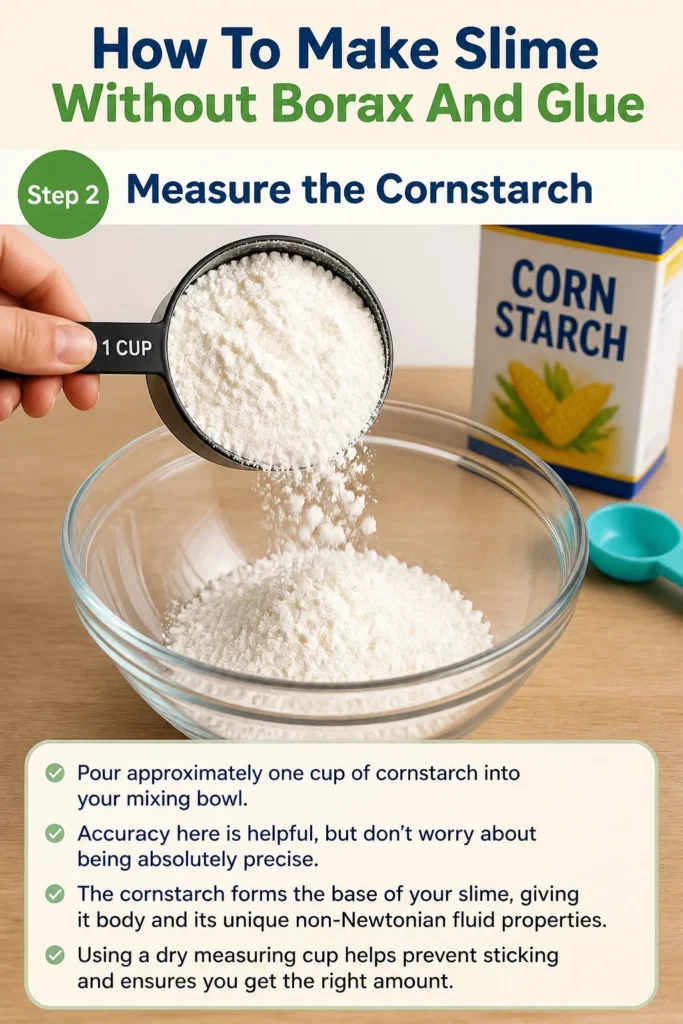
The cornstarch forms the base of your slime, giving it body and its unique non-Newtonian fluid properties.
Using a dry measuring cup helps prevent sticking and ensures you get the right amount.
Step 3: Add the Dish Soap
Introduce about half a cup of dish soap to the cornstarch in the bowl. You can start with a little less if you prefer to add gradually.
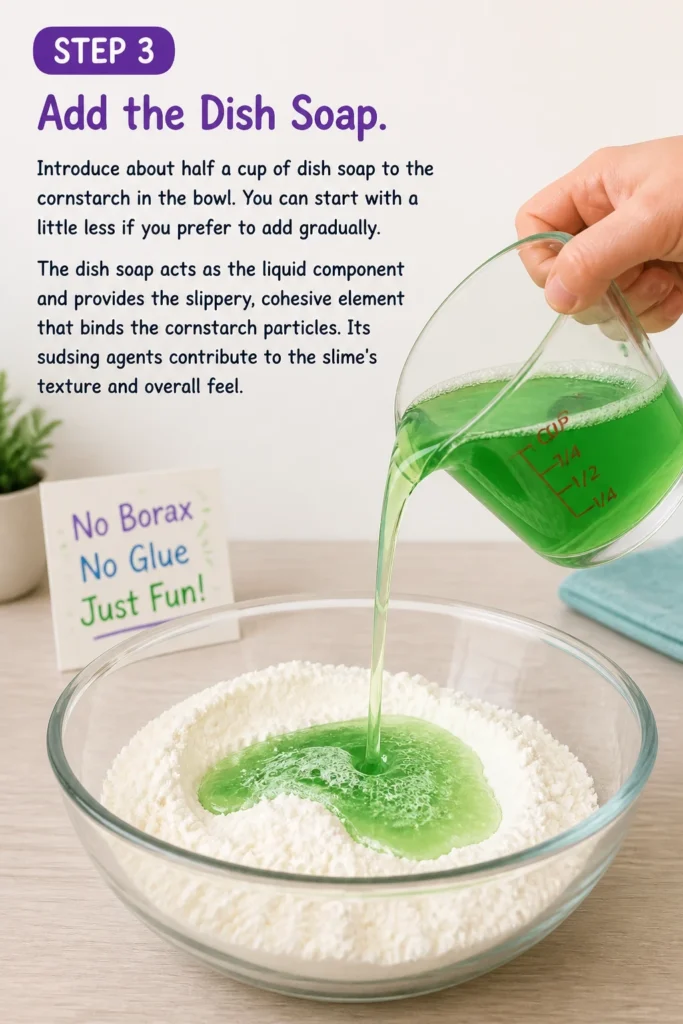
The dish soap acts as the liquid component and provides the slippery, cohesive element that binds the cornstarch particles.
Its sudsing agents contribute to the slime’s texture and overall feel.
Step 4: Begin Mixing and Incorporating
Start mixing the cornstarch and dish soap together gently with your spoon. At first, it might look crumbly and dry.
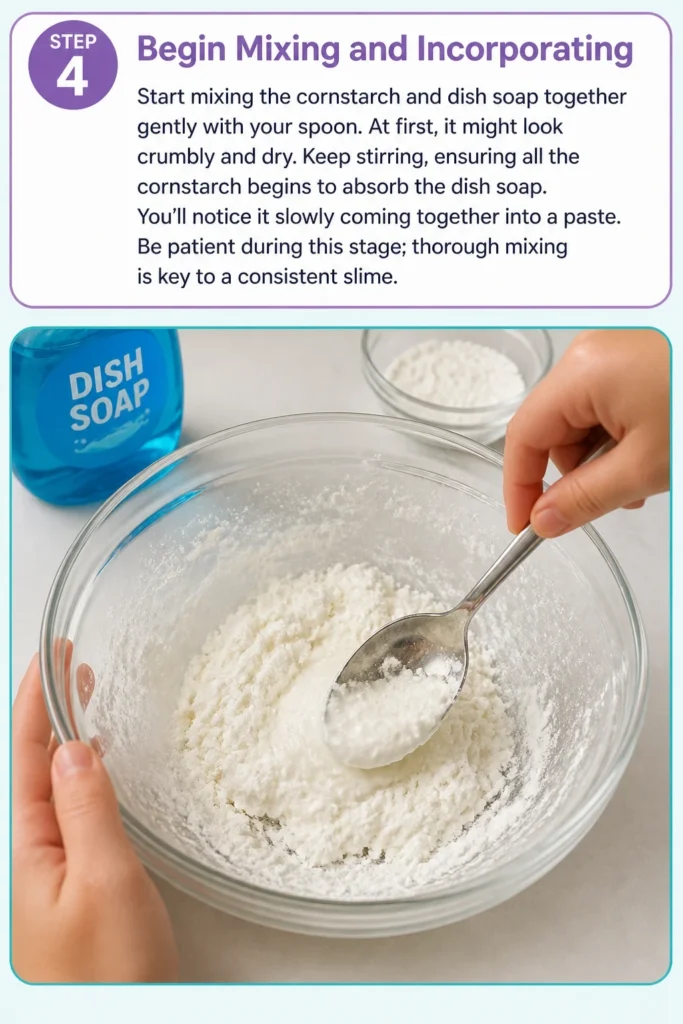
Keep stirring, ensuring all the cornstarch begins to absorb the dish soap. You’ll notice it slowly coming together into a paste.
Be patient during this stage; thorough mixing is key to a consistent slime.
Step 5: Adjust Consistency with Water (If Needed)
Add water very slowly, just a teaspoon at a time, if your mixture is too thick or crumbly. Mix thoroughly after each addition.
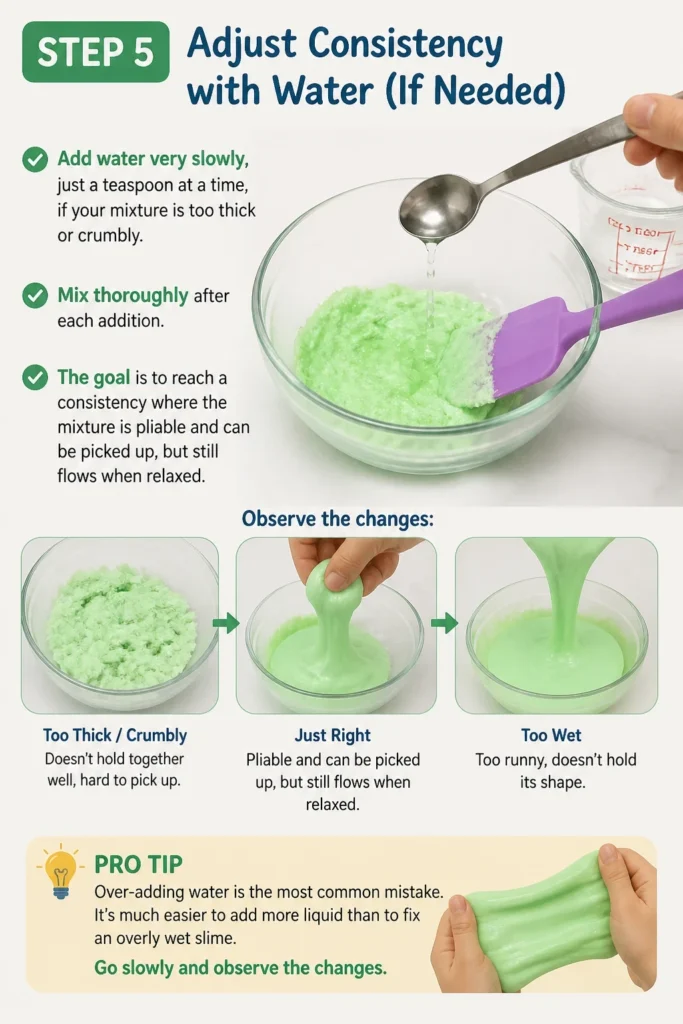
The goal is to reach a consistency where the mixture is pliable and can be picked up, but still flows when relaxed.
You might not need water at all, depending on your dish soap’s thickness and the exact cornstarch amount.
Pro Tip: Over-adding water is the most common mistake. It’s much easier to add more liquid than to fix an overly wet slime. Go slowly and observe the changes.
Step 6: Add Color and Scent (Optional)
Squeeze a few drops of food coloring into your mixture if you desire a vibrant slime. You can use gel food coloring for more intense colors.
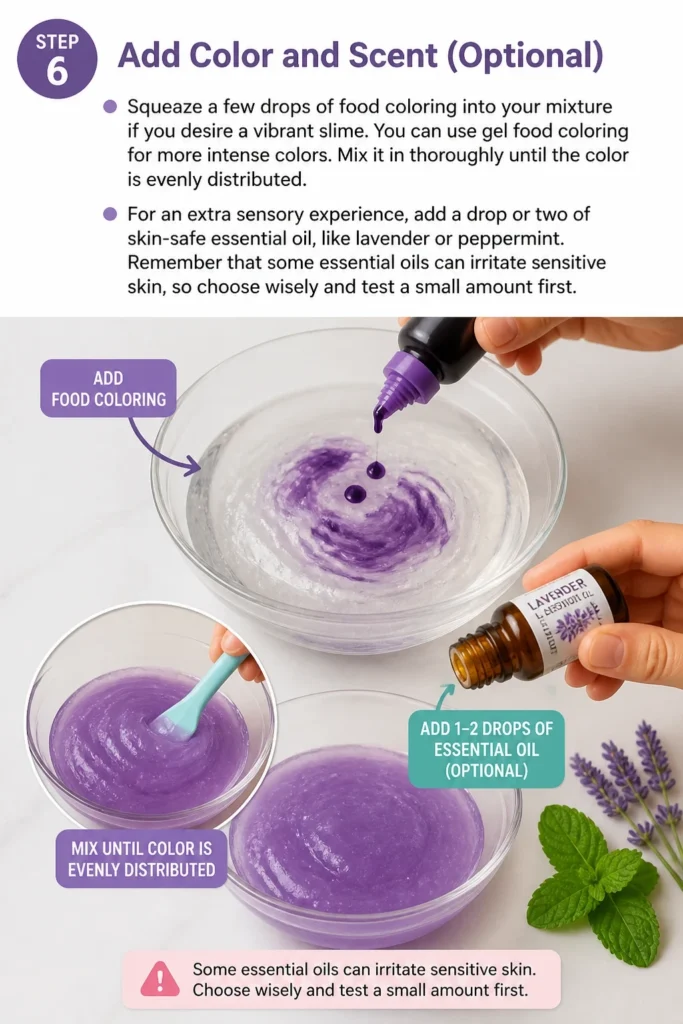
Mix it in thoroughly until the color is evenly distributed. For an extra sensory experience, add a drop or two of skin-safe essential oil, like lavender or peppermint.
Remember that some essential oils can irritate sensitive skin, so choose wisely and test a small amount first.
Step 7: Knead and Test Your Slime
Remove the mixture from the bowl and begin kneading it with your hands. This is where the magic truly happens.
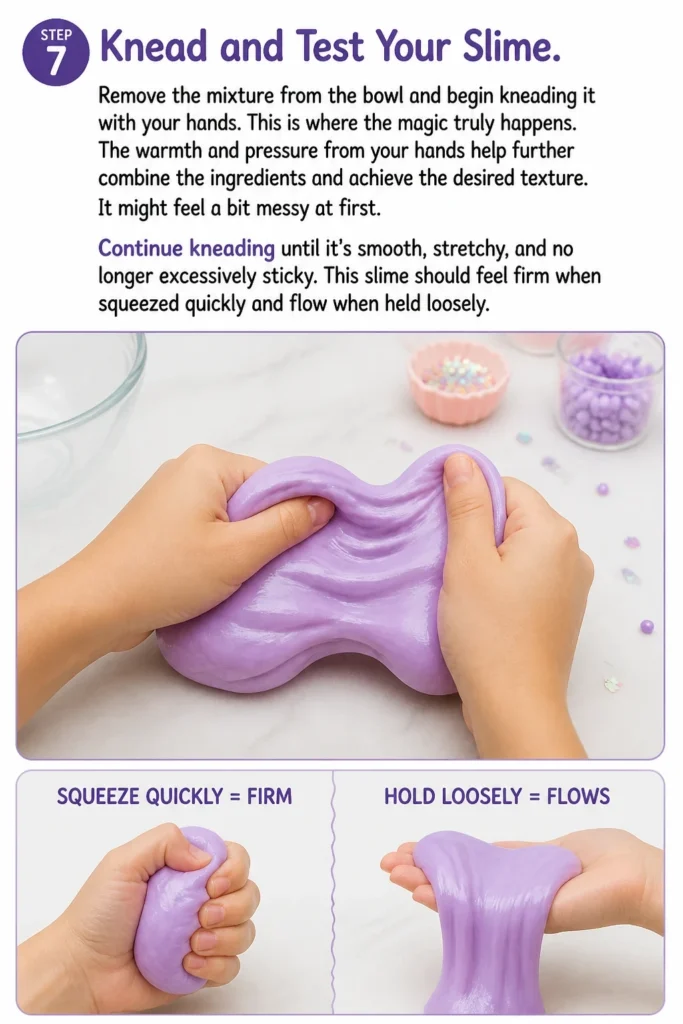
The warmth and pressure from your hands help further combine the ingredients and achieve the desired texture. It might feel a bit messy at first.
Continue kneading until it’s smooth, stretchy, and no longer excessively sticky. This slime should feel firm when squeezed quickly and flow when held loosely.
Step 8: Store Your Slime Properly
Place your finished slime in an airtight container or a sealed plastic bag when you’re done playing. This prevents it from drying out.
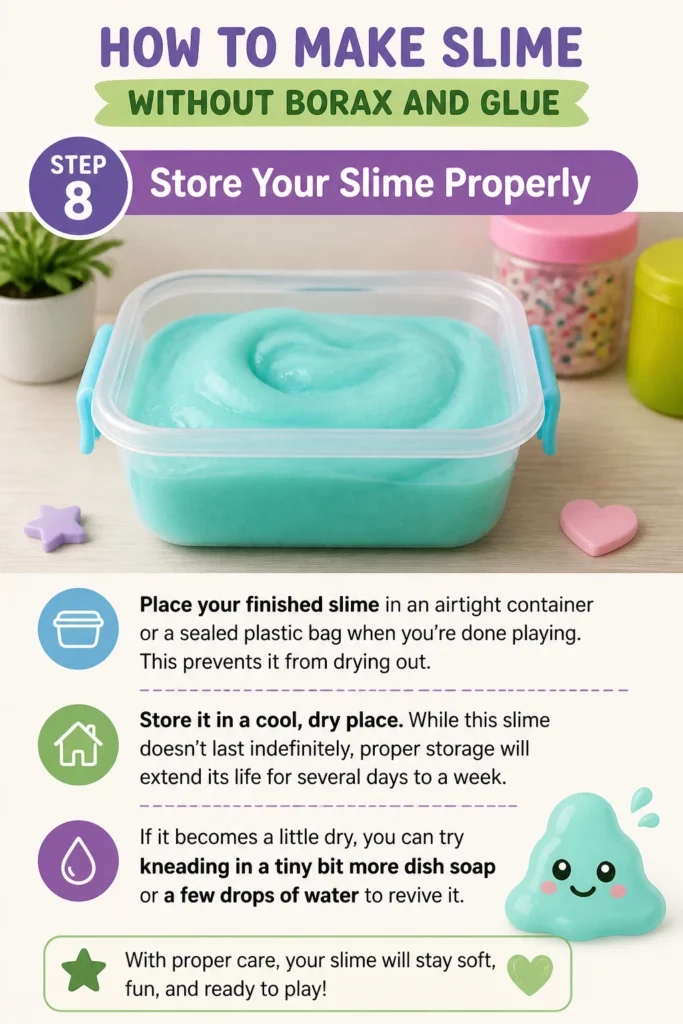
Store it in a cool, dry place. While this slime doesn’t last indefinitely, proper storage will extend its life for several days to a week.
If it becomes a little dry, you can try kneading in a tiny bit more dish soap or a few drops of water to revive it.
Common Mistakes to Avoid
Making slime without borax and glue can be a little different from traditional recipes. Knowing what pitfalls to avoid will help you succeed on your first try.
Adding Too Much Liquid Too Quickly
Many people rush the liquid addition, especially when the cornstarch and soap mixture looks dry. This can quickly turn your slime into a soupy mess.
Always add water or dish soap in very small increments, like a teaspoon or half a teaspoon at a time. Mix thoroughly after each addition and observe the consistency before adding more.
Not Kneading Enough
The initial mixture might seem crumbly or not quite “slime-like” when you first start. It’s tempting to give up or add more ingredients.
Kneading with your hands is crucial for activating the slime’s properties and bringing it together. The warmth and mechanical action help the ingredients bond and achieve the right texture.
Using the Wrong Type of Soap
While most liquid dish soaps work, some ultra-concentrated formulas or specific brands might react differently. Hand soap or body wash often don’t have the same consistency.
Stick to standard liquid dish soap for the best results. If you’re experimenting with other soaps, be prepared for potentially varied outcomes and adjust your liquid ratios carefully.
Expecting a Traditional Stretchy Slime
This particular recipe creates a non-Newtonian fluid, often called Oobleck, which behaves differently from traditional glue-based slime.
It will be firm when handled quickly and flow when relaxed. Don’t expect the long, stringy stretches of a PVA glue slime. Embrace its unique, fascinating texture instead.
Troubleshooting
Even with the best instructions, sometimes your slime might not turn out exactly as planned. Here are solutions to common problems.
My Slime is Too Sticky
If your slime is sticking excessively to your hands and surfaces, it likely has too much liquid. This is a common issue.
Gradually knead in a small amount of extra cornstarch, about a tablespoon at a time. Continue kneading until it reaches a less sticky, more manageable consistency. Be patient and add slowly.
My Slime is Too Dry and Crumbly
When your mixture is too dry, it won’t form a cohesive mass and will just break apart. This means it needs more liquid.
Add a tiny bit more dish soap, or a few drops of water, to the mixture. Knead it in thoroughly. Repeat this process until the slime starts to come together and feels pliable.
My Slime is Not Holding Together
If your slime constantly separates or doesn’t have any elasticity, it could be an imbalance of ingredients or insufficient mixing.
Try kneading it more vigorously for an extended period. If it’s still not cohesive, ensure you haven’t used too much water. You might need to add a touch more cornstarch to rebalance the mixture.
Key Takeaways
- Making borax- and glue-free slime is a fun, safe, and engaging activity for all ages.
- The cornstarch and dish soap method creates a unique non-Newtonian fluid with fascinating properties.
- Always add liquids slowly and in small increments to avoid making your slime too sticky or soupy.
- Thorough kneading is essential for bringing the ingredients together and achieving the desired slime texture.
- Expect a different texture than traditional glue-based slime; this version is firm when squeezed and flows when relaxed.
- Store your finished slime in an airtight container to prevent it from drying out and extend its playtime.
Frequently Asked Questions
How long does this type of slime last?
This cornstarch and dish soap slime typically lasts for several days to about a week when stored properly in an airtight container. Its lifespan depends on humidity and how often it’s played with. It will eventually dry out and harden.
Can I use other types of starch, like potato starch?
While cornstarch is highly recommended for its fine texture and consistent results, you can experiment with other starches like potato starch or arrowroot powder. The results might vary in texture and consistency, so be prepared to adjust your liquid ratios.
Is this slime safe for young children?
Yes, this slime is generally considered safer for young children than borax-based slimes because it uses common household ingredients. However, it’s not edible, and supervision is always recommended to ensure children don’t ingest it. Wash hands thoroughly after playing.
What if my slime smells bad after a day or two?
If your slime develops an unpleasant odor, it’s a sign that it’s starting to spoil or grow bacteria. This is natural for slimes made with organic ingredients. At this point, it’s best to discard the slime and make a fresh batch for optimal hygiene and enjoyment.
Our Top Recommended Finds
While you can use what you have at home, these items can enhance your slime-making experience.
- Quality Cornstarch: A fresh box of cornstarch ensures the best texture and consistency for your slime.
- Airtight Storage Containers: Small, sealable containers are perfect for keeping your homemade slime fresh for longer.
- Food Coloring Set: A variety pack of food colorings allows you to create slimes in every shade of the rainbow.
Unleash Your Inner Slime Alchemist Today
You now have all the knowledge and steps needed to create fantastic, borax- and glue-free slime right in your kitchen.
This isn’t just a recipe; it’s an invitation to experiment, explore textures, and enjoy a wonderfully tactile experience.
Don’t wait! Gather your ingredients and start mixing today. You might discover a new favorite sensory play activity.
Beginner-friendly templates, step-by-step guides,
and weekly project ideas in your inbox.