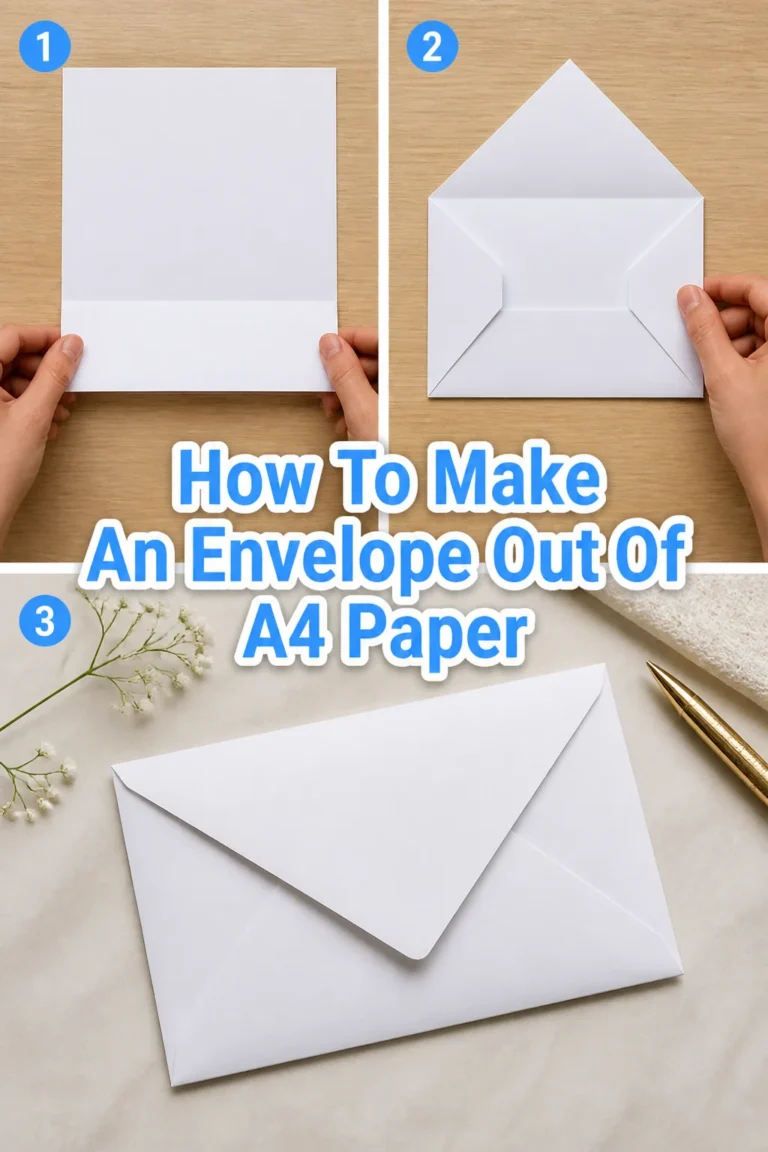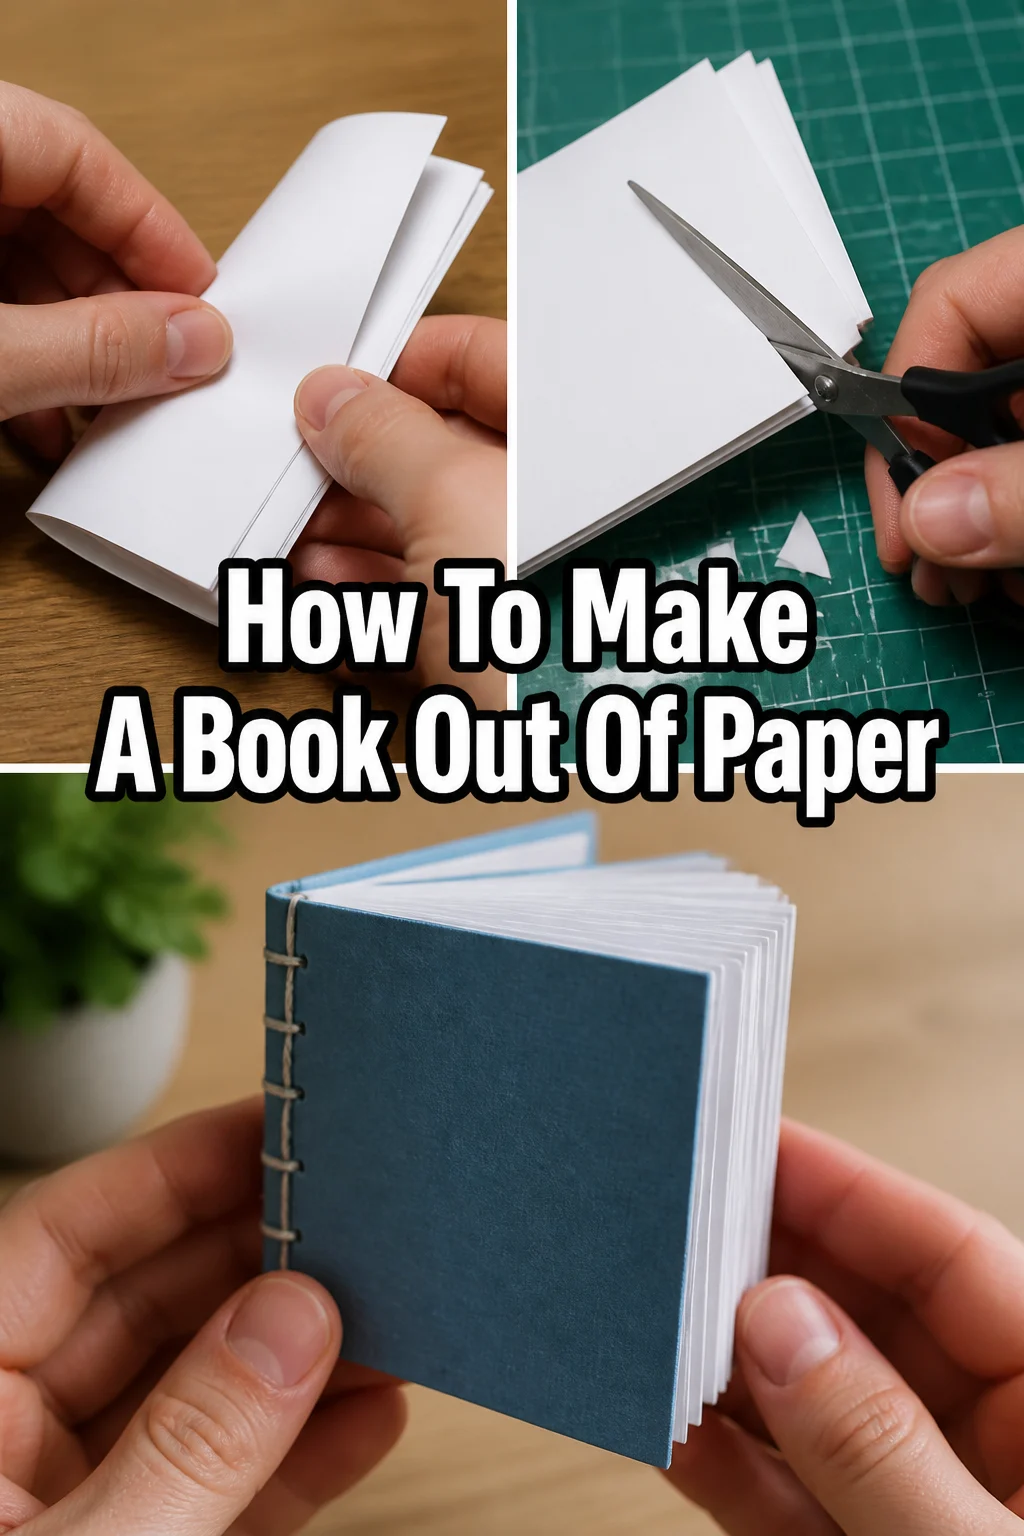
📖 How To Make A Book Out Of Paper
There’s something uniquely satisfying about holding a book you’ve created with your own hands.
I remember the first little journal I made from scrap paper and twine; it felt like magic to transform simple sheets into a tangible vessel for thoughts.
This guide will walk you through that same transformative process, giving you the practical skills to craft your own paper book.
Quick Overview
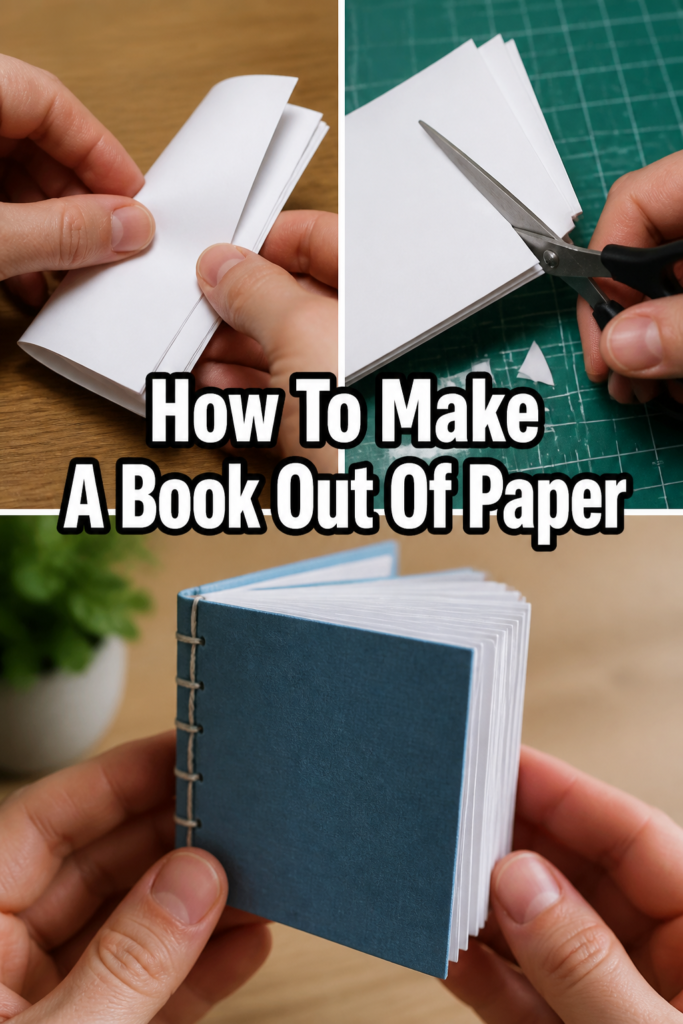
You’re about to embark on a creative journey, turning plain paper into a functional and beautiful book. This project is perfect for journaling, sketching, or even giving as a heartfelt gift.
- Time needed: 1-2 hours (depending on complexity and finishing touches)
- Difficulty: Beginner
- What you’ll need: Paper, ruler, pencil, bone folder (or credit card), awl (or thick needle), thread, needle, scissors
Step-by-Step Instructions
Step 1: Gather Your Materials
Before you begin, collect everything you’ll need. Having your tools ready makes the process much smoother and more enjoyable.
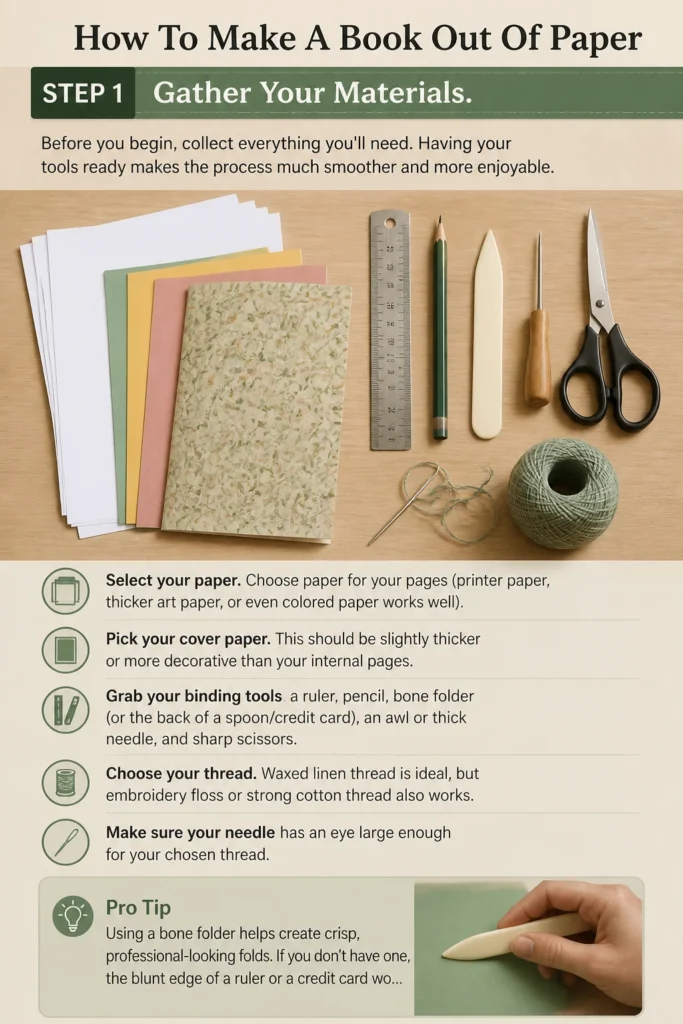
- Select your paper. Choose paper for your pages (printer paper, thicker art paper, or even colored paper works well).
- Pick your cover paper. This should be slightly thicker or more decorative than your internal pages.
- Grab your binding tools: a ruler, pencil, bone folder (or the back of a spoon/credit card), an awl or thick needle, and sharp scissors.
- Choose your thread. Waxed linen thread is ideal, but embroidery floss or strong cotton thread also works. Make sure your needle has an eye large enough for your chosen thread.
Pro Tip: Using a bone folder helps create crisp, professional-looking folds. If you don’t have one, the blunt edge of a ruler or a credit card works almost as well.
Step 2: Prepare Your Pages
The foundation of any good book is well-prepared pages. Consistency here ensures a neat final product.
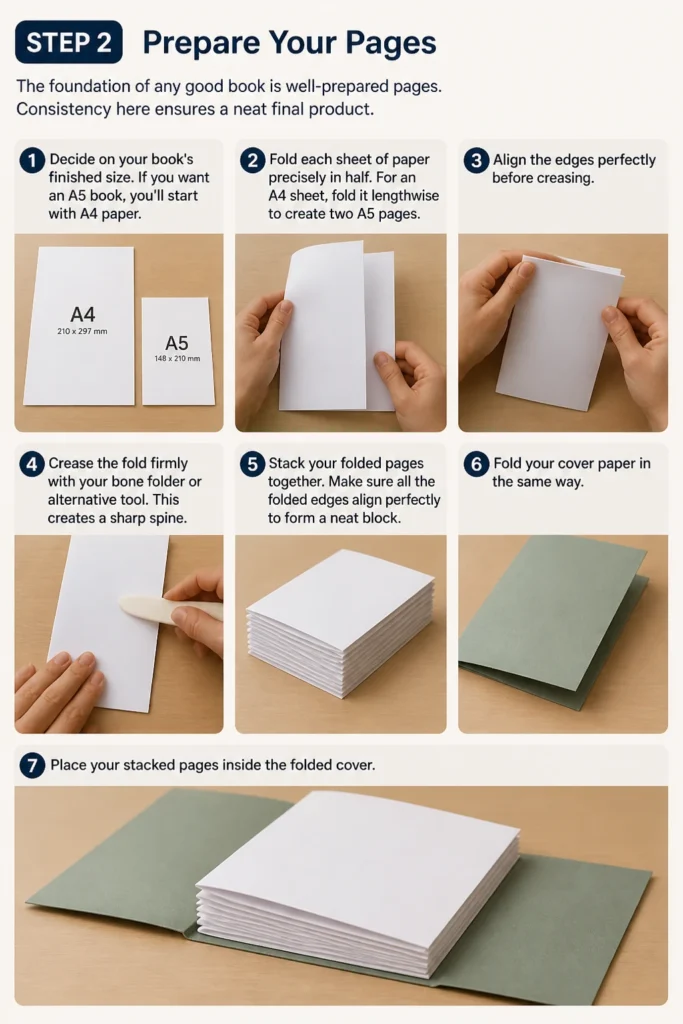
- Decide on your book’s finished size. If you want an A5 book, you’ll start with A4 paper.
- Fold each sheet of paper precisely in half. For an A4 sheet, fold it lengthwise to create two A5 pages. Align the edges perfectly before creasing.
- Crease the fold firmly with your bone folder or alternative tool. This creates a sharp spine.
- Stack your folded pages together. Make sure all the folded edges align perfectly to form a neat block.
- Fold your cover paper in the same way. Place your stacked pages inside the folded cover.
Step 3: Mark for Binding
Accurate marking is crucial for a strong and even binding. Take your time with this step.
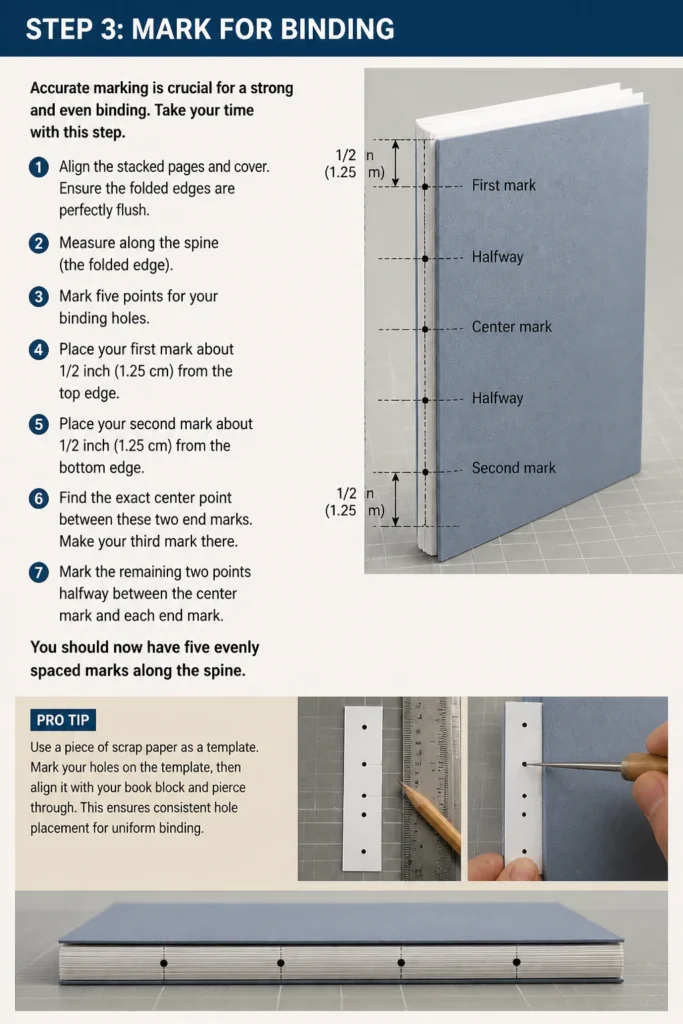
- Align the stacked pages and cover. Ensure the folded edges are perfectly flush.
- Measure along the spine (the folded edge). Mark five points for your binding holes.
- Place your first mark about 1/2 inch (1.25 cm) from the top edge.
- Place your second mark about 1/2 inch (1.25 cm) from the bottom edge.
- Find the exact center point between these two end marks. Make your third mark there.
- Mark the remaining two points halfway between the center mark and each end mark. You should now have five evenly spaced marks along the spine.
Pro Tip: Use a piece of scrap paper as a template. Mark your holes on the template, then align it with your book block and pierce through. This ensures consistent hole placement for future books.
Step 4: Punch Your Holes
Creating clean holes is essential for a smooth stitching process. Work carefully to avoid tearing the paper.
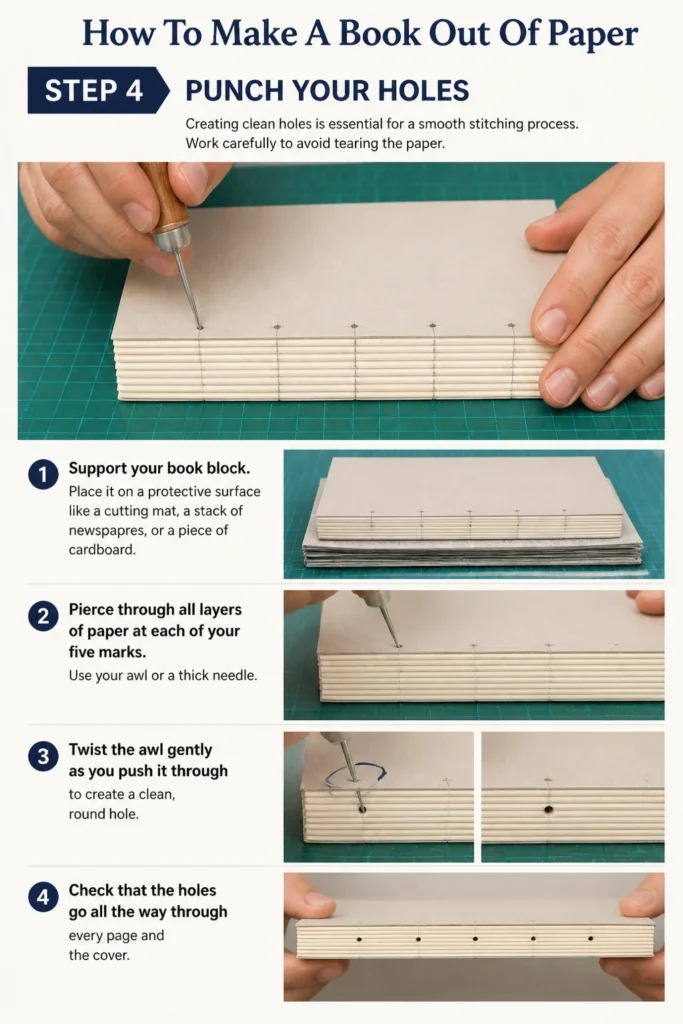
- Support your book block. Place it on a protective surface like a cutting mat, a stack of newspapers, or a piece of cardboard.
- Pierce through all layers of paper at each of your five marks. Use your awl or a thick needle.
- Twist the awl gently as you push it through to create a clean, round hole.
- Check that the holes go all the way through every page and the cover.
Step 5: Stitch the Binding
This is where your book truly starts to take shape. The pamphlet stitch is simple yet effective.
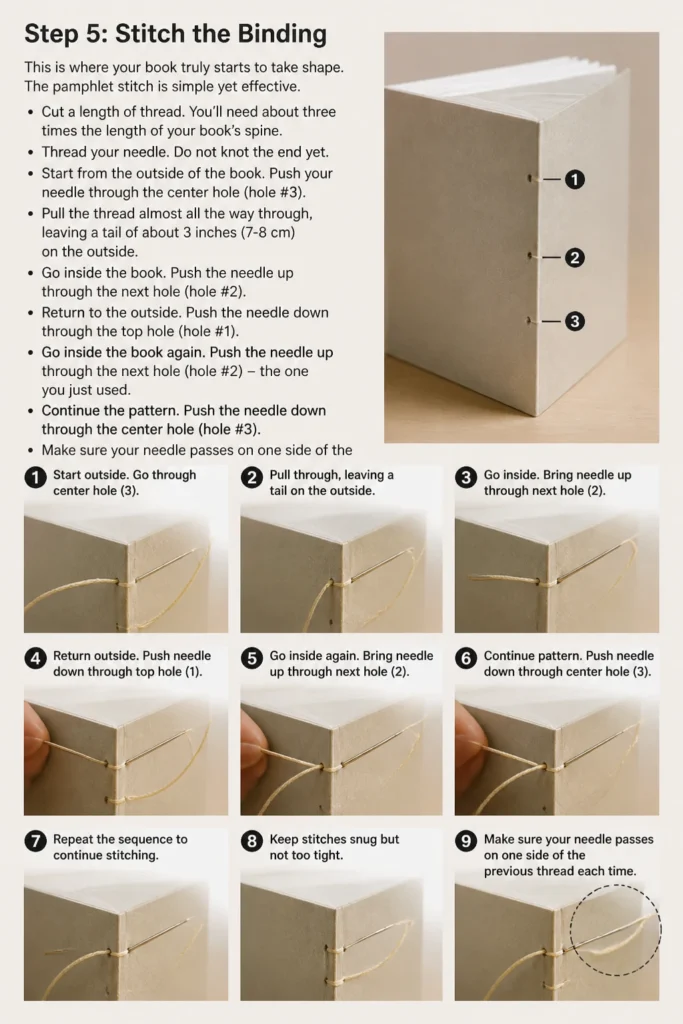
- Cut a length of thread. You’ll need about three times the length of your book’s spine.
- Thread your needle. Do not knot the end yet.
- Start from the outside of the book. Push your needle through the center hole (hole #3). Pull the thread almost all the way through, leaving a tail of about 3 inches (7-8 cm) on the outside.
- Go inside the book. Push the needle up through the next hole (hole #2).
- Return to the outside. Push the needle down through the top hole (hole #1).
- Go inside the book again. Push the needle up through the next hole (hole #2) – the one you just used.
- Continue the pattern. Push the needle down through the center hole (hole #3). Make sure your needle passes on one side of the initial tail.
- Go inside the book. Push the needle up through the next hole (hole #4).
- Return to the outside. Push the needle down through the bottom hole (hole #5).
- Go inside the book again. Push the needle up through the next hole (hole #4).
- Finish by pushing the needle down through the center hole (hole #3) one last time. You should now have both thread tails on the outside of the book, one on each side of the central stitch line.
- Pull the stitches snug. Don’t pull too tightly, or you might tear the paper.
- Tie a square knot with the two thread tails. Trim the excess thread, leaving about 1/2 inch (1.25 cm) tails.
Step 6: Trim and Finish
Refining the edges gives your book a polished and professional look.
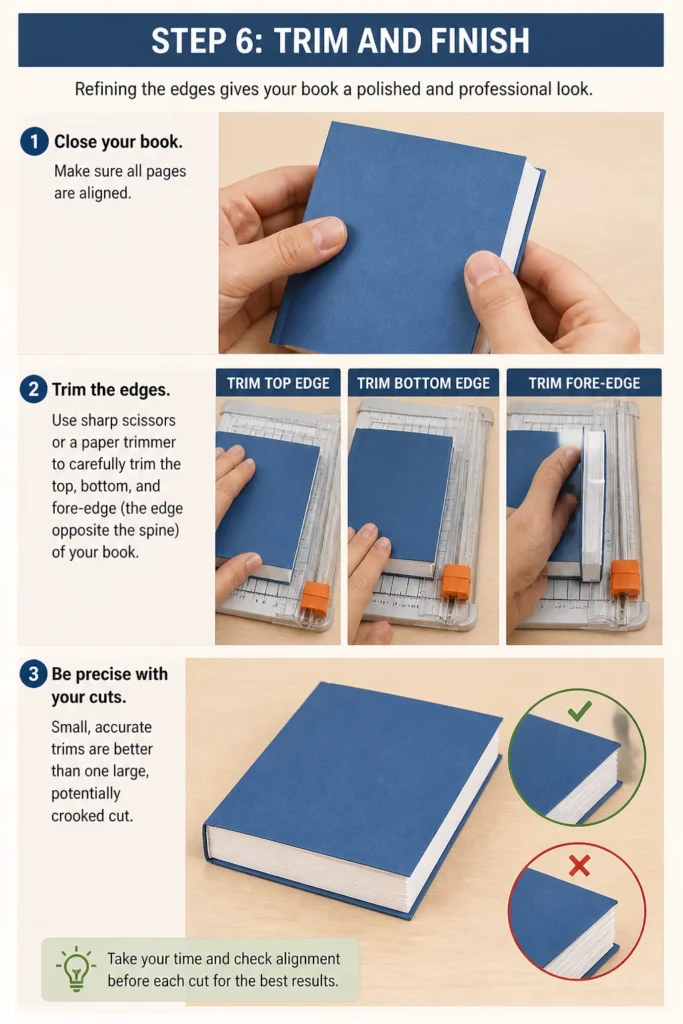
- Close your book. Make sure all pages are aligned.
- Trim the edges. Use sharp scissors or a paper trimmer to carefully trim the top, bottom, and fore-edge (the edge opposite the spine) of your book. This evens out any slight misalignments from folding and stacking.
- Be precise with your cuts. Small, accurate trims are better than one large, potentially crooked cut.
Step 7: Personalize Your Book
Now that your book is structurally complete, it’s time to make it uniquely yours.
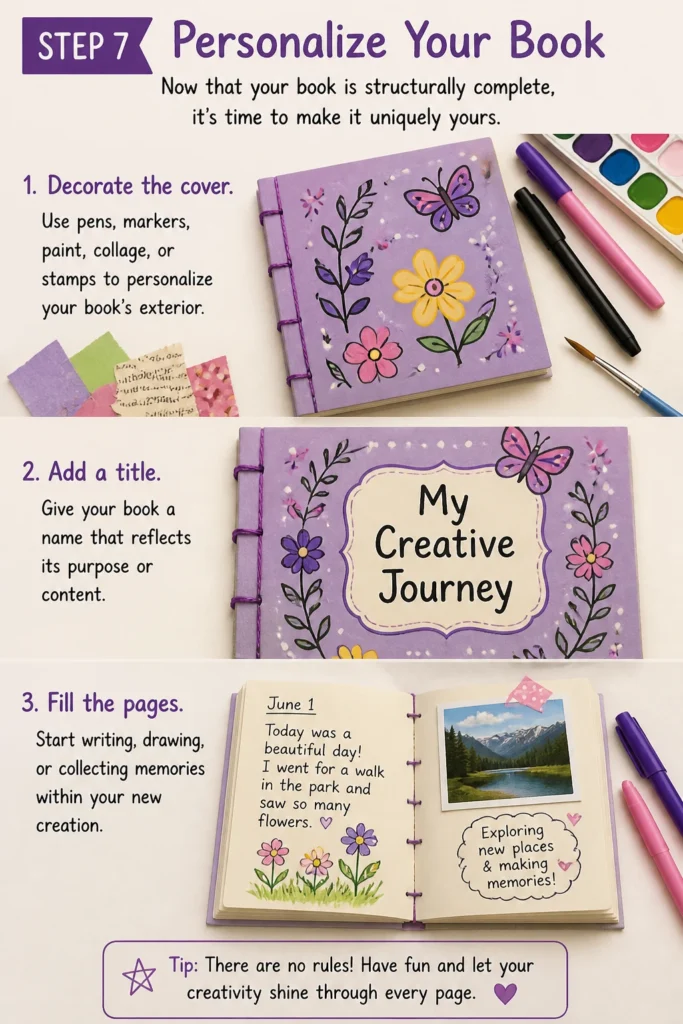
- Decorate the cover. Use pens, markers, paint, collage, or stamps to personalize your book’s exterior.
- Add a title. Give your book a name that reflects its purpose or content.
- Fill the pages. Start writing, drawing, or collecting memories within your new creation.
Common Mistakes to Avoid
Uneven Folds
Folding pages carelessly can lead to a crooked book block where pages stick out at different lengths. Always align the edges precisely before creasing, and use a bone folder to get a sharp, consistent fold.
Inaccurate Hole Placement
Holes that aren’t aligned or are spaced unevenly will result in a messy, weak binding. Take your time to measure and mark your holes accurately. Using a template can significantly improve consistency.
Tearing Paper During Punching or Stitching
Forcing an awl through too quickly or pulling the thread too tight can tear the paper, especially with thinner sheets. Support your book block well when punching holes, and gently twist the awl. When stitching, pull the thread snug but not taut enough to rip the paper.
Cutting Too Much Off During Trimming
It’s easy to get carried away when trimming edges, potentially making your book smaller than intended or cutting into your content area. Always trim in small increments, checking alignment after each pass, until you achieve the desired finish.
Troubleshooting
Pages Don’t Align Perfectly
If your pages are slightly off after folding, don’t worry. This is common. Carefully adjust them by hand, gently pushing them into alignment. The trimming step will correct most minor inconsistencies, giving your book a clean edge.
Binding Feels Loose
A loose binding usually means the thread wasn’t pulled snug enough during stitching. Go back and gently pull each stitch line from the outside of the book, tightening the thread until the pages feel secure. Then, re-tie your knot firmly.
Difficulty Punching Through All Layers
If your awl or needle struggles to pierce all the paper layers, it might not be sharp enough, or your paper is very thick. Try using a slightly thinner paper for your pages, or ensure you’re applying firm, consistent pressure while twisting the awl. A dedicated bookbinding awl can make this easier.
Key Takeaways
- Precise folding and measuring are foundational for a professional-looking book.
- A bone folder is invaluable for creating crisp creases and a neat spine.
- Accurate hole placement ensures a strong and even binding stitch.
- The pamphlet stitch is a simple yet effective method for binding multiple pages.
- Gentle handling during punching and stitching prevents paper tears.
- Trimming the edges provides a polished, finished appearance to your handmade book.
Frequently Asked Questions
Can I make a book without an awl?
Yes, you can. A thick, sturdy needle, a pushpin, or even a small nail can be used to pierce holes. Just ensure you have a protective surface underneath your book block to avoid damaging your workspace.
What kind of paper is best for the pages?
Standard printer paper (20-24 lb bond) works well for basic notebooks. For sketching or more durable journals, consider a thicker text-weight paper (60-80 lb text). Experiment with different types to find what you like best.
How many pages can I bind with this method?
The pamphlet stitch is best for thinner books, typically 4 to 10 sheets of paper (which translates to 16 to 40 pages once folded). For thicker books, you might need a more complex binding method or multiple signatures (sections) stitched together.
Can I use staples instead of thread?
Absolutely! For a quicker, simpler book, you can use a long-arm stapler (or a regular stapler if your book is small enough) to saddle-stitch the spine. Just align your folded pages and staple through the center fold at a few points. This is often called a saddle-stitched booklet.
Our Top Recommended Finds
- Bone Folder: Essential for sharp, professional creases in paper and cardstock.
- Bookbinding Awl: Designed specifically for piercing precise holes through multiple layers of paper.
- Waxed Linen Thread: Strong, durable, and less prone to tangling than regular thread, making stitching easier.
Your Story Starts Here
You’ve just learned how to transform a stack of paper into a personal book, a blank canvas awaiting your unique touch.
This simple skill opens up a world of creative possibilities, from custom journals to handmade gifts and unique sketchbooks.
Why wait? Gather your materials, follow these steps, and start crafting your very first paper book today. What story will you tell?