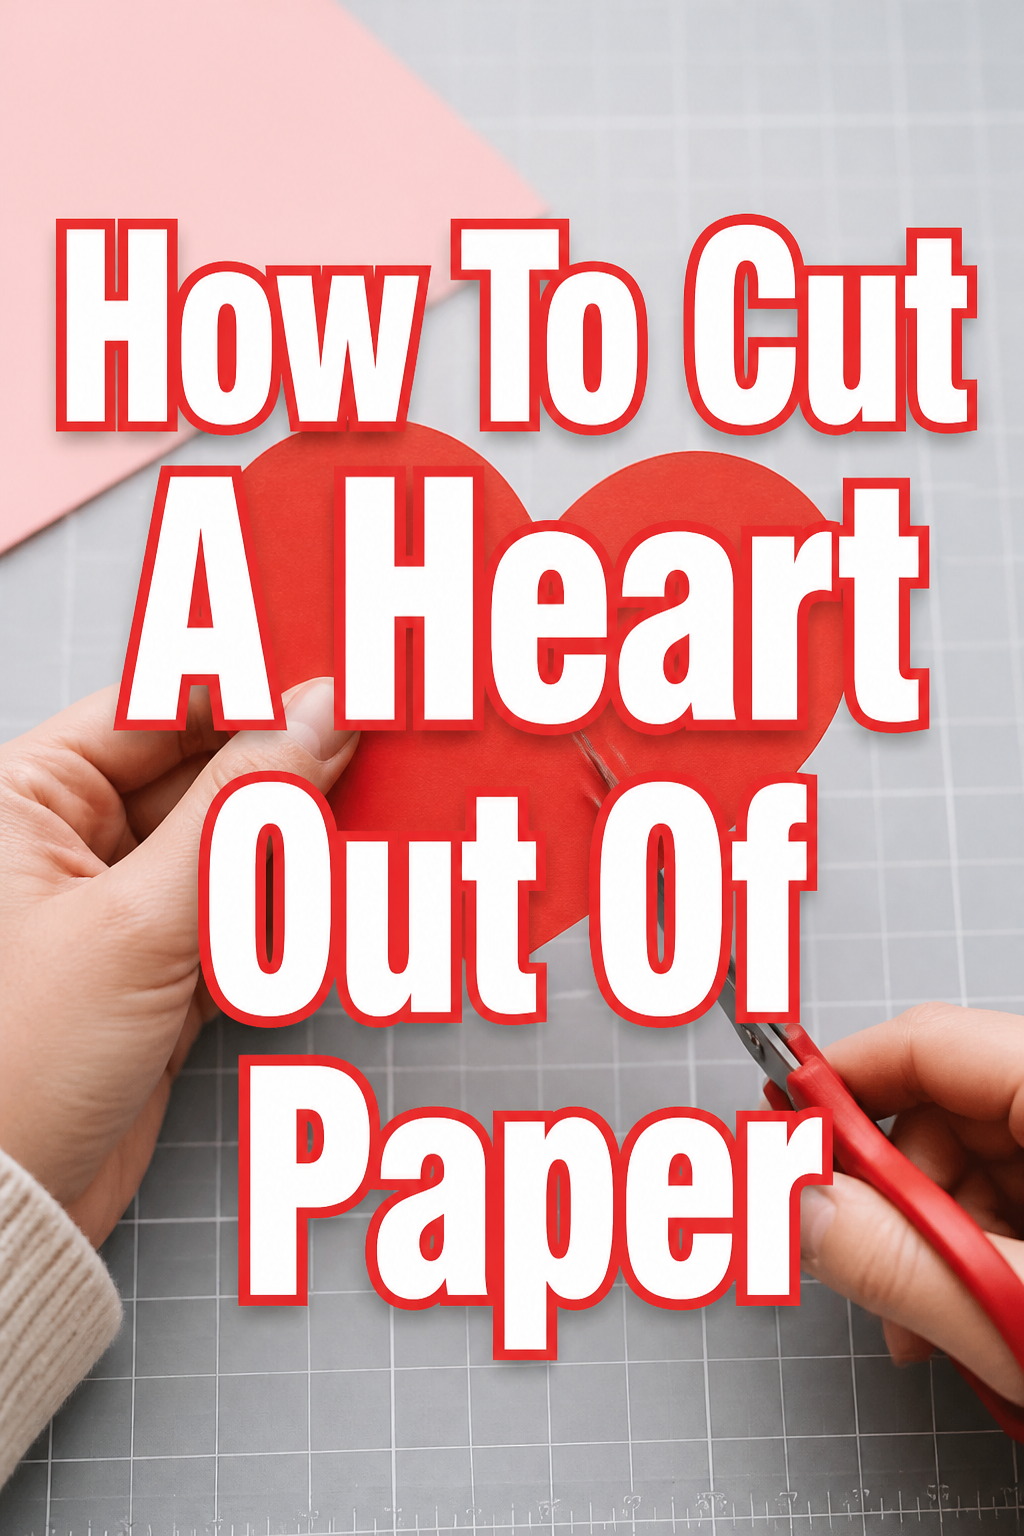
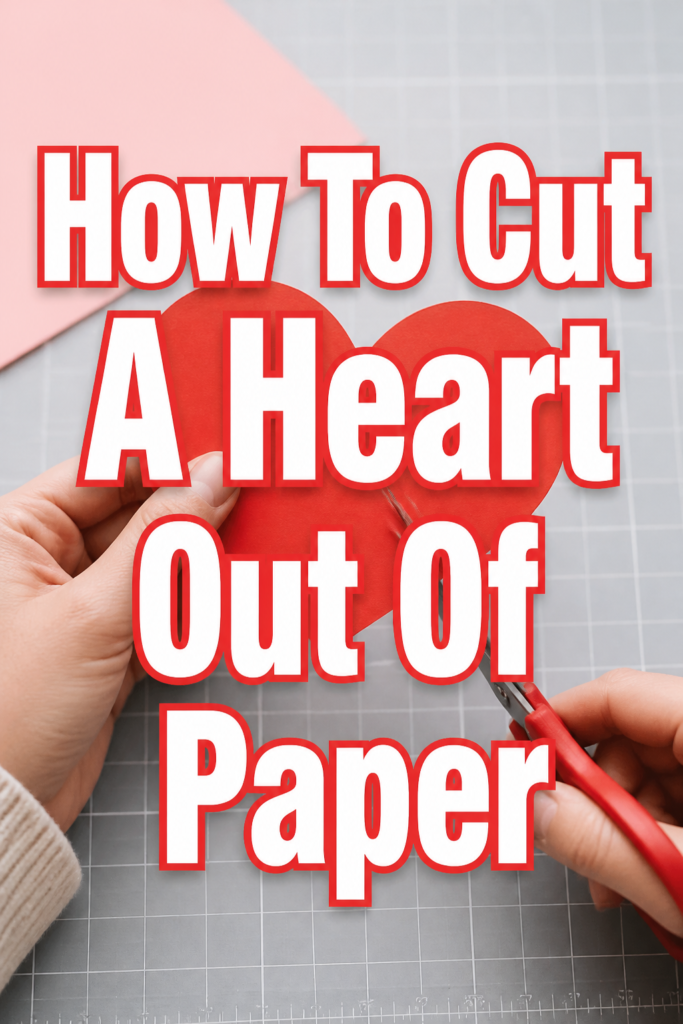
❤️ How To Cut A Heart Out Of Paper

Beginner-friendly templates, step-by-step guides,
and weekly project ideas in your inbox.
There’s a special charm in a hand-cut paper heart.
It’s a simple gesture, yet it carries so much warmth and personal touch, perfect for cards, decorations, or just to brighten someone’s day.
I’ve crafted countless paper hearts over the years, from tiny confetti pieces to large banners, and I’m excited to share the straightforward method that always yields a beautiful, symmetrical result.
Quick Overview
This guide will walk you through creating a perfectly symmetrical paper heart, transforming a simple sheet of paper into a symbol of affection or creativity.
You’ll master the basic fold and cut technique, allowing you to replicate this craft with various papers and sizes.
- Time needed: 5-10 minutes
- Difficulty: Beginner
- What you’ll need: Paper, scissors, optional pencil
Step-by-Step Instructions
Step 1: Choose Your Paper
Select the right paper for your project. Standard printer paper works well for practice and general use, offering a good balance of durability and ease of cutting.
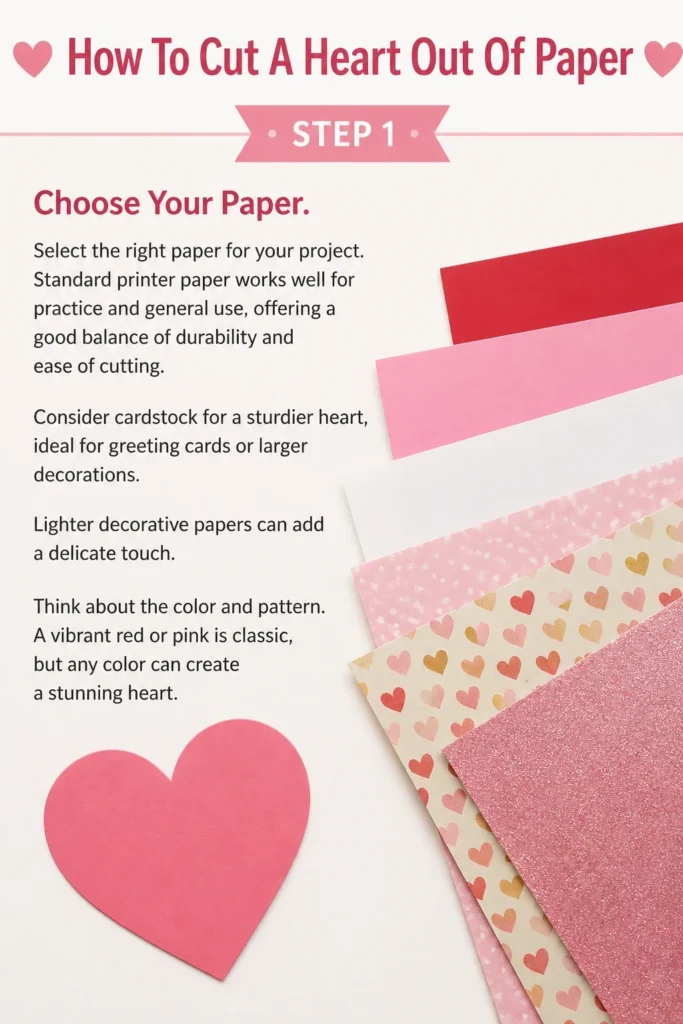
Consider cardstock for a sturdier heart, ideal for greeting cards or larger decorations. Lighter decorative papers can add a delicate touch.
Think about the color and pattern. A vibrant red or pink is classic, but any color can create a stunning heart.
Step 2: Prepare Your Paper for Folding
Start with a rectangular or square sheet of paper. If your paper is very large, you might want to trim it down to a more manageable size first.
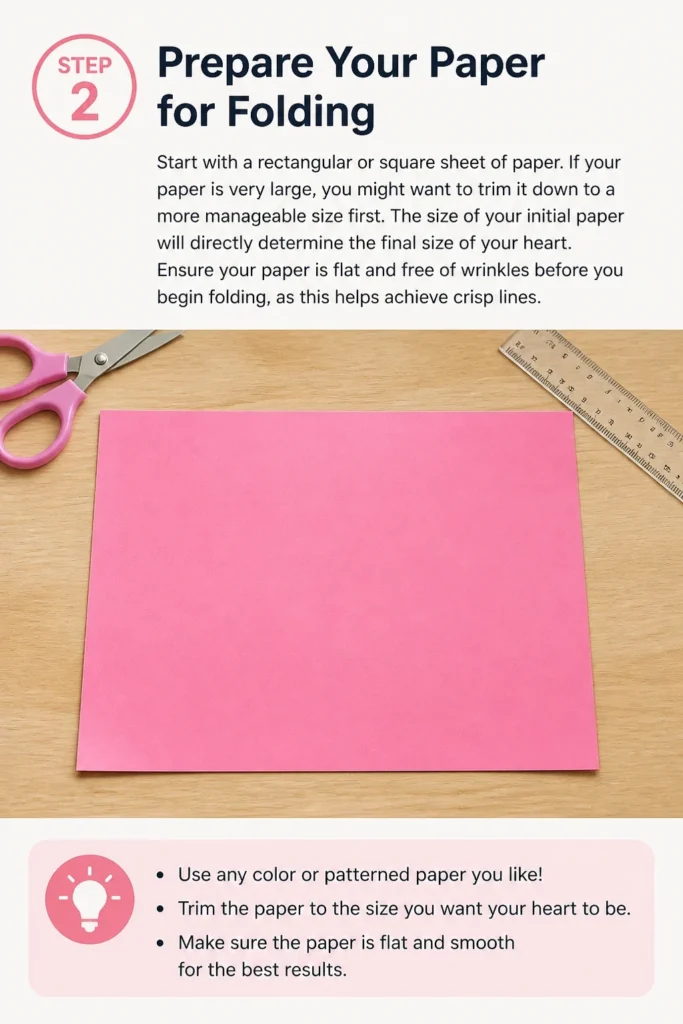
The size of your initial paper will directly determine the final size of your heart.
Ensure your paper is flat and free of wrinkles before you begin folding, as this helps achieve crisp lines.
Step 3: Fold the Paper in Half Vertically
Carefully take your paper and fold it exactly in half from top to bottom, or left to right.
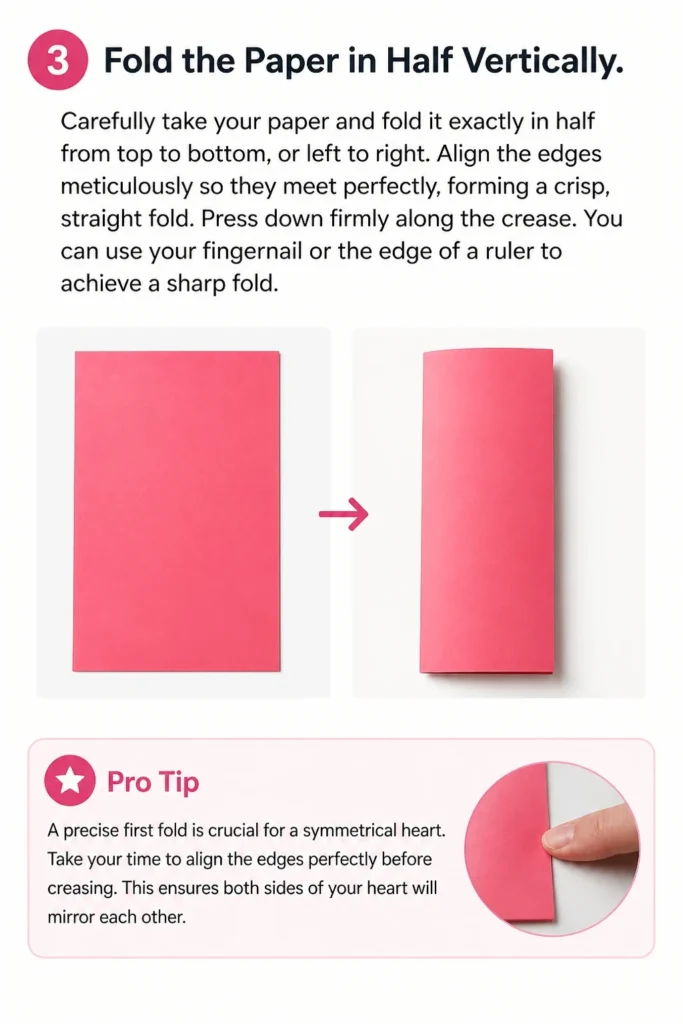
Align the edges meticulously so they meet perfectly, forming a crisp, straight fold.
Press down firmly along the crease. You can use your fingernail or the edge of a ruler to achieve a sharp fold.
Pro Tip: A precise first fold is crucial for a symmetrical heart. Take your time to align the edges perfectly before creasing. This ensures both sides of your heart will mirror each other.
Step 4: Orient Your Folded Paper
Once folded, position your paper so the folded edge is on your left-hand side.
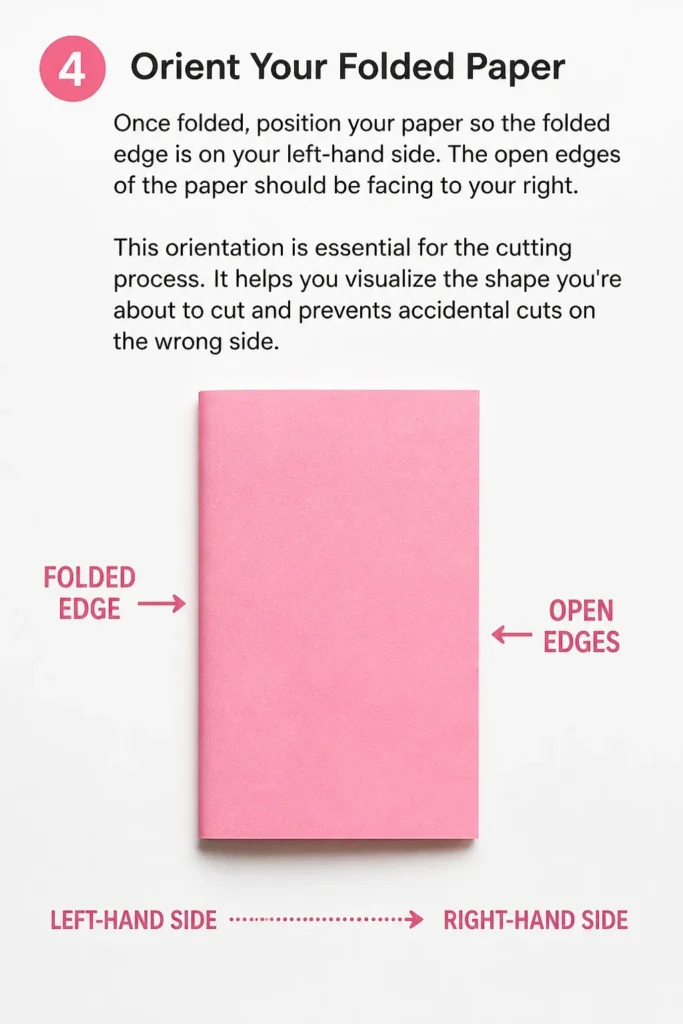
The open edges of the paper should be facing to your right. This orientation is essential for the cutting process.
It helps you visualize the shape you’re about to cut and prevents accidental cuts on the wrong side.
Step 5: Sketch Half a Heart (Optional but Recommended)
Using a pencil, lightly draw the outline of half a heart onto the folded paper.
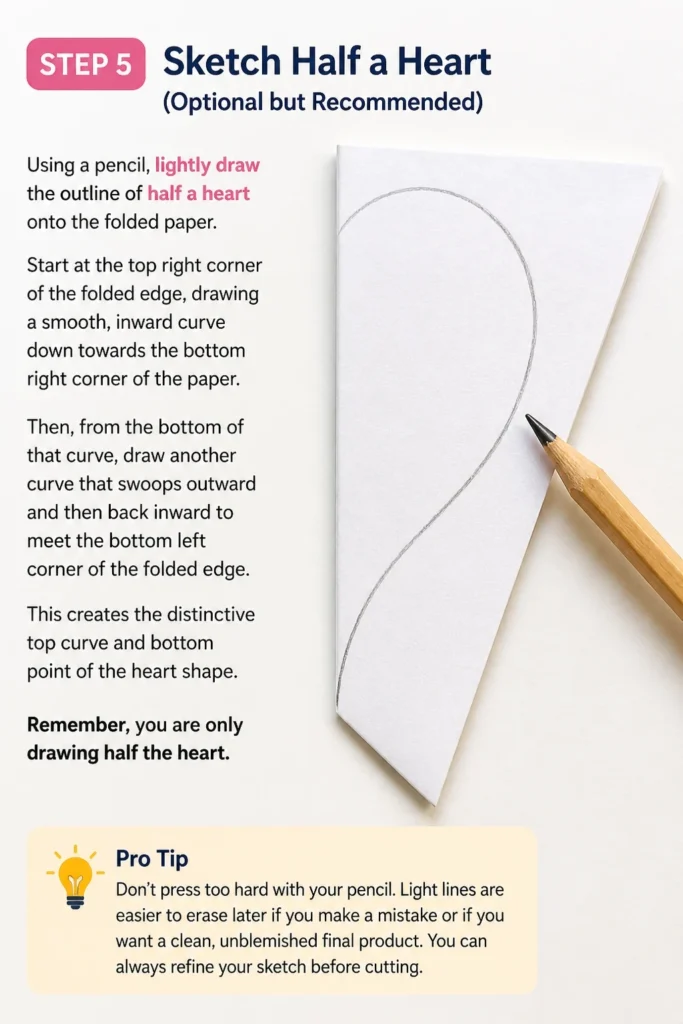
Start at the top right corner of the folded edge, drawing a smooth, inward curve down towards the bottom right corner of the paper.
Then, from the bottom of that curve, draw another curve that swoops outward and then back inward to meet the bottom left corner of the folded edge.
This creates the distinctive top curve and bottom point of the heart shape. Remember, you are only drawing half the heart.
Pro Tip: Don’t press too hard with your pencil. Light lines are easier to erase later if you make a mistake or if you want a clean, unblemished final product. You can always refine your sketch before cutting.
Step 6: Begin Cutting Along Your Sketch
With your scissors, carefully cut along the pencil line you just drew.
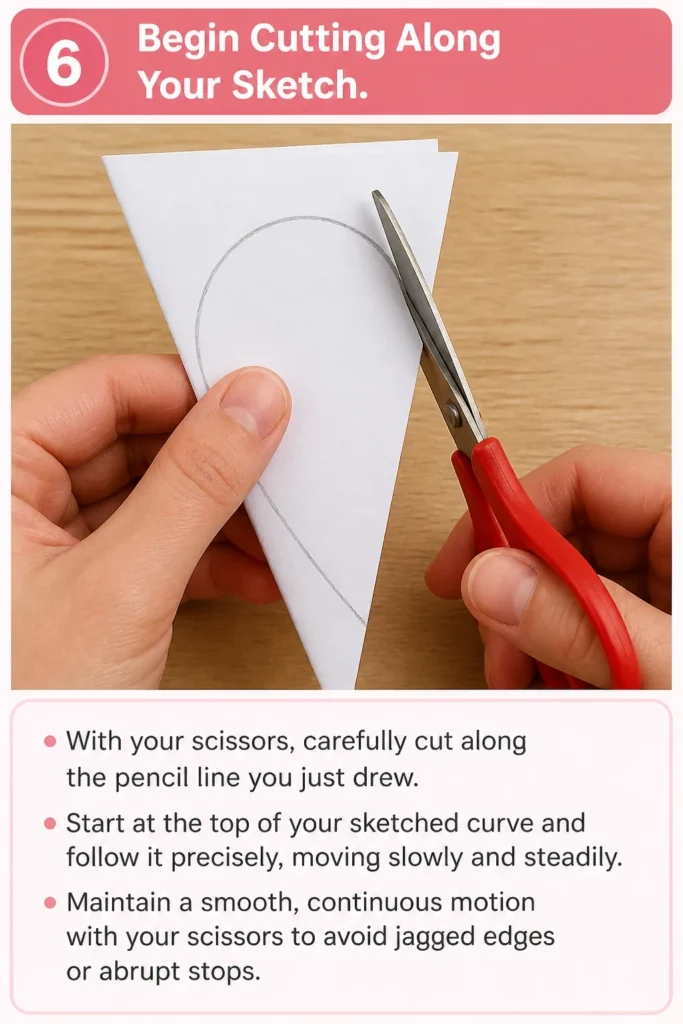
Start at the top of your sketched curve and follow it precisely, moving slowly and steadily.
Maintain a smooth, continuous motion with your scissors to avoid jagged edges or abrupt stops.
Step 7: Complete the Cut to the Folded Edge
Continue cutting until you reach the bottom point of your sketched half-heart.
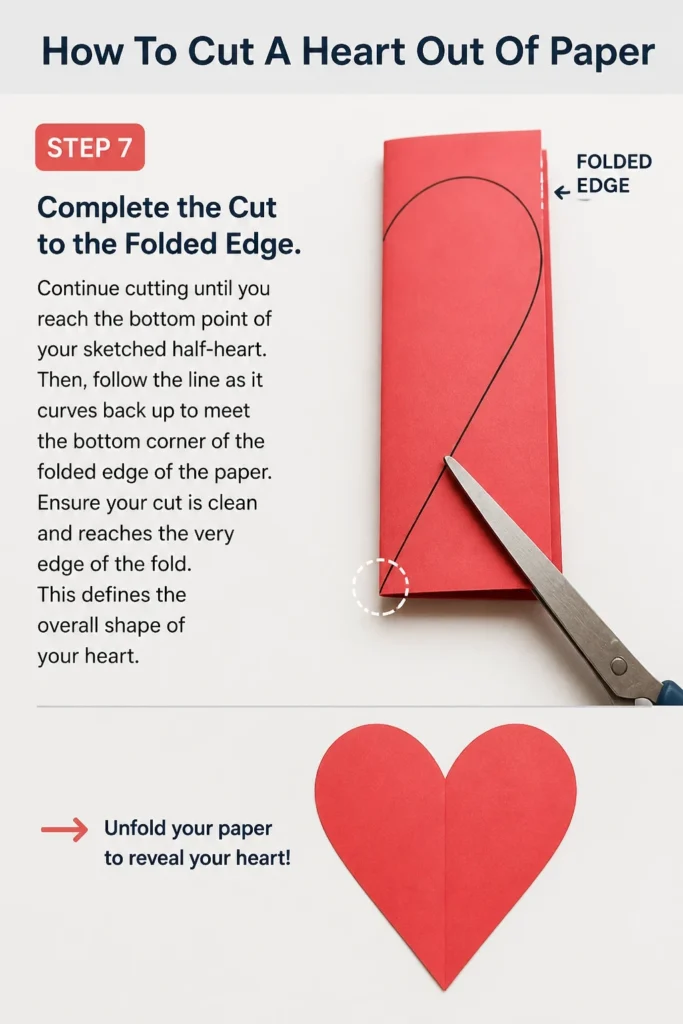
Then, follow the line as it curves back up to meet the bottom corner of the folded edge of the paper.
Ensure your cut is clean and reaches the very edge of the fold. This defines the overall shape of your heart.
Step 8: Unfold Your Paper Heart
Once you’ve finished cutting, gently unfold your paper.
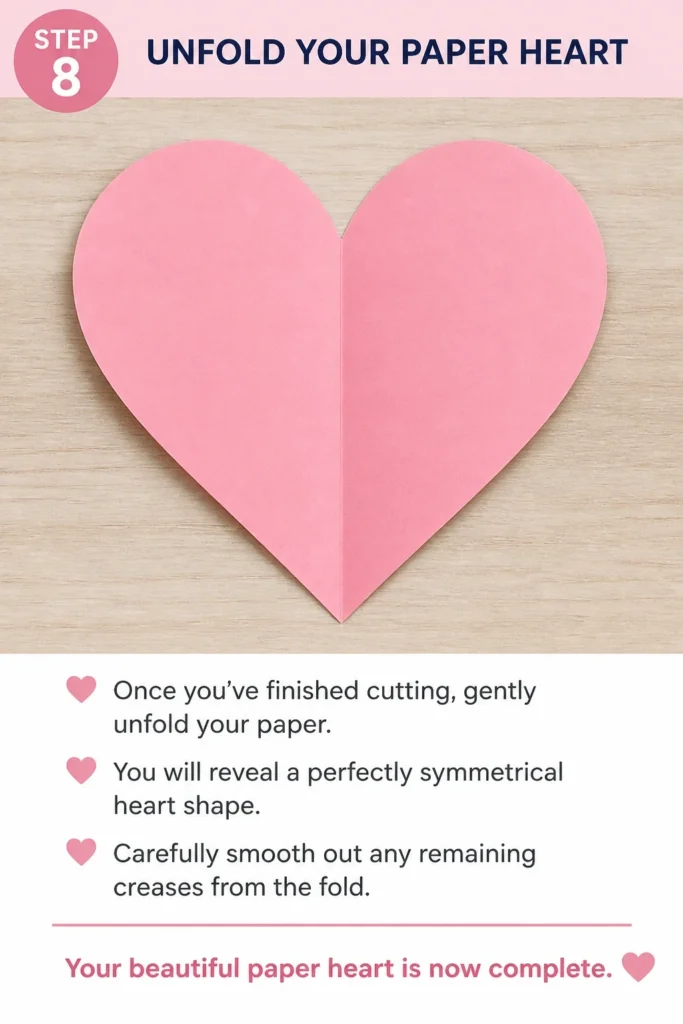
You will reveal a perfectly symmetrical heart shape.
Carefully smooth out any remaining creases from the fold. Your beautiful paper heart is now complete.
Common Mistakes to Avoid
Not Folding Evenly
Folding your paper unevenly is a very common error. When the edges don’t perfectly align, your resulting heart will be lopsided or asymmetrical.
Take extra time during the initial fold. Hold the paper up to a light source if needed to check for perfect alignment before pressing the crease firmly.
Cutting on the Open Edges
A frequent mistake is cutting the heart shape on the open edges of the paper instead of the folded edge. This will result in two separate half-heart shapes or a completely different, unintended design.
Always ensure the folded spine of your paper is on the side where the central point and top curve of the heart will form. The pencil sketch should always be on the side with the open paper layers.
Choppy or Jagged Cuts
Using dull scissors or rushing through the cutting process can lead to choppy, uneven edges on your heart. This detracts from the clean, smooth aesthetic.
Use sharp scissors designed for paper and cut in long, continuous strokes where possible. Practice smooth curves on scrap paper first if you are unsure.
Drawing Too Darkly
Sketching your heart outline with a heavy hand can leave visible pencil marks even after cutting. This can be difficult to erase completely, especially on delicate papers.
Always draw your guide lines lightly. A light touch allows you to make adjustments easily and ensures a pristine finish once the heart is cut out.
Troubleshooting
My Heart is Lopsided
If your heart appears lopsided or uneven, the primary cause is almost always an imperfect initial fold. The two halves of the paper were not perfectly aligned before you made the crease.
To fix this, go back to Step 3. Ensure the edges meet precisely before pressing down. You might also have cut slightly off your guide line on one side. Practice drawing and cutting slowly to improve precision.
The Top Curve Isn’t Smooth
A bumpy or angular top curve typically results from making multiple small cuts instead of one continuous, sweeping motion. This can also happen if your scissors get stuck or if you stop and restart often.
Use sharp scissors and try to make the top curve with a single, fluid cutting action. If you’re struggling, practice drawing smoother curves on scrap paper and follow them with your scissors.
My Heart Has a Flat Bottom
If your heart lacks a distinct point at the bottom, it means your cut didn’t extend far enough down to create that characteristic V-shape. You might have rounded off the bottom instead.
When sketching, ensure your bottom curve dips down to a sharp point before ascending. When cutting, make sure your scissors follow this point accurately, creating a crisp corner at the base of the heart.
Key Takeaways
- Always start with a precise, even fold for perfect symmetry.
- Orient your paper correctly with the folded edge to the left before cutting.
- Use light pencil lines for your guide, making them easy to erase or hide.
- Employ sharp scissors and aim for smooth, continuous cuts to avoid jagged edges.
- Practice makes perfect; don’t be discouraged if your first few hearts aren’t flawless.
- Experiment with different paper types, colors, and sizes to expand your crafting possibilities.
Frequently Asked Questions
Can I make a heart without folding the paper?
Yes, you can draw a full heart freehand on a single sheet of paper and cut it out. However, this method makes achieving perfect symmetry much more challenging.
Folding the paper in half is the easiest way to ensure both sides of your heart are identical. It acts as a built-in guide for balance.
What kind of scissors are best for this craft?
Standard craft scissors or even sharp kitchen scissors work well for most paper types. For intricate designs or very small hearts, a pair of detail scissors or craft snips can offer more control.
Ensure your scissors are sharp and clean to get the cleanest cuts without tearing the paper.
How can I make very small paper hearts?
To make small hearts, start with a smaller piece of paper. Fold it as usual, and then sketch a tiny half-heart. You will need very sharp, pointed scissors, like embroidery or detail scissors, for precise cuts.
Patience is key with tiny cuts, as they require a steady hand. You might find it easier to use a craft punch for very small, consistent hearts.
Can kids do this craft?
Absolutely! Cutting paper hearts is a fantastic craft for children, helping them develop fine motor skills and hand-eye coordination. Supervise younger children, especially when using scissors.
Start with larger paper and child-safe scissors for beginners. Drawing the guide lines together can also be a fun collaborative step.
Our Top Recommended Finds
- Craft Scissors: A good pair of sharp, comfortable craft scissors makes all the difference for clean cuts. Look for ones with comfortable handles.
- Assorted Construction Paper Pack: This provides a wide range of colors and a good weight for various heart-cutting projects. It’s excellent for experimenting.
- Erasable Pencil Set: Having a pencil that erases cleanly is invaluable for sketching guide lines without leaving permanent marks on your finished hearts.
Embrace Your Inner Paper Artist
You’ve now mastered the art of cutting a perfect paper heart. This simple skill opens up a world of creative possibilities, from personalized greeting cards to charming party decorations.
Don’t stop here. Experiment with different textures, patterns, and sizes of paper. Imagine garlands of hearts, heart-shaped confetti, or intricate layered designs.
Take a moment to create a heart right now. Feel the satisfaction of transforming a plain piece of paper into something meaningful and beautiful with your own hands.
Beginner-friendly templates, step-by-step guides,
and weekly project ideas in your inbox.