🎈 How To Make A Balloon Arch DIY Easy

Beginner-friendly templates, step-by-step guides,
and weekly project ideas in your inbox.
Planning a celebration often involves dreaming up a show-stopping decoration. A balloon arch instantly transforms any space, making it feel festive and special. Many people think these beautiful displays are only for professionals.
I remember my first attempt at a balloon arch for my niece’s birthday; it looked a bit lopsided, but the joy on her face was priceless. Since then, I’ve refined my technique to create stunning arches that impress without breaking the bank or requiring hours of frustration. This guide shares everything I’ve learned, making it simple for you to achieve a professional-looking arch right at home.
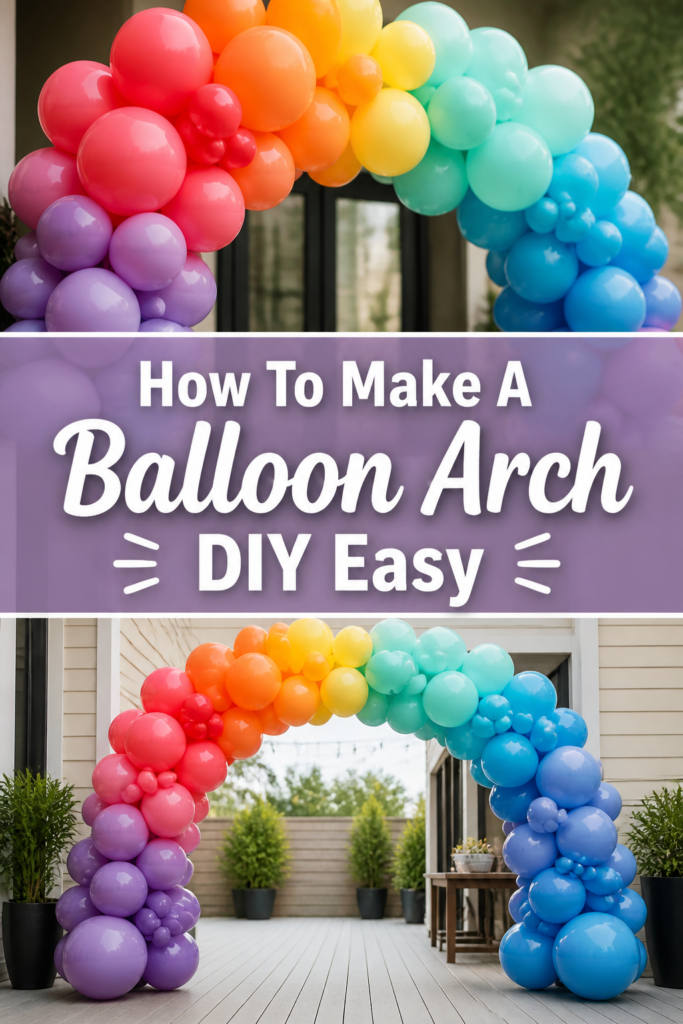
Quick Overview
Get ready to create an amazing focal point for your next party. You’ll build a beautiful, custom balloon arch that will wow your guests.
- Time needed: 2-4 hours (depending on size and experience)
- Difficulty: Beginner
- What you’ll need: Balloons, balloon strip, balloon pump, command hooks or fishing line, scissors.
Step-by-Step Instructions
Step 1: Gather Your Supplies
Before you begin, make sure you have everything you need laid out. This saves time and prevents interruptions once you start inflating. A well-prepared workspace makes the entire process smoother.
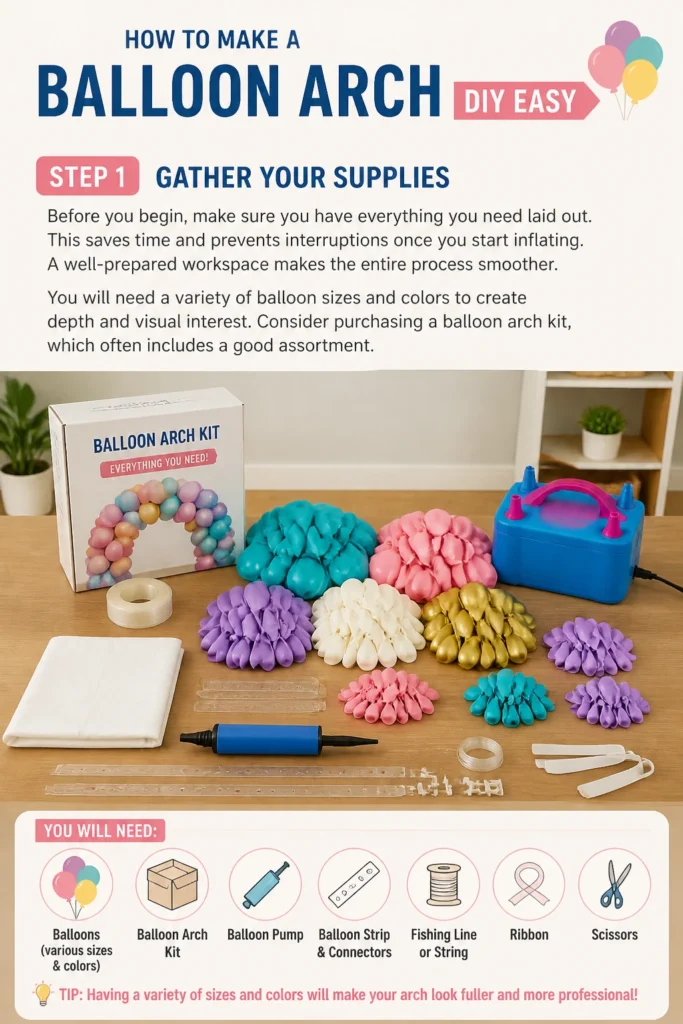
You will need a variety of balloon sizes and colors to create depth and visual interest. Consider purchasing a balloon arch kit, which often includes a good assortment.
Step 2: Plan Your Arch Design
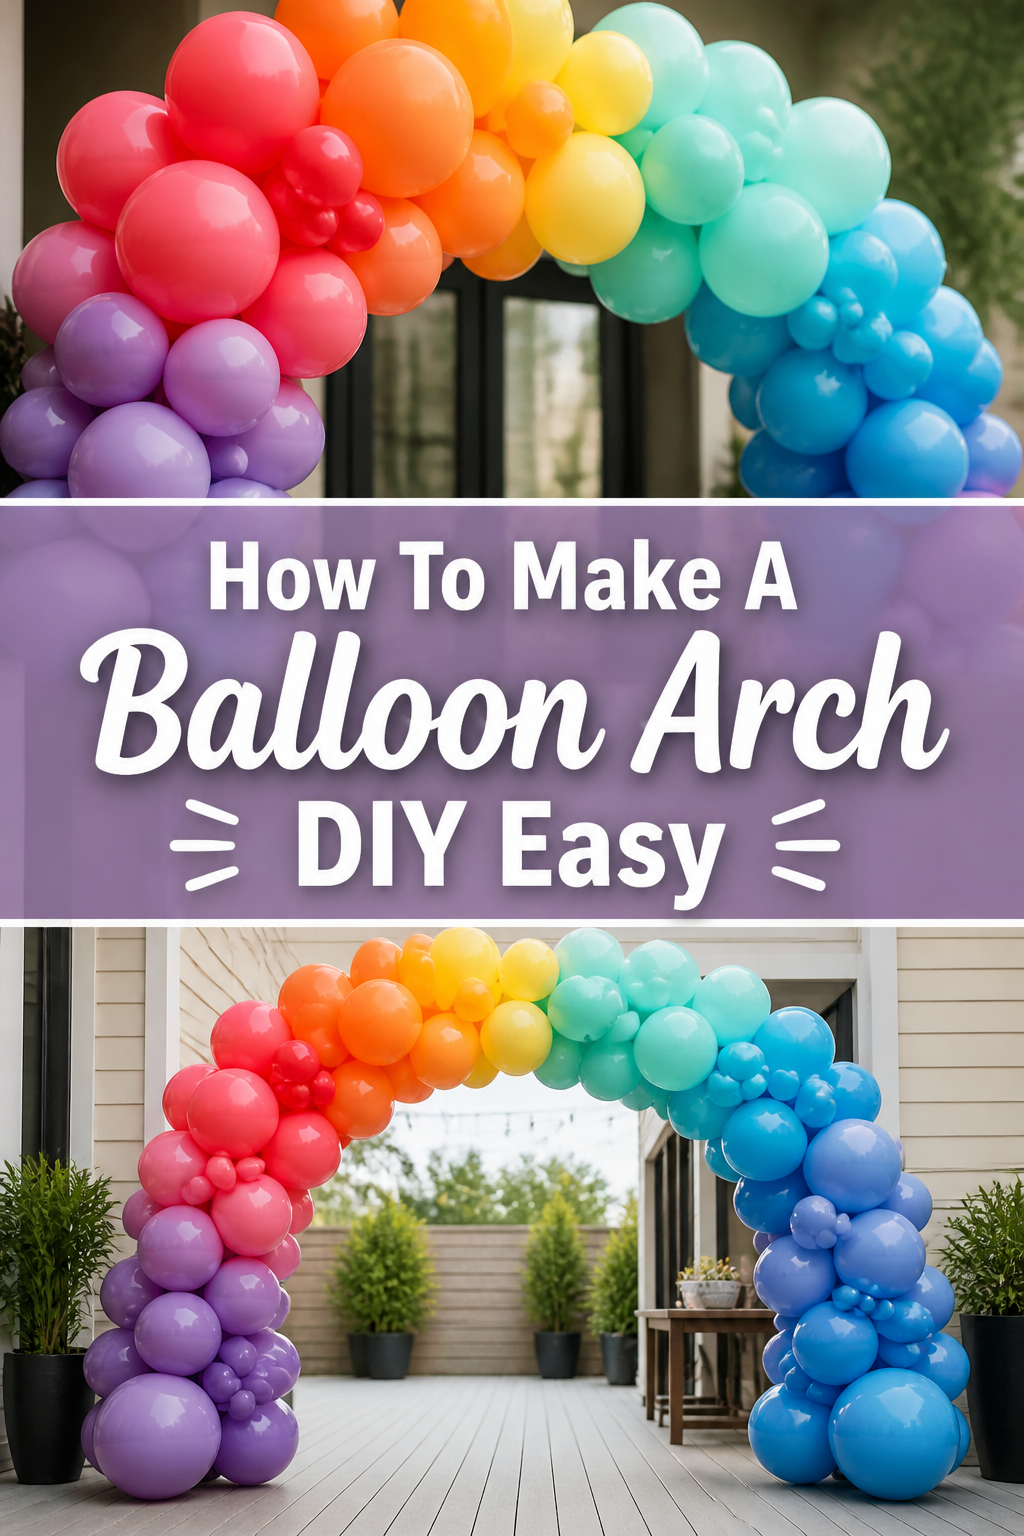
Visualize where your arch will go and what shape you want it to take. Will it frame a doorway, a dessert table, or stand freely? A clear vision helps guide your material choices and assembly.
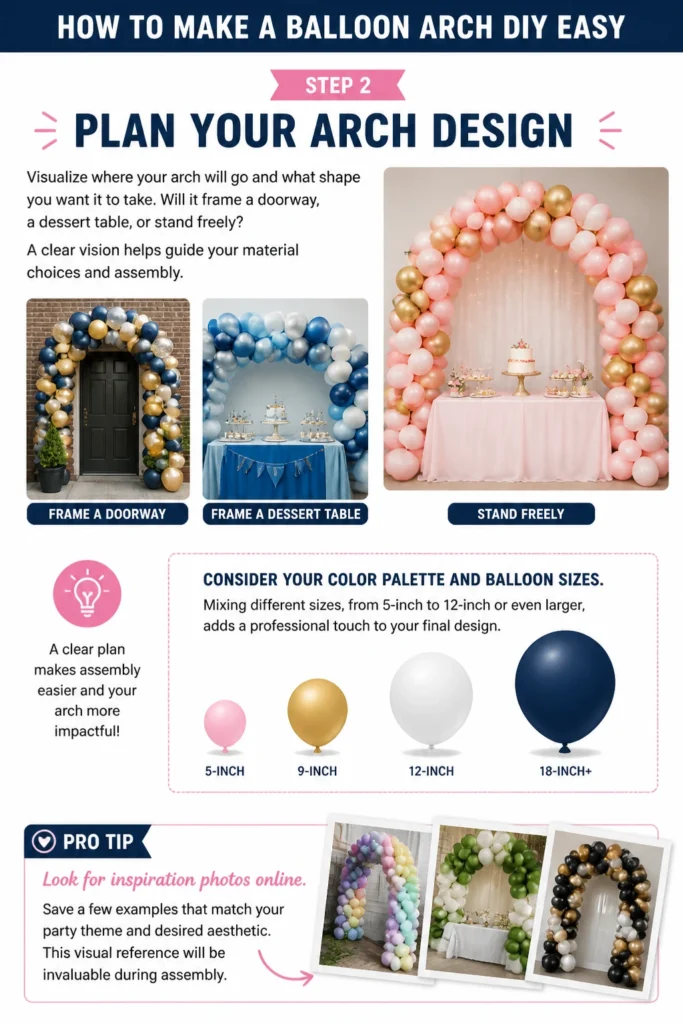
Consider your color palette and balloon sizes. Mixing different sizes, from 5-inch to 12-inch or even larger, adds a professional touch to your final design.
Pro Tip: Look for inspiration photos online. Save a few examples that match your party theme and desired aesthetic. This visual reference will be invaluable during assembly.
Step 3: Inflate Your Balloons
This is often the most time-consuming part, so put on some music or a podcast. Use a balloon pump, either electric or manual, to save your lungs and speed up the process considerably. Inflate balloons to varying sizes, even within the same size category, to create a more organic look.
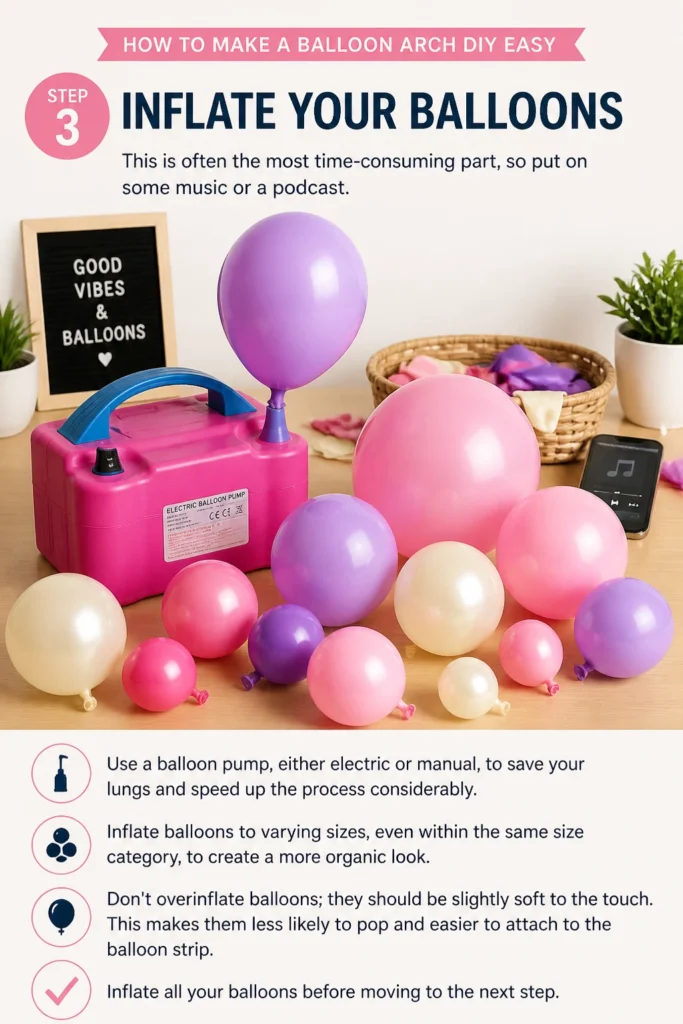
Don’t overinflate balloons; they should be slightly soft to the touch. This makes them less likely to pop and easier to attach to the balloon strip. Inflate all your balloons before moving to the next step.
Step 4: Attach Balloons to the Strip
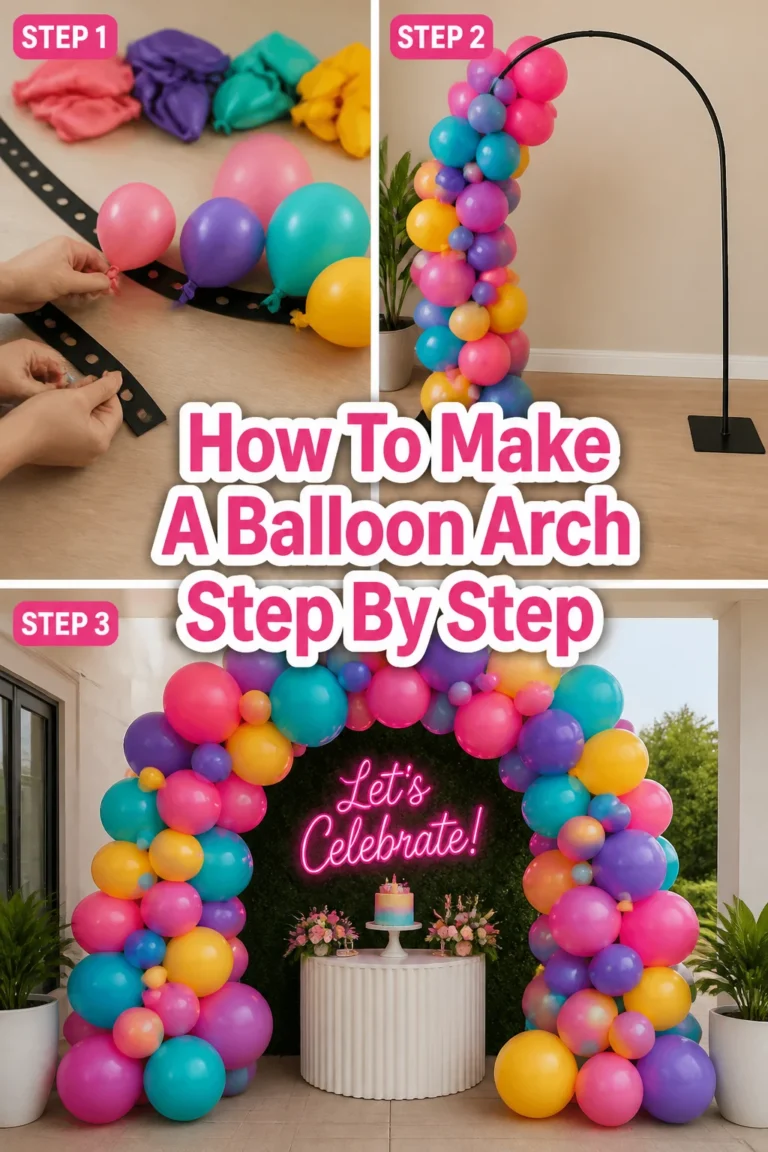
A balloon decorating strip is a long, clear plastic tape with small holes. This strip is the backbone of your arch. Start by pushing the tied knot of an inflated balloon through one of the larger holes on the strip.
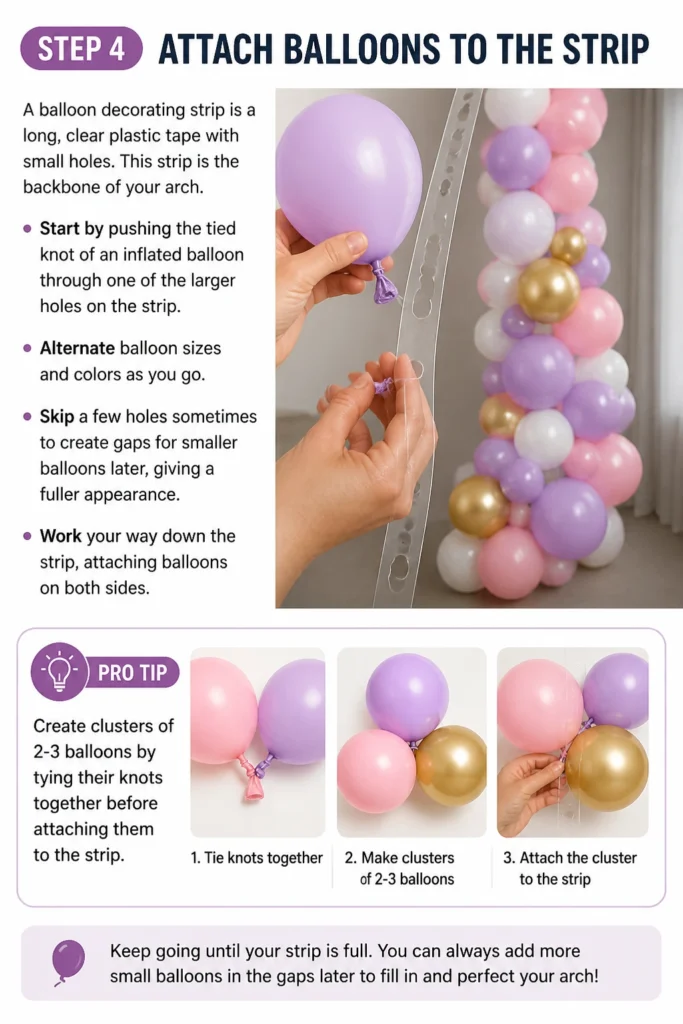
Alternate balloon sizes and colors as you go. Skip a few holes sometimes to create gaps for smaller balloons later, giving a fuller appearance. Work your way down the strip, attaching balloons on both sides.
Pro Tip: Create clusters of 2-3 balloons by tying their knots together before attaching them to the strip. This fills space quickly and adds volume.
Step 5: Fill in Gaps with Smaller Balloons
Once you have your main balloons on the strip, you’ll notice some empty spaces. This is where your smaller, 5-inch balloons come in handy. Use balloon glue dots or fishing line to attach these smaller balloons into any gaps.
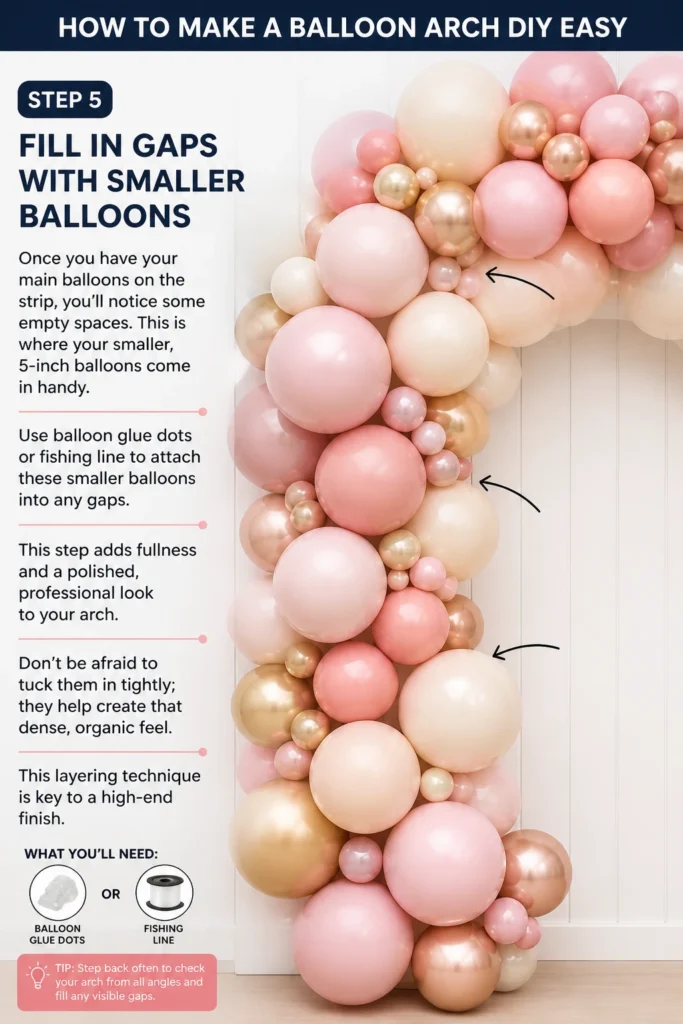
This step adds fullness and a polished, professional look to your arch. Don’t be afraid to tuck them in tightly; they help create that dense, organic feel. This layering technique is key to a high-end finish.
Step 6: Shape and Secure Your Arch
Now it’s time to put your arch in its desired location. Use strong command hooks, fishing line, or wall-safe adhesive strips to secure the balloon strip to your wall or frame. Start by securing the two ends of the strip.
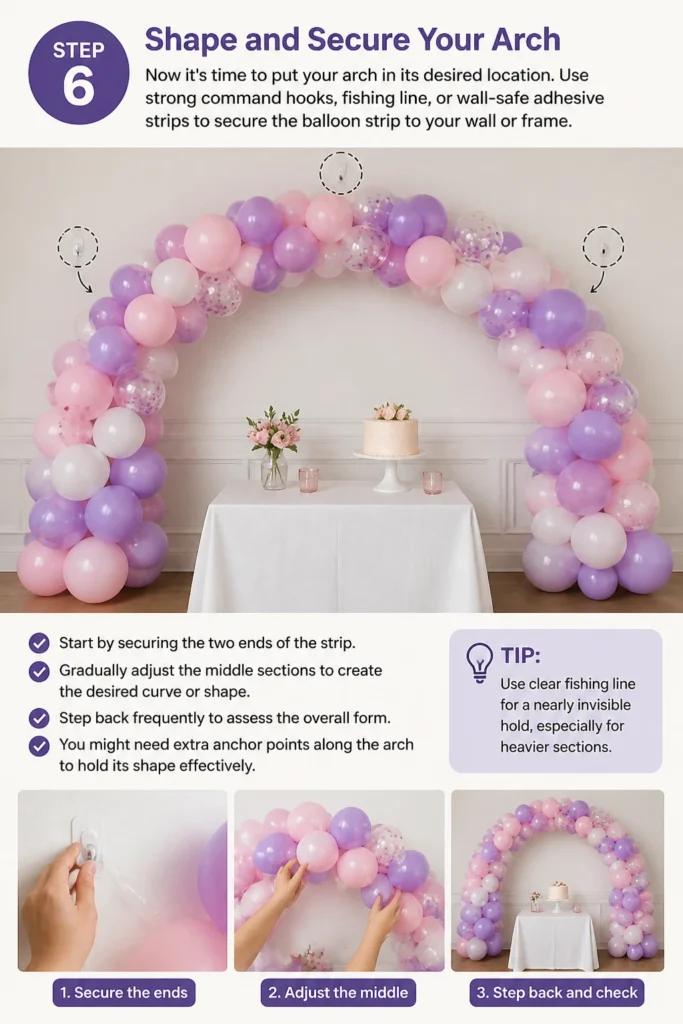
Gradually adjust the middle sections to create the desired curve or shape. Step back frequently to assess the overall form. You might need extra anchor points along the arch to hold its shape effectively.
Step 7: Add Decorative Accents (Optional)
To elevate your arch even further, consider adding extra decorations. Fresh flowers, artificial foliage, ribbon, or fairy lights can be woven into the arch. These elements add texture and a touch of elegance.
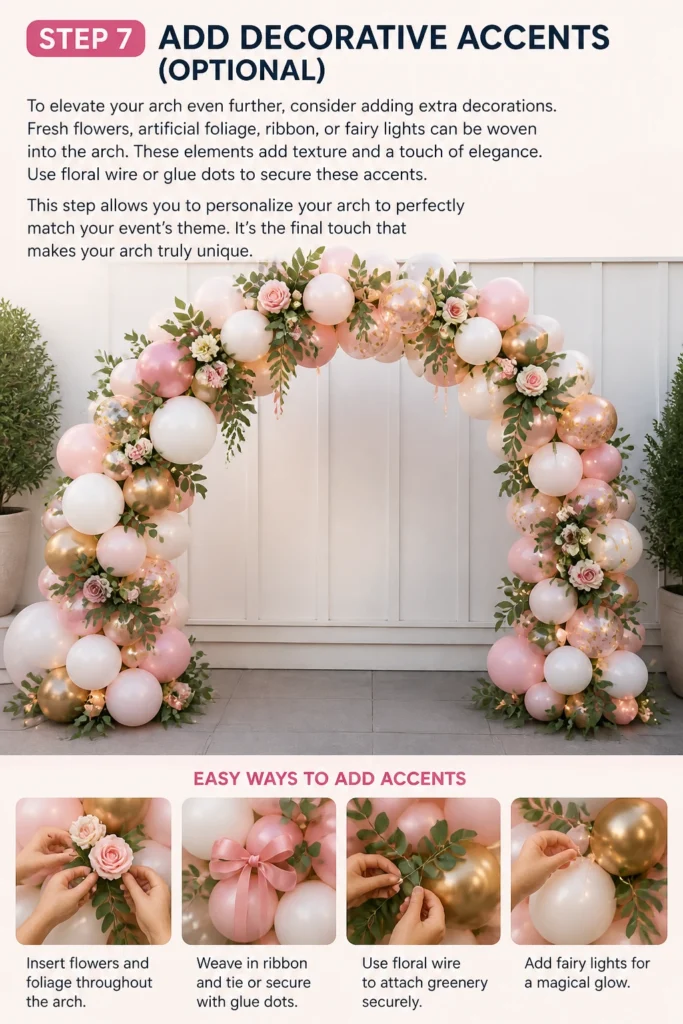
Use floral wire or glue dots to secure these accents. This step allows you to personalize your arch to perfectly match your event’s theme. It’s the final touch that makes your arch truly unique.
Common Mistakes to Avoid
Using Only One Size of Balloon
Relying solely on balloons of the same size results in a flat, uninteresting arch. The lack of variation makes the arch look amateurish and less dynamic.
Always incorporate a mix of balloon sizes, typically 5-inch, 10-inch, and 12-inch. This creates depth, texture, and a more organic, professional appearance. Varying sizes is crucial for visual appeal.
Not Inflating Enough Balloons
Underestimating the number of balloons needed is a common pitfall. A sparse arch looks unfinished and doesn’t achieve the lush, full effect you desire. You will almost always need more balloons than you initially think.
Always buy at least 20-30% more balloons than your initial estimate. It’s better to have too many than to run out halfway through assembly. A dense arch looks much better.
Overinflating Balloons
Inflating balloons until they are taut and shiny makes them prone to popping. They also lose their soft, round shape, looking more like rigid ovals. Overinflated balloons are difficult to work with and can ruin your arch.
Inflate balloons until they are full but still have a slight give when squeezed. This allows for flexibility and reduces the risk of premature popping. A slightly softer balloon is much easier to manipulate.
Attaching Balloons Too Loosely to the Strip
If the balloon knots are not pushed firmly through the holes in the strip, they can easily pop out. This leads to gaps and instability in your arch. A loose attachment means your hard work can unravel quickly.
Ensure each balloon knot is securely threaded and pulled tight through the balloon strip’s holes. This creates a strong foundation, keeping your arch intact and sturdy for the duration of your event.
Troubleshooting
Arch Keeps Falling Down
If your arch isn’t staying in place, your anchoring points might not be strong enough or numerous enough. A heavy arch needs robust support. Weak adhesive or too few attachment points are common culprits.
Use heavy-duty command hooks or multiple strands of fishing line secured to strong fixtures. Add extra anchoring points along the length of the arch, especially at curves or heavy sections. Ensure the adhesive has fully cured before hanging the arch.
Balloons Keep Popping
Frequent balloon popping can be frustrating. This often happens due to overinflation, sharp objects, or extreme temperature changes. A single pop can sometimes trigger a chain reaction.
Ensure balloons are not overinflated; they should be slightly soft. Keep balloons away from direct sunlight, sharp edges, and extreme heat or cold. If working outdoors, avoid placing the arch where it might brush against rough surfaces.
Arch Looks Sparse and Gappy
A thin-looking arch lacks the desired impact and vibrancy. This usually means you haven’t used enough balloons or haven’t filled in the smaller gaps effectively. The arch appears unfinished and less professional.
Go back and add more balloons, particularly the smaller 5-inch ones, to fill every visible gap. Use balloon glue dots to attach these directly to existing balloons, creating a fuller, more dense appearance. Don’t be afraid to layer them.
Key Takeaways
- Vary Balloon Sizes: Always use a mix of 5-inch, 10-inch, and 12-inch balloons for depth and texture.
- Use a Pump: An electric or manual balloon pump saves time and effort during inflation.
- Don’t Overinflate: Keep balloons slightly soft to prevent popping and allow for easier manipulation.
- Securely Attach: Ensure balloon knots are pushed firmly through the balloon strip holes.
- Fill All Gaps: Use smaller balloons and glue dots to create a dense, professional-looking arch.
- Strong Anchoring: Use robust hooks or fishing line and multiple attachment points to secure your arch.
Frequently Asked Questions
How long does a DIY balloon arch last?
A well-made balloon arch using good quality balloons can last anywhere from 3 days to a week indoors. Outdoors, factors like heat, direct sun, and wind can significantly reduce its lifespan, sometimes to just a few hours. Humidity and temperature play a big role in how long balloons stay inflated.
Can I make a balloon arch the day before?
Yes, you can absolutely make a balloon arch the day before your event. In fact, it’s often recommended to reduce stress on the day of the party. Store the finished arch in a cool, dark place away from direct sunlight and extreme temperatures to preserve its freshness.
Do I need helium for a balloon arch?
No, you do not need helium for a balloon arch. Balloon arches are typically air-filled, which makes them much easier and more affordable to create. The balloon strip and anchoring points hold the shape and structure, not the buoyancy of helium. Air-filled balloons also last much longer than helium-filled ones.
What’s the best way to transport a finished balloon arch?
For smaller arches, you might be able to carefully place them in a large car or SUV. For larger arches, it’s often best to transport the strip with attached balloons and then add the final gap-filling balloons and decorative elements at the event location. This prevents damage during transit.
Our Top Recommended Finds
- Electric Balloon Pump: This essential tool saves your lungs and hours of inflation time, making the process quick and effortless.
- Balloon Decorating Strip Kit: These kits often include the strip, glue dots, and sometimes even a variety of balloons, providing everything you need in one package.
- Assorted Balloon Pack with Multiple Sizes: Look for packs that specifically include 5-inch, 10-inch, and 12-inch balloons in your desired color palette for a cohesive look.
Your Next Celebration Awaits
You now have all the knowledge and practical steps to create a stunning balloon arch. Imagine the delight on your guests’ faces when they see your handcrafted masterpiece. This isn’t just a decoration; it’s a statement of celebration.
Don’t wait for a special occasion; sometimes, the act of creation is the celebration itself. Get your supplies, clear your schedule, and start bringing your vision to life today. Your next party, or even just a fun weekend project, just got a whole lot more exciting.
Beginner-friendly templates, step-by-step guides,
and weekly project ideas in your inbox.