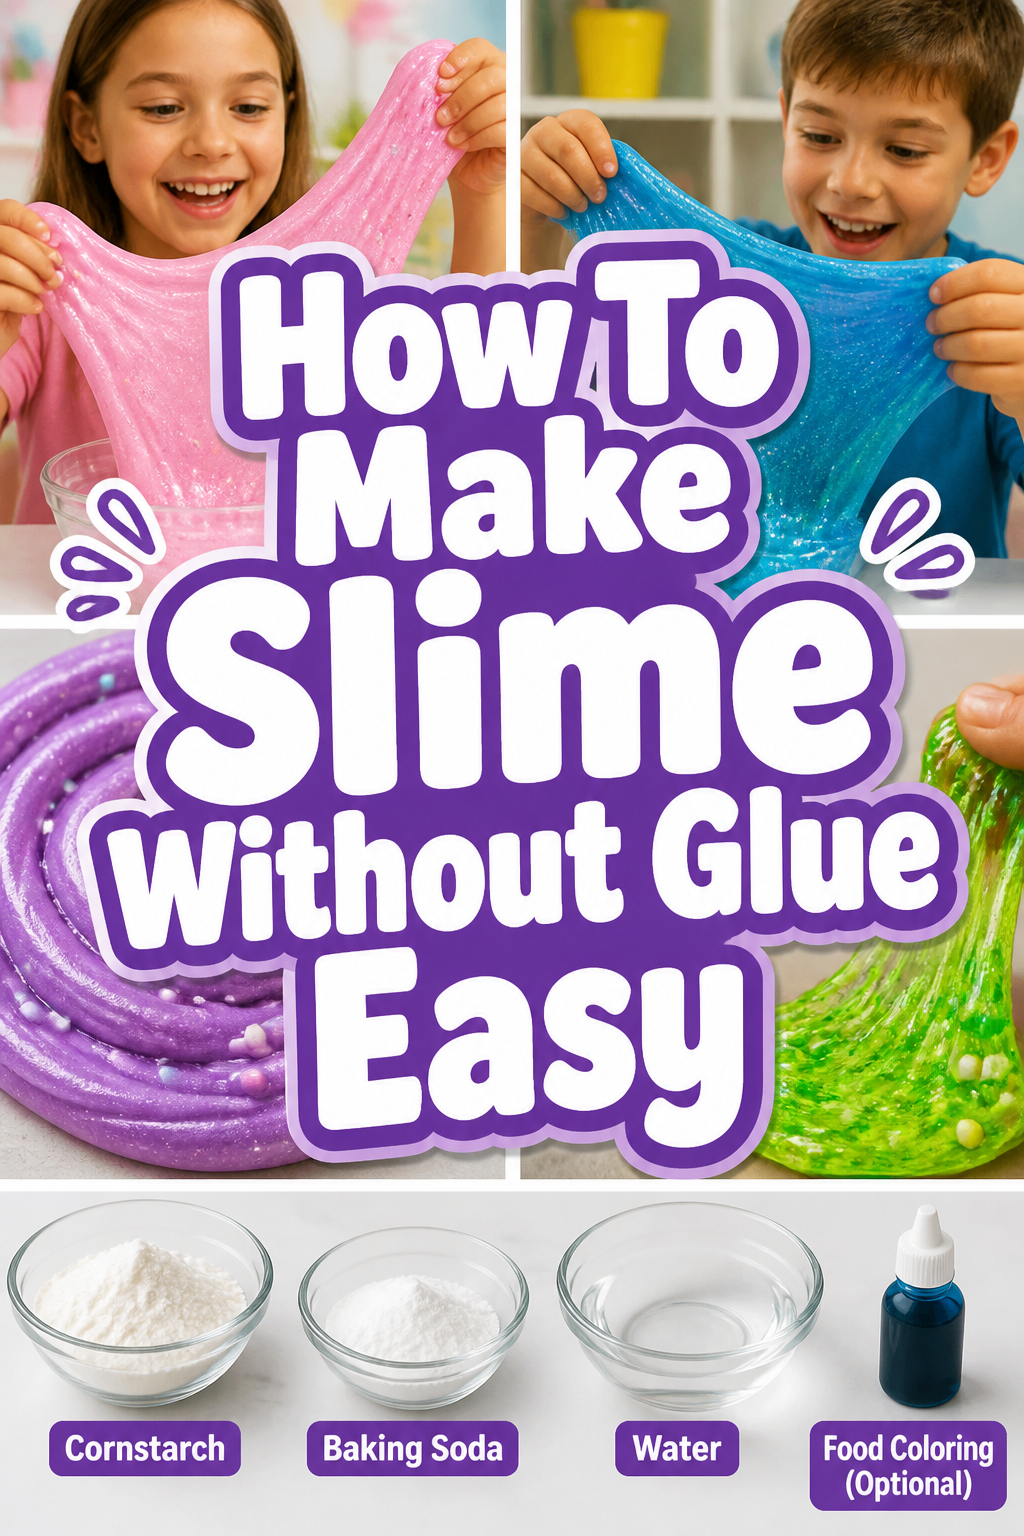
✨ How To Make Slime Without Glue Easy
Making slime is a fantastic activity, but what if you’re out of glue or prefer a different approach?
I’ve experimented with countless recipes over the years, discovering that some of the most satisfying slimes don’t need glue at all.
This guide shares my favorite, most reliable method, ensuring you create a fun, squishy batch with everyday household items.
Quick Overview
You’re about to create a delightful, stretchy slime using simple ingredients you likely already have.
It’s a surprisingly straightforward process that yields impressive results.
- Time needed: Approximately 15-20 minutes active time, plus optional chilling.
- Difficulty: Beginner
- What you’ll need: Cornstarch, dish soap, water, mixing bowls, and a spoon.
Step-by-Step Instructions
Step 1: Gather Your Essential Ingredients
Before you begin, make sure all your materials are laid out and ready to go.
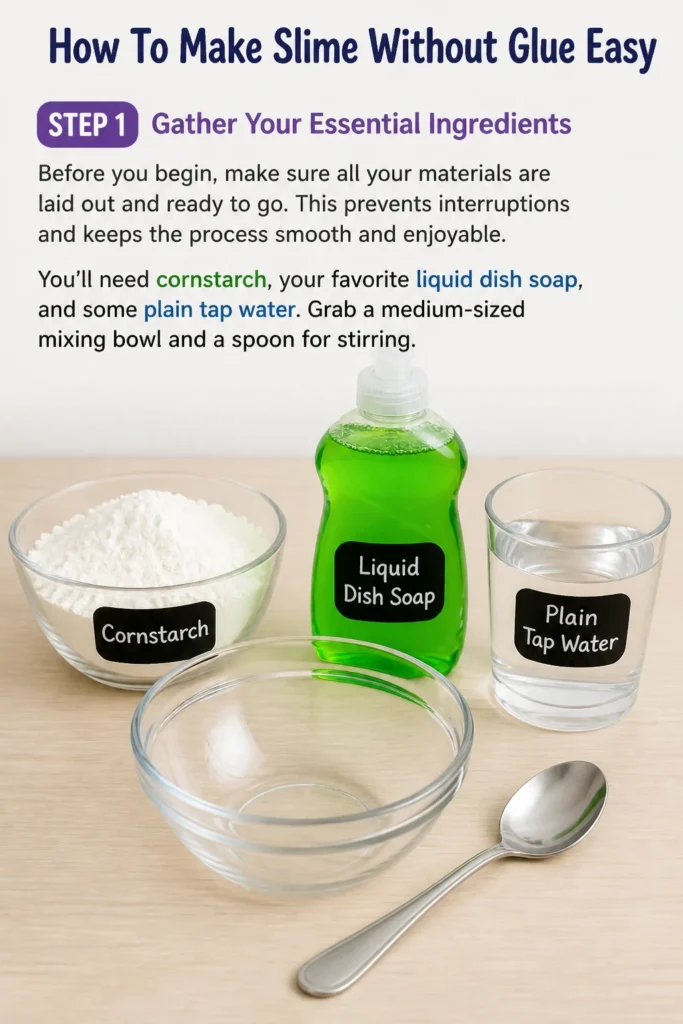
This prevents interruptions and keeps the process smooth and enjoyable.
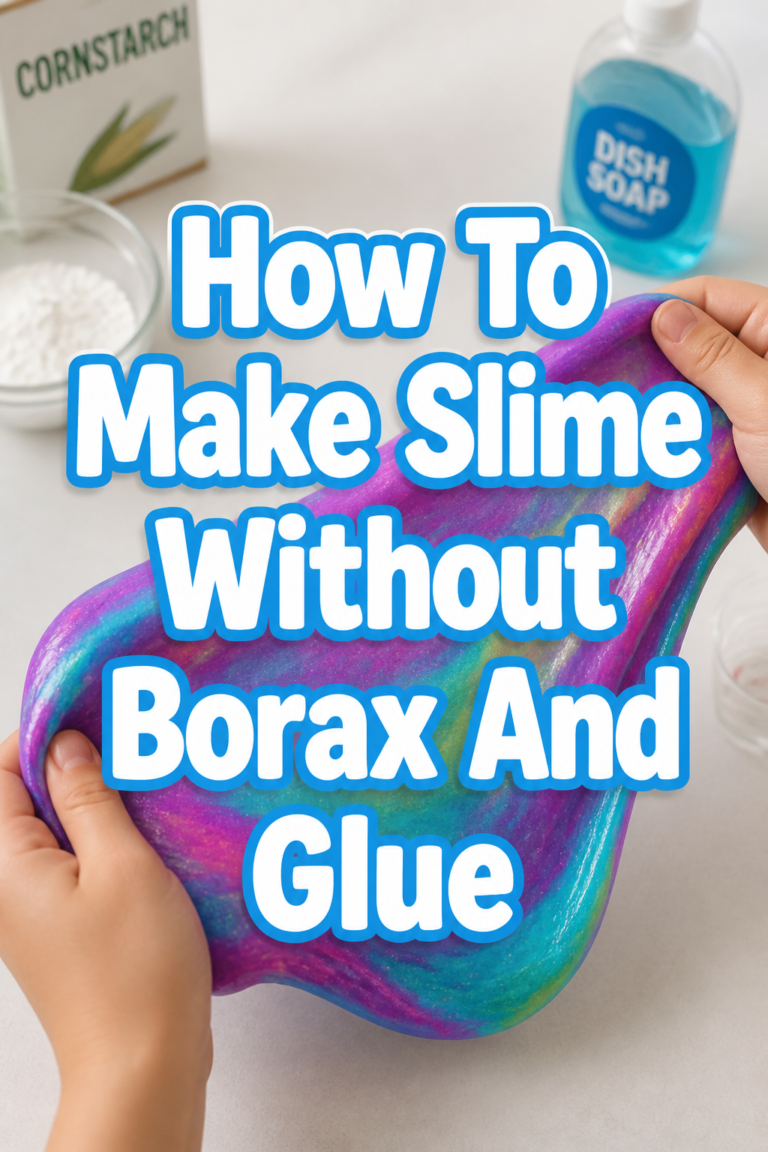
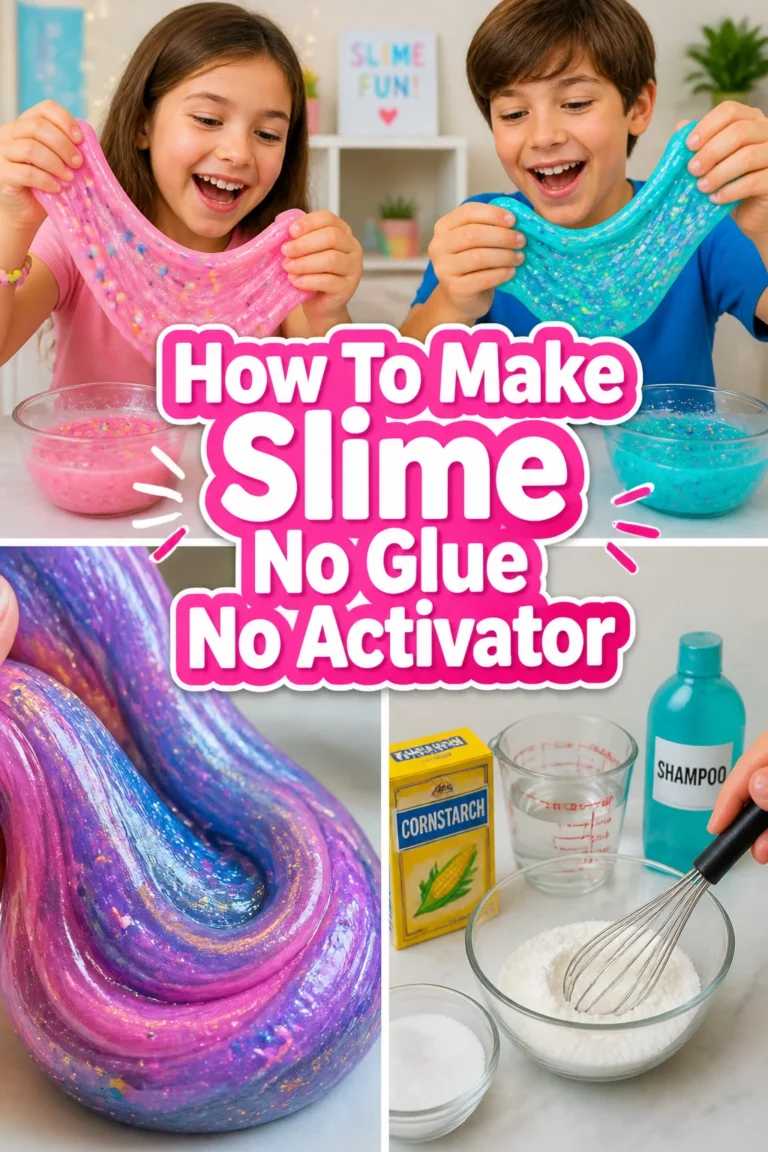
You’ll need cornstarch, your favorite liquid dish soap, and some plain tap water.
Grab a medium-sized mixing bowl and a spoon for stirring.
Step 2: Measure Out the Cornstarch
Pour one cup of cornstarch into your mixing bowl.
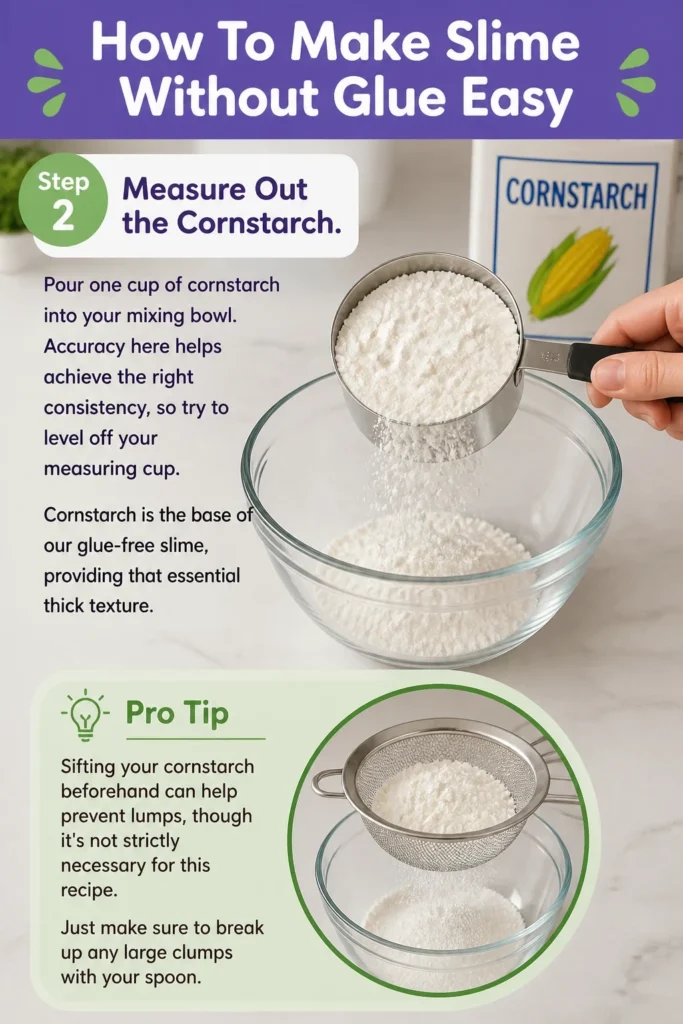
Accuracy here helps achieve the right consistency, so try to level off your measuring cup.
Cornstarch is the base of our glue-free slime, providing that essential thick texture.
Pro Tip: Sifting your cornstarch beforehand can help prevent lumps, though it’s not strictly necessary for this recipe. Just make sure to break up any large clumps with your spoon.
Step 3: Introduce the Dish Soap
Next, add half a cup of liquid dish soap to the cornstarch in the bowl.
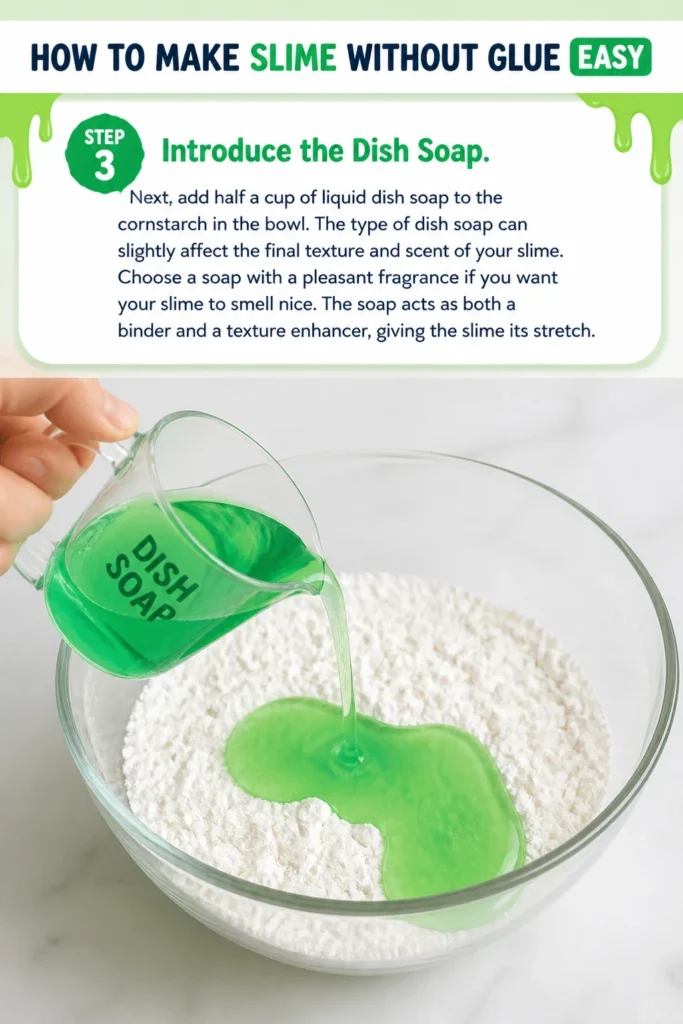
The type of dish soap can slightly affect the final texture and scent of your slime.
Choose a soap with a pleasant fragrance if you want your slime to smell nice.
The soap acts as both a binder and a texture enhancer, giving the slime its stretch.
Step 4: Begin to Mix and Combine
Using your spoon, start gently mixing the cornstarch and dish soap together.
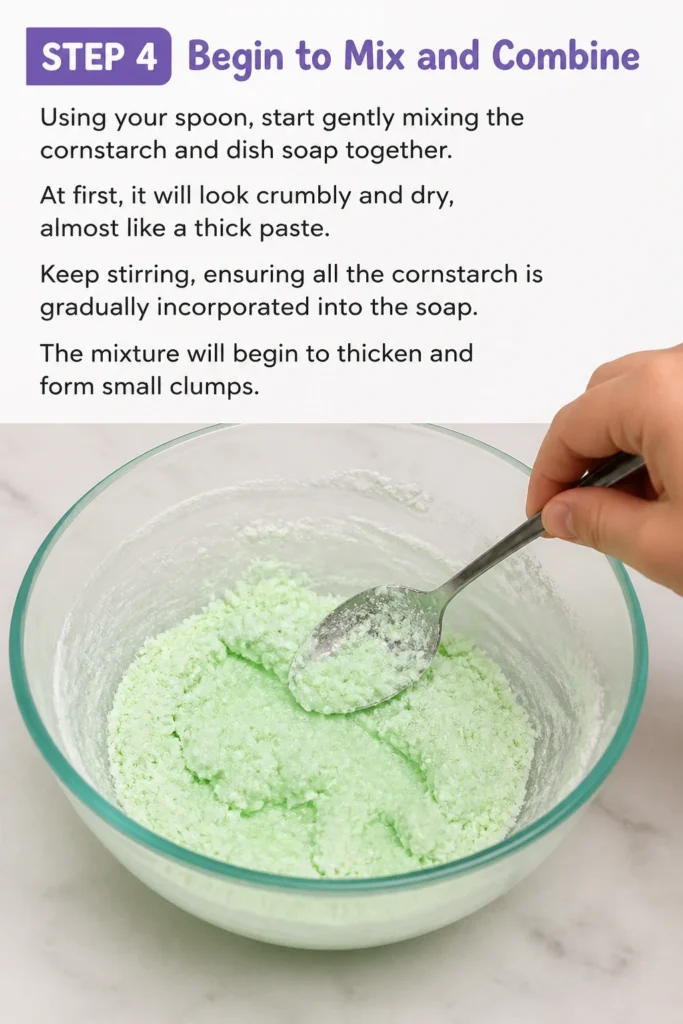
At first, it will look crumbly and dry, almost like a thick paste.
Keep stirring, ensuring all the cornstarch is gradually incorporated into the soap.
The mixture will begin to thicken and form small clumps.
Step 5: Gradually Add Water
Now, it’s time to introduce water, but do so slowly.
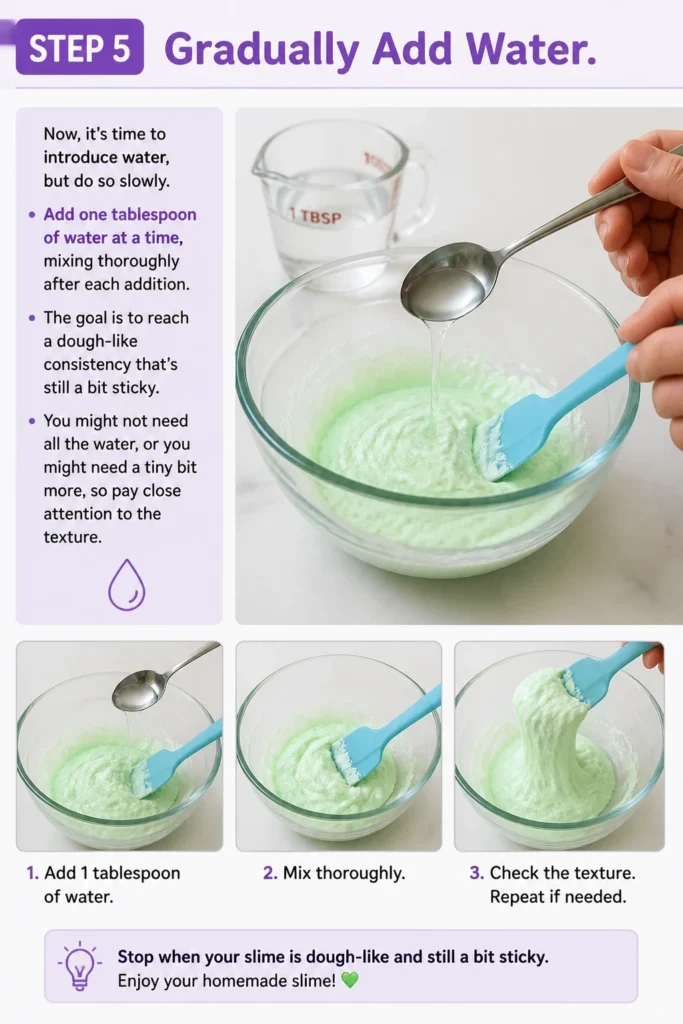
Add one tablespoon of water at a time, mixing thoroughly after each addition.
The goal is to reach a dough-like consistency that’s still a bit sticky.
You might not need all the water, or you might need a tiny bit more, so pay close attention to the texture.
Step 6: Knead the Mixture
Once the mixture is thick enough to handle, transfer it from the bowl to a clean, flat surface.
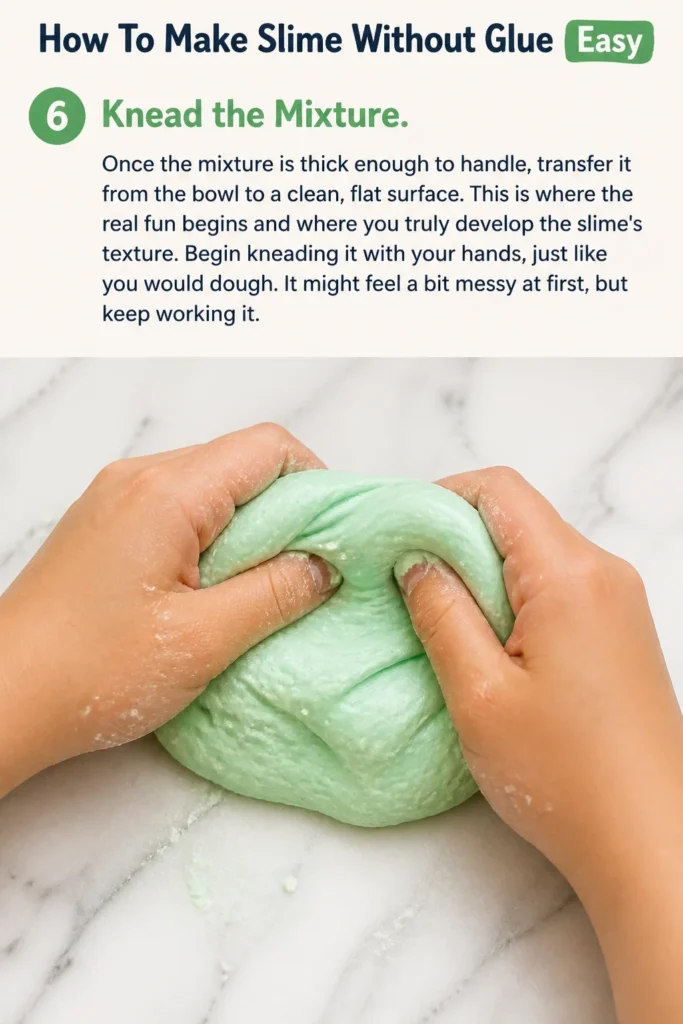
This is where the real fun begins and where you truly develop the slime’s texture.
Begin kneading it with your hands, just like you would dough.
It might feel a bit messy at first, but keep working it.
Step 7: Adjust Consistency as Needed
As you knead, observe the slime’s texture.
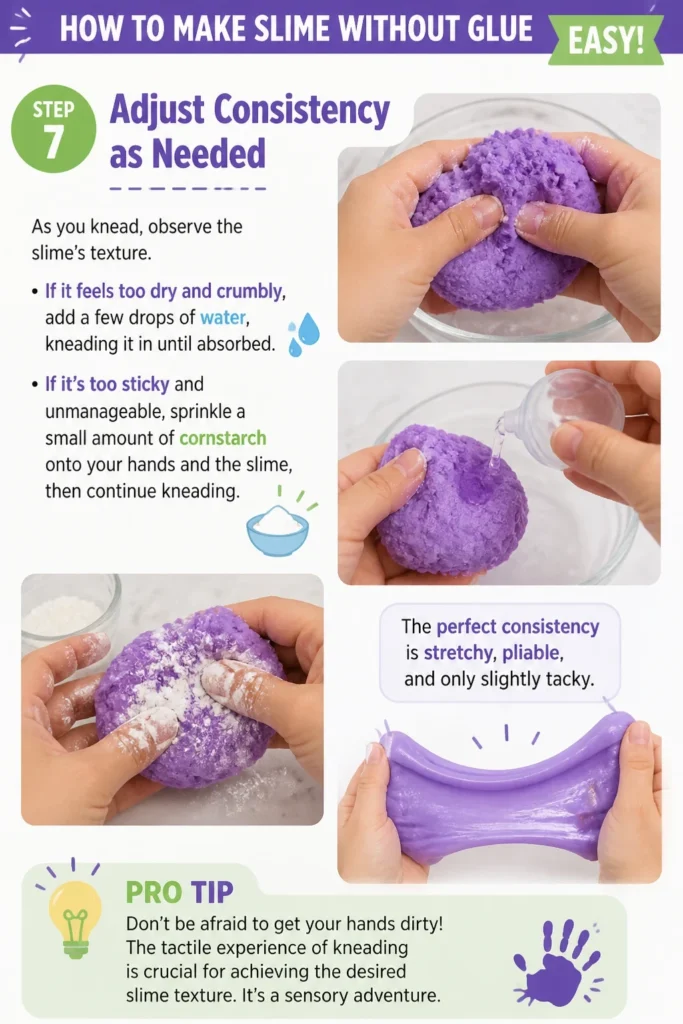
If it feels too dry and crumbly, add a few drops of water, kneading it in until absorbed.
If it’s too sticky and unmanageable, sprinkle a small amount of cornstarch onto your hands and the slime, then continue kneading.
The perfect consistency is stretchy, pliable, and only slightly tacky.
Pro Tip: Don’t be afraid to get your hands dirty! The tactile experience of kneading is crucial for achieving the desired slime texture. It’s a sensory adventure.
Step 8: Add Color (Optional)
If you want to add a splash of color to your slime, this is the ideal moment.
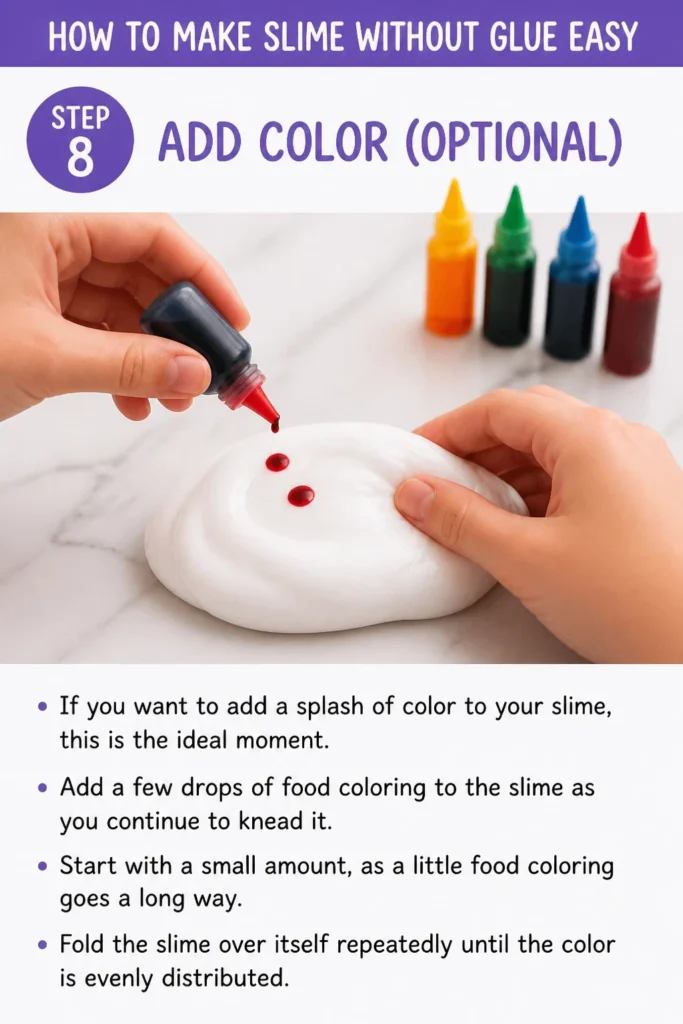
Add a few drops of food coloring to the slime as you continue to knead it.
Start with a small amount, as a little food coloring goes a long way.
Fold the slime over itself repeatedly until the color is evenly distributed.
Step 9: Test and Play
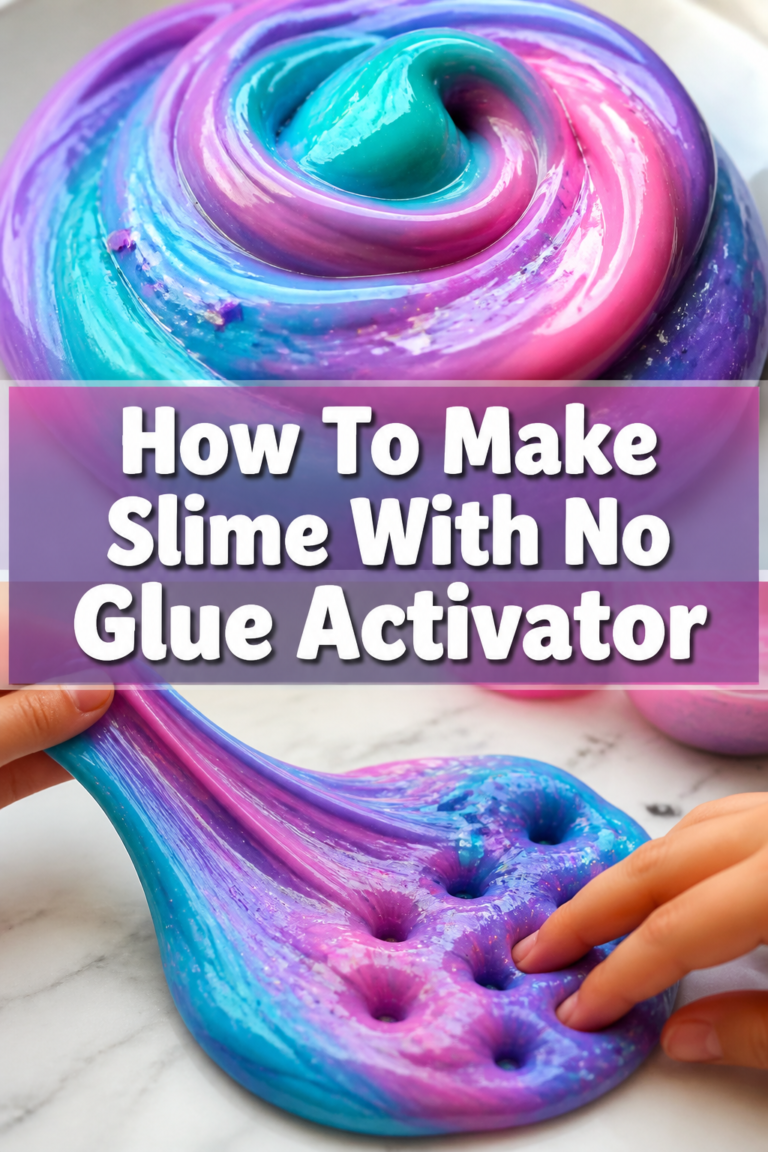
Your glue-free slime is now ready for action!
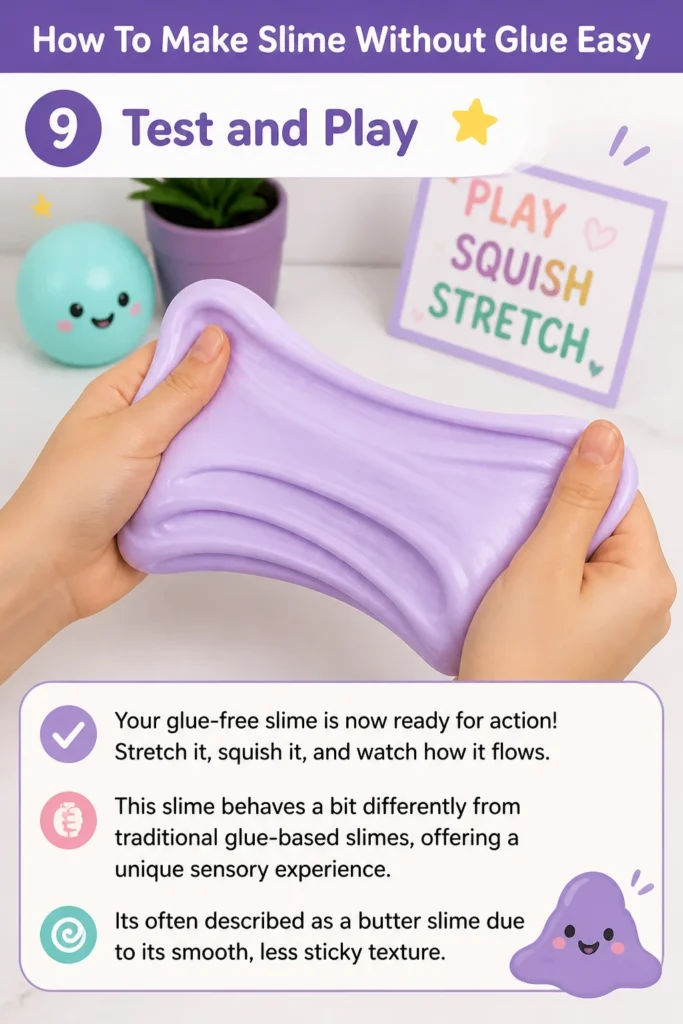
Stretch it, squish it, and watch how it flows.
This slime behaves a bit differently from traditional glue-based slimes, offering a unique sensory experience.
It’s often described as a “butter slime” due to its smooth, less sticky texture.
Step 10: Store Your Slime Properly
To keep your homemade slime fresh and ready for play, proper storage is key.
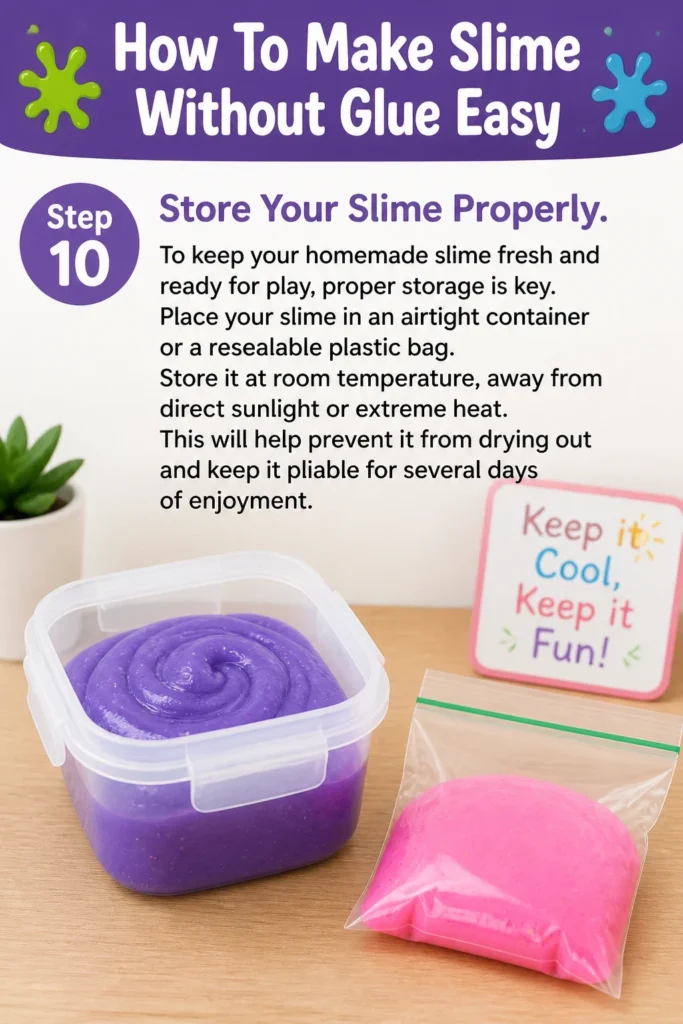
Place your slime in an airtight container or a resealable plastic bag.
Store it at room temperature, away from direct sunlight or extreme heat.
This will help prevent it from drying out and keep it pliable for several days of enjoyment.
Common Mistakes to Avoid
Adding Too Much Water Too Soon
It’s tempting to pour in a lot of water to speed up the mixing process, but this is a common pitfall.
Excess water can quickly turn your slime into a soupy, unmanageable mess that’s difficult to salvage.
Always add water gradually, one tablespoon at a time, and mix thoroughly after each addition to assess the consistency.
Not Kneading Enough
Some people stop mixing once the ingredients are vaguely combined, expecting instant slime.
However, the kneading phase is crucial for developing the slime’s elasticity and smooth texture.
Work the mixture with your hands for several minutes, allowing the cornstarch and soap to fully integrate and become cohesive.
Ignoring Consistency Cues
The recipe provides general measurements, but environmental factors like humidity can affect the outcome.
Don’t blindly follow the measurements if your slime feels too wet or too dry.
Trust your senses; if it’s too sticky, add more cornstarch; if it’s too crumbly, add a few more drops of water.
Using the Wrong Type of Soap
While most liquid dish soaps will work, some formulations are better than others.
Very thin or highly concentrated soaps might require slight adjustments to the cornstarch or water ratios.
Avoid using hand soap or body wash, as these often have different chemical compositions that might not react well with cornstarch to form slime.
Troubleshooting
Slime is Too Sticky
If your slime is sticking excessively to your hands and the surface, don’t worry, it’s an easy fix.
Your slime likely has too much liquid or not enough cornstarch to bind it properly.
Sprinkle a small amount of extra cornstarch onto the slime and your hands, then continue to knead it in until the stickiness subsides.
Slime is Too Crumbly or Dry
A crumbly or dry slime indicates that it needs more moisture to become pliable.
This usually happens if too little water was added or if the slime has started to dry out.
Add a few drops of water at a time, kneading thoroughly after each addition, until the slime becomes smooth and stretchy.
Slime Breaks Easily
If your slime stretches a little but then snaps quickly, it might be too dry or hasn’t been kneaded enough.
The ingredients haven’t fully bonded to create that elastic quality.
Continue kneading the slime, and if it still breaks, try adding a tiny bit more water, literally a few drops, to improve its elasticity.
Key Takeaways
- Making glue-free slime relies on the unique properties of cornstarch and dish soap.
- Gradual addition of water is crucial for achieving the perfect, non-sticky consistency.
- Thorough kneading is essential to activate the ingredients and develop the slime’s stretch and smoothness.
- Always store your slime in an airtight container to prevent it from drying out and extend its play life.
- Don’t be afraid to adjust ingredients slightly based on how your slime feels, as humidity can affect the outcome.
- This method creates a soft, butter-like slime that’s incredibly satisfying to play with.
Frequently Asked Questions
How long does this glue-free slime last?
When stored in an airtight container, this cornstarch and dish soap slime can last for about 3-5 days.
Its lifespan can vary depending on factors like humidity and how often it’s played with.
If it starts to feel dry or develops an off smell, it’s time to make a fresh batch.
Can I use any type of dish soap?
Most liquid dish soaps work well for this recipe, but results can vary slightly.
Thicker, gel-like dish soaps tend to produce a more consistent slime.
Avoid using soaps with strong abrasive particles or those marketed as “ultra-concentrated,” as they might alter the texture unexpectedly.
Is this slime safe for young children?
While the ingredients are generally non-toxic, this slime is not intended for consumption.
Supervise young children during play to ensure they don’t ingest any of the slime.
Always ensure children wash their hands thoroughly after playing with slime.
Can I add glitter or other embellishments?
Absolutely! Adding glitter, small beads, or even tiny plastic charms can make your slime even more exciting.
Stir them in during the kneading phase to ensure they are evenly distributed.
Just be aware that very sharp or small embellishments might poke through the slime or pose a choking hazard for very young children.
Our Top Recommended Finds
- Airtight Storage Containers: Essential for keeping your slime fresh and preventing it from drying out between play sessions. Look for ones with secure, snap-on lids.
- Food Coloring Set: A variety pack of liquid food colors allows you to create slimes in every shade of the rainbow, adding a vibrant touch to your creations.
- Large Mixing Bowl Set: Having a few different sizes of mixing bowls makes the process easier, especially when scaling up or making multiple batches of slime.
Unleash Your Inner Slime Creator Today!
You’ve now got all the knowledge and practical steps to craft an amazing batch of glue-free slime.
It’s a rewarding project that proves you don’t need fancy ingredients to create something wonderfully playful.
Why not gather your materials right now and experience the joy of making your own unique, stretchy creation?
Once you master this recipe, consider experimenting with different scents or textures to truly make it your own.