💅 How To Make Nail Glue At Home
A broken nail can truly derail your day, especially when you’re caught without a store-bought solution.
I remember a vacation mishap where a chipped nail threatened to ruin my perfect manicure, far from any beauty supply store.
That personal experience taught me the invaluable skill of crafting effective nail glue at home, and now I’m sharing that knowledge with you.
Quick Overview
Creating your own nail glue is a practical skill for beauty emergencies or simply saving money. This guide walks you through making a reliable adhesive using common household items.
- Time needed: Approximately 15-25 minutes
- Difficulty: Beginner
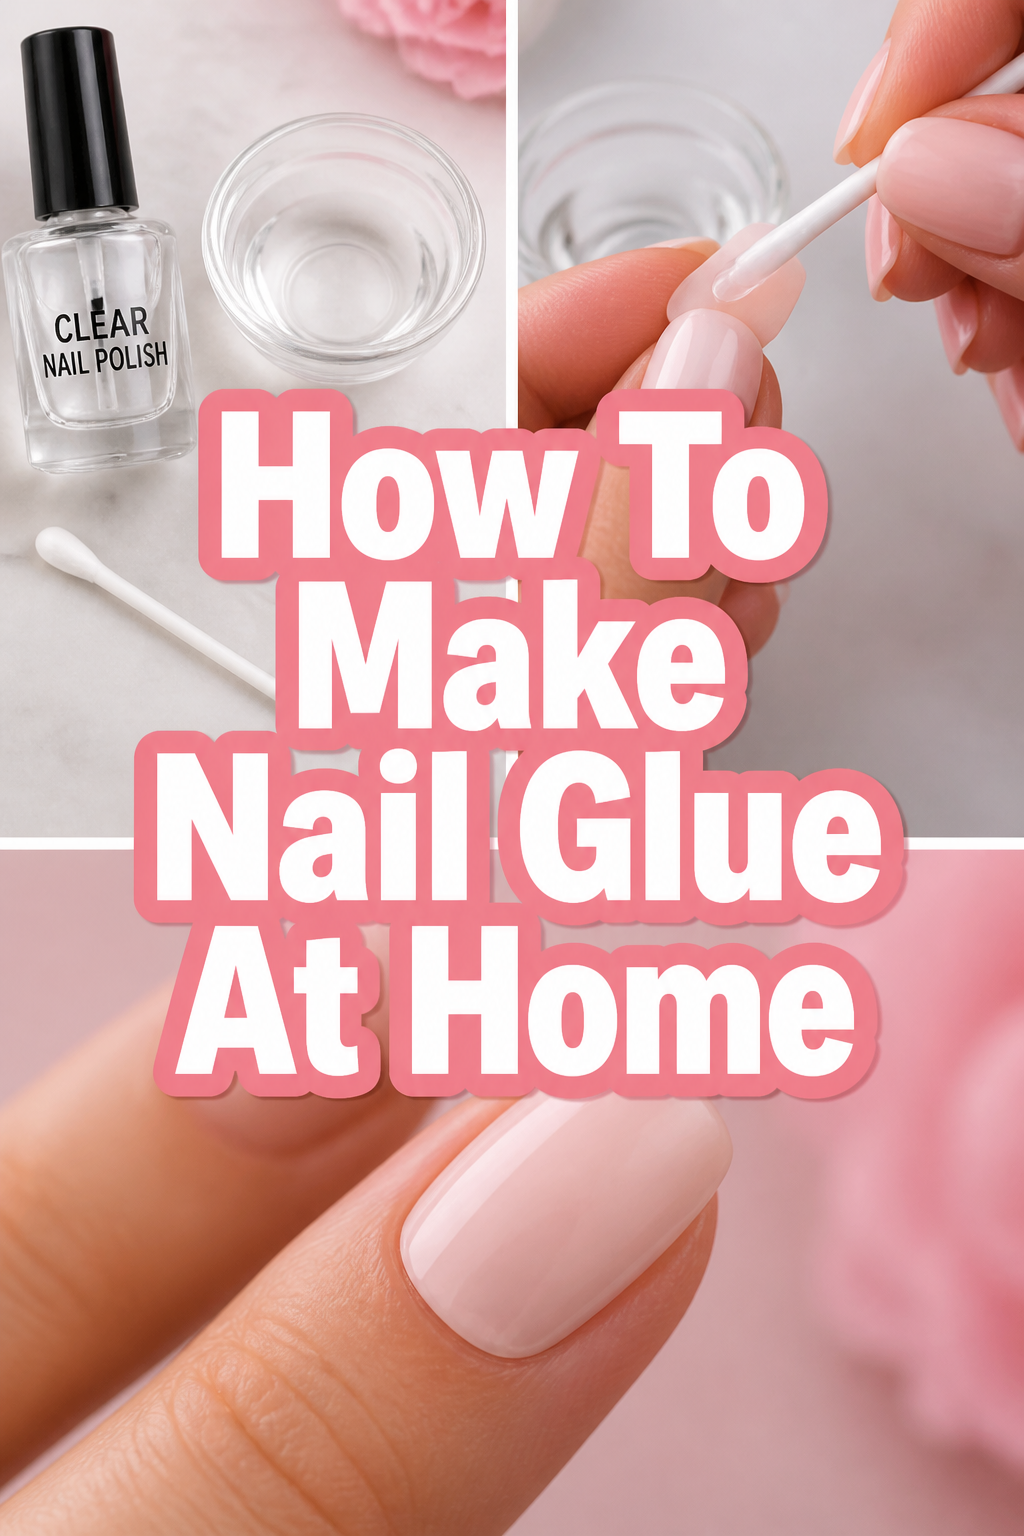
- What you’ll need: Clear nail polish, white school glue (PVA), cornstarch, a small mixing bowl or dish, a stirring stick or toothpick, and an empty, clean nail polish bottle or small container for storage.
Step-by-Step Instructions
Step 1: Gather Your Essentials
Before you begin, collect all necessary ingredients and tools. Having everything ready makes the process smooth and efficient. Ensure your clear nail polish is not old or clumpy.
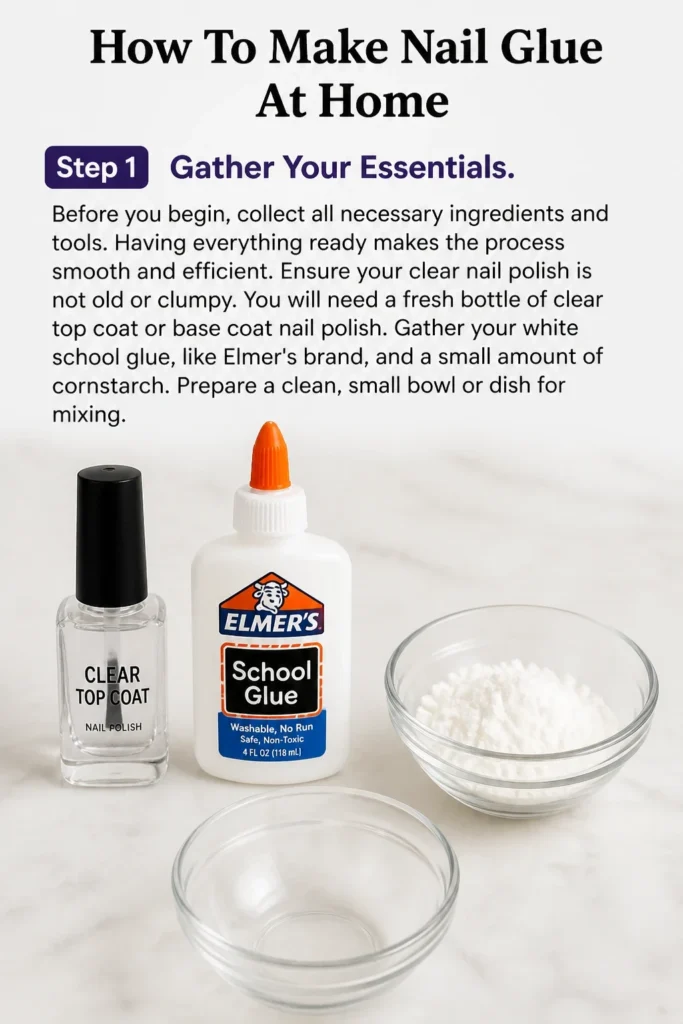
You will need a fresh bottle of clear top coat or base coat nail polish. Gather your white school glue, like Elmer’s brand, and a small amount of cornstarch. Prepare a clean, small bowl or dish for mixing.
Step 2: Prepare Your Work Area
Find a well-ventilated space for mixing your nail glue. Lay down some newspaper or a paper towel to protect your surface from spills. This keeps your workspace clean and tidy.
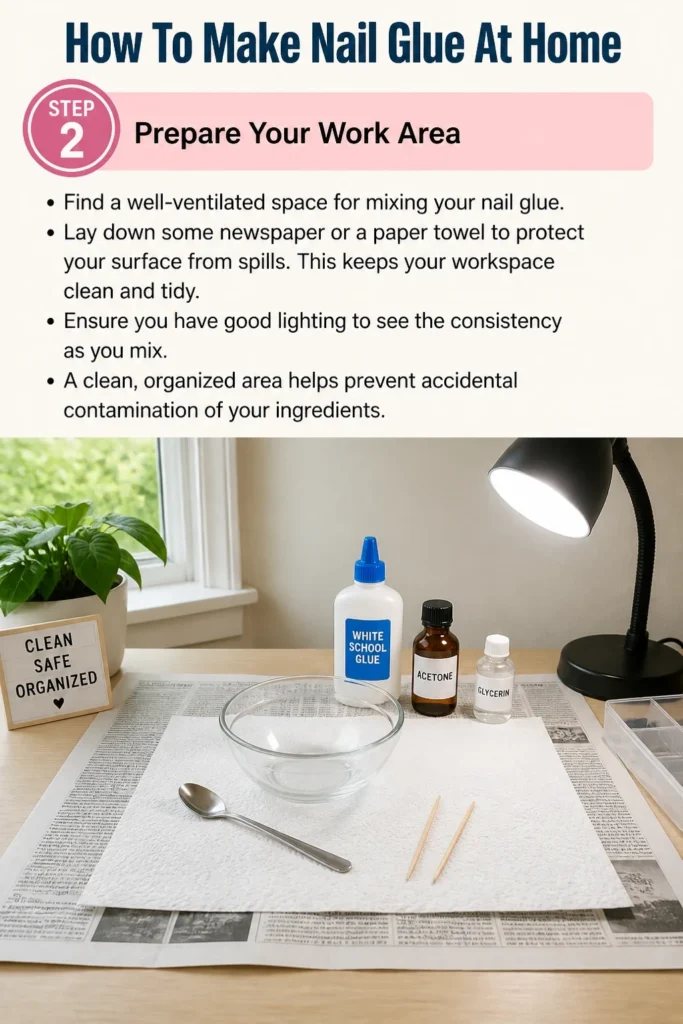
Ensure you have good lighting to see the consistency as you mix. A clean, organized area helps prevent accidental contamination of your ingredients.
Step 3: Combine the Base
Pour about one tablespoon of clear nail polish into your mixing bowl. This serves as the primary adhesive and gives your homemade glue its structure. Use a measuring spoon for accuracy.
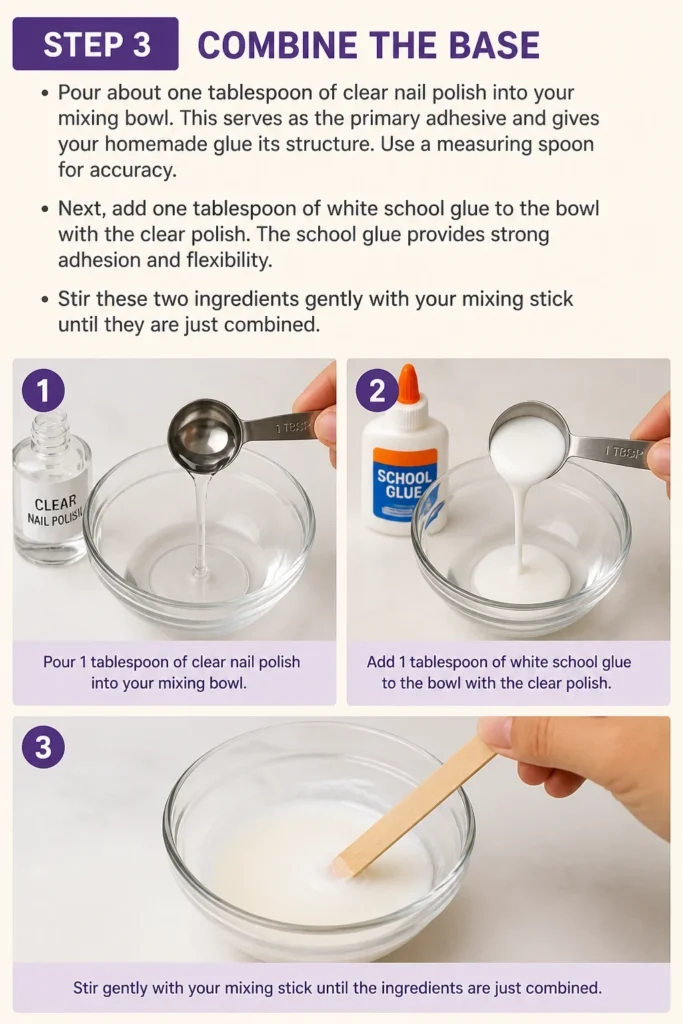
Next, add one tablespoon of white school glue to the bowl with the clear polish. The school glue provides strong adhesion and flexibility. Stir these two ingredients gently with your mixing stick until they are just combined.
Step 4: Introduce the Thickener
Now it’s time to add the cornstarch. Start by adding half a teaspoon of cornstarch to the mixture. Cornstarch acts as a thickening agent, giving the glue its desired consistency and helping it bond effectively.
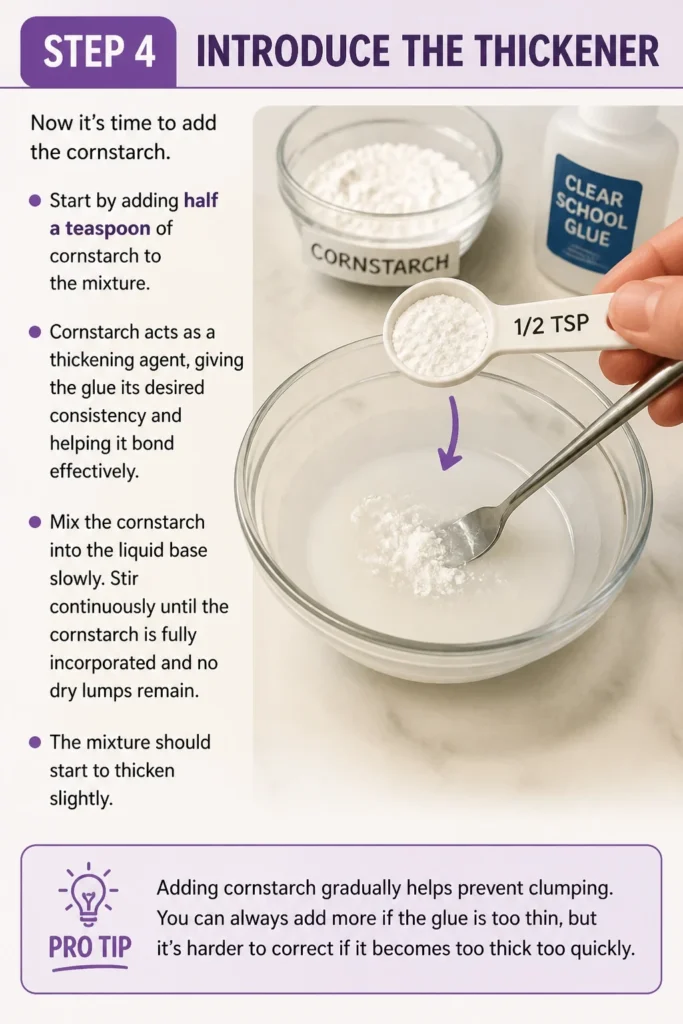
Mix the cornstarch into the liquid base slowly. Stir continuously until the cornstarch is fully incorporated and no dry lumps remain. The mixture should start to thicken slightly.
Pro Tip: Adding cornstarch gradually helps prevent clumping. You can always add more if the glue is too thin, but it’s harder to correct if it becomes too thick too quickly.
Step 5: Mix Until Smooth
Continue to stir the mixture thoroughly for several minutes. The goal is to achieve a completely smooth, uniform consistency, similar to store-bought nail glue. Scrape down the sides of the bowl to ensure all ingredients are well blended.
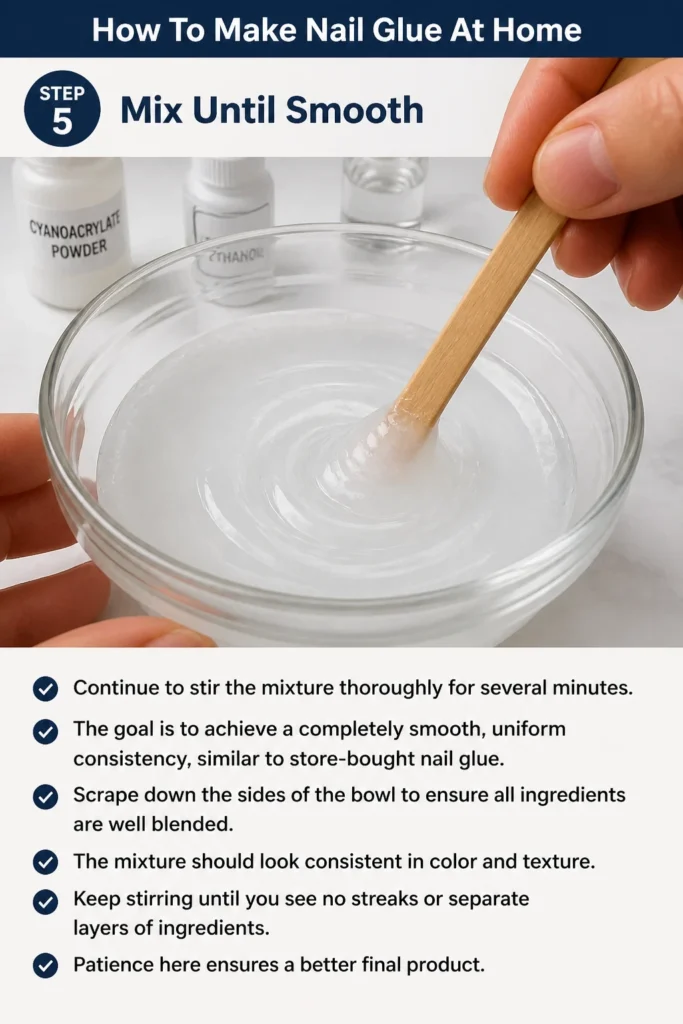
The mixture should look consistent in color and texture. Keep stirring until you see no streaks or separate layers of ingredients. Patience here ensures a better final product.
Step 6: Adjust and Refine
Examine the consistency of your homemade nail glue. If it appears too thin and watery, add another quarter teaspoon of cornstarch. Mix well after each small addition.
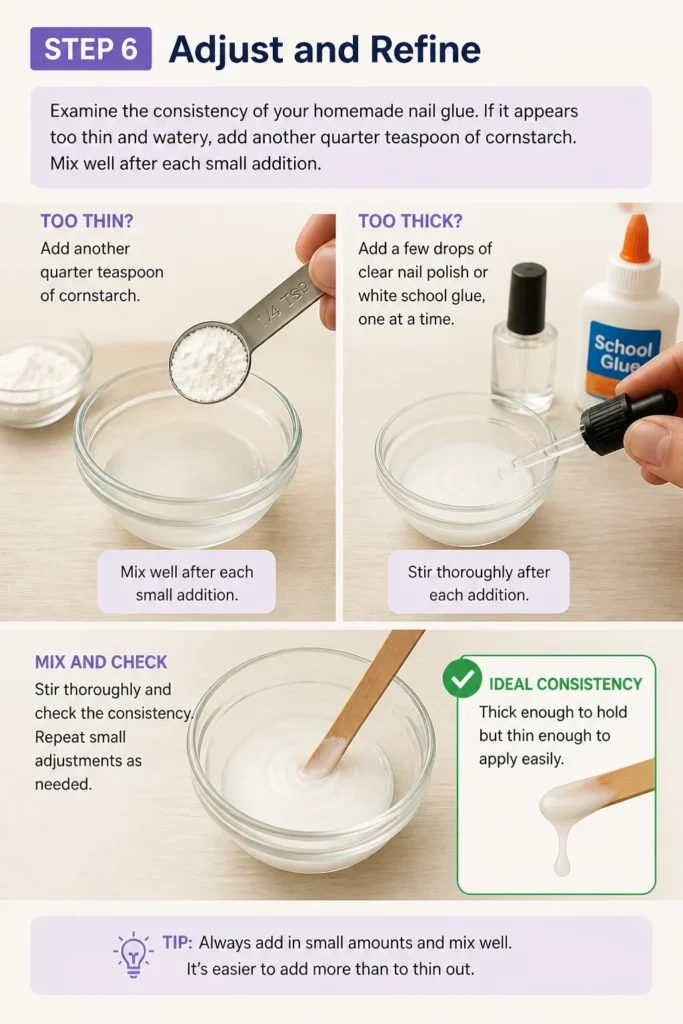
If the glue seems too thick or pasty, add a few drops of clear nail polish or white school glue, one at a time. Stir thoroughly after each addition until you reach a workable, slightly viscous texture. The ideal consistency should be thick enough to hold but thin enough to apply easily.
Step 7: Transfer and Store
Once you achieve the perfect consistency, carefully transfer your homemade nail glue into a clean, empty nail polish bottle. You can use a small funnel or a plastic syringe to make this step easier and mess-free. Ensure the bottle is completely dry before transferring.
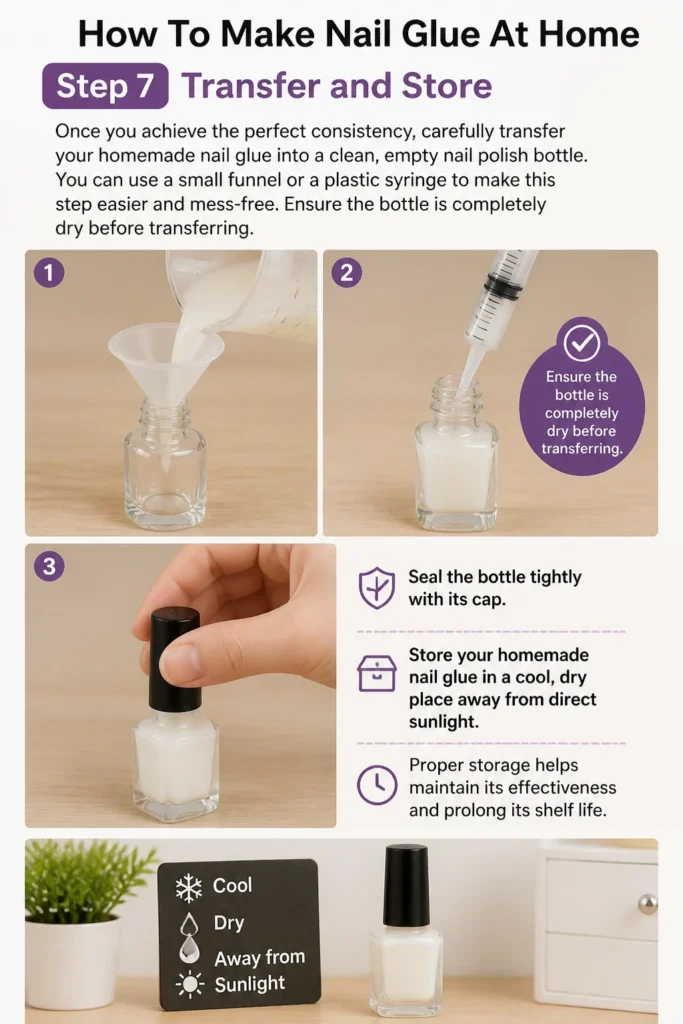
Seal the bottle tightly with its cap. Store your homemade nail glue in a cool, dry place away from direct sunlight. Proper storage helps maintain its effectiveness and prolongs its shelf life.
Step 8: Apply Your Homemade Glue
To use your new nail glue, apply a tiny drop to the broken nail or artificial tip. Press firmly for about 10-15 seconds. Hold the pieces together until they bond securely.
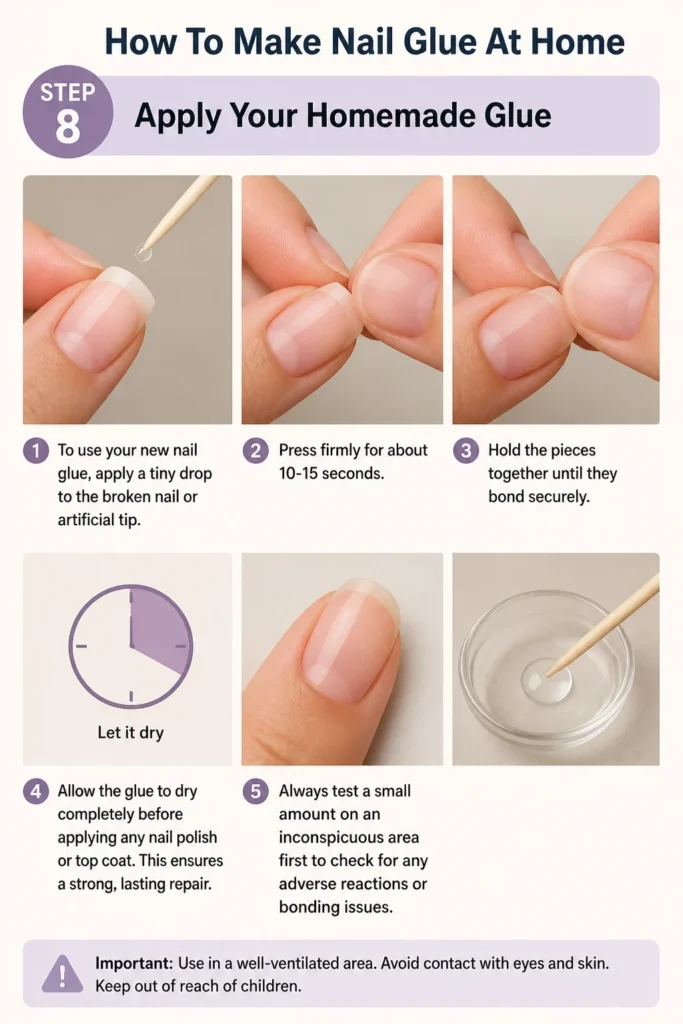
Allow the glue to dry completely before applying any nail polish or top coat. This ensures a strong, lasting repair. Always test a small amount on an inconspicuous area first to check for any adverse reactions or bonding issues.
Common Mistakes to Avoid
Using Too Much Cornstarch
Adding an excessive amount of cornstarch can make your nail glue brittle and crumbly. This results in a weak bond that won’t hold your nails together effectively. The glue might dry too quickly, leaving little time for adjustment.
Always start with a small amount of cornstarch and add more in tiny increments. Aim for a balance that provides thickness without sacrificing flexibility. A good glue should have some give.
Incomplete Mixing
Failing to mix the ingredients thoroughly leads to an inconsistent glue. You might end up with lumps or areas where the components haven’t fully combined. This uneven texture will affect the glue’s bonding power.
Spend adequate time stirring until the mixture is completely smooth and uniform. Scrape the sides and bottom of your mixing container to ensure everything is incorporated. Proper mixing is key to a reliable adhesive.
Using the Wrong Type of Glue
Not all glues are suitable for nail applications. Using craft glues with strong solvents or industrial adhesives can be harmful to your nails and skin. These might cause irritation or damage.
Stick to clear nail polish and non-toxic white school glue (PVA glue) as specified. These ingredients are generally safer for contact with skin and nails. Always prioritize safety and use known, gentle components.
Ignoring Shelf Life
Homemade nail glue, like commercial products, has a limited shelf life. Using old or expired glue can lead to poor adhesion and a weak repair. The ingredients can separate or degrade over time.
Aim to use your homemade glue within a few weeks for best results. If you notice any separation, thickening, or a strange odor, it’s best to discard it and make a fresh batch. Fresh glue performs best.
Troubleshooting
Glue is Too Thick
If your homemade nail glue turns out too thick, it might be difficult to apply smoothly. It could also dry too quickly, making it hard to position a broken nail piece. This often happens if you added too much cornstarch.
To thin it down, add a few drops of clear nail polish, one at a time. Stir well after each addition until you reach the desired consistency. Be patient and add very small amounts to avoid over-thinning.
Glue is Too Thin
A glue that is too thin won’t provide a strong enough bond and might run off the nail. It could also take too long to dry, making application messy and ineffective. This usually means you need more thickening agent.
To thicken your glue, add a tiny pinch (about 1/8 to 1/4 teaspoon) of cornstarch. Mix it in thoroughly until fully dissolved. Repeat this process if needed, adding small amounts until the glue reaches a workable consistency.
Glue Doesn’t Stick Well
If your glue isn’t bonding properly, several factors might be at play. The surface of your nail might not be clean, or the glue’s consistency could be off. Old ingredients can also impact adhesion.
Ensure your nails are clean, dry, and free of oils before application. Check the glue’s consistency and make sure it’s not too thin or too thick. If the ingredients are old, consider making a fresh batch with new supplies.
Key Takeaways
- Always use fresh, quality clear nail polish and white school glue for best results.
- Precise measurements are important for achieving the correct consistency and bonding strength.
- Mix all ingredients thoroughly until the glue is completely smooth and free of lumps.
- Store your homemade nail glue in an airtight container to maintain its effectiveness.
- Test the glue on a small, inconspicuous area before applying it to a visible nail.
- Homemade nail glue is a temporary solution, ideal for quick repairs and emergencies.
Frequently Asked Questions
Is homemade nail glue safe to use?
Generally, homemade nail glue made with clear nail polish, white school glue, and cornstarch is considered safe for temporary use. These ingredients are commonly found in household products and are not typically harsh. Always perform a patch test on your skin first to check for any sensitivities.
How long does homemade nail glue last on nails?
The longevity of homemade nail glue depends on various factors, including your activity level and the precise formulation. Typically, a repair using homemade glue can last anywhere from a few days to a week. It’s best used as a temporary fix until you can get a professional repair or use commercial glue.
Can I use other ingredients besides cornstarch?
While cornstarch is recommended for its fine texture and thickening properties, you can explore alternatives like baking soda. If using baking soda, add it very sparingly, as it can create a grittier texture. Stick to the recommended recipe for the most consistent and reliable results.
What if I don’t have an empty nail polish bottle for storage?
If you don’t have an empty nail polish bottle, you can store your homemade nail glue in any small, airtight container. A small lip balm container, a cleaned-out small pill bottle, or even a small craft paint pot can work. Just ensure it seals tightly to prevent drying out.
Our Top Recommended Finds
- Mini Funnel Set: Perfect for mess-free transferring of your glue into small bottles.
- Empty Nail Polish Bottles with Brush: Ideal for storing your homemade glue and ensuring easy application.
- Disposable Mixing Cups and Sticks: Great for keeping your workspace clean and avoiding cross-contamination.
Your DIY Nail Journey Begins Now
Taking the initiative to create your own nail glue is a fantastic step towards self-sufficiency in beauty care. This practical skill empowers you to handle unexpected nail mishaps with confidence and ease. No longer will a broken nail ruin your plans or your mood.
Practice this simple recipe a few times to perfect your technique and find your ideal consistency. You might even find yourself experimenting with other DIY beauty solutions. Embrace the satisfaction of crafting your own essentials and enjoy flawless nails, always.