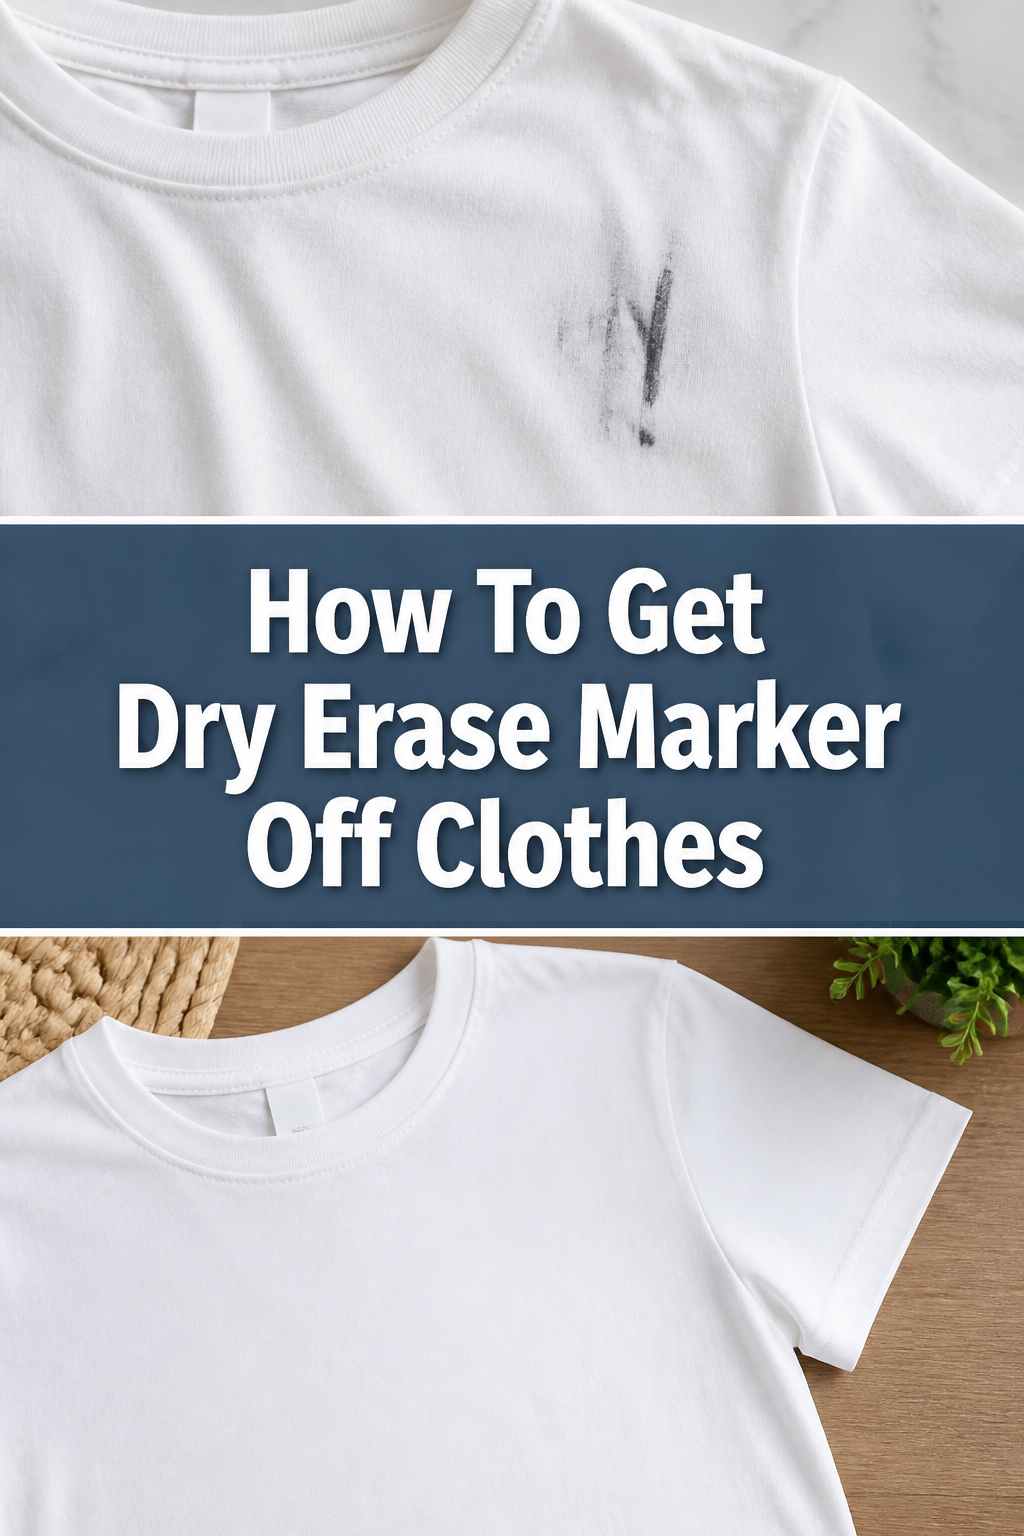
🧺 How To Get Dry Erase Marker Off Clothes

Beginner-friendly templates, step-by-step guides,
and weekly project ideas in your inbox.
It happens to the best of us. One moment you’re giving a presentation, the next a dry erase marker leaves its mark on your favorite shirt. I’ve been there, staring at a vibrant blue streak on a white blouse.
But don’t panic. Removing dry erase marker from clothes is often simpler than you think. This guide draws from years of accidental art projects and successful stain rescues, offering practical, tested methods to save your garments.
Quick Overview
This guide will walk you through the most effective methods to remove dry erase marker stains from various fabrics. You’ll learn the right products to use and crucial techniques to prevent further damage.
- Time needed: 15-45 minutes (depending on stain severity and fabric)
- Difficulty: Beginner
- What you’ll need: Rubbing alcohol (isopropyl alcohol), clean white cloths or paper towels, hand sanitizer (alcohol-based), laundry detergent, a sink or basin.
Step-by-Step Instructions
Step 1: Act Immediately
Time is your biggest ally when dealing with dry erase marker stains. The fresher the stain, the easier it will be to remove. Don’t let the marker ink dry and set into the fabric fibers.
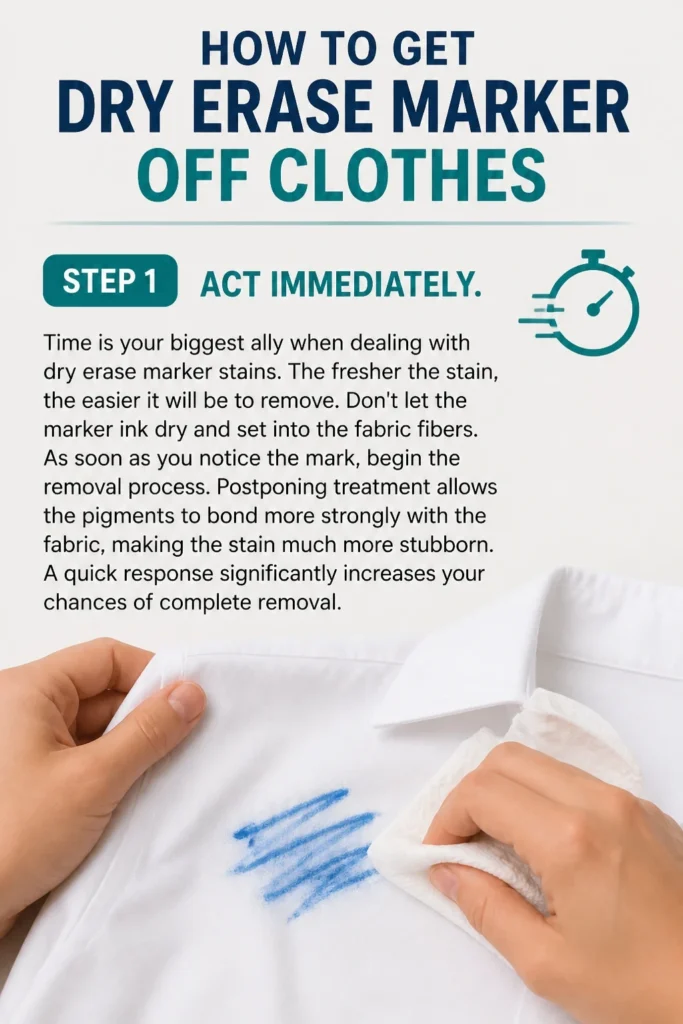
As soon as you notice the mark, begin the removal process. Postponing treatment allows the pigments to bond more strongly with the fabric, making the stain much more stubborn. A quick response significantly increases your chances of complete removal.
Step 2: Gather Your Supplies
Before you start, make sure you have all the necessary items within reach. This prevents you from pausing mid-treatment, which could allow the stain to dry further. Having everything ready streamlines the process.
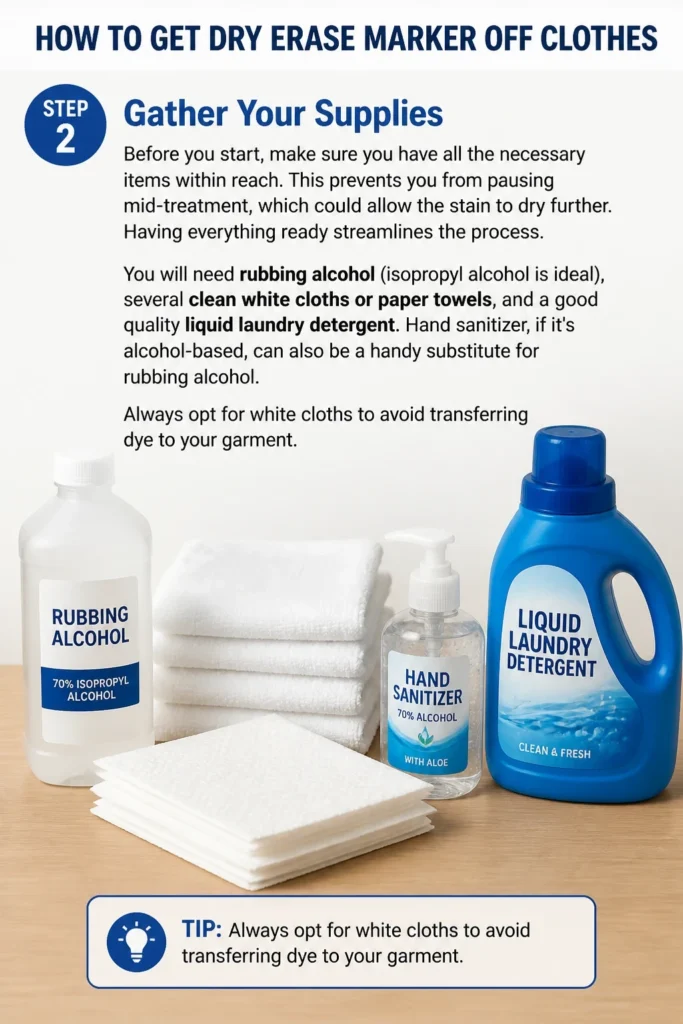
You will need rubbing alcohol (isopropyl alcohol is ideal), several clean white cloths or paper towels, and a good quality liquid laundry detergent. Hand sanitizer, if it’s alcohol-based, can also be a handy substitute for rubbing alcohol. Always opt for white cloths to avoid transferring dye to your garment.
Step 3: Identify the Fabric Type
Understanding your garment’s fabric composition is a critical step. Different fabrics react differently to cleaning agents and techniques. Check the care label inside your clothing for material information.
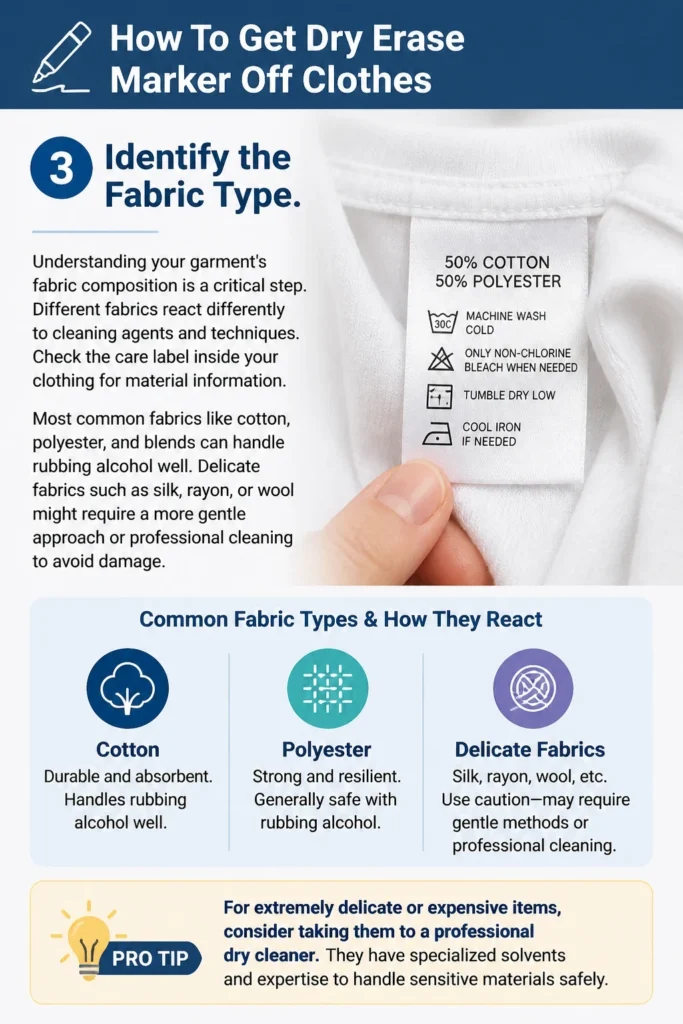
Most common fabrics like cotton, polyester, and blends can handle rubbing alcohol well. Delicate fabrics such as silk, rayon, or wool might require a more gentle approach or professional cleaning to avoid damage. This initial check helps prevent accidental harm to your clothing.
Pro Tip: For extremely delicate or expensive items, consider taking them to a professional dry cleaner. They have specialized solvents and expertise to handle sensitive materials safely.
Step 4: Test in an Inconspicuous Area
Always perform a spot test on an hidden part of the garment before applying any cleaning solution to the main stain. This is crucial for checking colorfastness and preventing potential damage. Choose an area like an inside seam or the hem of the garment.
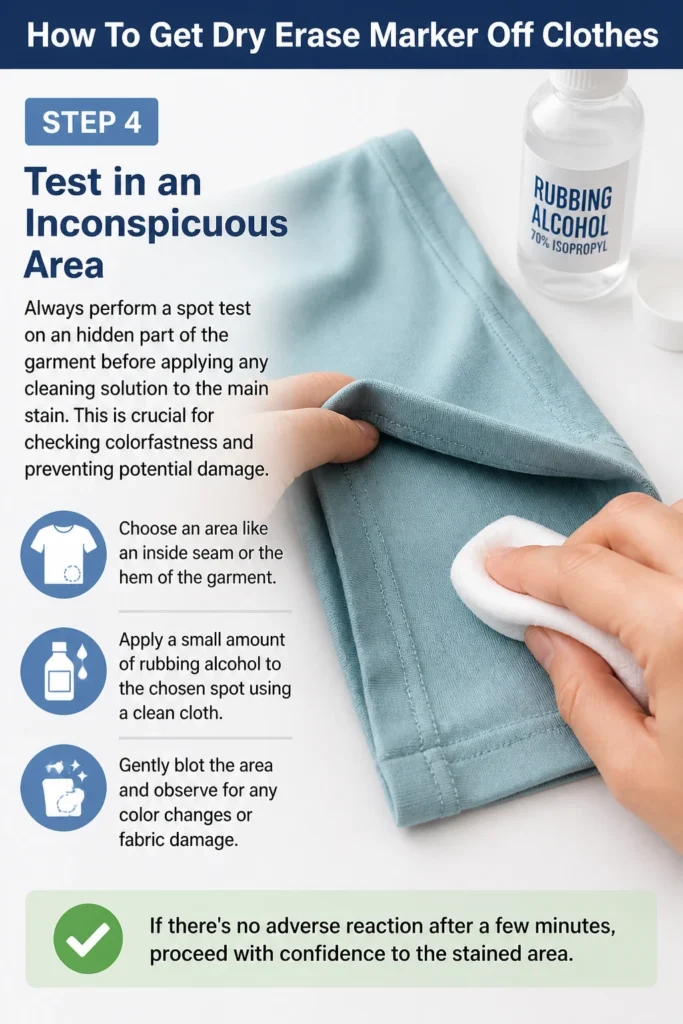
Apply a small amount of rubbing alcohol to the chosen spot using a clean cloth. Gently blot the area and observe for any color changes or fabric damage. If there’s no adverse reaction after a few minutes, proceed with confidence to the stained area.
Step 5: Blot the Stain with Rubbing Alcohol
Lay the stained garment flat on a clean surface, placing several layers of paper towels or a thick clean cloth underneath the stain. This backing will absorb the lifted marker ink, preventing it from spreading to other parts of the fabric. Begin the blotting process from the outside edges of the stain and work your way inward.
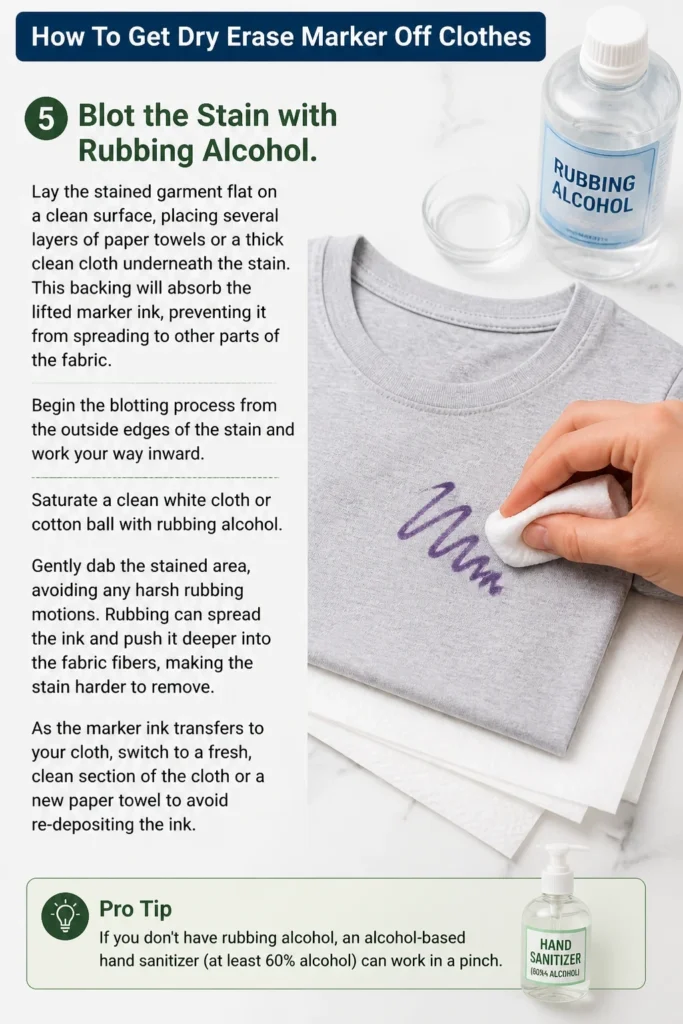
Saturate a clean white cloth or cotton ball with rubbing alcohol. Gently dab the stained area, avoiding any harsh rubbing motions. Rubbing can spread the ink and push it deeper into the fabric fibers, making the stain harder to remove. As the marker ink transfers to your cloth, switch to a fresh, clean section of the cloth or a new paper towel to avoid re-depositing the ink.
Pro Tip: If you don’t have rubbing alcohol, an alcohol-based hand sanitizer (at least 60% alcohol) can work as an effective alternative. Apply a small amount directly to the stain and blot as described.
Step 6: Rinse and Repeat
After blotting with alcohol for a few minutes, you’ll likely see the stain start to fade or transfer to your cloth. Once you’ve lifted as much ink as possible, rinse the treated area thoroughly under cold running water. This helps flush out any remaining alcohol and loose ink particles.
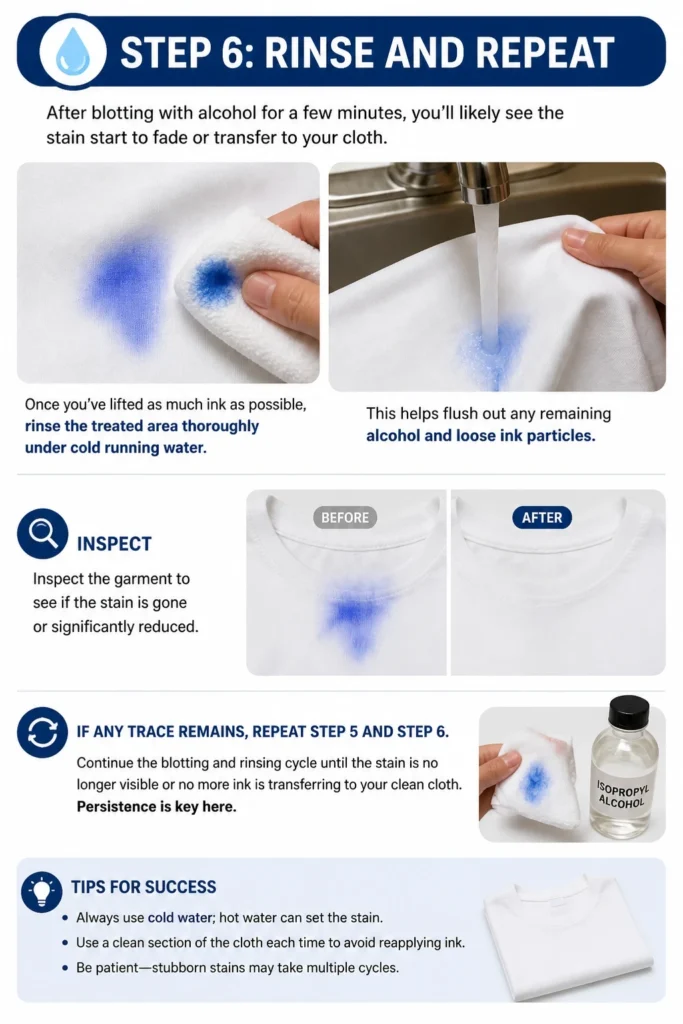
Inspect the garment to see if the stain is gone or significantly reduced. If any trace of the marker remains, repeat Step 5 and Step 6. Continue the blotting and rinsing cycle until the stain is no longer visible or no more ink is transferring to your clean cloth. Persistence is key here.
Step 7: Apply Laundry Detergent and Gently Rub
Once the dry erase marker stain is mostly or entirely gone, apply a small amount of liquid laundry detergent directly to the treated area. Use your fingers to gently work the detergent into the fabric, creating a light lather. This step helps to break down any lingering ink residue and removes the rubbing alcohol from the fabric.
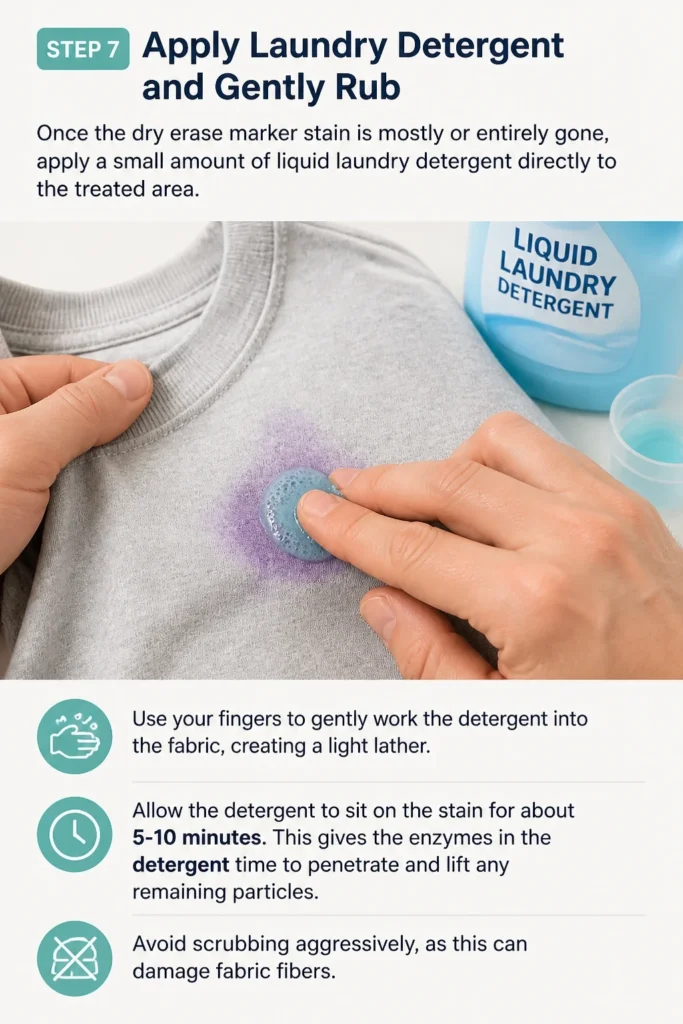
Allow the detergent to sit on the stain for about 5-10 minutes. This gives the enzymes in the detergent time to penetrate and lift any remaining particles. Avoid scrubbing aggressively, as this can damage fabric fibers.
Step 8: Wash the Garment as Usual
After the detergent has had time to work, wash the garment according to its care label instructions. Use the warmest water setting recommended for the fabric, as warmer water can help further dissolve any remaining stain particles. Add your regular amount of laundry detergent.
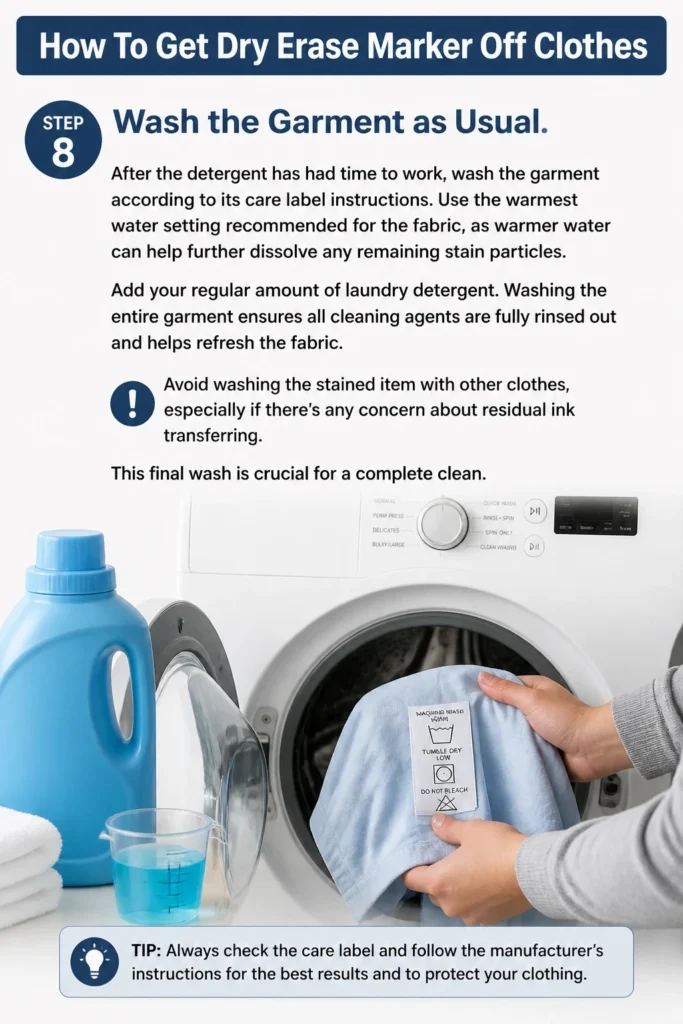
Washing the entire garment ensures all cleaning agents are fully rinsed out and helps refresh the fabric. Avoid washing the stained item with other clothes, especially if there’s any concern about residual ink transferring. This final wash is crucial for a complete clean.
Step 9: Air Dry and Inspect
Once the washing cycle is complete, remove the garment from the washing machine. Before placing it in the dryer, carefully inspect the formerly stained area under good lighting. It’s essential to confirm that the dry erase marker stain is completely gone.
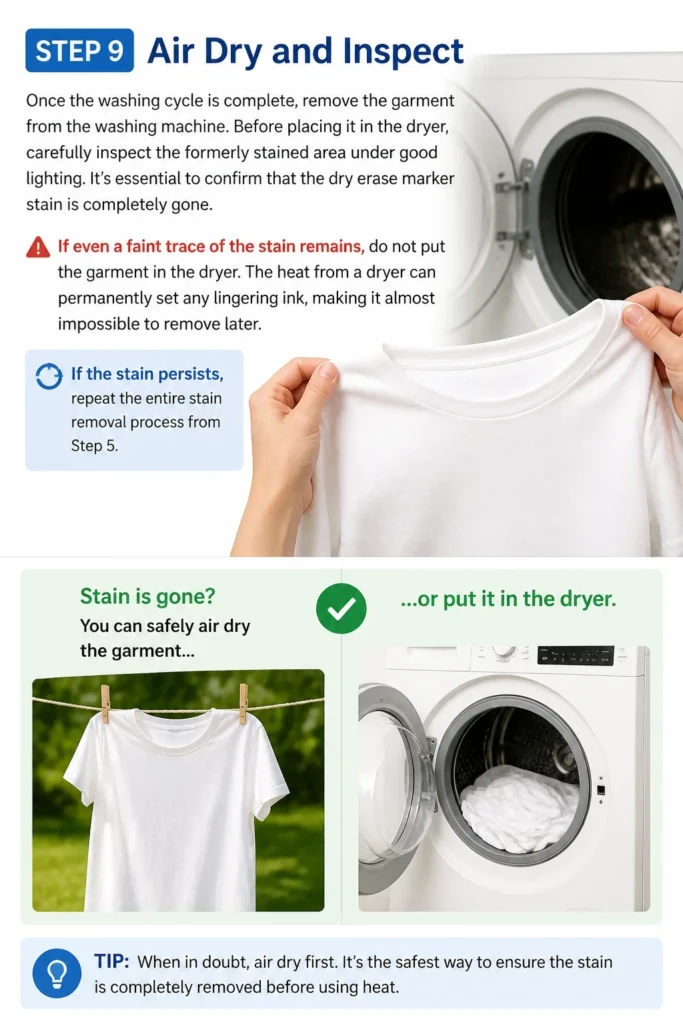
If even a faint trace of the stain remains, do not put the garment in the dryer. The heat from a dryer can permanently set any lingering ink, making it almost impossible to remove later. If the stain persists, repeat the entire stain removal process from Step 5. If the stain is gone, you can safely air dry the garment or put it in the dryer.
Common Mistakes to Avoid
Rubbing the Stain
It’s a natural instinct to scrub vigorously at a stain, but this is counterproductive for dry erase marker. Rubbing spreads the ink over a larger area, pushing it deeper into the fabric fibers. This makes the stain much more difficult to remove and can even damage the fabric.
Always blot the stain gently with a clean cloth. Start from the outer edges and work inwards. This technique lifts the ink rather than spreading it, containing the stain and making removal more effective.
Using Heat Too Soon
Applying heat to a dry erase marker stain before it’s completely removed is a critical error. This includes using a clothes dryer, hot water during rinsing, or even an iron. Heat causes the chemical compounds in the marker ink to bond permanently with the fabric fibers.
Always air dry the garment until you are absolutely certain the stain is gone. If the stain persists, re-treat it with alcohol and detergent before washing and air drying again. Patience with air drying saves your garment from permanent damage.
Ignoring Fabric Type
Not all fabrics are created equal, and treating them identically can lead to damage. Using harsh solvents or aggressive scrubbing on delicate materials like silk, wool, or rayon can cause discoloration, shrinkage, or fiber damage. Always check the care label first.
For delicate fabrics, a gentler approach is necessary, or it might be best to consult a professional cleaner. Performing a spot test on an inconspicuous area is always a wise precaution, regardless of fabric type, to ensure the cleaning agent won’t harm the material.
Applying Too Much Solvent
While rubbing alcohol is effective, saturating the fabric excessively can sometimes create a larger wet area that needs to dry, or even affect the fabric dye. Over-applying a solvent can also leave a residue or a “water mark” on certain fabrics after it dries.
Instead of drenching the stain, apply a moderate amount of rubbing alcohol to your blotting cloth. A damp cloth is sufficient to transfer the solvent to the stain without oversaturating the entire area. This controlled application is more efficient and reduces the risk of unintended consequences.
Troubleshooting
Stain Won’t Budge
If the dry erase marker stain seems stubborn despite repeated attempts, several factors might be at play. The stain might be older, or the fabric type could be less responsive to the initial treatment. Don’t lose hope; there are still options.
Try increasing the concentration of rubbing alcohol, or consider using a dedicated dry erase board cleaner, which often contains stronger solvents. For white, colorfast fabrics, a small amount of oxygen-based bleach (not chlorine bleach) might be carefully applied as a last resort. Always spot test first and rinse thoroughly.
Discoloration or Fading
If you notice the fabric’s color fading or a ring appearing after treatment, it’s usually due to the cleaning agent interacting with the dye. This is why a spot test is so important. Discoloration is more common on darker or brightly colored garments.
To mitigate this, immediately rinse the area thoroughly with cold water to dilute the solvent. For future treatments, use less solvent and blot more gently. If the discoloration is significant, a professional cleaner might be able to re-dye or restore the fabric.
Spreading Stain
A spreading stain indicates that the blotting technique might not be precise enough, or too much solvent was applied. The ink is being pushed outwards rather than lifted. This can make the original stain larger and more challenging to contain.
Ensure you are always blotting from the outside edges of the stain towards the center, not scrubbing. Use a fresh, clean section of your cloth or a new paper towel for each blot. Place a clean, absorbent towel directly beneath the stained area to act as a barrier and absorb any migrating ink, preventing further spread.
Key Takeaways
- Act quickly: Fresh stains are significantly easier to remove than dried ones.
- Blot, don’t rub: Gently dabbing lifts the ink, while rubbing spreads it.
- Rubbing alcohol is your primary tool: Isopropyl alcohol or alcohol-based hand sanitizer works best.
- Always spot test: Check for colorfastness and fabric reaction in an inconspicuous area.
- Avoid heat: Never put a stained garment in the dryer until the stain is completely gone.
- Wash and air dry: A final wash with detergent and air drying ensures complete stain removal.
Frequently Asked Questions
Does hand sanitizer really work for dry erase marker stains?
Yes, alcohol-based hand sanitizer can be quite effective. Its primary active ingredient, isopropyl alcohol, is the same solvent recommended for dry erase marker removal. Ensure it has an alcohol content of at least 60% for best results.
Can I use bleach to remove dry erase marker from clothes?
While bleach is a strong stain remover, it’s generally not recommended for dry erase marker unless the garment is white and made of a bleach-safe fabric. Bleach can damage fabric fibers and cause permanent discoloration on colored clothing. It’s best to stick to alcohol and detergent.
What if the dry erase marker stain is old or has already been through the dryer?
Old or heat-set dry erase marker stains are much more challenging to remove, but not always impossible. You can still try the alcohol and detergent method, repeating it multiple times with patience. For very stubborn stains, a professional dry cleaner might have specialized solutions that can help.
Is dry erase marker toxic to skin or clothes?
Dry erase markers are generally considered non-toxic and safe for casual skin contact. However, the solvents in them can cause mild irritation for some individuals. While they won’t harm clothes in a toxic sense, they are designed to be permanent on porous surfaces like fabric, making them difficult to remove without proper technique.
Our Top Recommended Finds
- Isopropyl Rubbing Alcohol (91%): A powerful, readily available solvent for tackling marker stains.
- Microfiber Cleaning Cloths: Gentle yet absorbent, perfect for blotting without damaging fabrics.
- Enzyme-Based Liquid Laundry Detergent: Helps break down any remaining ink pigments and thoroughly clean the garment.
Reclaim Your Wardrobe From Accidental Art
Don’t let a stray dry erase marker stain condemn your favorite clothes to the rag pile. With the right approach and a little patience, you can effectively tackle these common mishaps. You now have the knowledge and steps to confidently remove those vibrant streaks.
Take action the next time a marker strikes. You’ll be amazed at how easily you can restore your garments to their pristine condition. Keep these tips handy, and your wardrobe will thank you.
Beginner-friendly templates, step-by-step guides,
and weekly project ideas in your inbox.