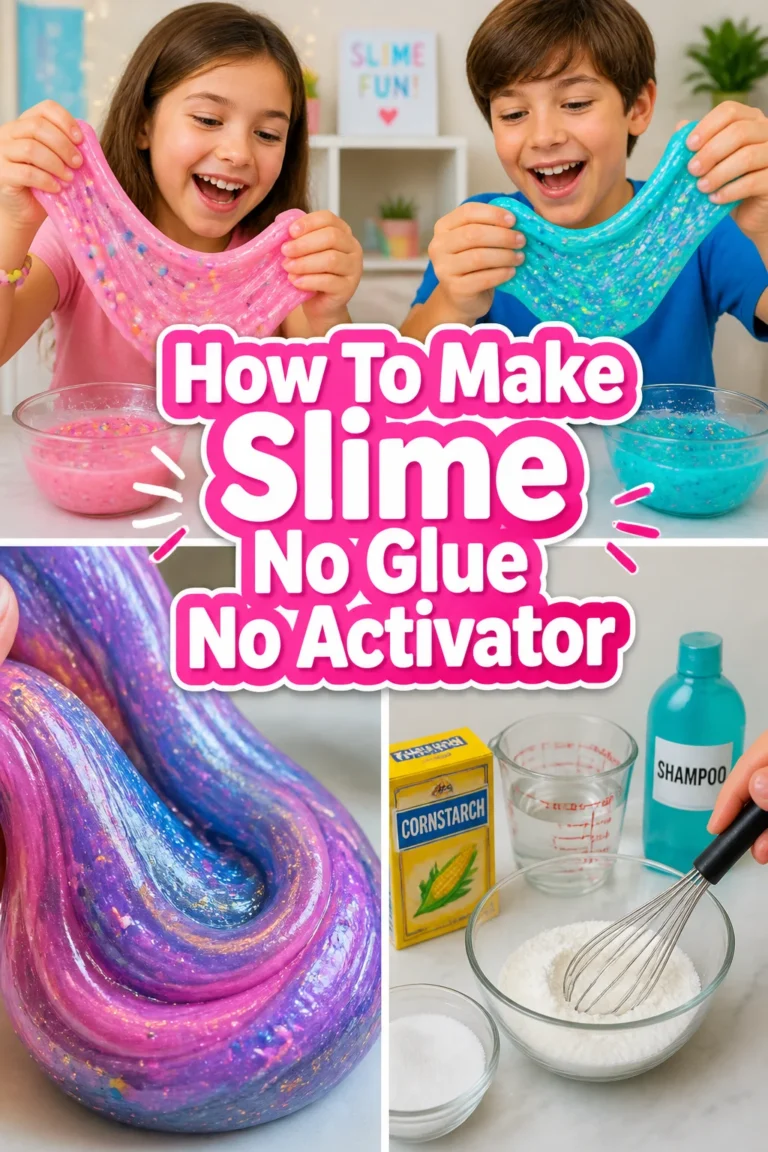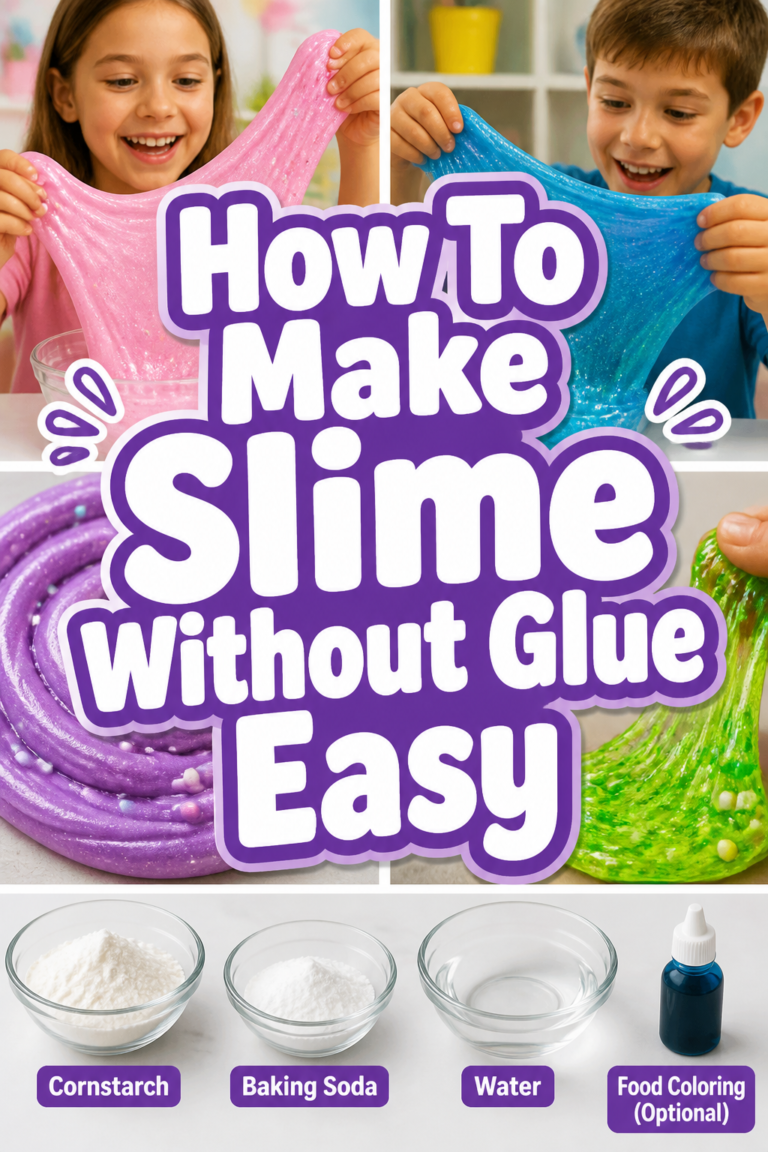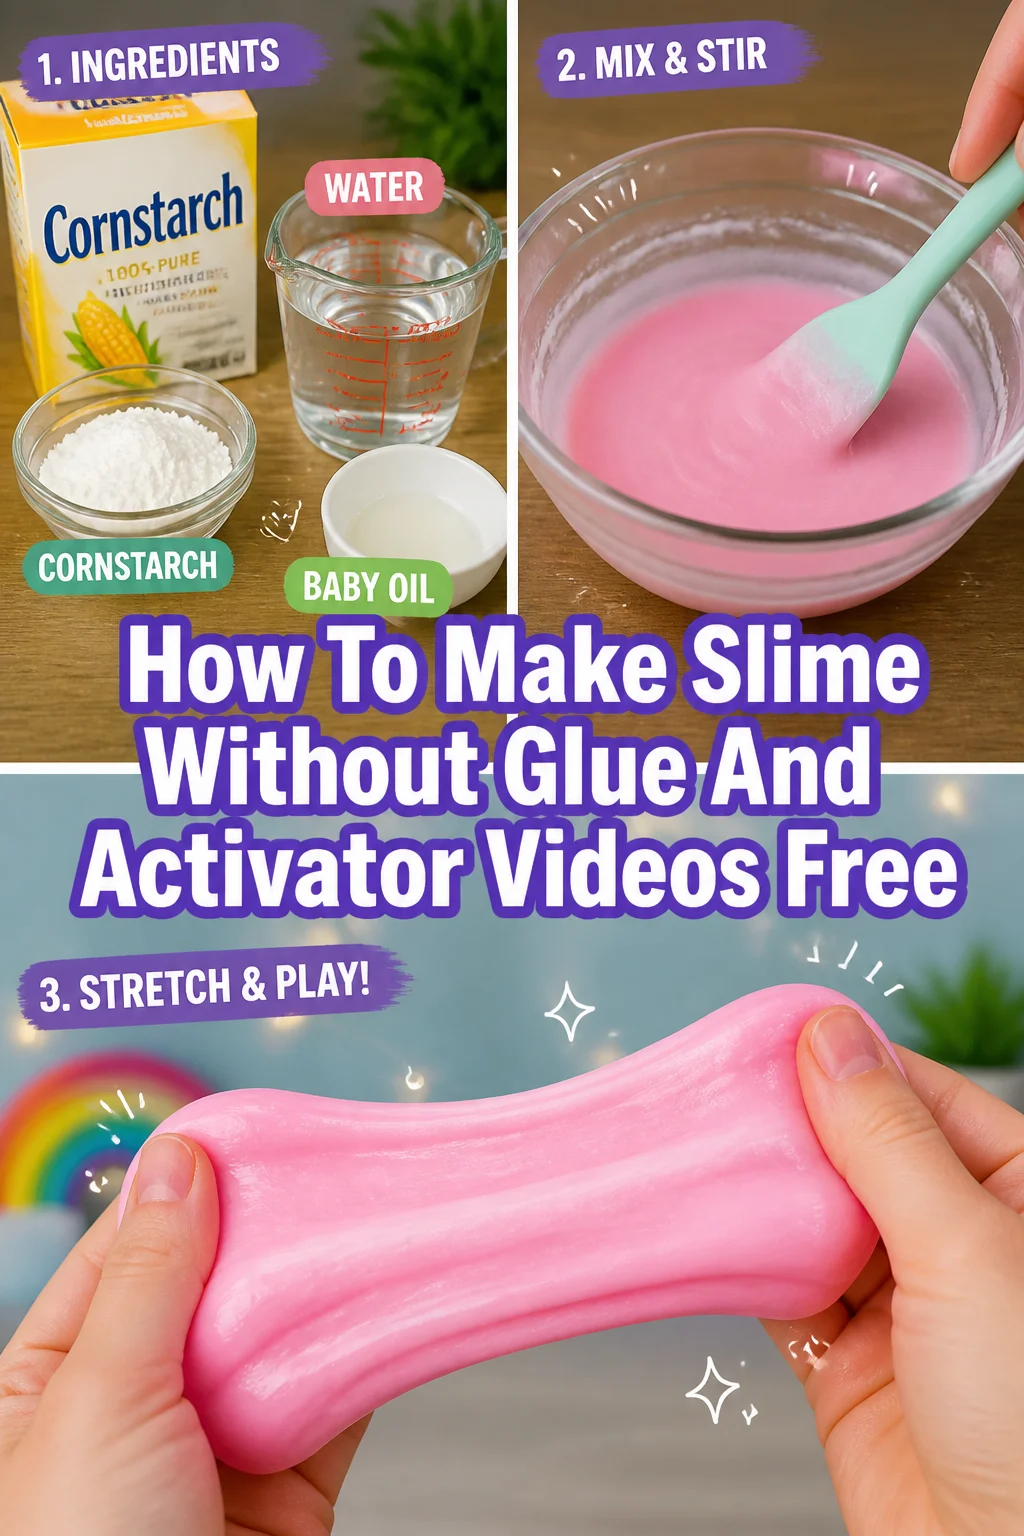
🧪 How To Make Slime Without Glue And Activator Videos Free

Beginner-friendly templates, step-by-step guides,
and weekly project ideas in your inbox.
I remember spending hours in my kitchen as a kid trying to turn dish soap into something bouncy.
Most of my early attempts ended up as a watery mess on the floor.
After years of testing household ingredients, I finally found the secret ratios that actually work without needing a trip to the store for glue.

Quick Overview
This guide helps you create stretchy, squishy slime using items already sitting in your pantry or bathroom.
- Time needed: 15 to 20 minutes
- Difficulty: Beginner
- What you’ll need: Cornstarch, dish soap, shampoo, salt, and a mixing bowl.
Step-by-Step Instructions
Step 1: Choose Your Base Ingredient
Pick a thick liquid to serve as the foundation of your slime.
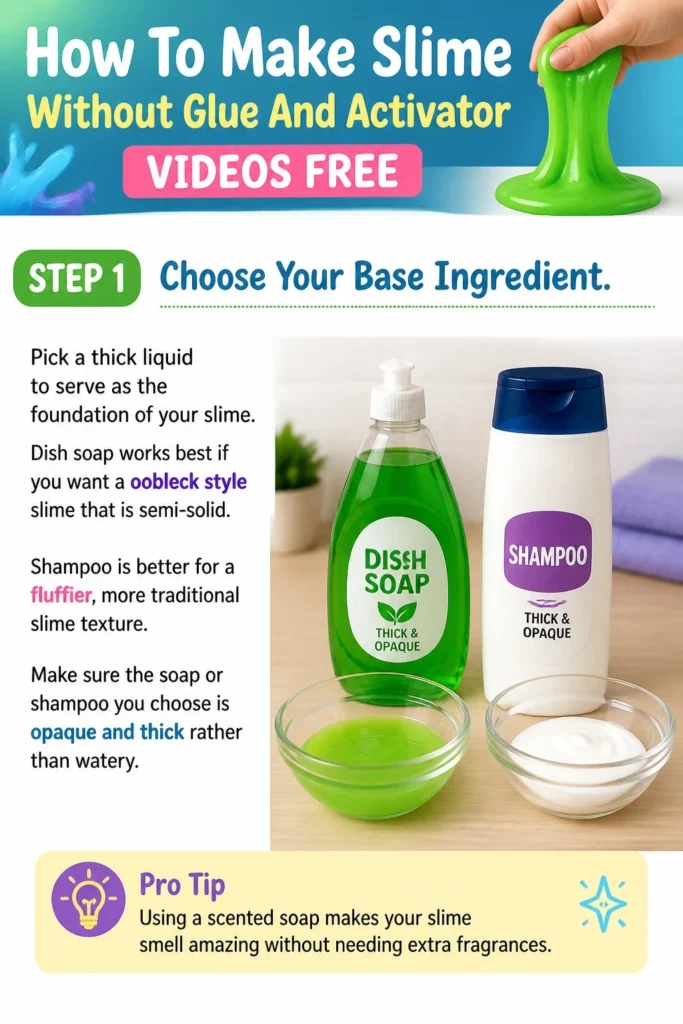
Dish soap works best if you want a “oobleck” style slime that is semi-solid.
Shampoo is better for a fluffier, more traditional slime texture.
Make sure the soap or shampoo you choose is opaque and thick rather than watery.
Pro Tip: Using a scented soap makes your slime smell amazing without needing extra fragrances.
Step 2: Measure Into A Bowl
Pour about half a cup of your chosen base into a clean plastic or glass bowl.
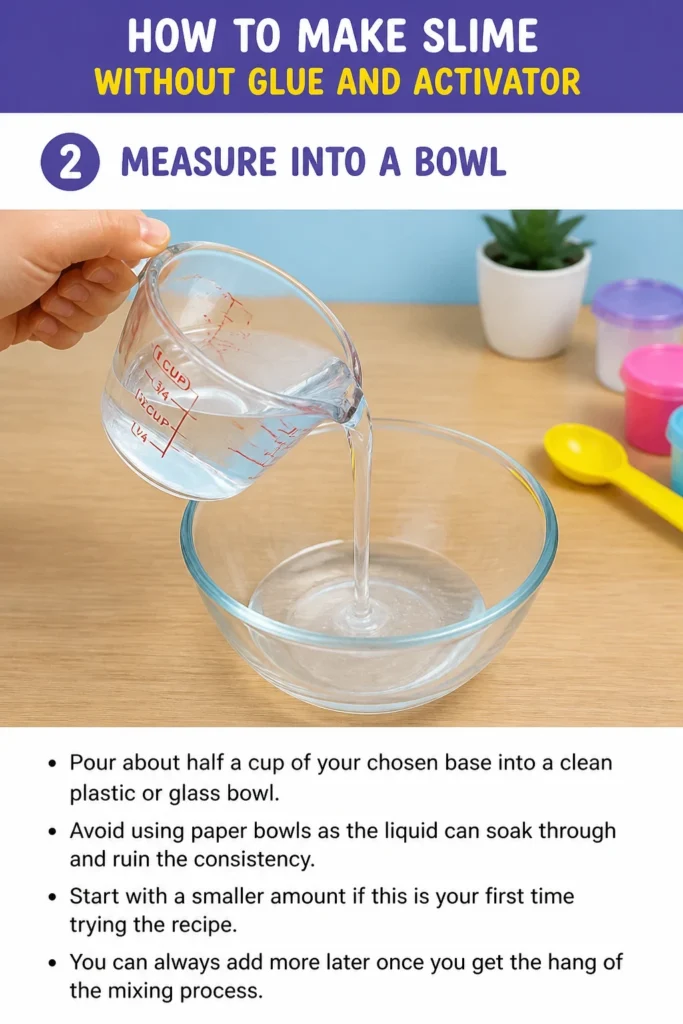
Avoid using paper bowls as the liquid can soak through and ruin the consistency.
Start with a smaller amount if this is your first time trying the recipe.
You can always add more later once you get the hang of the mixing process.
Step 3: Introduce The Thickening Agent
Add cornstarch slowly to the liquid base while stirring constantly.
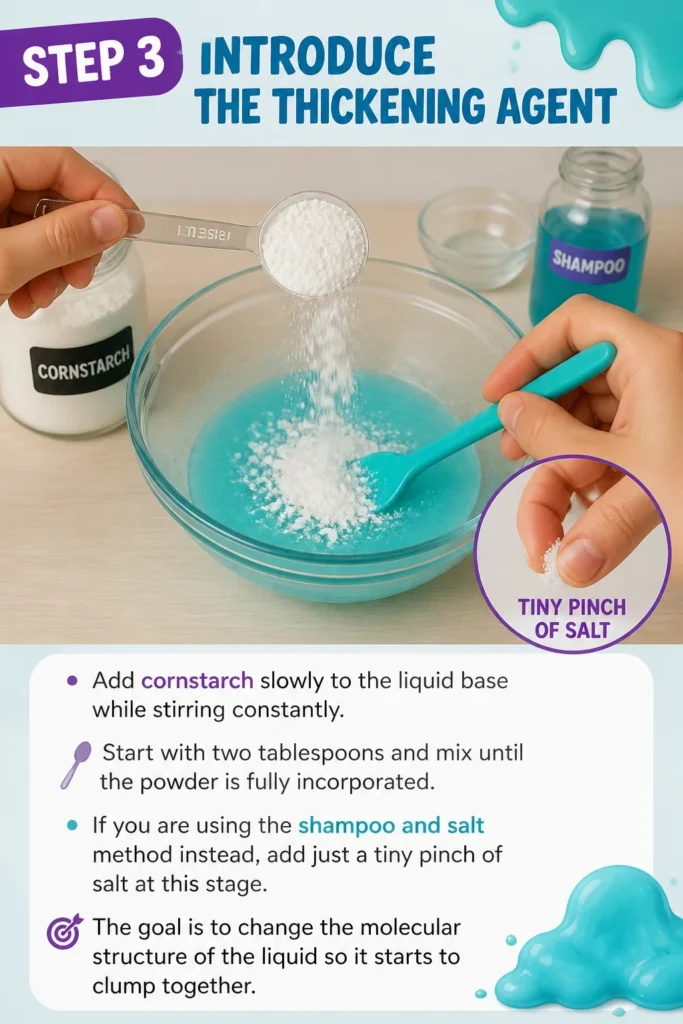
Start with two tablespoons and mix until the powder is fully incorporated.
If you are using the shampoo and salt method instead, add just a tiny pinch of salt at this stage.
The goal is to change the molecular structure of the liquid so it starts to clump together.
Step 4: Stir Until Solidification Begins
Mix the ingredients vigorously for at least two minutes.
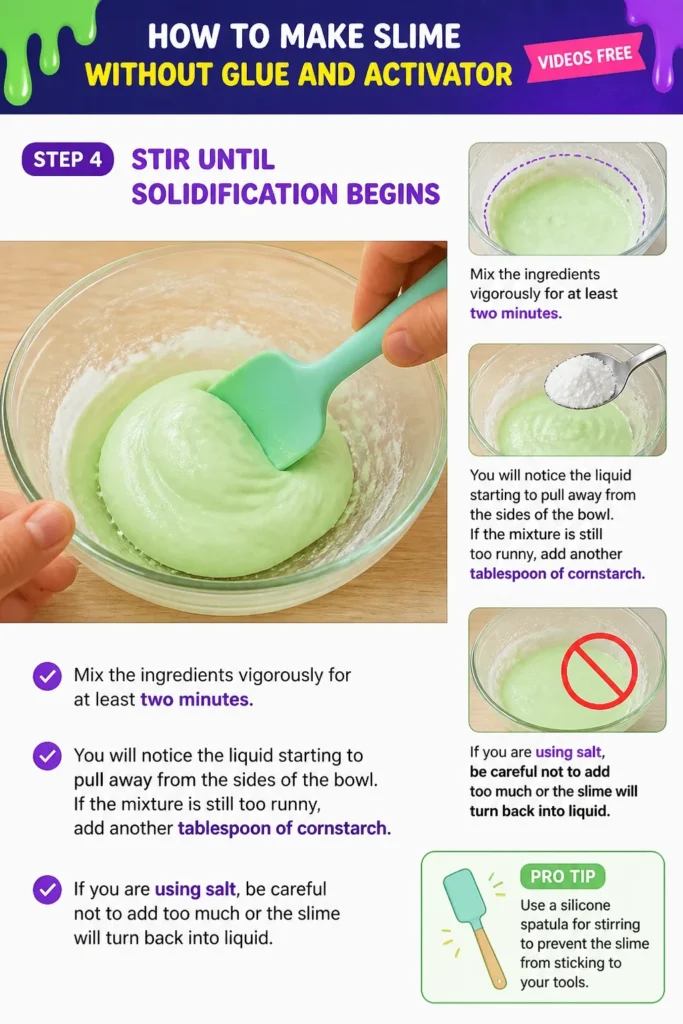
You will notice the liquid starting to pull away from the sides of the bowl.
If the mixture is still too runny, add another tablespoon of cornstarch.
If you are using salt, be careful not to add too much or the slime will turn back into liquid.
Pro Tip: Use a silicone spatula for stirring to prevent the slime from sticking to your tools.
Step 5: Knead By Hand
Remove the mixture from the bowl once it forms a soft dough-like ball.
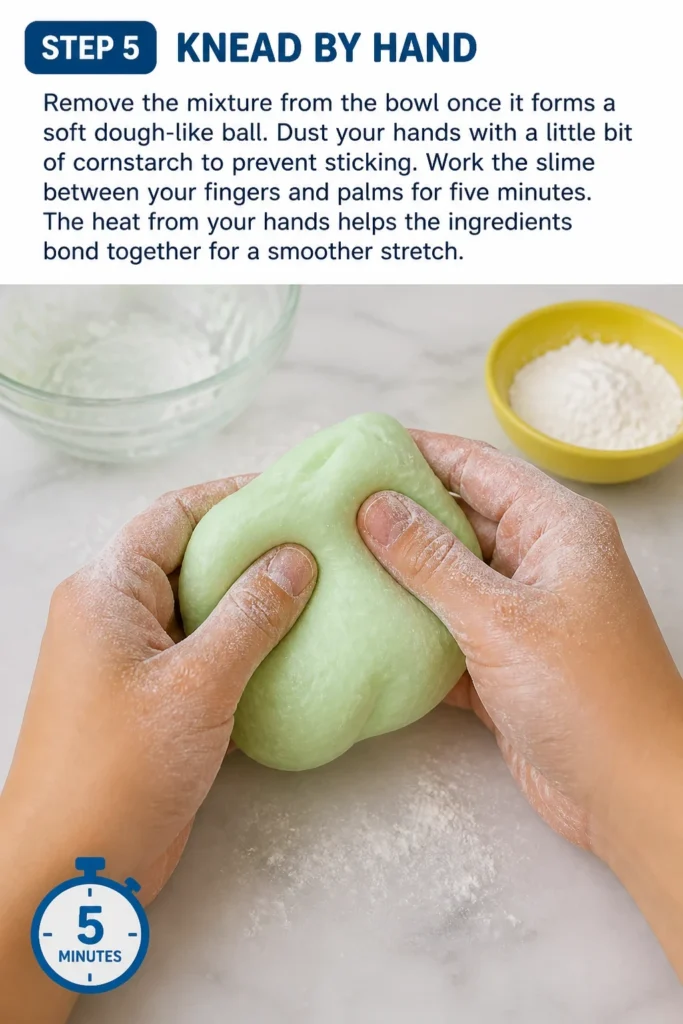
Dust your hands with a little bit of cornstarch to prevent sticking.
Work the slime between your fingers and palms for five minutes.
The heat from your hands helps the ingredients bond together for a smoother stretch.
Step 6: Adjust The Texture
Evaluate how the slime feels after kneading.
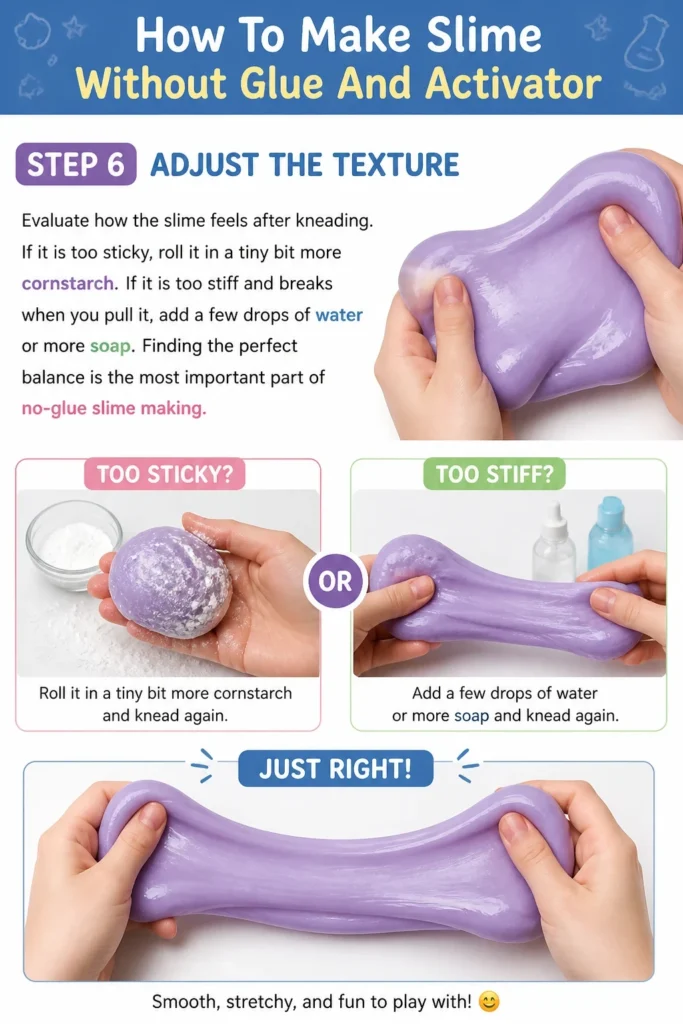
If it is too sticky, roll it in a tiny bit more cornstarch.
If it is too stiff and breaks when you pull it, add a few drops of water or more soap.
Finding the perfect balance is the most important part of “no-glue” slime making.
Step 7: Add Color And Flare
Poke a small hole in the center of your slime ball.
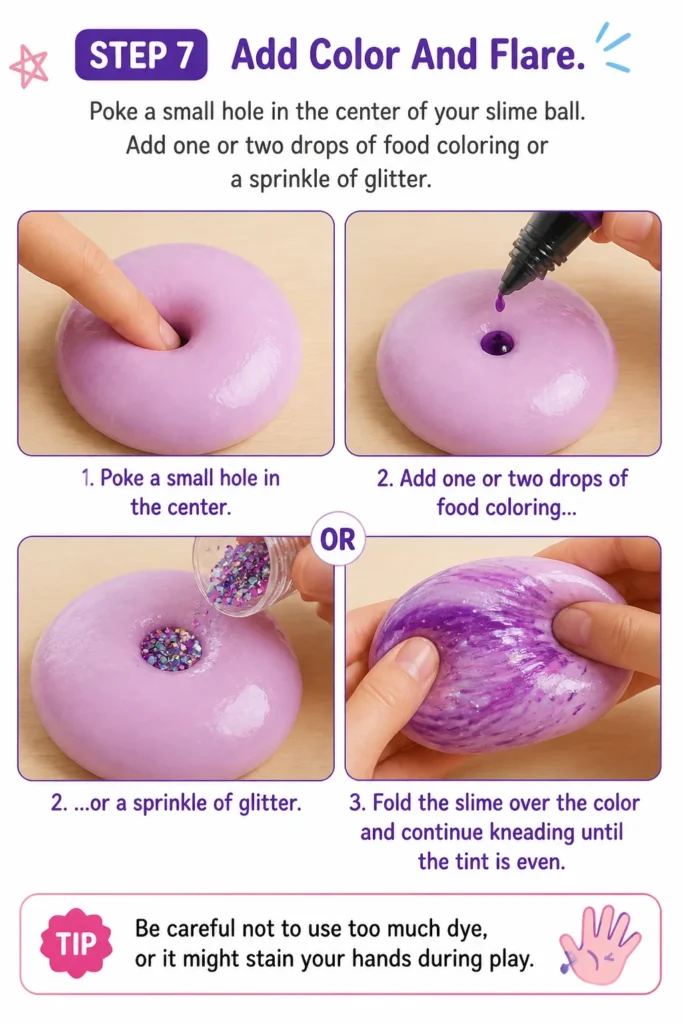
Add one or two drops of food coloring or a sprinkle of glitter.
Fold the slime over the color and continue kneading until the tint is even.
Be careful not to use too much dye, or it might stain your hands during play.
Step 8: Let It Rest
Place the slime back into the bowl and let it sit undisturbed for ten minutes.
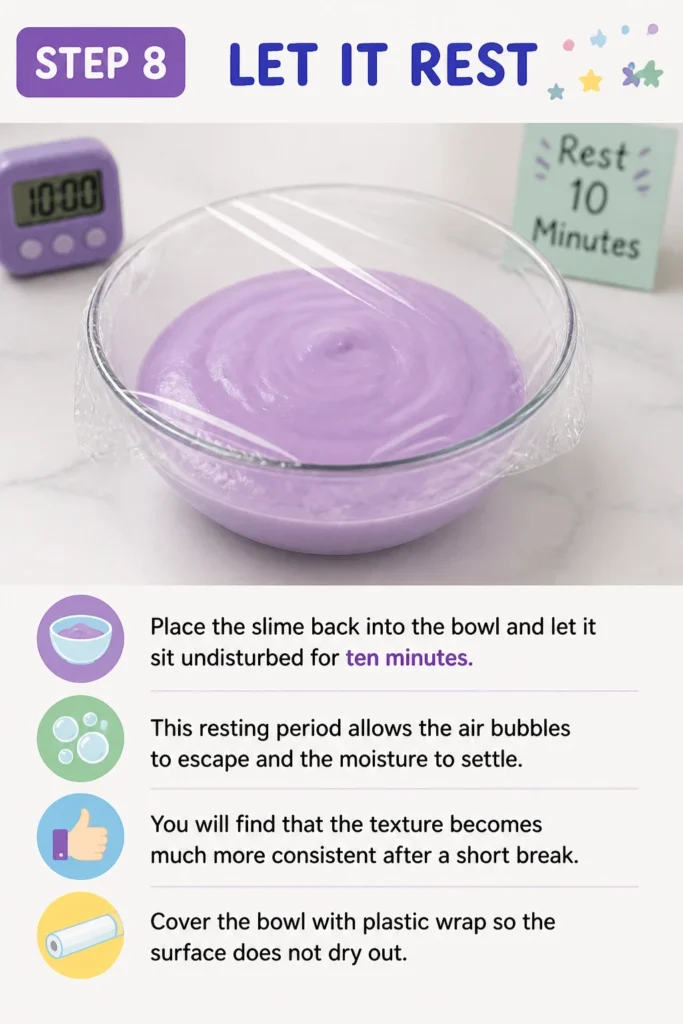
This resting period allows the air bubbles to escape and the moisture to settle.
You will find that the texture becomes much more consistent after a short break.
Cover the bowl with plastic wrap so the surface does not dry out.
Step 9: Test The Stretch
Pull the slime slowly to see how far it can go without snapping.
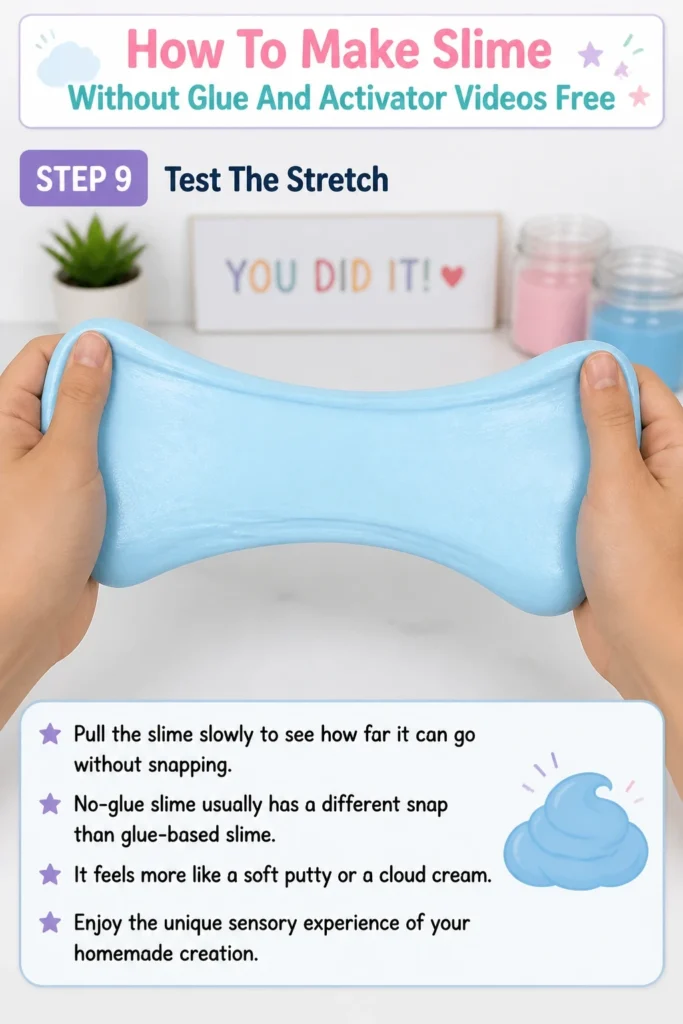
No-glue slime usually has a different “snap” than glue-based slime.
It feels more like a soft putty or a cloud cream.
Enjoy the unique sensory experience of your homemade creation.
Step 10: Proper Storage
Store your slime in an airtight container when you are finished playing.
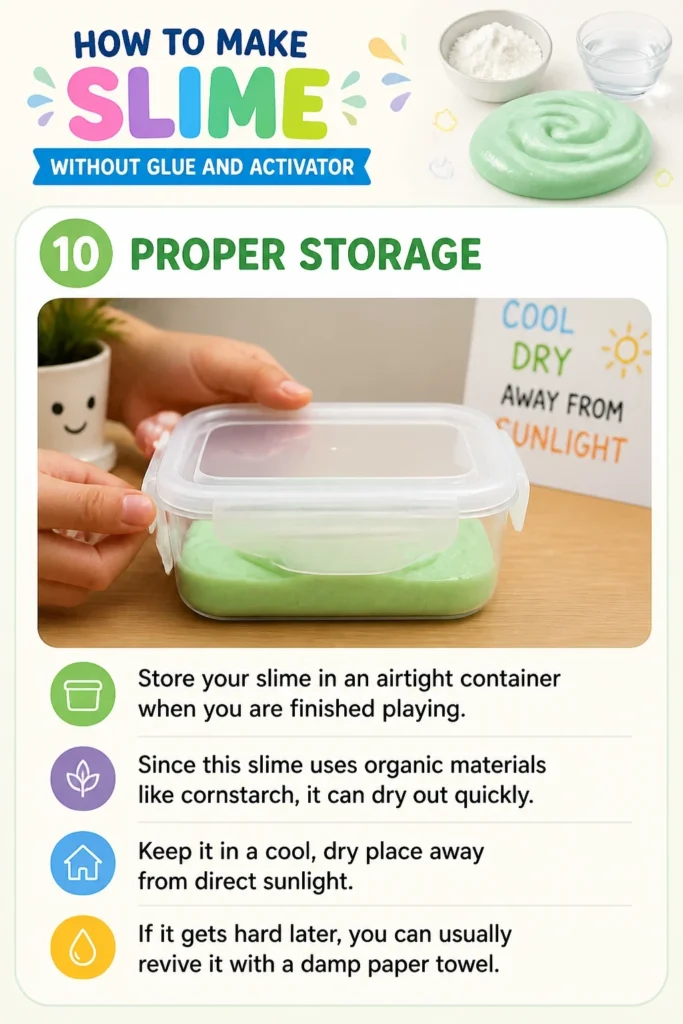
Since this slime uses organic materials like cornstarch, it can dry out quickly.
Keep it in a cool, dry place away from direct sunlight.
If it gets hard later, you can usually revive it with a damp paper towel.
Common Mistakes to Avoid
Using Too Much Salt
Many people think adding more salt will make shampoo slime thicker.
In reality, salt acts as a thickener only in very small amounts.
If you cross the limit, the salt will break down the chemical bonds and turn your slime into a salty soup.
Always add salt one tiny grain at a time to be safe.
Mixing Different Brands Of Soap
Every brand of dish soap and shampoo uses a different chemical formula.
Mixing a generic brand with a name brand can cause unexpected reactions.
Sometimes the chemicals cancel each other out, leaving you with a watery mess.
Stick to one brand per batch to ensure the consistency stays predictable.
Adding Water Too Early
It is tempting to add water if the mixture looks dry in the beginning.
Cornstarch needs time to absorb the soap before you can judge the moisture level.
Adding water too soon usually results in a sticky paste that never turns into slime.
Wait until the very end of the kneading process before considering any extra liquid.
Troubleshooting
The Slime Is Too Sticky
Sticky slime usually means there is too much liquid and not enough solid thickener.
Add cornstarch in half-teaspoon increments and knead it in thoroughly.
You can also try putting the slime in the freezer for five minutes.
Cold temperatures help the molecules move slower, which reduces stickiness instantly.
The Slime Is Crumbly And Breaking
If your slime is falling apart like dry sand, you have added too much powder.
Add a single pump of liquid soap to the center of the mass.
Work the soap in slowly until the crumbs start to stick back together.
You might need to do this a few times to restore the elasticity.
The Slime Melted Overnight
No-glue slime is less stable than traditional slime and can “melt” back into liquid.
This often happens if the container isn’t truly airtight or if the room is too warm.
If this happens, simply add a fresh tablespoon of cornstarch and remix it.
It usually takes less than a minute to bring the texture back to life.
Key Takeaways
- Choose a thick, high-quality dish soap or shampoo as your primary base.
- Add cornstarch or salt very slowly to avoid ruining the chemical balance.
- Knead the mixture by hand for several minutes to achieve a smooth texture.
- Let the slime rest for ten minutes before your first major play session.
- Always store the finished product in an airtight container to prevent drying.
- Adjust the recipe with tiny amounts of soap or starch if the texture changes.
Frequently Asked Questions
Can I use flour instead of cornstarch?
You can use flour, but the texture will be very different from cornstarch slime.
Flour creates a more dough-like consistency that is similar to play-dough rather than stretchy slime.
It also tends to get moldy faster, so you should only keep flour-based slime for a day or two.
Is this slime safe for toddlers?
While these ingredients are common household items, they are not edible.
Dish soap and shampoo can cause upset stomachs if swallowed by young children.
Always supervise children during playtime and ensure they wash their hands afterward.
How long does no-glue slime last?
Typically, this type of slime lasts about three to five days if stored correctly.
Because it doesn’t have the preservatives found in school glue, it eventually loses its stretch.
If it starts to smell strange or changes color, it is time to throw it away and make a new batch.
Why did my shampoo slime stay liquid?
Some shampoos are “low-sulfate” or “sulfate-free,” which means they won’t react with salt.
The thickening reaction relies on the sodium laureth sulfate found in most standard shampoos.
Check the ingredient label on your bottle if your slime refuses to thicken up.
Our Top Recommended Finds
- Silicone Mixing Spatulas: These are perfect because slime slides right off the surface without leaving a crusty residue.
- Airtight Plastic Deli Containers: These provide the best seal to keep your homemade slime moist for several days.
- Neon Food Coloring Gel: Gels provide much more vibrant colors than liquid drops without thinning out your slime mixture.
Start Your Slime Experiment Today
Now that you know the secrets to making slime without the usual chemicals, it is time to get messy.
Check your kitchen cabinets right now for some cornstarch and soap to begin your first batch.
Once you master the basic dish soap recipe, try experimenting with different shampoos or adding beads for texture.
Share your successful creations with friends and see who can make the stretchiest no-glue slime.
Beginner-friendly templates, step-by-step guides,
and weekly project ideas in your inbox.