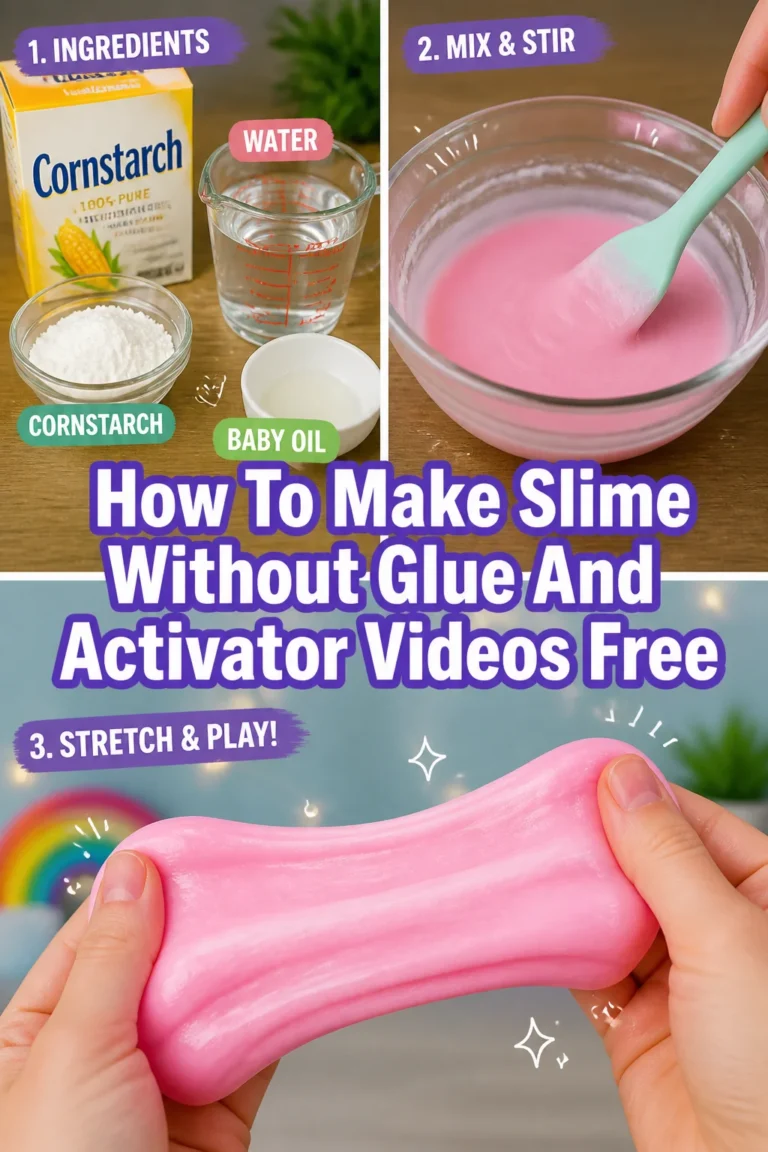
🥣 How To Make Slime Without Activator And Glue

Beginner-friendly templates, step-by-step guides,
and weekly project ideas in your inbox.
Making slime is usually a messy science experiment that involves heavy glues and chemical activators like borax or laundry detergent.
I remember the first time I tried to make slime with my younger cousins, only to realize we were completely out of school glue and contact lens solution.
After a few hours of trial and error in the kitchen, we discovered that you can create amazing, stretchy textures using nothing but common household staples.
Quick Overview
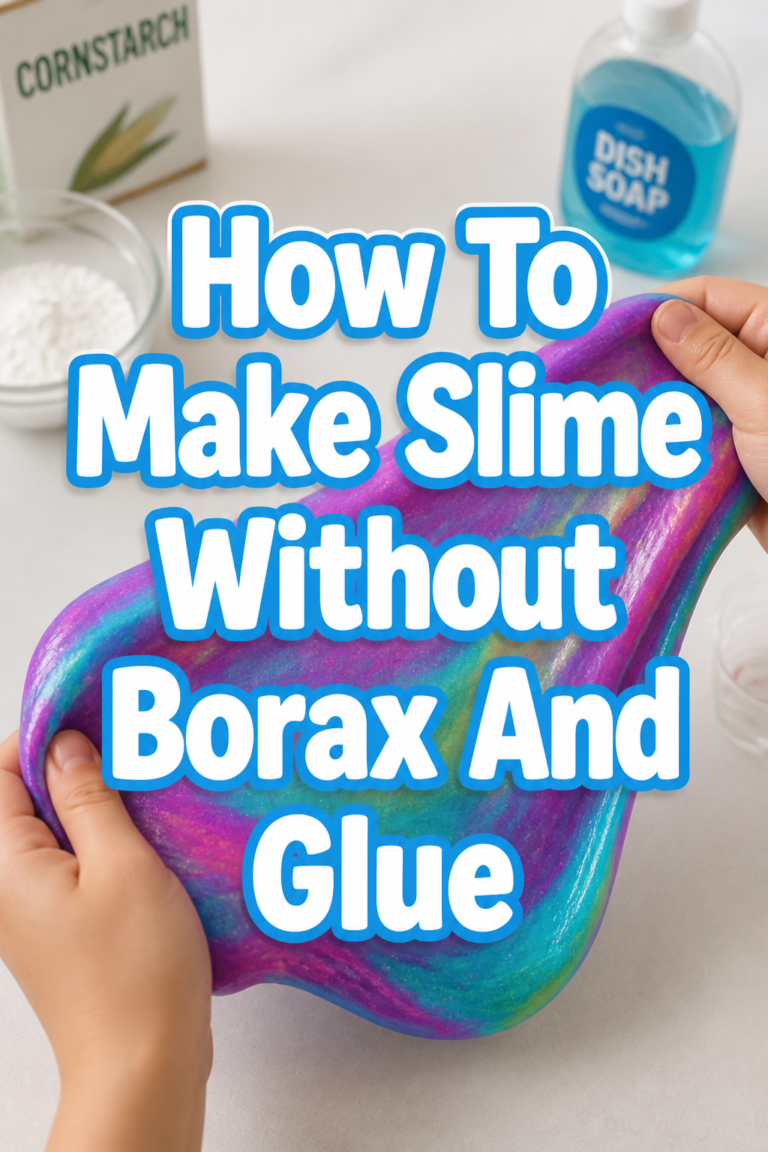
This guide focuses on the “Dish Soap and Cornstarch” method, which creates a soft, dough-like slime often called “Butter Slime.”
- Time needed: 15 minutes
- Difficulty: Beginner
- What you’ll need: Dish soap, cornstarch, a mixing bowl, a spoon, and optional food coloring.
Step-by-Step Instructions
Step 1: Choose Your Base Liquid
Select a thick dish soap to serve as the foundation of your slime.
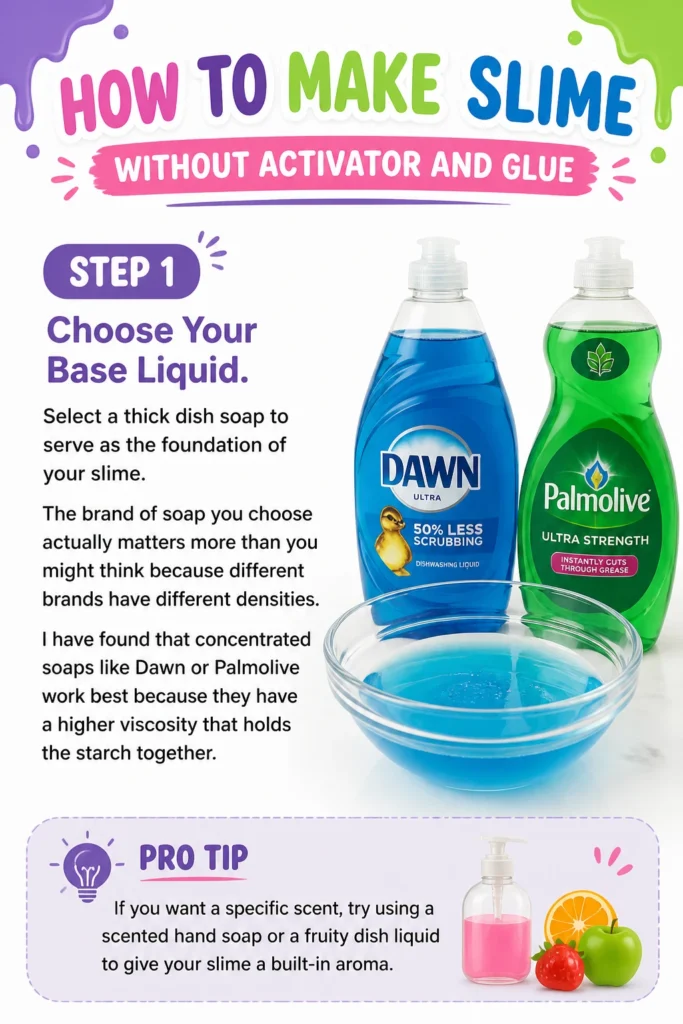
The brand of soap you choose actually matters more than you might think because different brands have different densities.
I have found that concentrated soaps like Dawn or Palmolive work best because they have a higher viscosity that holds the starch together.
Pro Tip: If you want a specific scent, try using a scented hand soap or a fruity dish liquid to give your slime a built-in aroma.
Step 2: Measure Into Your Mixing Bowl
Pour approximately two tablespoons of your chosen dish soap into a clean glass or plastic bowl.
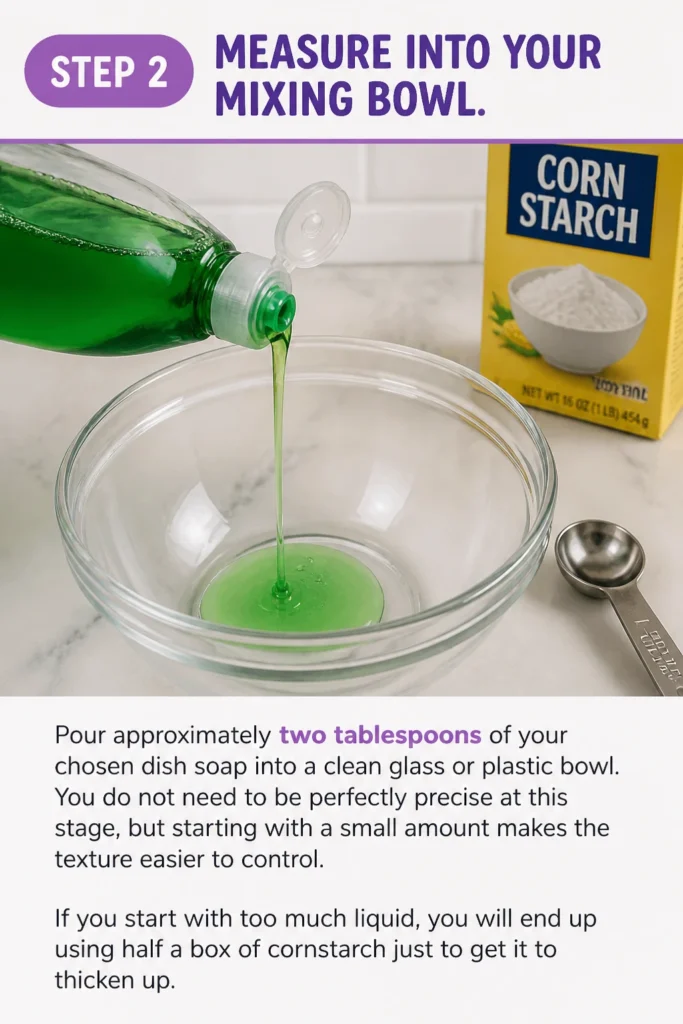
You do not need to be perfectly precise at this stage, but starting with a small amount makes the texture easier to control.
If you start with too much liquid, you will end up using half a box of cornstarch just to get it to thicken up.
Step 3: Add Your Custom Colors
Mix in one or two drops of food coloring if your dish soap is clear or if you want a more vibrant shade.
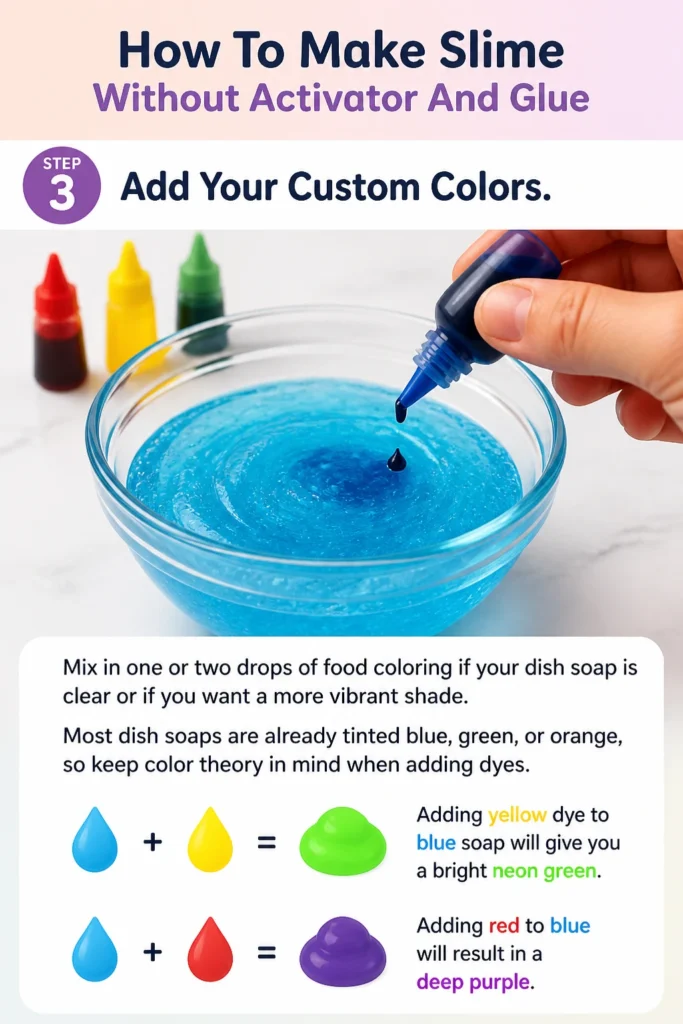
Most dish soaps are already tinted blue, green, or orange, so keep color theory in mind when adding dyes.
Adding yellow dye to blue soap will give you a bright neon green, while adding red to blue will result in a deep purple.
Step 4: Introduce The Thickening Agent
Add two tablespoons of cornstarch directly on top of the liquid soap.
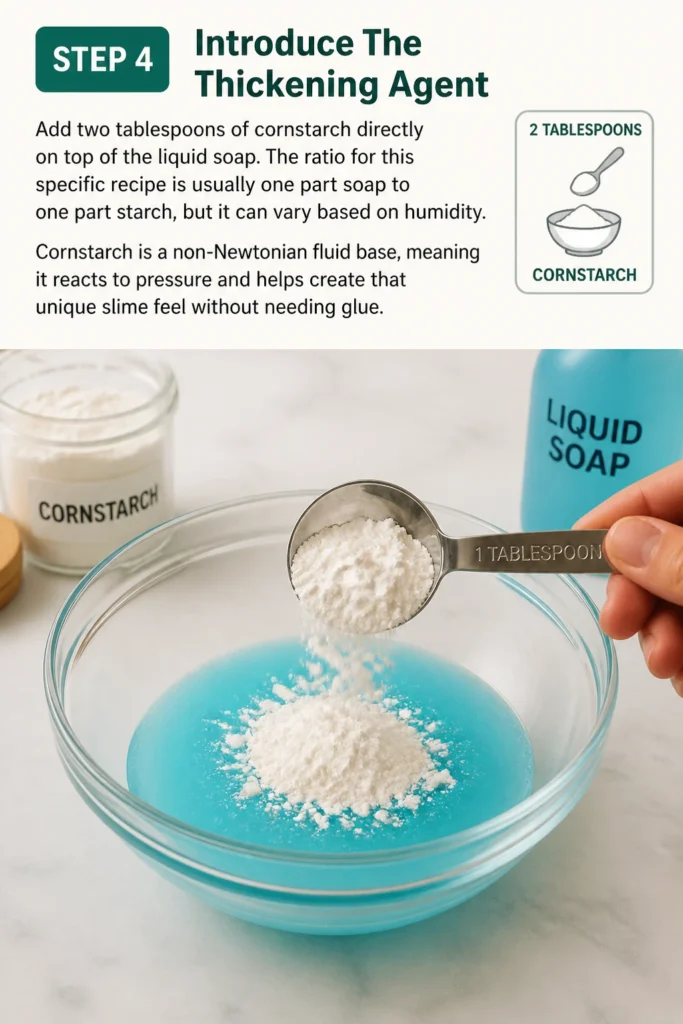
The ratio for this specific recipe is usually one part soap to one part starch, but it can vary based on humidity.
Cornstarch is a non-Newtonian fluid base, meaning it reacts to pressure and helps create that unique “slime” feel without needing glue.
Step 5: Stir The Ingredients Slowly
Combine the soap and starch using a spoon or a silicone spatula.
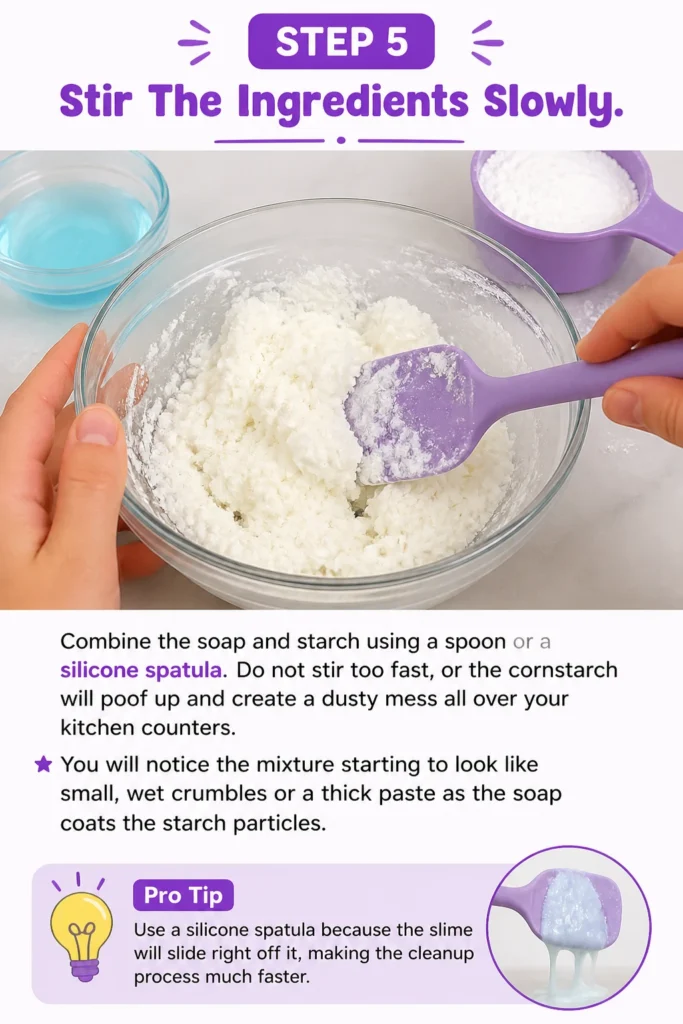
Do not stir too fast, or the cornstarch will poof up and create a dusty mess all over your kitchen counters.
You will notice the mixture starting to look like small, wet crumbles or a thick paste as the soap coats the starch particles.
Pro Tip: Use a silicone spatula because the slime will slide right off it, making the cleanup process much faster.
Step 6: Assess The Consistency
Check if the mixture is still sticking to the sides of the bowl or if it is starting to clump together.
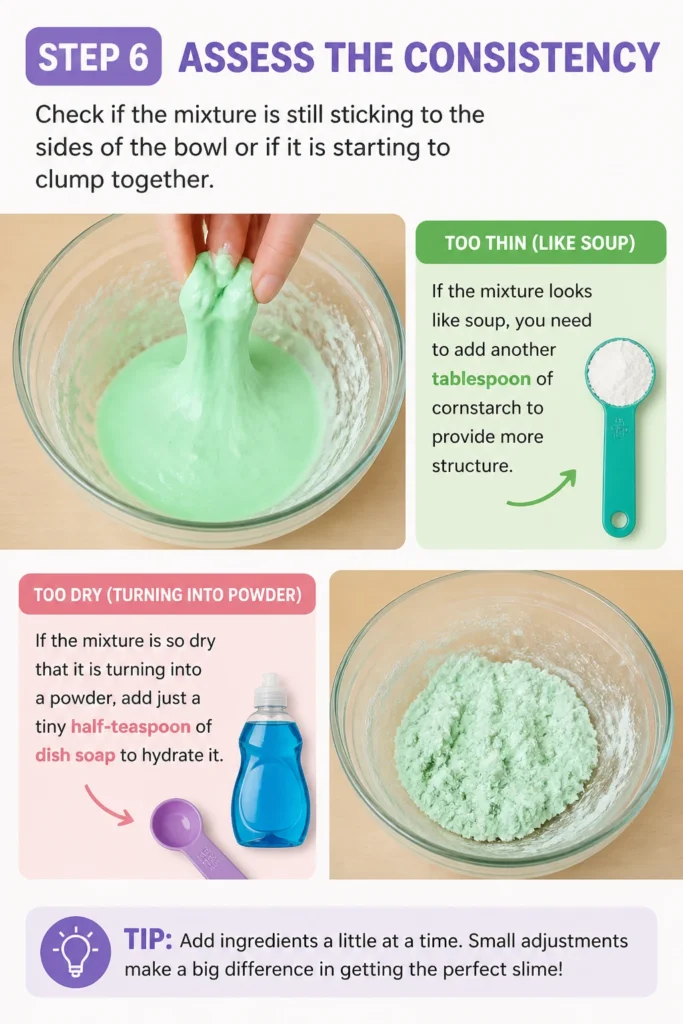
If the mixture looks like soup, you need to add another tablespoon of cornstarch to provide more structure.
If the mixture is so dry that it is turning into a powder, add just a tiny half-teaspoon of dish soap to hydrate it.
Step 7: Begin The Kneading Process
Pick up the mixture with your hands once it is no longer a liquid but still feels a bit tacky.
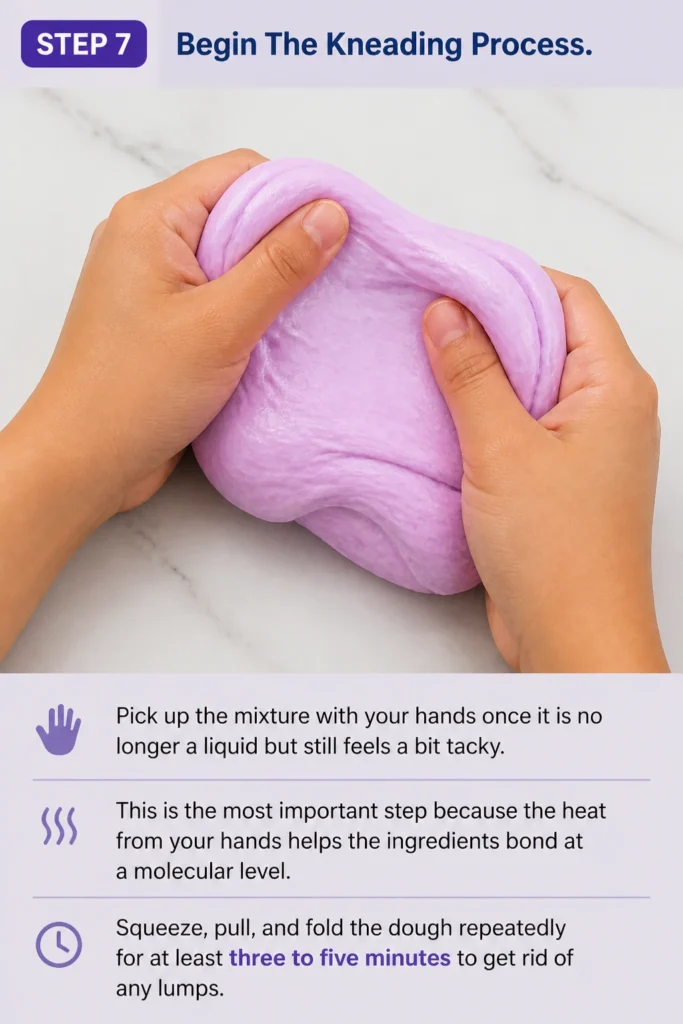
This is the most important step because the heat from your hands helps the ingredients bond at a molecular level.
Squeeze, pull, and fold the dough repeatedly for at least three to five minutes to get rid of any lumps.
Step 8: Stretch And Test
Test the elasticity of your slime by pulling it slowly in opposite directions.
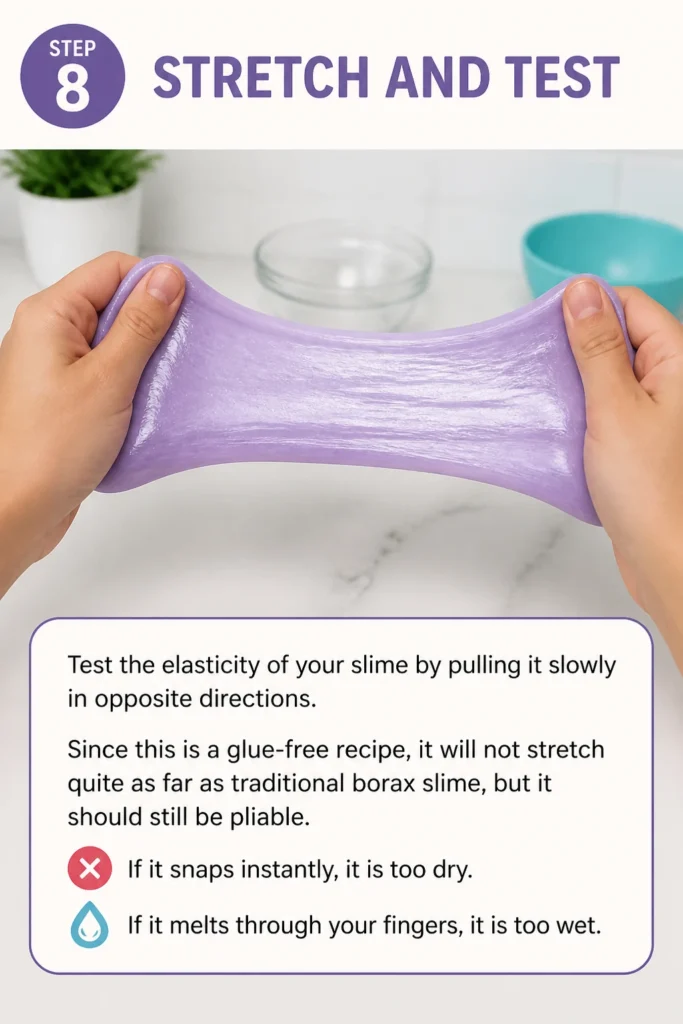
Since this is a glue-free recipe, it will not stretch quite as far as traditional borax slime, but it should still be pliable.
If it snaps instantly, it is too dry; if it melts through your fingers, it is too wet.
Step 9: Add Texture Or Shine
Incorporate a small drop of olive oil or coconut oil if you want the slime to have a glossy finish.
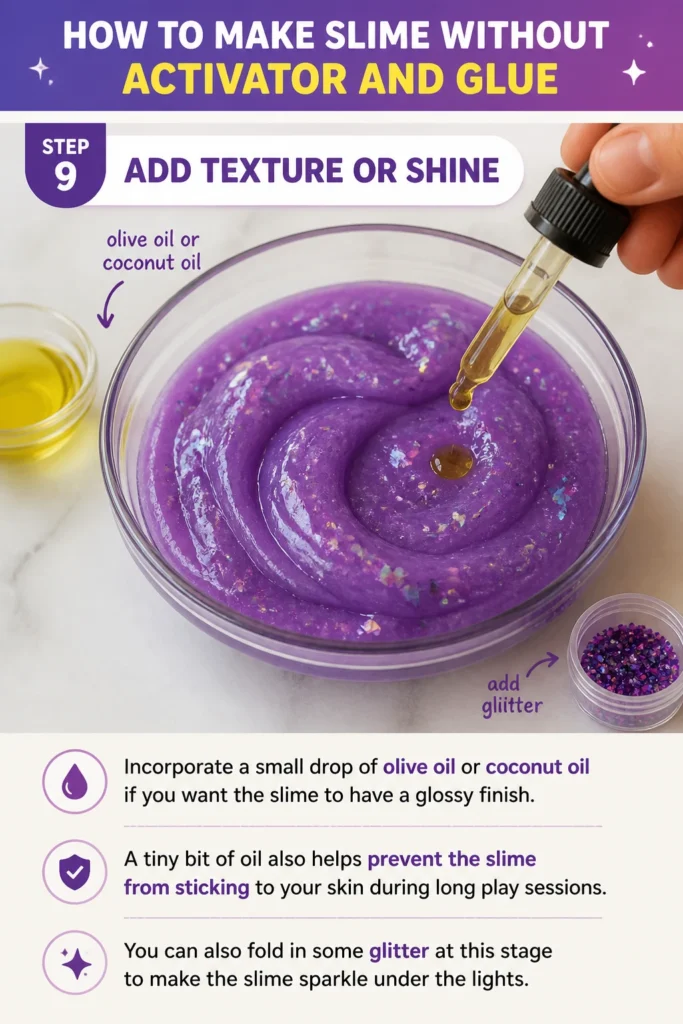
A tiny bit of oil also helps prevent the slime from sticking to your skin during long play sessions.
You can also fold in some glitter at this stage to make the slime sparkle under the lights.
Step 10: Store For Longevity
Place your finished slime in an airtight container or a zip-top bag immediately after you are done playing.
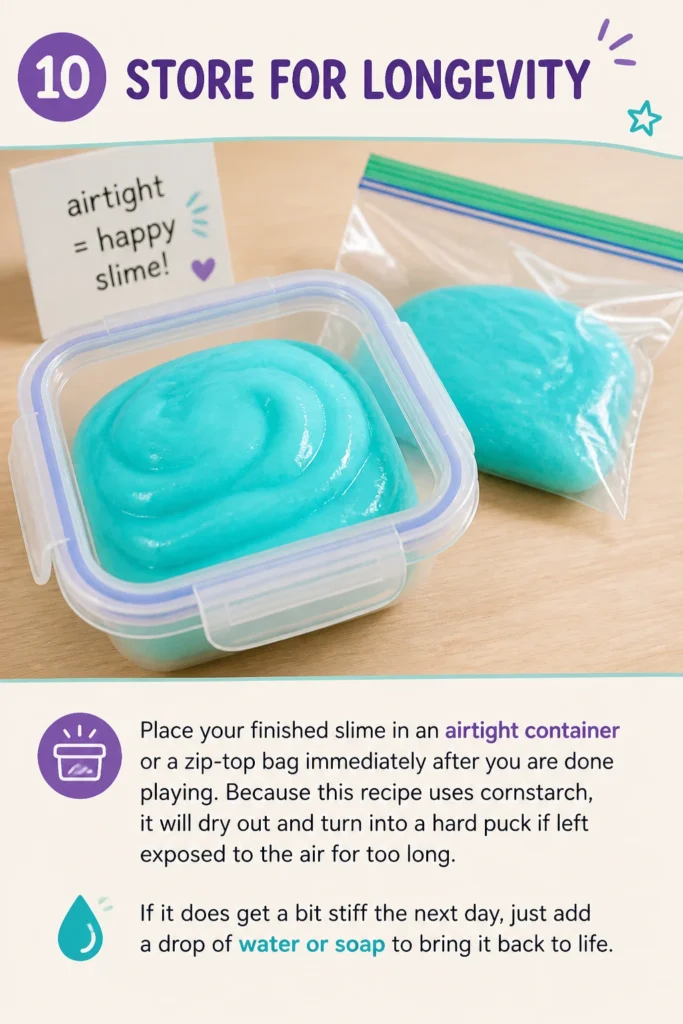
Because this recipe uses cornstarch, it will dry out and turn into a hard puck if left exposed to the air for too long.
If it does get a bit stiff the next day, just add a drop of water or soap to bring it back to life.
Common Mistakes to Avoid
Using Too Much Salt
In some variations of glue-free slime, people suggest using shampoo and salt.
The biggest mistake is adding a handful of salt all at once, which actually breaks down the chemical bonds in the shampoo.
This turns your slime into a watery liquid that can never be recovered, so always add salt one tiny pinch at a time.
Choosing The Wrong Soap Type
Not all soaps are created equal when it comes to making slime without glue.
Very thin, watery hand soaps or organic soaps that lack thickening agents usually fail to bind with the cornstarch.
Stick to “ultra” concentrated dish soaps or thick, pearlescent shampoos for the most consistent results.
Rushing The Mixing Phase
Many people give up on their slime because it looks like a mess in the first two minutes.
It takes time for the cornstarch to fully absorb the liquid and create a cohesive dough.
Be patient and keep kneading even if it feels like it is not coming together right away.
Troubleshooting
The Slime Is Too Sticky
If the slime is sticking to your fingers like glue, the moisture content is too high.
Dust your hands with a little bit of extra cornstarch and continue kneading the slime.
The extra powder will soak up the excess soap and create a smoother, matte finish.
The Slime Is Crumbly And Breaking
When the slime falls apart into little pieces, it has too much starch and not enough “glue” or moisture.
Add a few drops of dish soap or even a tiny bit of lotion to the mixture.
Work the liquid into the center of the ball until the crumbs disappear and it becomes stretchy again.
Key Takeaways
- Dish soap and cornstarch are the most reliable ingredients for glue-free slime recipes.
- Slow mixing prevents the cornstarch from creating a mess and helps the texture develop properly.
- Hand kneading is required to activate the ingredients and create a smooth, play-ready consistency.
- Airtight storage is the only way to keep your glue-free slime from drying out overnight.
- Ratios are flexible, so do not be afraid to add more soap or starch until you find your perfect texture.
Frequently Asked Questions
Can I use flour instead of cornstarch?
You can use flour, but the texture will be much more like playdough than slime.
Flour contains gluten, which creates a heavier, denser mass that does not have the same silky “slip” as cornstarch.
If you do use flour, you might need to add a little bit of vegetable oil to keep it from becoming too tough.
How long does this slime last?
Since this recipe uses food-based ingredients and soap, it usually stays fresh for about two to three days.
Over time, the cornstarch may begin to smell or the mixture might separate.
If you see any changes in color or notice a strange odor, it is time to toss it out and make a fresh batch.
Is this slime safe for toddlers?
While this recipe does not contain harsh activators like borax, it is still not edible because of the dish soap.
Always supervise young children to make sure they do not try to taste the slime.
If you want a truly taste-safe version, you should look into recipes using marshmallows or fiber supplements.
Why did my shampoo slime turn into liquid?
Shampoo slime is very sensitive to temperature and the amount of salt used.
If your hands are too warm, the shampoo will melt, and if you added too much salt, the ions will liquify the soap.
Try putting the liquid mixture in the freezer for 10 minutes to see if it sets back up into a gel.
Our Top Recommended Finds
- Silicone Mixing Spatulas: These are perfect for stirring slime because the mixture won’t stick to the tool, making the transition from bowl to hand much easier.
- Airtight Plastic Deli Containers: These provide a much better seal than sandwich bags, ensuring your cornstarch-based slime stays soft for several days.
- Gel Food Coloring: Gel colors are more concentrated than liquid drops, meaning you can get bright colors without adding extra moisture that might ruin the slime consistency.
Experiment With Your New Creation
Now that you have mastered the basic soap and starch method, you can start experimenting with different variations at home.
Try making a “shampoo and salt” version next to see how the textures differ from the doughy cornstarch version.
You can even try adding “mix-ins” like small foam beads or charms to create your own custom sensory experience.
Grab your mixing bowl and start your first batch today to see just how easy science can be.
Beginner-friendly templates, step-by-step guides,
and weekly project ideas in your inbox.