🔥 How To Make Slime With No Glue Activator

Beginner-friendly templates, step-by-step guides,
and weekly project ideas in your inbox.
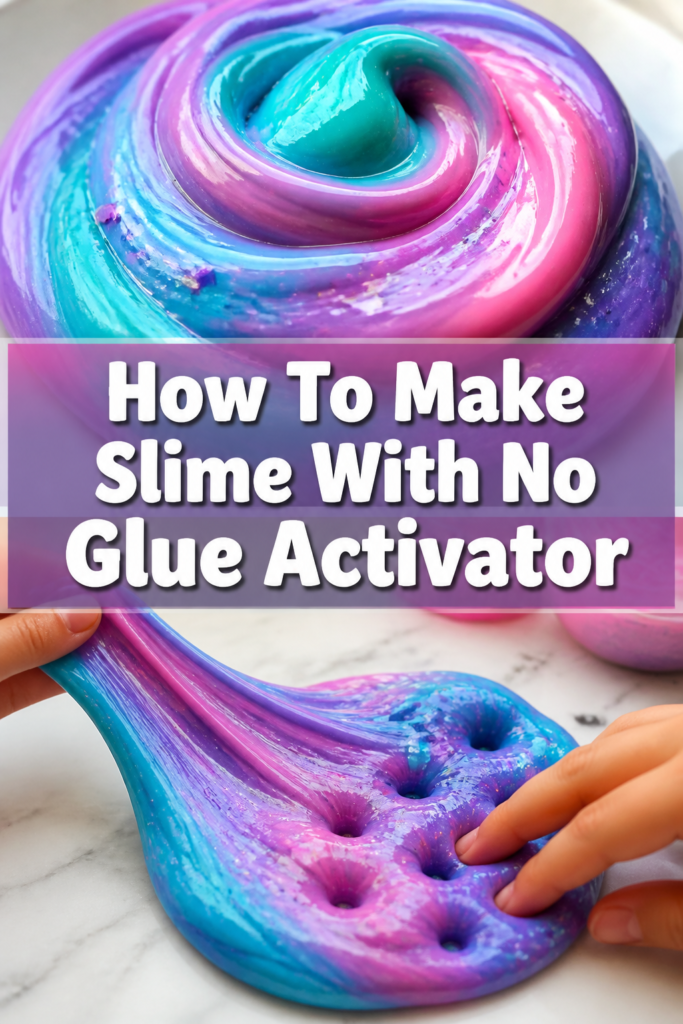
Remember the pure joy of gooey, stretchy slime? That mesmerizing texture and satisfying squish is truly captivating.
But what if you don’t have glue, borax, or liquid starch readily available? Don’t worry, I’ve spent countless hours experimenting with alternative recipes.
I’m thrilled to share the secrets to a perfect batch of homemade slime, crafted entirely without those common activators, based on my first-hand experience.
Quick Overview
Making slime without glue or traditional activators is a fun, accessible project. You’ll create a unique, moldable substance with household ingredients.
This guide will walk you through the process, ensuring a satisfying result. Get ready for some hands-on, creative fun!
- Time needed: 15-30 minutes (including optional chilling time)
- Difficulty: Beginner
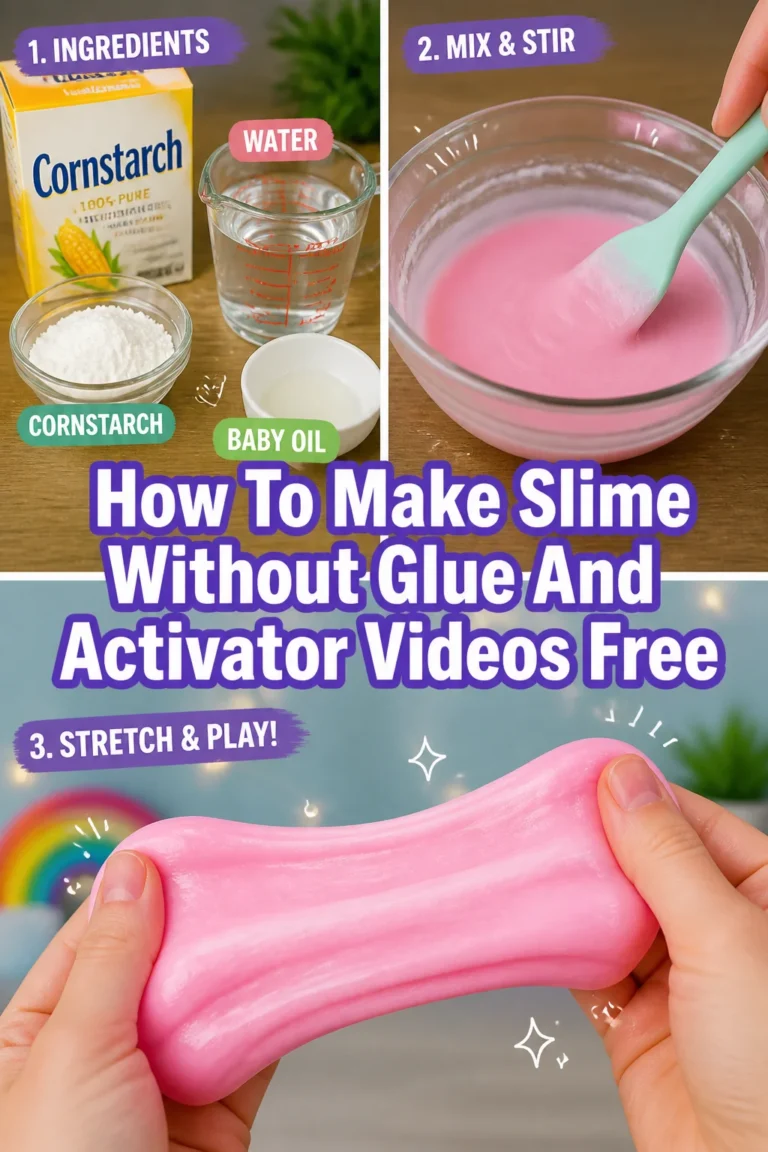
- What you’ll need: Dish soap, cornstarch, water, a mixing bowl, and a spoon.
Step-by-Step Instructions
Step 1: Gather Your Simple Ingredients
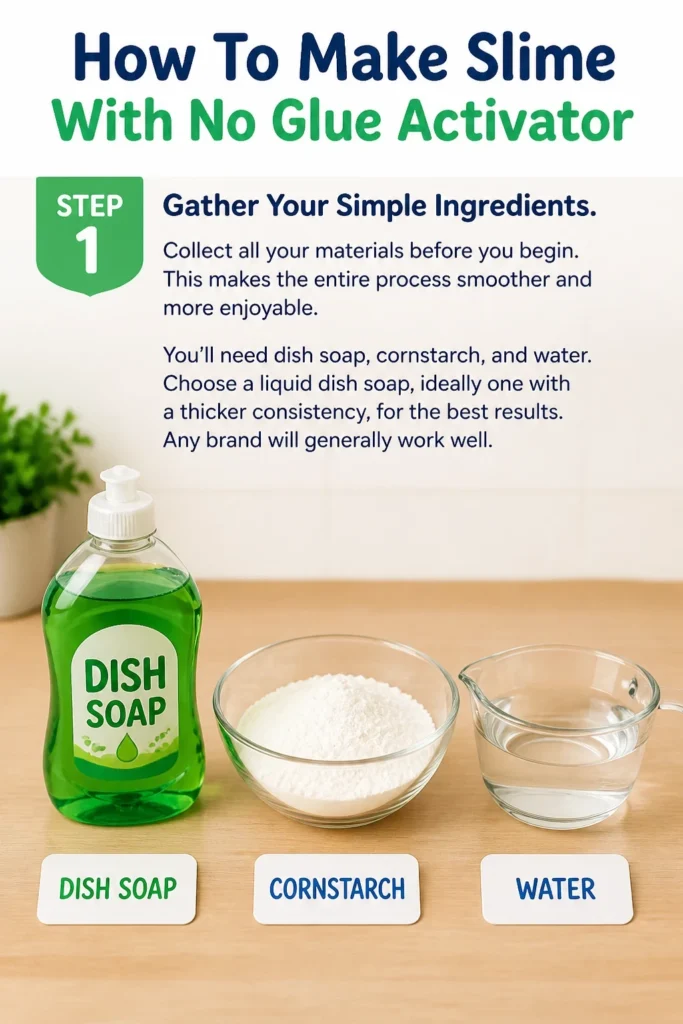
Collect all your materials before you begin. This makes the entire process smoother and more enjoyable. You’ll need dish soap, cornstarch, and water.
Choose a liquid dish soap, ideally one with a thicker consistency, for the best results. Any brand will generally work well.
Step 2: Measure Your Cornstarch
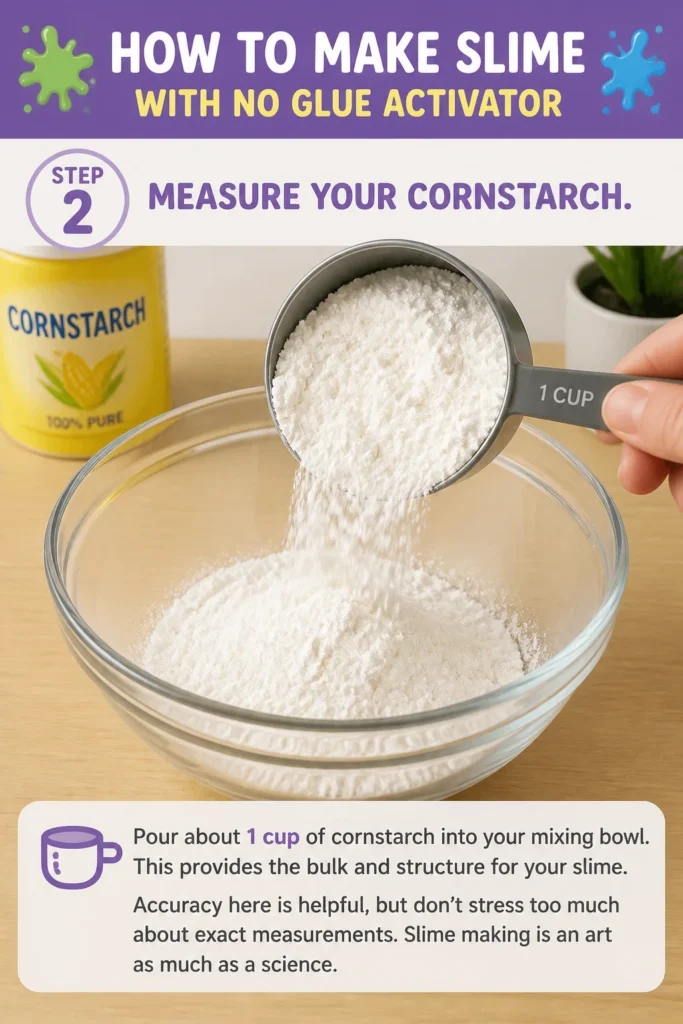
Pour about 1 cup of cornstarch into your mixing bowl. This provides the bulk and structure for your slime.
Accuracy here is helpful, but don’t stress too much about exact measurements. Slime making is an art as much as a science.
Step 3: Add Your Dish Soap Gradually
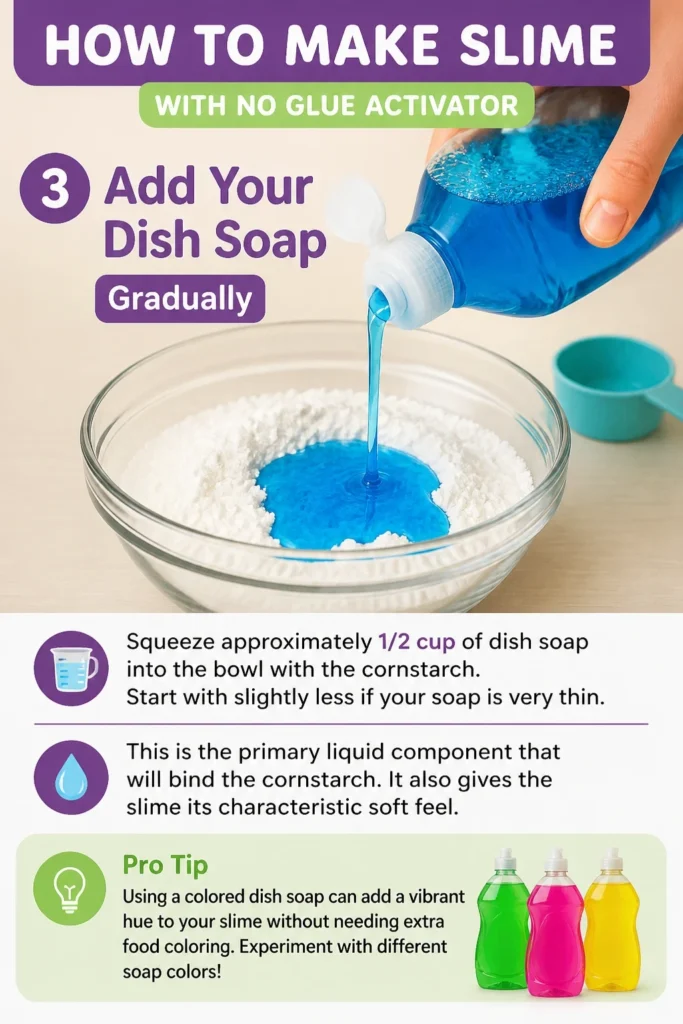
Squeeze approximately 1/2 cup of dish soap into the bowl with the cornstarch. Start with slightly less if your soap is very thin.
This is the primary liquid component that will bind the cornstarch. It also gives the slime its characteristic soft feel.
Pro Tip: Using a colored dish soap can add a vibrant hue to your slime without needing extra food coloring. Experiment with different soap colors!
Step 4: Begin Mixing Thoroughly
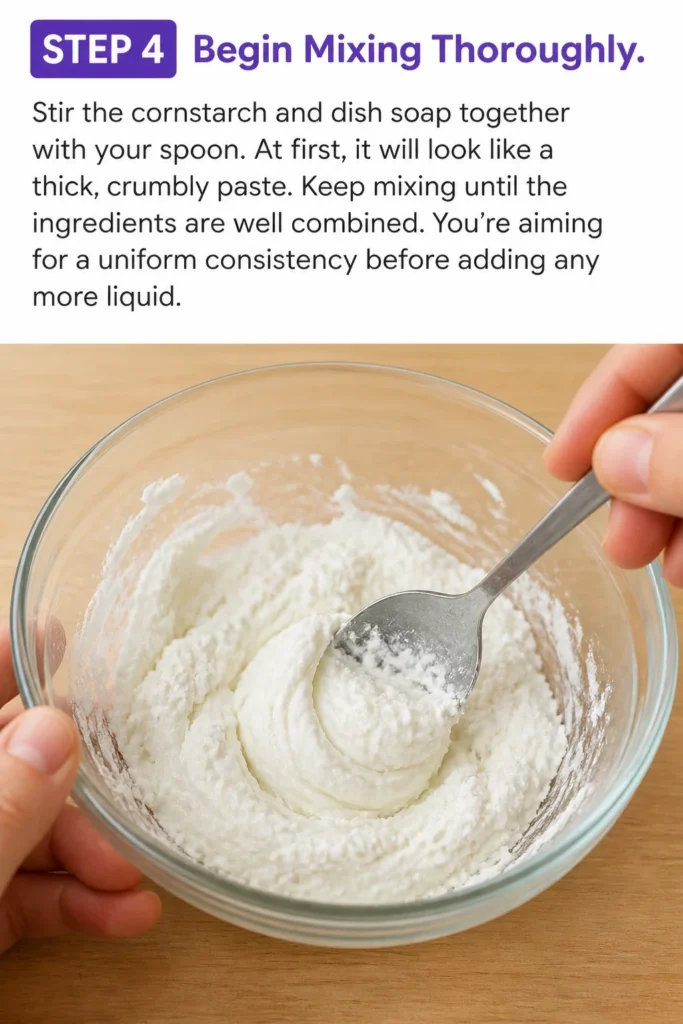
Stir the cornstarch and dish soap together with your spoon. At first, it will look like a thick, crumbly paste.
Keep mixing until the ingredients are well combined. You’re aiming for a uniform consistency before adding any more liquid.
Step 5: Introduce Water, A Teaspoon at a Time
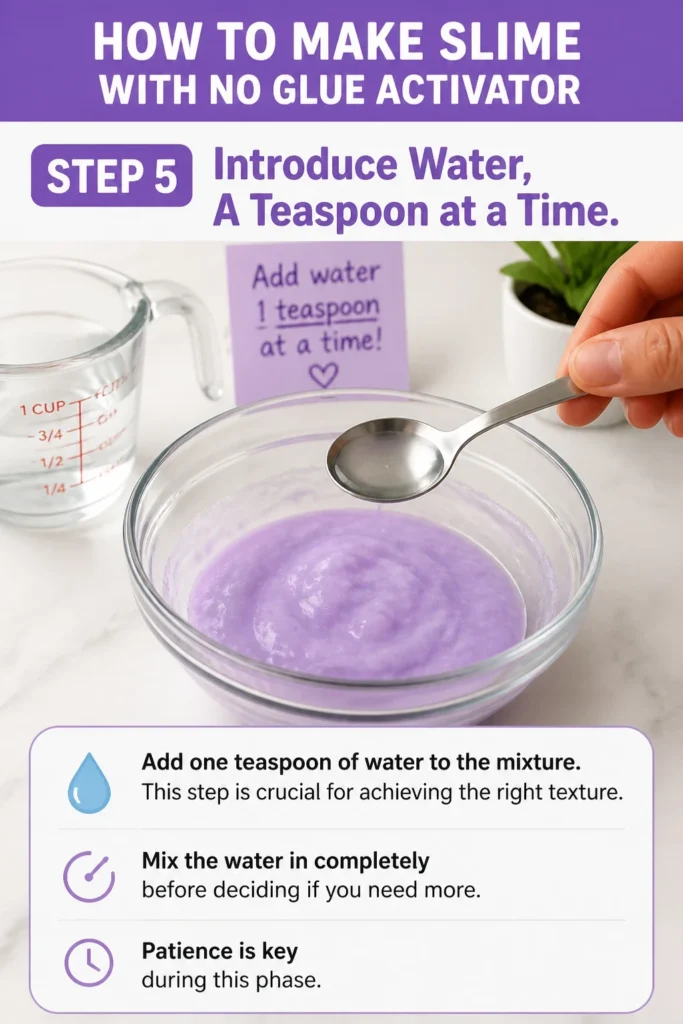
Add one teaspoon of water to the mixture. This step is crucial for achieving the right texture.
Mix the water in completely before deciding if you need more. Patience is key during this phase.
Step 6: Continue Mixing and Observing
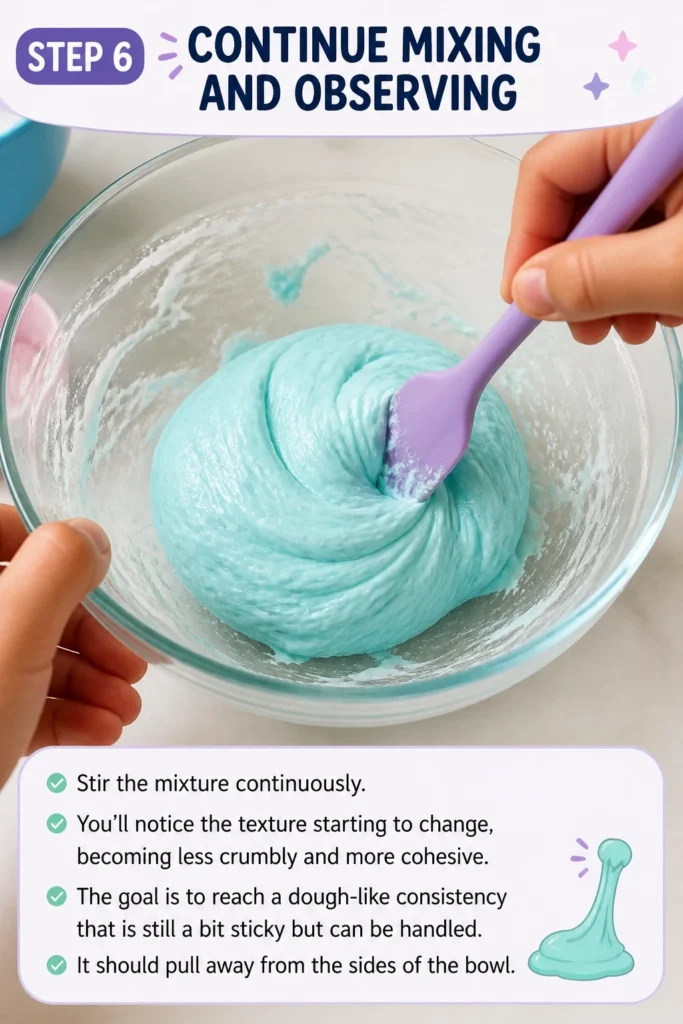
Stir the mixture continuously. You’ll notice the texture starting to change, becoming less crumbly and more cohesive.
The goal is to reach a dough-like consistency that is still a bit sticky but can be handled. It should pull away from the sides of the bowl.
Step 7: Knead the Slime by Hand
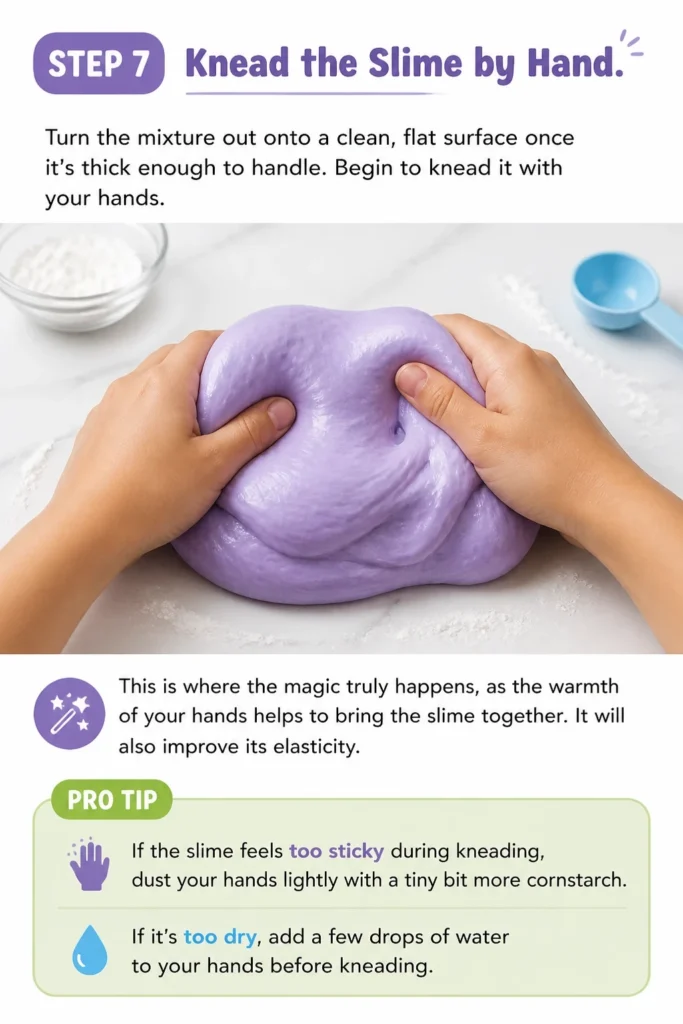
Turn the mixture out onto a clean, flat surface once it’s thick enough to handle. Begin to knead it with your hands.
This is where the magic truly happens, as the warmth of your hands helps to bring the slime together. It will also improve its elasticity.
Pro Tip: If the slime feels too sticky during kneading, dust your hands lightly with a tiny bit more cornstarch. If it’s too dry, add a few drops of water to your hands before kneading.
Step 8: Adjust Consistency as Needed
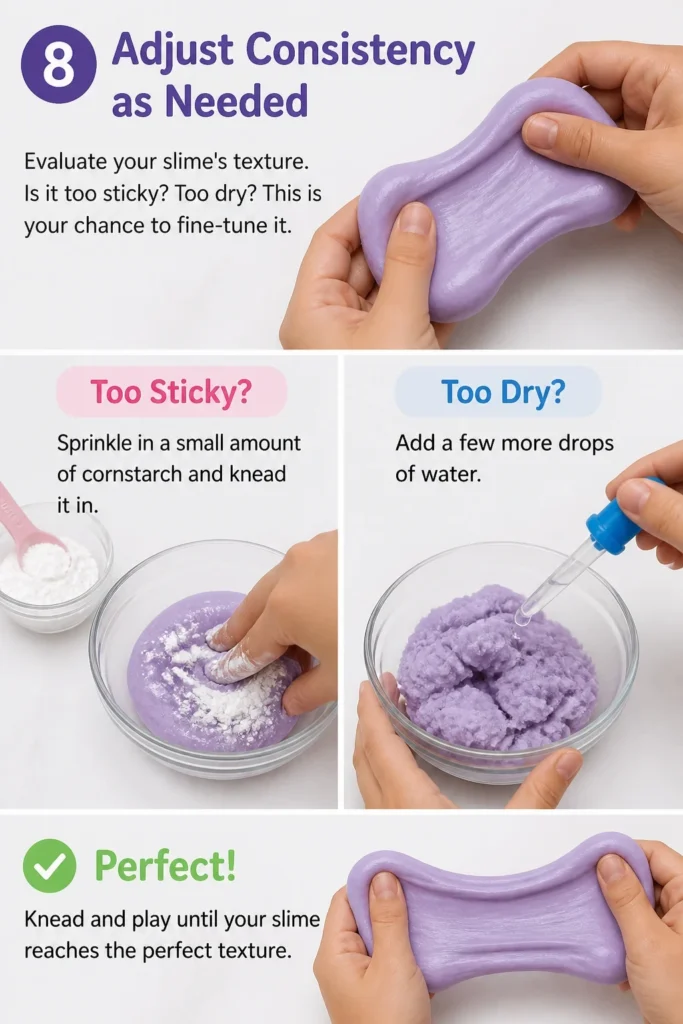
Evaluate your slime’s texture. Is it too sticky? Too dry? This is your chance to fine-tune it.
If it’s too sticky, sprinkle in a small amount of cornstarch and knead it in. If it’s too dry and crumbly, add a few more drops of water.
Step 9: Chill for Enhanced Texture (Optional but Recommended)
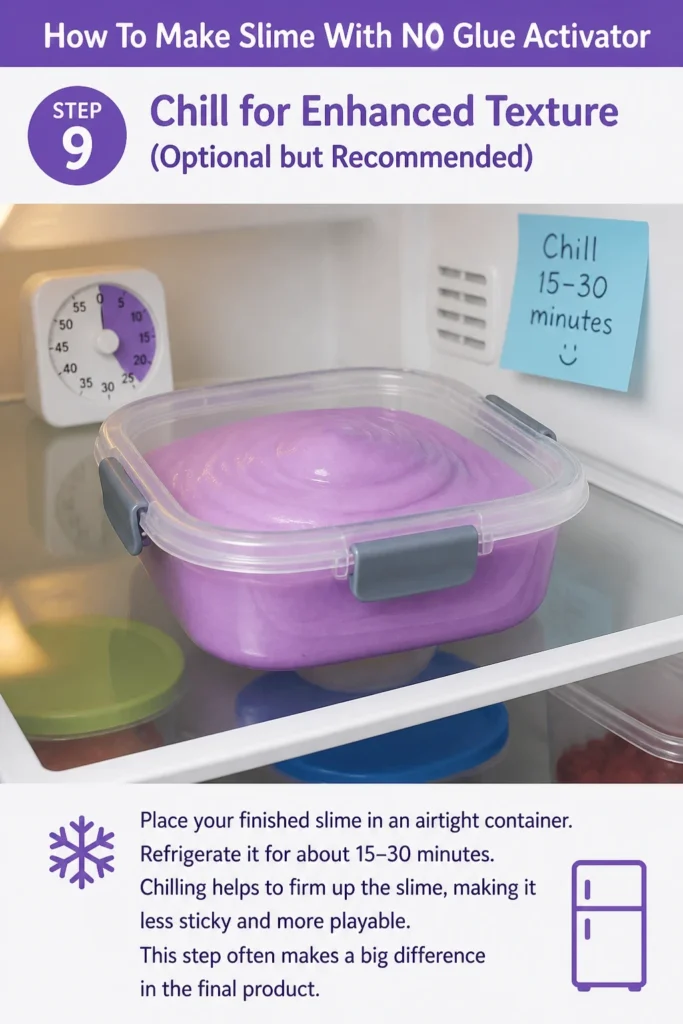
Place your finished slime in an airtight container. Refrigerate it for about 15-30 minutes.
Chilling helps to firm up the slime, making it less sticky and more playable. This step often makes a big difference in the final product.
Step 10: Enjoy Your Homemade Slime!
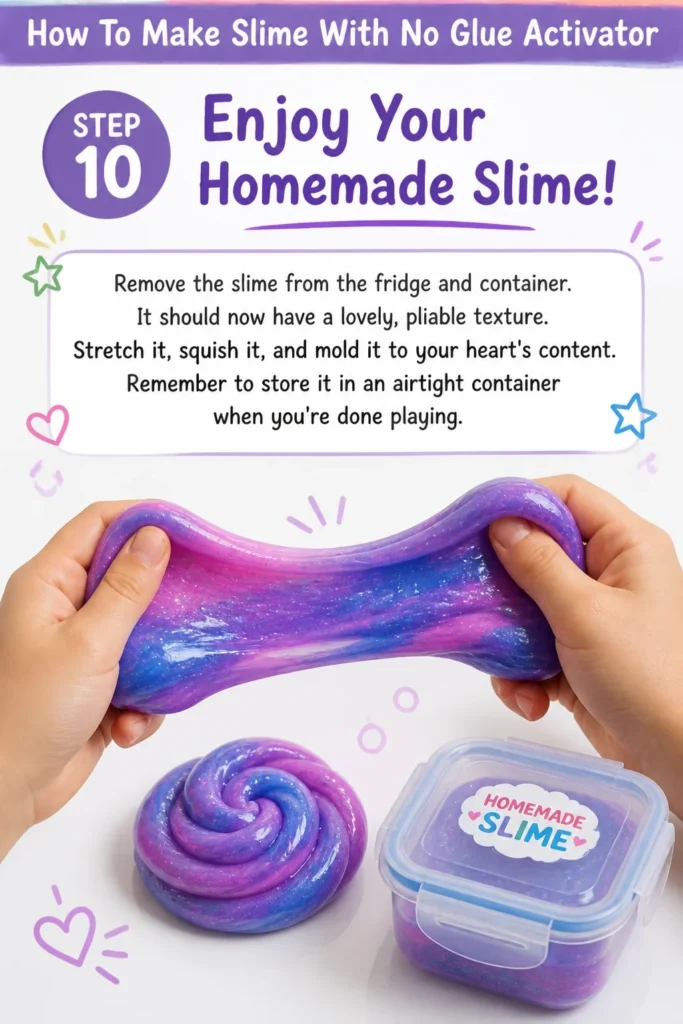
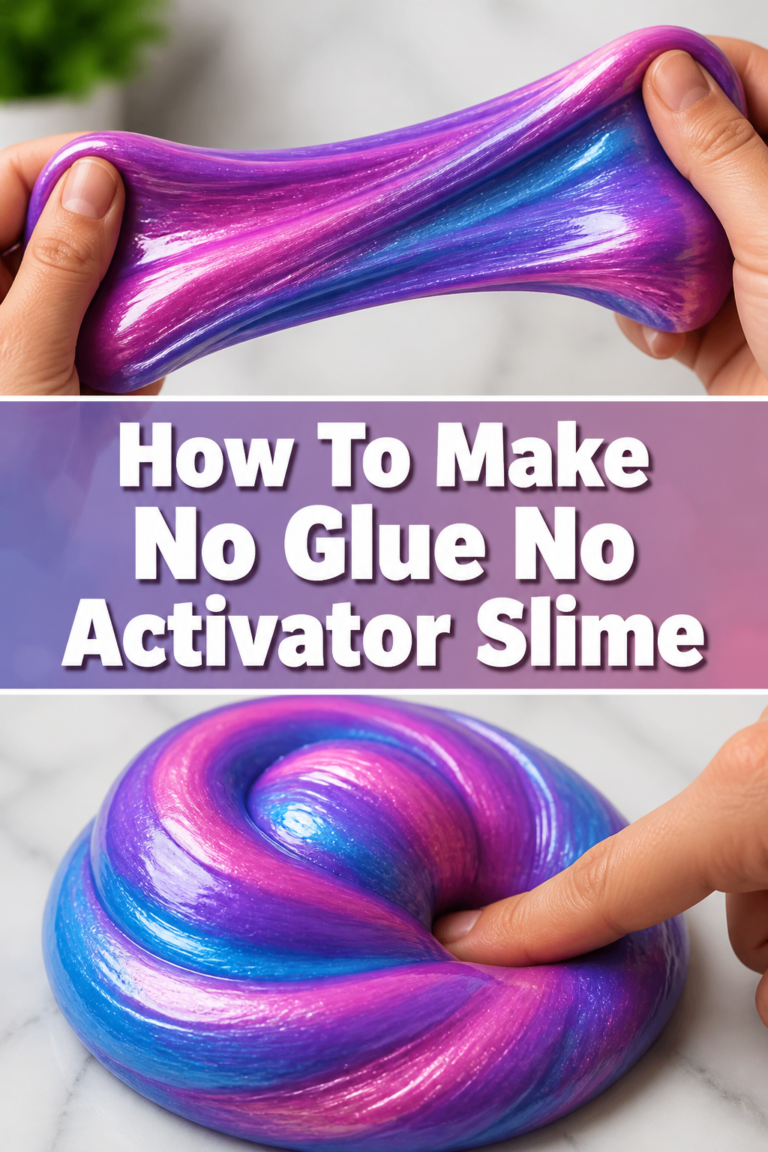
Remove the slime from the fridge and container. It should now have a lovely, pliable texture.
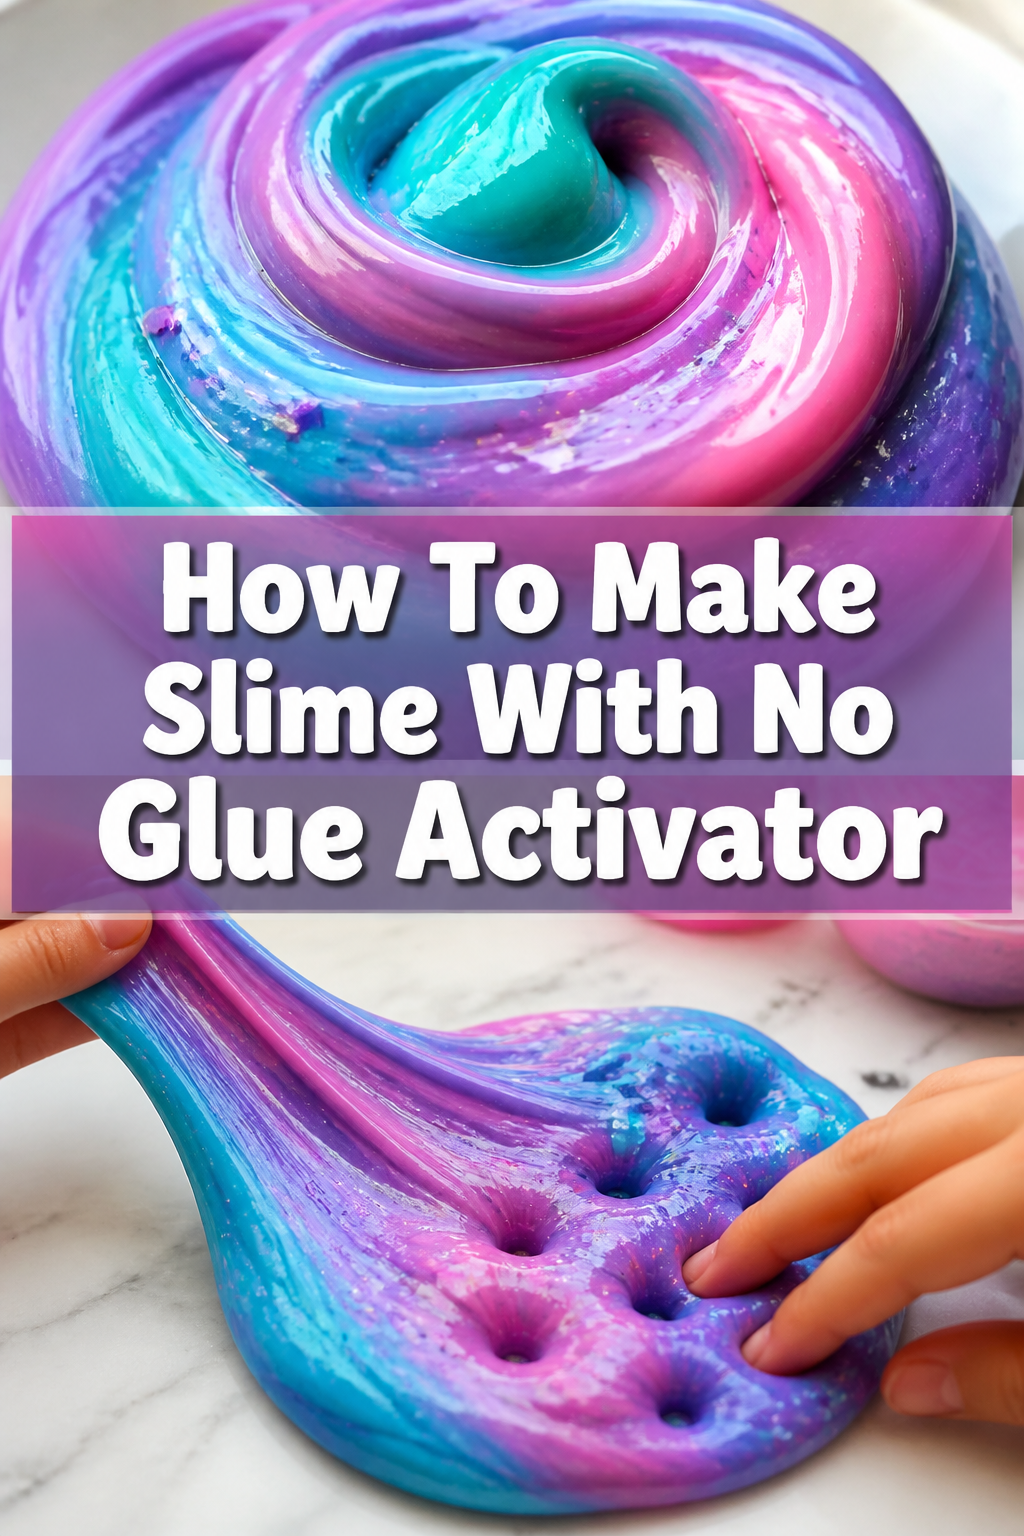
Stretch it, squish it, and mold it to your heart’s content. Remember to store it in an airtight container when you’re done playing.
Common Mistakes to Avoid
Adding Too Much Liquid Too Quickly
One of the most frequent errors is pouring in too much water or dish soap all at once. This can quickly turn your slime into an unmanageable, soupy mess. It becomes very difficult to recover from an overly wet mixture.
Always add liquids incrementally, just a teaspoon or a few drops at a time. Mix thoroughly after each addition to gauge the consistency before adding more. This controlled approach gives you the best chance of achieving the perfect texture.
Not Mixing Thoroughly Enough
Some people get impatient during the mixing process, especially in the early stages when the mixture looks crumbly. Insufficient mixing prevents the ingredients from fully combining and activating. You might end up with a lumpy, inconsistent slime that falls apart easily.
Take your time to stir everything until it’s uniform. Kneading by hand is also a critical part of the mixing process, ensuring all components are well integrated and the slime develops its desired texture.
Expecting Traditional Glue Slime Texture
It’s important to manage expectations when making no-glue slime. This type of slime will have a different texture compared to traditional glue-based slimes made with borax or liquid starch. It’s often softer, more dough-like, and less stretchy.
Don’t be disappointed if it doesn’t have the exact same elasticity as store-bought slime. Appreciate its unique qualities and enjoy the different sensory experience it offers. This slime is wonderfully moldable and satisfying in its own way.
Skipping the Chilling Step
While optional, neglecting to chill your slime can result in a stickier, less firm product. The refrigeration step helps the ingredients to set and further bind together, improving the overall playability. It’s a small step that yields significant improvements.
A short stint in the fridge can transform a slightly too-sticky batch into a much more enjoyable, manageable slime. Always store your slime in an airtight container to prevent it from drying out, especially if you’ve chilled it.
Troubleshooting
Slime is Too Sticky
If your slime is sticking excessively to your hands and the surface, it means there’s too much liquid in the mixture. Don’t panic, this is easily fixable.
Gradually sprinkle in small amounts of additional cornstarch, about a teaspoon at a time. Knead the cornstarch into the slime thoroughly until the stickiness subsides and it becomes more manageable. Repeat as needed until you reach the desired consistency.
Slime is Too Crumbly/Dry
When your slime crumbles apart or feels too dry and stiff, it indicates a lack of liquid. This usually happens if you added too much cornstarch or not enough dish soap/water initially.
Add a few drops of dish soap or water to your hands, then knead it into the crumbly slime. Continue adding small amounts and kneading until the slime comes together and becomes soft and pliable. Be patient, as this might take a few additions.
Slime Isn’t Stretchy
No-glue slime, especially cornstarch-based versions, naturally has less elasticity than traditional glue-based slimes. However, if it’s not stretchy at all and just breaks, it might be too dry or hasn’t been kneaded enough.
Ensure you’ve kneaded the slime for a good 5-10 minutes to develop its texture. If it’s still breaking, add a tiny bit more dish soap or water (just a few drops) and knead again. Remember, it will be more moldable than stretchy, so adjust your expectations slightly.
Key Takeaways
- Patience is essential, especially when adding liquids and mixing your slime.
- Adding water or dish soap gradually, a little at a time, prevents a ruined batch.
- Chilling the slime in an airtight container significantly improves its texture and reduces stickiness.
- No-glue slime offers a unique, moldable, and dough-like texture different from traditional slime.
- Experimenting with different dish soaps or adding food coloring can make the process even more fun.
- Always store your finished slime in an airtight container to keep it fresh and playable for longer.
Frequently Asked Questions
How long does this no-glue slime last?
This type of slime typically lasts for about 3-5 days when stored properly in an airtight container at room temperature. Its lifespan can vary based on humidity and how often it’s played with. If it starts to dry out or develop an unusual smell, it’s time to make a fresh batch.
Can I add color or glitter to this slime?
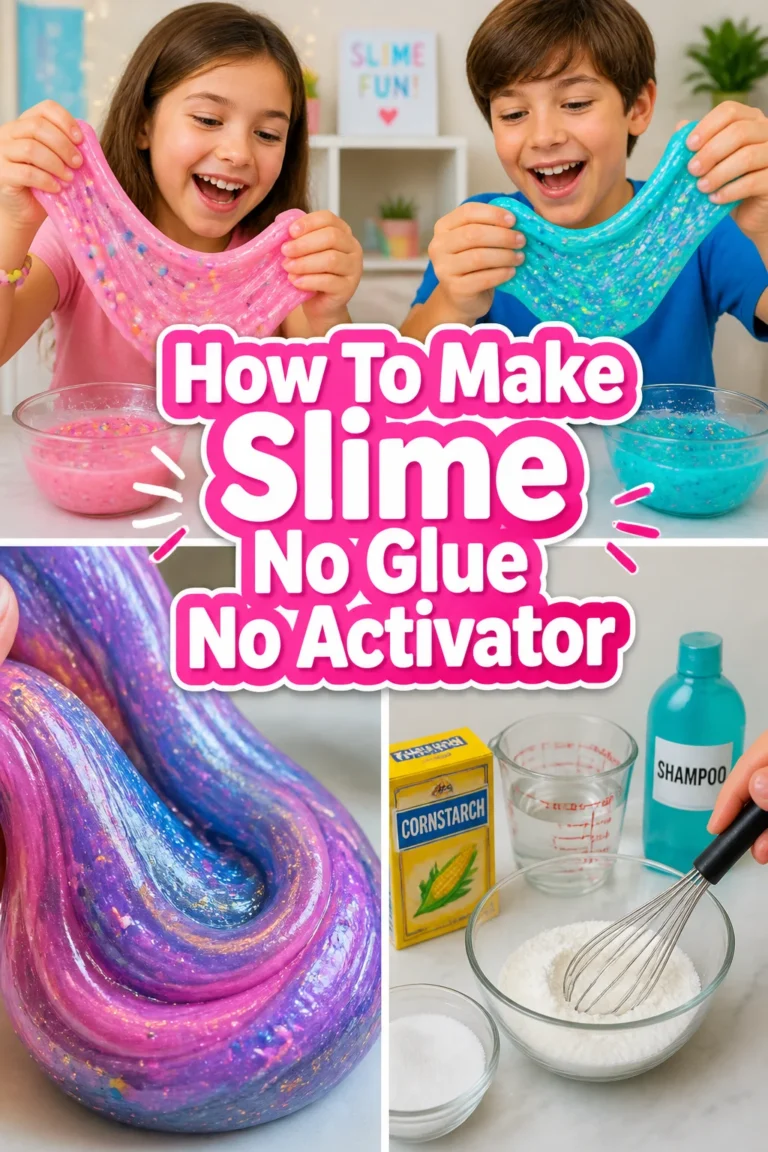
Absolutely! You can easily customize your slime. Add a few drops of food coloring along with the dish soap or water to incorporate color. For sparkle, mix in some glitter during the kneading phase. Just be aware that adding too much glitter might affect the slime’s texture slightly.
Is this slime safe for young children?
While the ingredients (dish soap, cornstarch) are generally considered non-toxic, this slime is not intended for consumption. Adult supervision is highly recommended, especially for very young children, to ensure they don’t ingest it. Always wash hands thoroughly after playing.
Why isn’t my slime as stretchy as glue slime?
No-glue slime, particularly those made with cornstarch and dish soap, relies on different chemical properties than glue-based slimes. It creates a more pliable, moldable, and dough-like consistency rather than the super-stretchy, stringy texture of traditional borax-activated glue slimes. Embrace its unique qualities for a different sensory experience.
Our Top Recommended Finds
- Large Mixing Bowl Set: Having a sturdy, generously sized bowl makes mixing much easier and prevents spills during the kneading process.
- Food Coloring Kit: A vibrant set of food colors allows you to personalize your slime with any shade you desire, adding an extra layer of creative fun.
- Airtight Storage Containers: Essential for keeping your homemade slime fresh and preventing it from drying out, ensuring longer playtime.
Embark on Your Slime-Making Journey!
You’ve now got all the knowledge and practical steps to create amazing slime without a single drop of glue or traditional activator. It’s a rewarding experience that proves you don’t need fancy ingredients to make something truly fun.
This recipe is perfect for a rainy afternoon, a creative project with kids, or simply to satisfy your own sensory craving. The unique texture of no-glue slime offers a different kind of tactile pleasure.
So, gather your simple ingredients, roll up your sleeves, and start mixing today. You might just discover your new favorite way to make slime! Share your creations and enjoy the gooey goodness.
Beginner-friendly templates, step-by-step guides,
and weekly project ideas in your inbox.