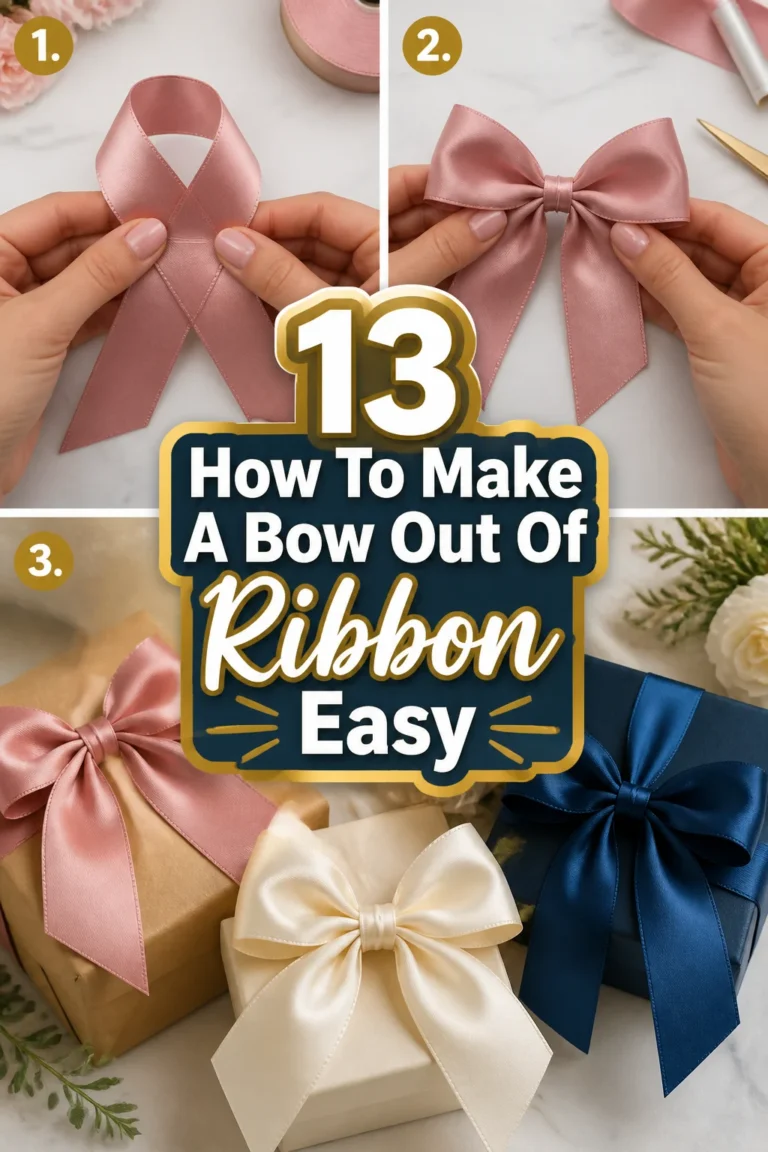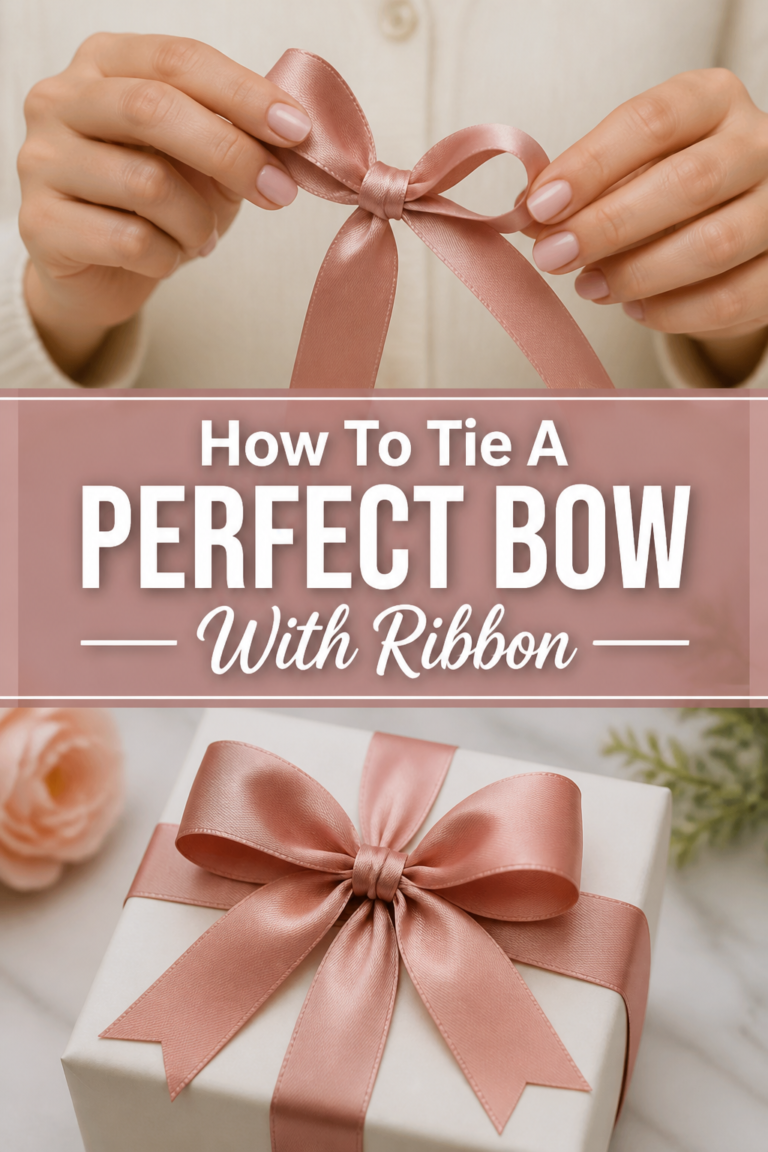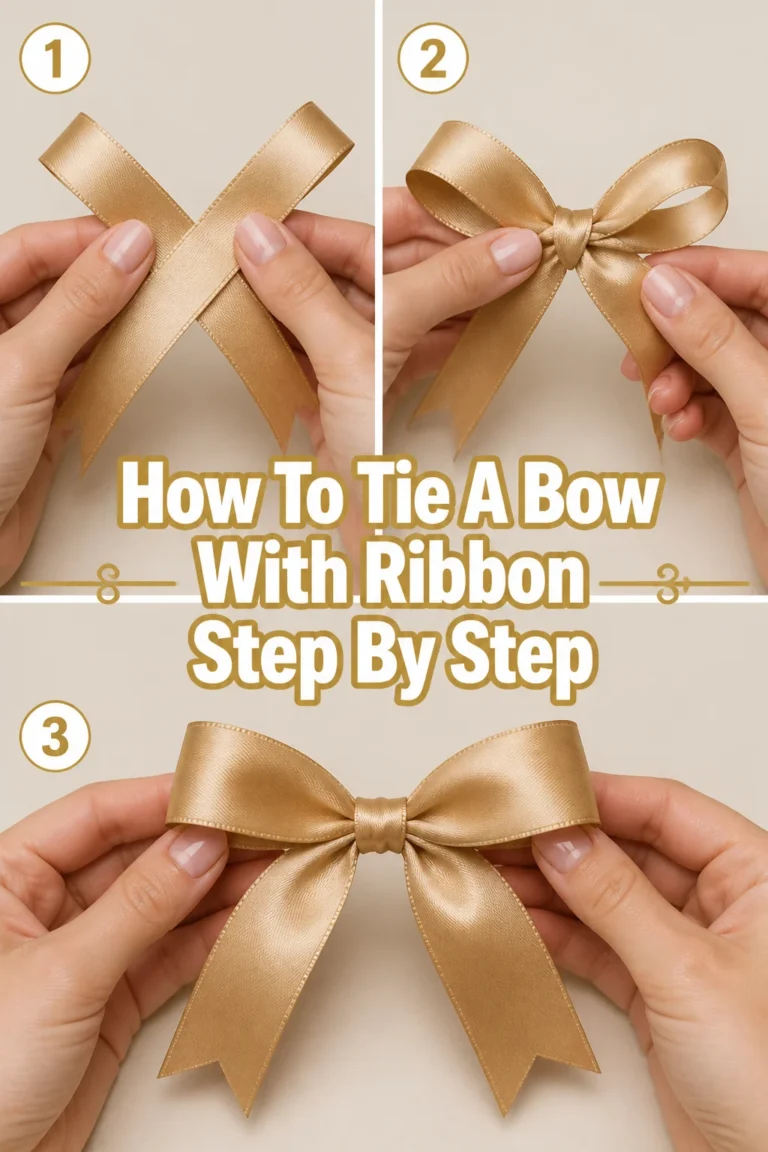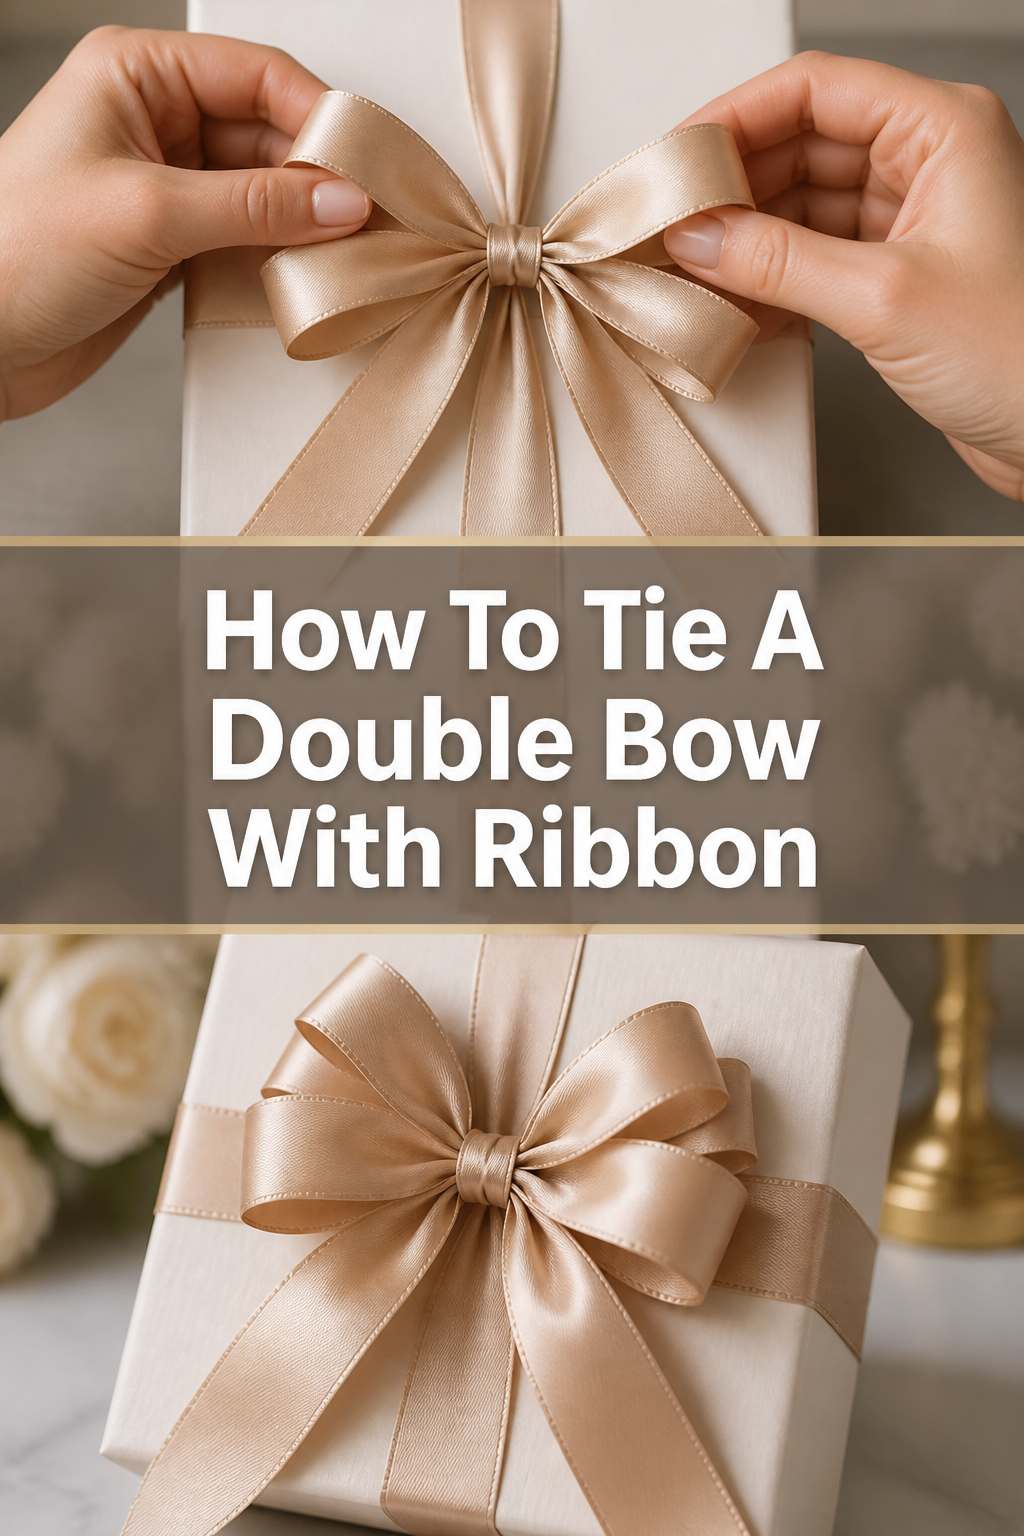
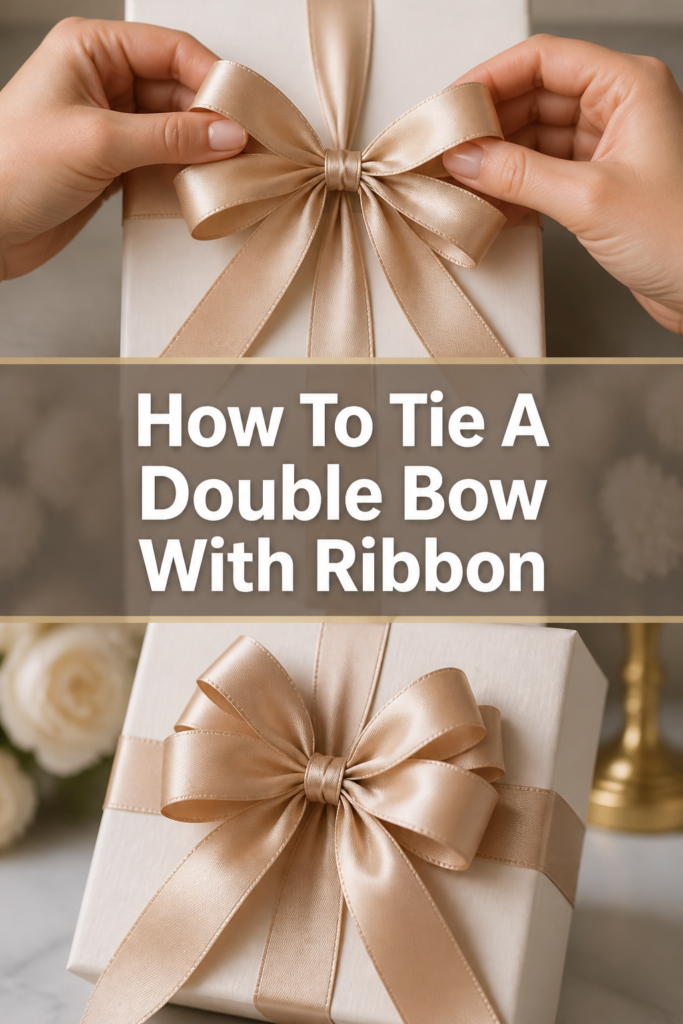
🌟 How To Tie A Double Bow With Ribbon

Beginner-friendly templates, step-by-step guides,
and weekly project ideas in your inbox.
There’s a special satisfaction in presenting a gift or decorating an item with a perfectly crafted double bow.
It adds an undeniable touch of elegance and thoughtfulness that a simple knot can’t quite capture.
Having tied countless bows for everything from birthday presents to wedding decor, I’ve refined the technique to make it approachable for everyone.
Quick Overview
This guide will walk you through creating a beautiful, full double bow that will elevate any project. You’ll learn the simple steps to achieve a professional look every time.
- Time needed: 10-15 minutes (with practice, much faster)
- Difficulty: Intermediate (Beginner-friendly with patience)
- What you’ll need: A length of ribbon, scissors, a flat surface
Step-by-Step Instructions
Step 1: Prepare Your Ribbon
To begin, select a suitable ribbon. The length you need will depend on the desired size of your finished bow and the thickness of your ribbon.
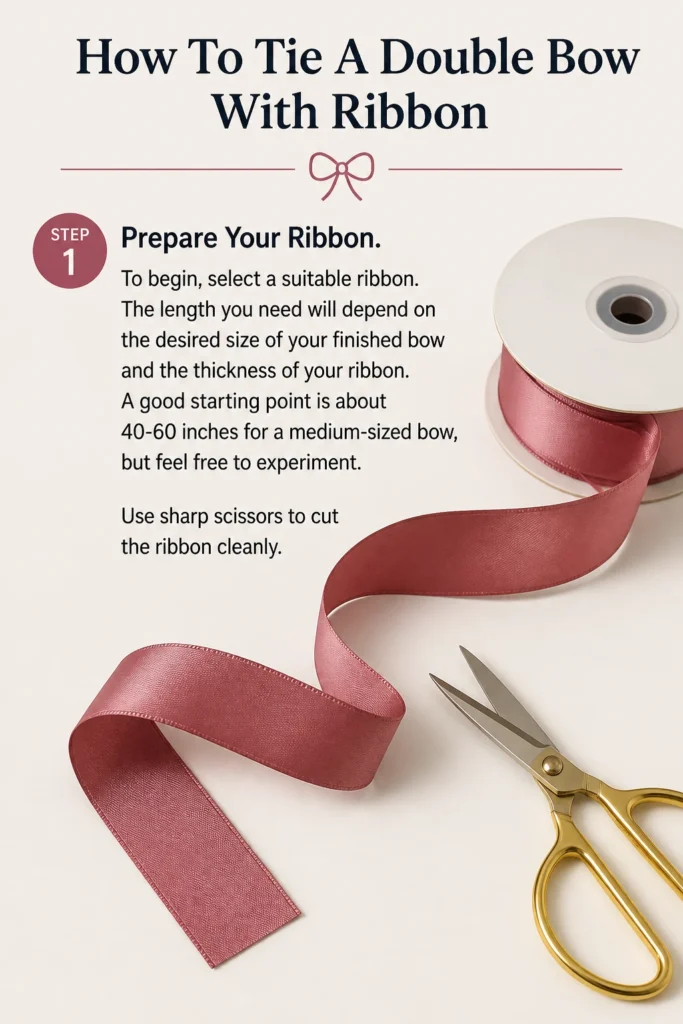
A good starting point is about 40-60 inches for a medium-sized bow, but feel free to experiment. Use sharp scissors to cut the ribbon cleanly.
Step 2: Create the First Loop
Hold one end of your ribbon in your left hand (if you’re right-handed, reverse if left-handed). This will be your “tail.”
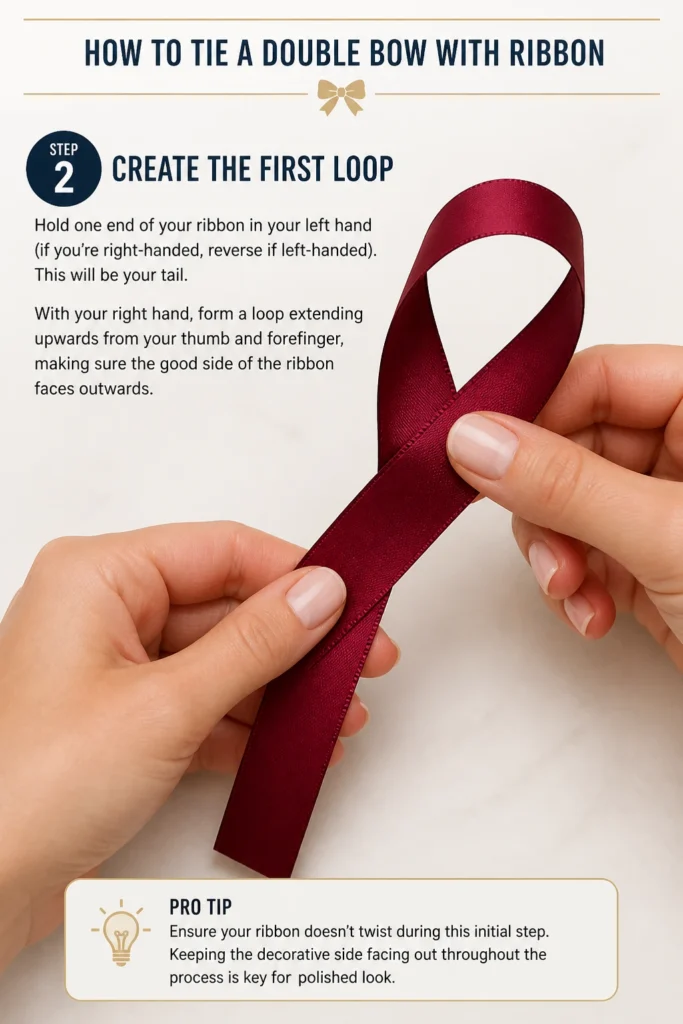
With your right hand, form a loop extending upwards from your thumb and forefinger, making sure the “good” side of the ribbon faces outwards.
Pro Tip: Ensure your ribbon doesn’t twist during this initial step. Keeping the decorative side facing out throughout the process is key for a polished look.
Step 3: Form the Second Loop
Bring the working end of the ribbon (the longer, uncut side) around and across the front of the first loop you just created.
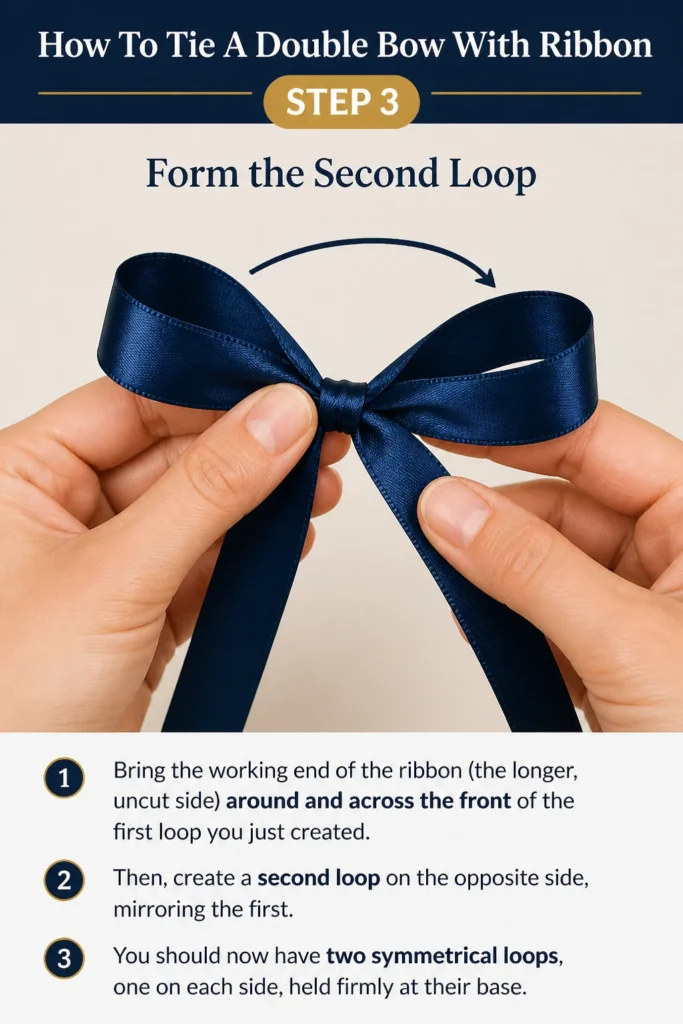
Then, create a second loop on the opposite side, mirroring the first. You should now have two symmetrical loops, one on each side, held firmly at their base.
Step 4: Cross the Ribbon for the Knot Base
Take the working ribbon end and pass it underneath the center point where your two loops meet.
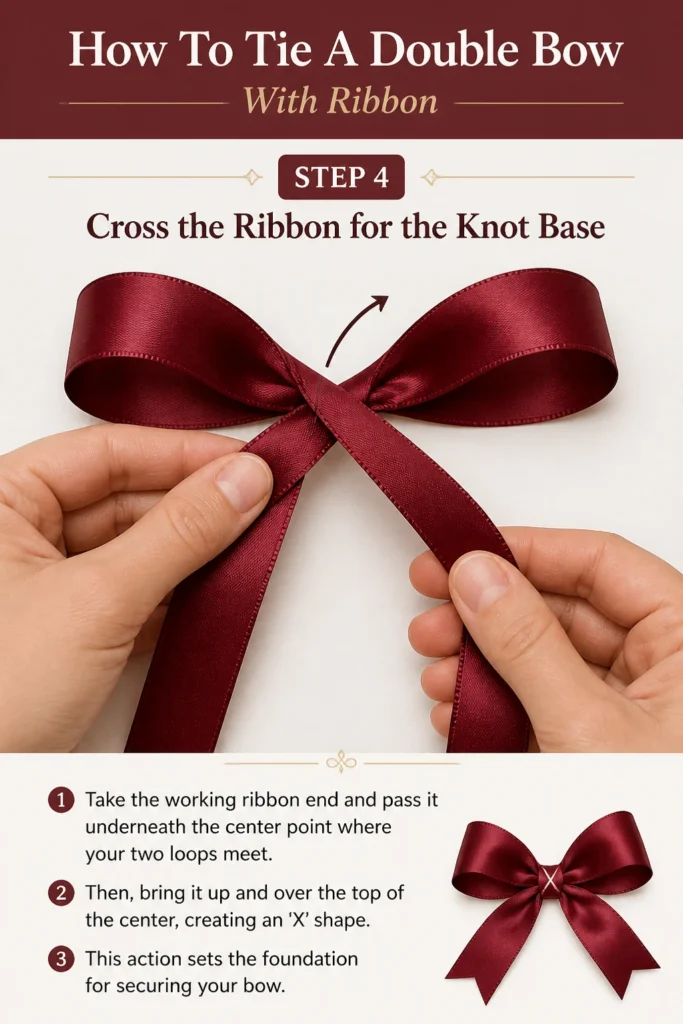
Then, bring it up and over the top of the center, creating an ‘X’ shape. This action sets the foundation for securing your bow.
Step 5: Thread Through the Center
Push the working end of the ribbon down through the central hole you created by crossing the ribbon. Imagine you’re threading a needle through a fabric loop.
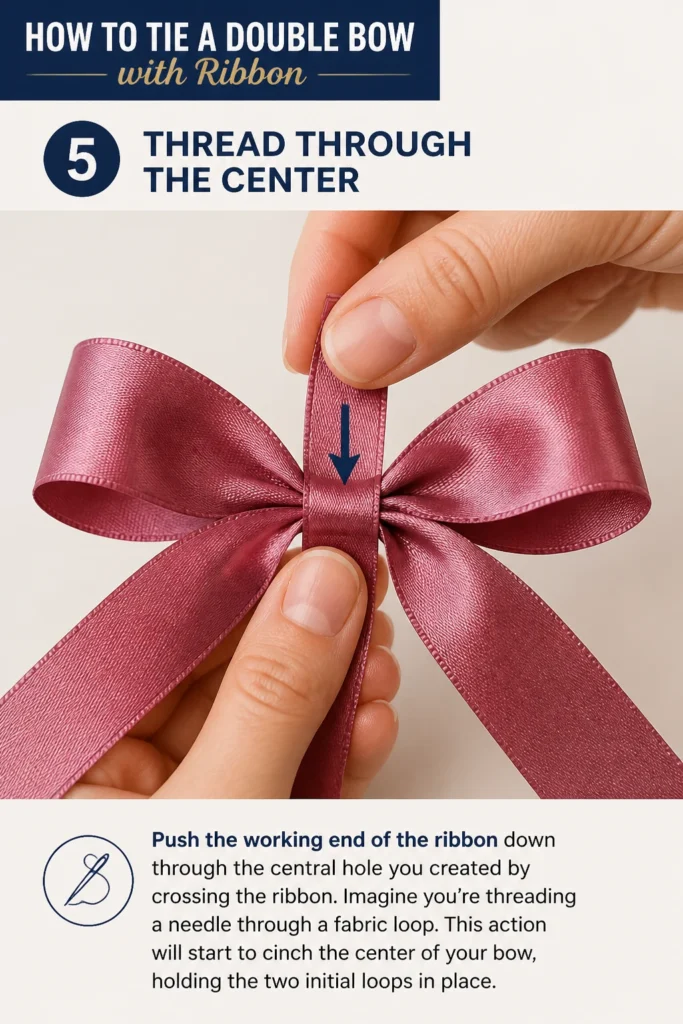
This action will start to cinch the center of your bow, holding the two initial loops in place.
Step 6: Create the Second Pair of Loops
Pull the working end of the ribbon all the way through the center. Now, instead of pulling it tight, you will use this working end to create two new loops.
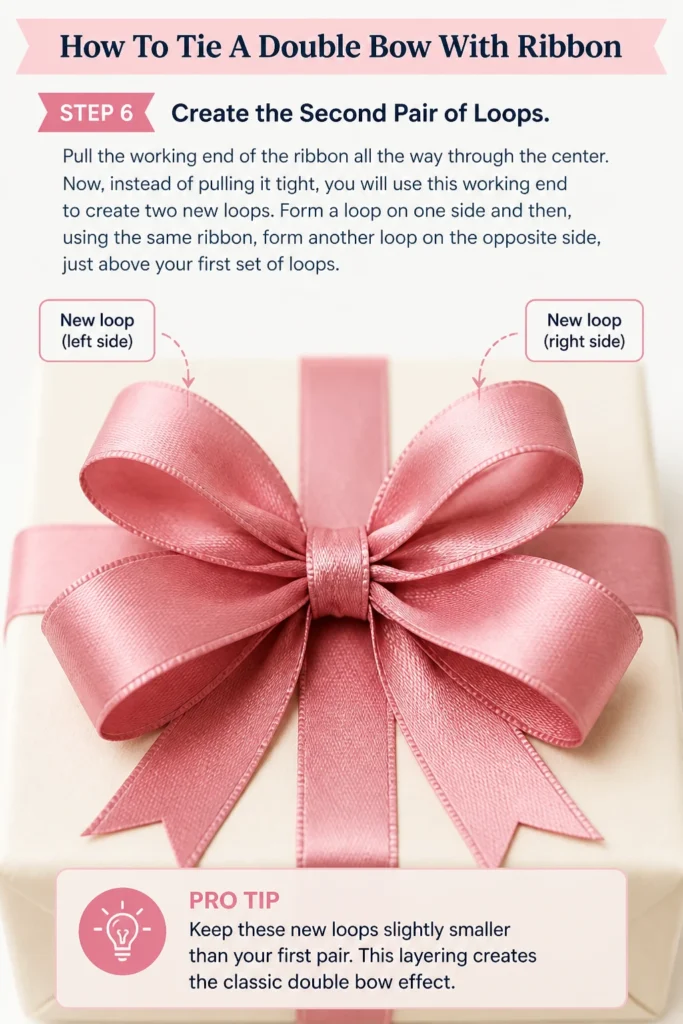
Form a loop on one side and then, using the same ribbon, form another loop on the opposite side, just above your first set of loops.
Pro Tip: Keep these new loops slightly smaller than your first pair. This layering creates the classic double bow effect.
Step 7: Secure the Second Set of Loops
Bring the working end of the ribbon back to the center, passing it underneath the newly formed second pair of loops.
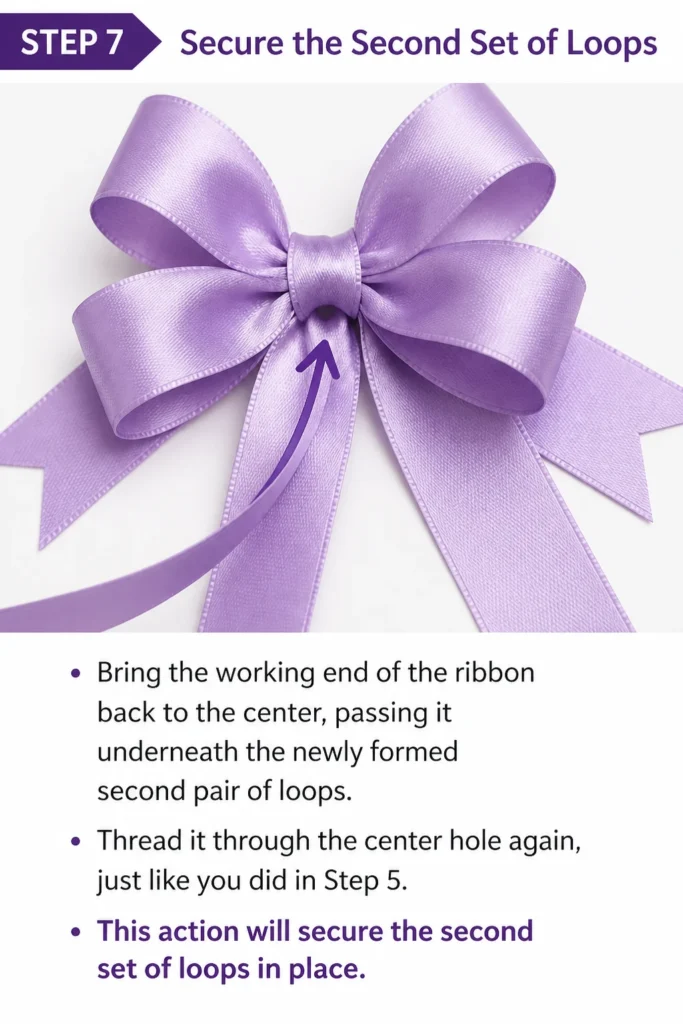
Thread it through the center hole again, just like you did in Step 5. This action will secure the second set of loops in place.
Step 8: Tighten and Adjust Your Bow
Gently pull all four loops and the two tails to tighten the central knot. Do this slowly and evenly to avoid crushing the ribbon.
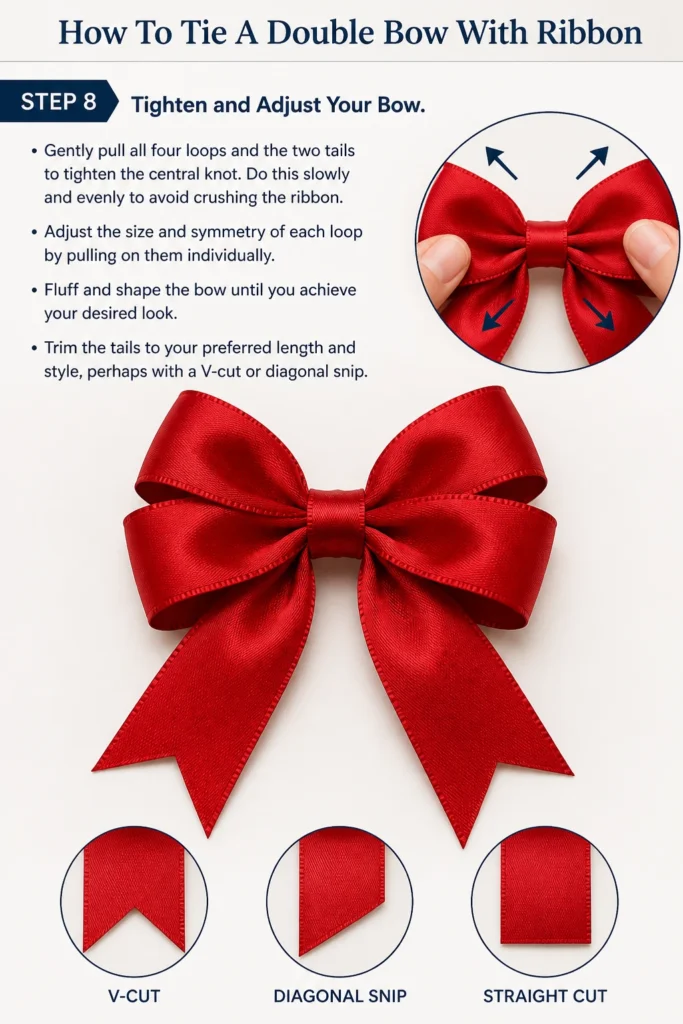
Adjust the size and symmetry of each loop by pulling on them individually. Fluff and shape the bow until you achieve your desired look. Trim the tails to your preferred length and style, perhaps with a V-cut or diagonal snip.
Common Mistakes to Avoid
Uneven Loop Sizes
One common pitfall is having loops that are drastically different in size. This can make your double bow look lopsided and unprofessional.
To prevent this, always visually compare your loops as you form them. Make small adjustments as you go, ensuring each pair of loops is as symmetrical as possible before tightening the knot.
Twisted Ribbon
Nothing detracts from a beautiful bow like a twisted ribbon, showing the dull back side instead of the smooth, finished front. This often happens when forming the loops or pulling through the center.
Be mindful of the ribbon’s orientation at every step. Gently untwist the ribbon as you work, always keeping the decorative side facing outwards, especially when creating the loops and tails.
Over-Tightening or Under-Tightening
Pulling the knot too tight can crush the ribbon and make the loops appear flat and lifeless. Conversely, not tightening enough leaves a flimsy bow that easily falls apart.
The key is a firm but gentle pull. Tighten gradually, adjusting the loops and tails as you go. You want the bow to feel secure but still retain its volume and shape.
Incorrect Ribbon Choice
Using the wrong type of ribbon can make tying a double bow much harder or yield disappointing results. Very stiff ribbon can be difficult to manipulate, while very flimsy ribbon might not hold its shape.
For beginners, a medium-weight satin, grosgrain, or wired ribbon is ideal. Wired ribbon is particularly forgiving as it allows you to shape and hold the loops perfectly after tying.
Troubleshooting
My Bow Looks Flat and Lifeless
If your double bow lacks volume, it’s often due to over-tightening or using a ribbon that’s too soft without enough structure. When pulling the central knot, be firm but avoid crushing the loops.
For softer ribbons, consider using a wider ribbon, which naturally offers more body. If using wired ribbon, gently bend and shape the wire inside the loops to give them more lift and dimension once the bow is tied.
The Loops Keep Slipping Out of Place
This usually indicates that the central knot isn’t secure enough, or the ribbon material itself is very slippery. Make sure you’ve threaded the ribbon through the center completely and pulled the knot firmly.
For very slick ribbons like satin, a small dab of hot glue on the back of the central knot (once the bow is tied and adjusted) can provide extra security, especially if the bow won’t be untied.
I Can’t Get the Tails to Hang Evenly
Uneven tails often result from not leaving enough ribbon at the start or misjudging the length when creating the initial loops. It’s always better to start with a longer piece of ribbon than you think you’ll need.
After the bow is completely tied and adjusted, you can always trim the tails to achieve perfect symmetry. Cut them at an angle or create a ‘V’ shape for a more decorative finish.
Key Takeaways
- Practice Makes Perfect: Don’t get discouraged if your first few attempts aren’t flawless; the technique improves with repetition.
- Mind the Ribbon Orientation: Always keep the “good” side of the ribbon facing outwards to ensure a polished look.
- Gentle but Firm Tension: Apply enough tension to secure the knot, but avoid crushing the ribbon’s natural volume.
- Layering for Depth: Create the second set of loops slightly smaller than the first for a rich, layered double bow effect.
- Choose the Right Ribbon: Medium-weight or wired ribbon is often easier to work with and holds its shape better.
- Adjust and Fluff: Take time to adjust each loop and tail after tying to achieve optimal symmetry and fullness.
Frequently Asked Questions
What’s the best type of ribbon for a double bow?
For beginners, wired ribbon or a medium-weight grosgrain ribbon is highly recommended. Wired ribbon allows you to easily shape and manipulate the loops, while grosgrain holds its form well. Satin ribbon also works beautifully but can be a bit more slippery to handle.
How much ribbon do I need for a standard double bow?
For a medium-sized double bow (about 4-6 inches wide), you’ll typically need around 40-60 inches of ribbon. The exact length depends on your ribbon’s width and the desired fullness of your bow. It’s always safer to start with more ribbon than you think you’ll need.
Can I make a double bow with very wide ribbon?
Yes, you absolutely can make a double bow with wide ribbon, but it requires a bit more care. Wide ribbons naturally create larger loops, so ensure you have ample length. Be gentle when tightening the knot to avoid creases, and take extra time to fluff and shape the wider loops for maximum impact.
Is there a trick to making the bow look symmetrical?
The trick to symmetry is constant adjustment. As you form each loop, compare its size to the others. After the knot is tied, gently pull on individual loops and tails to fine-tune their size and position. Don’t be afraid to pull and push until everything looks just right.
Our Top Recommended Finds
- Wired Satin Ribbon Set: Perfect for beginners, offering ease of shaping and a luxurious finish.
- Sharp Fabric Scissors: Essential for clean, crisp cuts that prevent fraying and give your bow a professional edge.
- Grosgrain Ribbon Assortment: A versatile option that holds its shape well and comes in a wide array of colors for any project.
Embrace the Art of Bow Tying
Mastering the double bow is a delightful skill that adds a personal touch to so many things. From gifts and decorations to hair accessories and craft projects, its applications are endless.
Don’t just read about it; grab some ribbon and give it a try today. You’ll be surprised how quickly you develop a knack for creating these charming embellishments.
Beginner-friendly templates, step-by-step guides,
and weekly project ideas in your inbox.