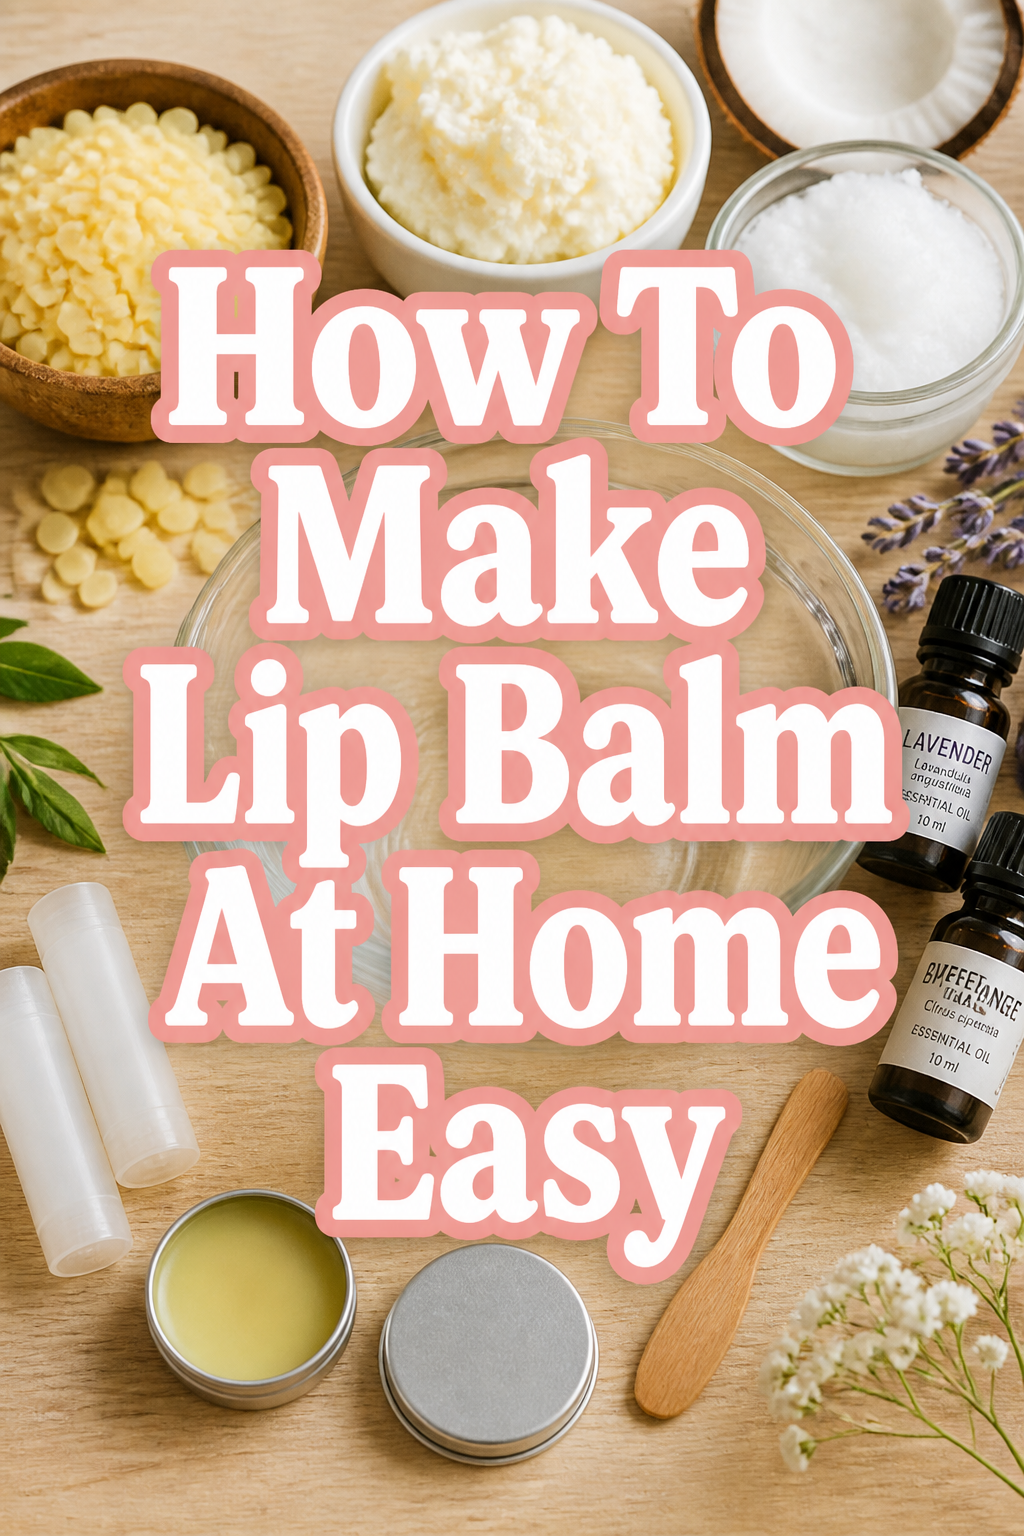
✨ How To Make Lip Balm At Home Easy

Beginner-friendly templates, step-by-step guides,
and weekly project ideas in your inbox.
There’s nothing quite like the feeling of soft, moisturized lips, especially when you’ve made the balm yourself.
I started crafting my own lip balms years ago, tired of store-bought options that often felt waxy or ineffective.
This guide shares my personal, proven method, ensuring you can create a truly nourishing balm with ease, right in your own kitchen.
Quick Overview
Get ready to transform simple ingredients into your very own custom lip balm. This project is incredibly satisfying and yields a product you’ll love using every day.
- Time needed: 30-45 minutes (includes cooling time)
- Difficulty: Beginner
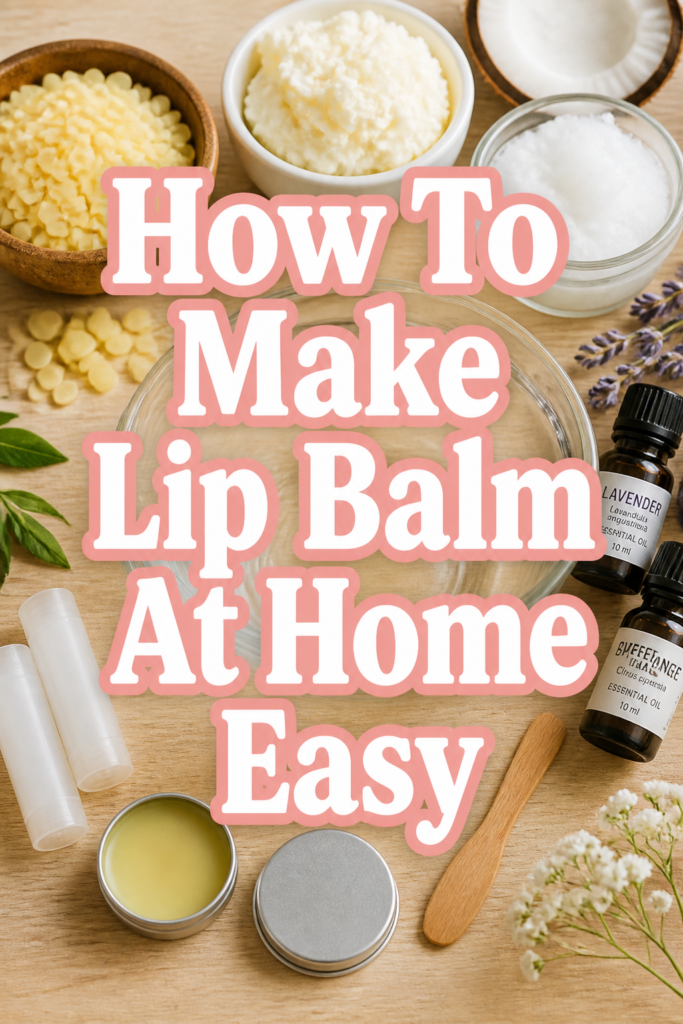
- What you’ll need: Beeswax, carrier oil, butter, essential oil (optional), lip balm tubes or tins, double boiler setup.
Step-by-Step Instructions
Before you begin, make sure you have everything laid out and ready. This prevents last-minute scrambling and ensures a smooth process.
Having all your ingredients and tools within reach makes the entire lip balm-making experience much more enjoyable.
Step 1: Gather Your Supplies
- Collect your beeswax pellets, carrier oil (like coconut, almond, or jojoba), and a nourishing butter (shea or cocoa).
- Choose your preferred essential oil for scent and added benefits, if you’re using one.
- Grab your lip balm tubes or small tins, a double boiler setup (or two pots that fit together), measuring spoons, and a small pouring pitcher or dropper.
Pro Tip: Always use food-grade ingredients, especially since this product will be applied to your lips. Quality matters for both safety and effectiveness.
A clean and organized area is crucial for any DIY project, especially one involving heat and small containers.
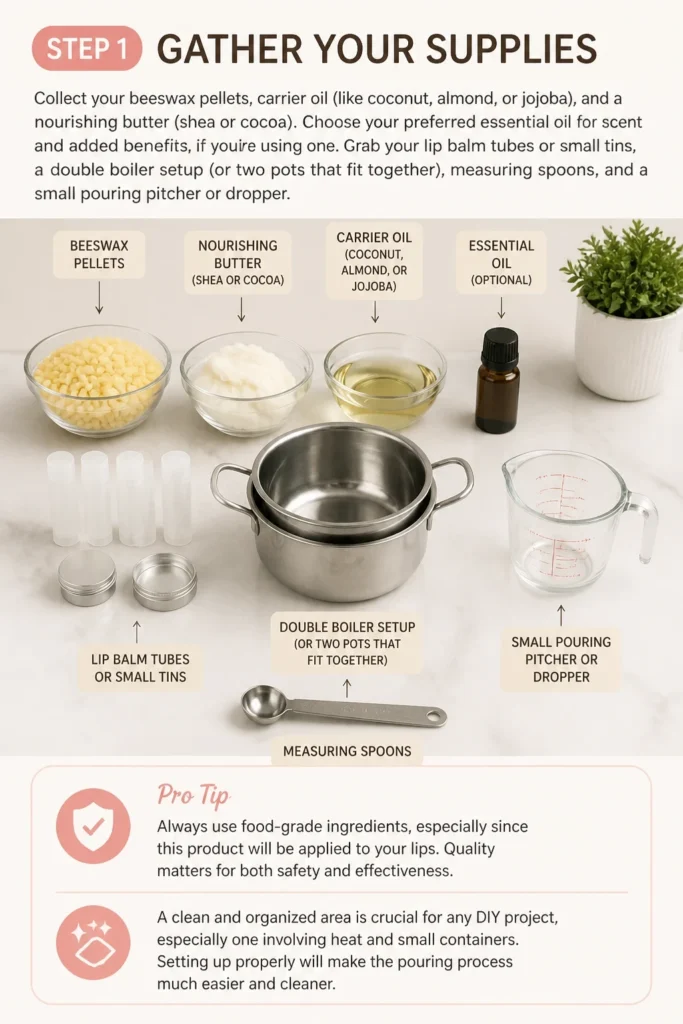
Setting up properly will make the pouring process much easier and cleaner.
Step 2: Prepare Your Workspace
- Lay down newspaper or an old towel to protect your work surface from spills.
- Arrange your empty lip balm tubes or tins upright in a tray or a small box. This helps stabilize them for pouring.
- Ensure good ventilation, especially if you’re working with strong essential oils.
Pro Tip: Group your empty containers closely together. This makes pouring quick and minimizes drips between tubes.
Precision is key when making lip balm. Accurate measurements ensure the perfect consistency and texture.
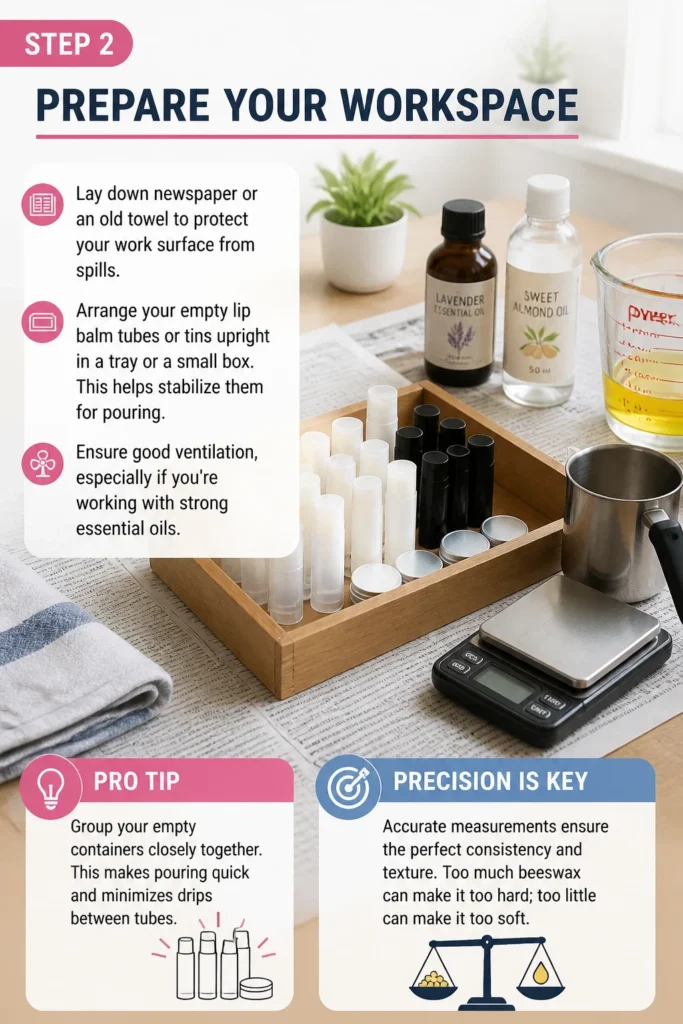
Too much beeswax can make it too hard; too little can make it too soft.
Step 3: Measure Your Ingredients
- Measure out 1 tablespoon of beeswax pellets.
- Measure 2 tablespoons of your chosen carrier oil (e.g., coconut oil, sweet almond oil, or jojoba oil).
- Measure 1 tablespoon of a nourishing butter, such as shea butter or cocoa butter.
Pro Tip: For a slightly firmer balm, add an extra half teaspoon of beeswax. For a softer, more spreadable balm, reduce the beeswax by half a teaspoon.
The double boiler method is the safest way to melt your waxes and oils. It prevents scorching and ensures even heating.
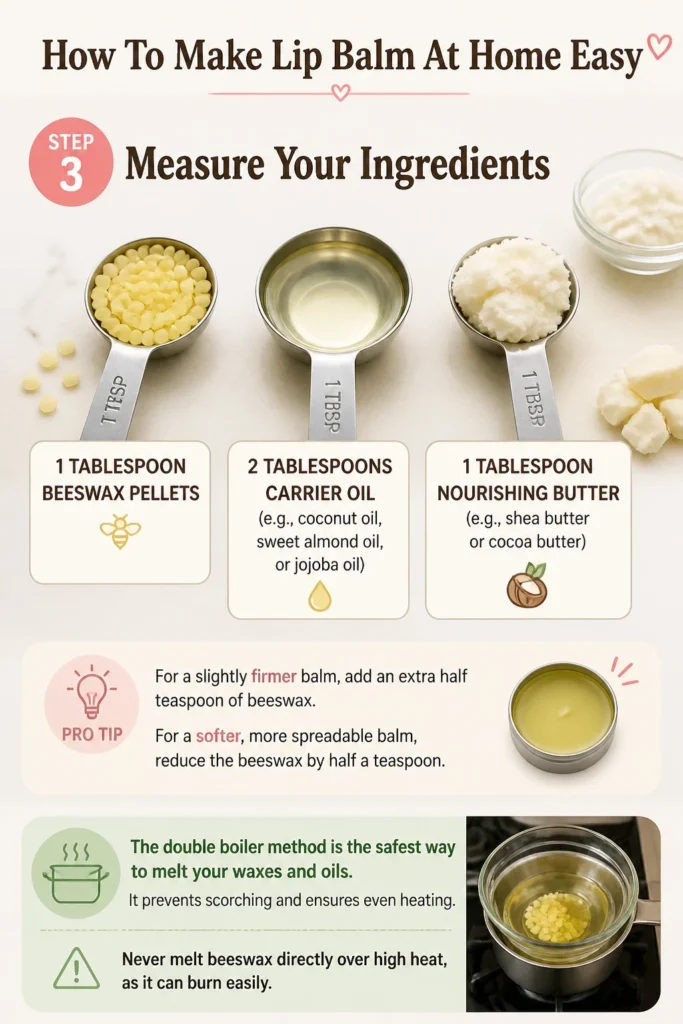
Never melt beeswax directly over high heat, as it can burn easily.
Step 4: Melt the Base
- Fill the bottom pot of your double boiler with a few inches of water.
- Place the top pot or heat-safe bowl over the bottom pot, ensuring it doesn’t touch the water.
- Add your measured beeswax pellets to the top pot.
- Heat the water to a gentle simmer, allowing the beeswax to slowly melt. Stir occasionally.
Pro Tip: Keep the heat on medium-low. Patience here ensures a smooth, lump-free melt, which is essential for a silky lip balm.
Once the beeswax is fully melted, it’s time to incorporate the other core ingredients. These add the moisturizing and nourishing properties to your balm.
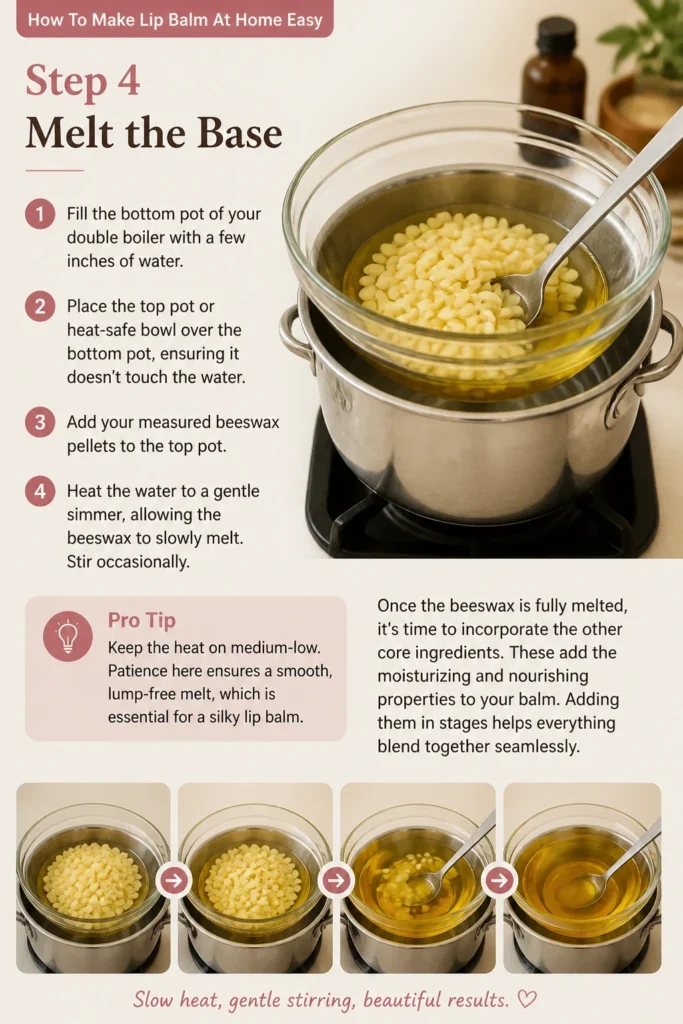
Adding them in stages helps everything blend together seamlessly.
Step 5: Add Butters and Oils
- Once the beeswax is completely liquid, add your chosen carrier oil (coconut, almond, jojoba, etc.) to the mixture.
- Stir gently until the carrier oil is fully combined with the melted beeswax.
- Add your shea butter or cocoa butter to the mixture.
- Continue stirring until the butter has completely melted and everything is well-integrated.
Pro Tip: If using solid coconut oil, add it with the beeswax to ensure it melts thoroughly before other ingredients are introduced.
This step is where you can personalize your lip balm with scent and additional benefits. Essential oils can add a pleasant aroma and therapeutic properties.
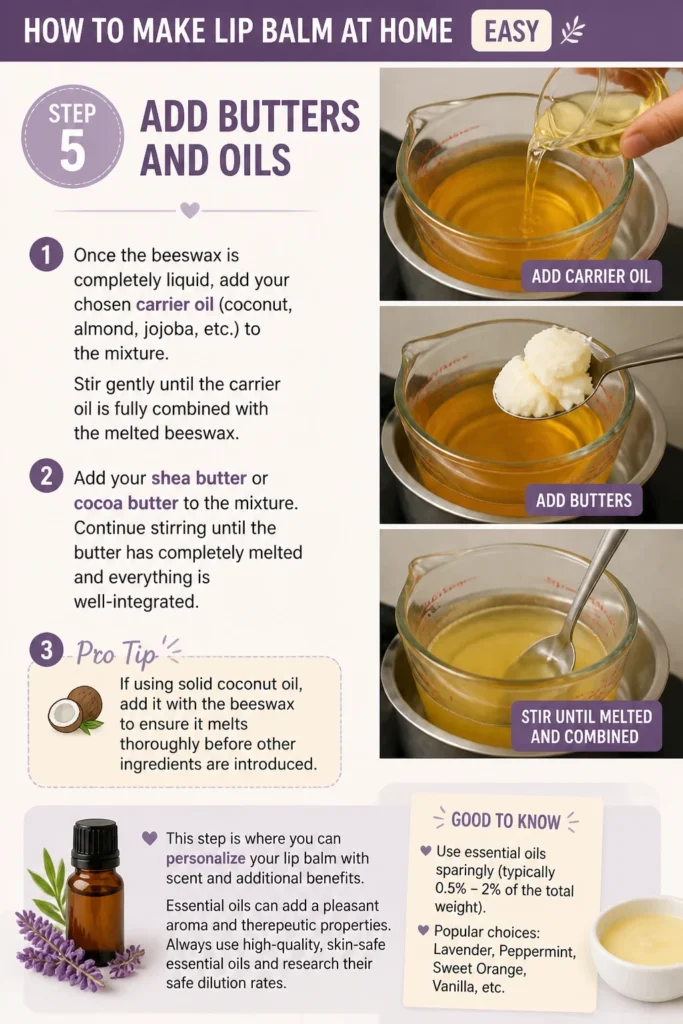
Always use high-quality, skin-safe essential oils and research their safe dilution rates.
Step 6: Infuse with Essential Oils (Optional)
- Remove the top pot from the heat source.
- Add 5-10 drops of your chosen essential oil to the melted balm mixture. Start with fewer drops and add more if you desire a stronger scent.
- Stir the mixture thoroughly to ensure the essential oil is evenly distributed.
Pro Tip: Peppermint essential oil gives a refreshing tingle, while lavender is soothing. Always do a patch test if you have sensitive skin, even for lip products. Avoid citrus oils if you plan to be in direct sun, as they can be photosensitive.
This is the most delicate part of the process. Work quickly and steadily, as the mixture will start to solidify as it cools.
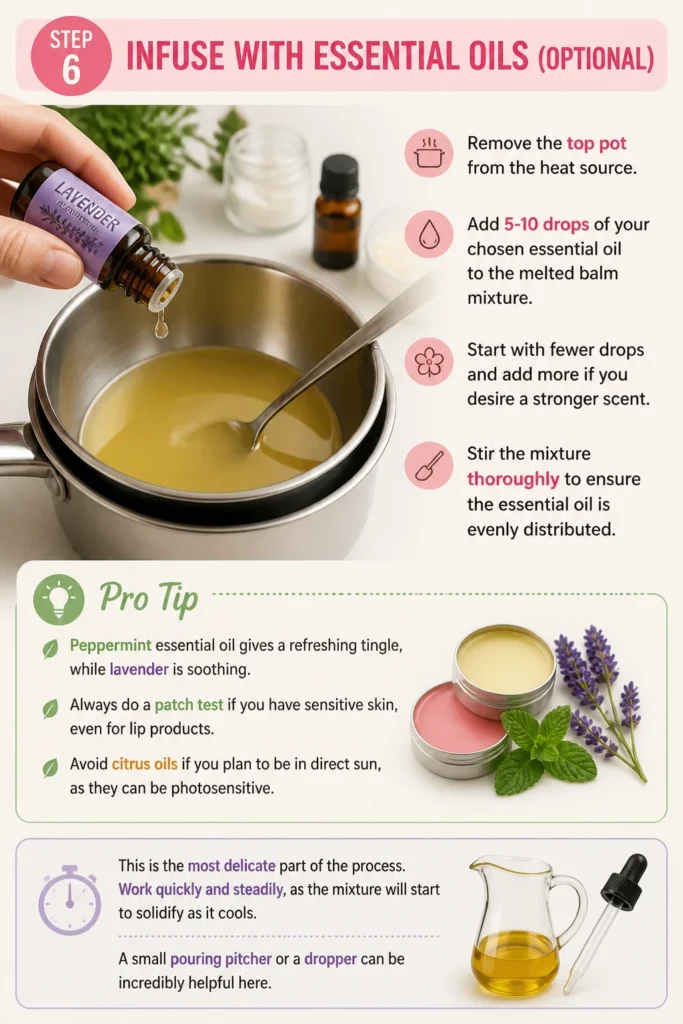
A small pouring pitcher or a dropper can be incredibly helpful here.
Step 7: Pour into Containers
- Carefully transfer the melted lip balm mixture into a small pouring pitcher with a spout, if you have one.
- Pour the mixture slowly and steadily into each lip balm tube or tin, filling them almost to the top.
- Work quickly but precisely to avoid spills and uneven fills.
Pro Tip: If the mixture starts to harden in your pouring pitcher, simply place the pitcher back over the simmering water in the double boiler for a few seconds to re-melt it. Don’t overfill the tubes, as the balm will expand slightly as it cools.
Patience is a virtue in this stage. Proper cooling ensures your lip balm sets correctly and has a smooth, solid consistency.
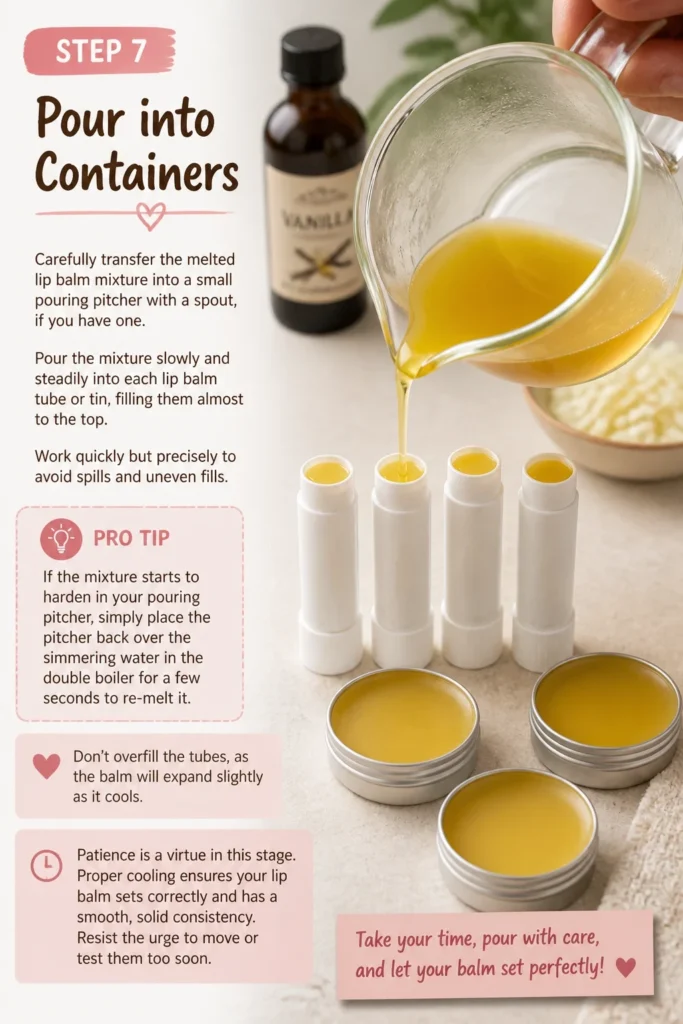
Resist the urge to move or test them too soon.
Step 8: Cool and Harden
- Allow the filled lip balm tubes or tins to cool completely at room temperature. This can take anywhere from 30 minutes to an hour.
- Avoid moving them during this cooling period to prevent uneven setting or indentations.
- For a faster set, you can carefully place the tray of filled containers in the refrigerator for 15-20 minutes, but room temperature cooling is often preferred for the smoothest finish.
Pro Tip: A slow cool at room temperature helps prevent cracks or dimples on the surface of your balm. You’ll know they’re ready when they feel firm and solid to the touch.
Once your lip balms are fully hardened, they are ready for their finishing touches. Labeling is important, especially if you make different varieties.
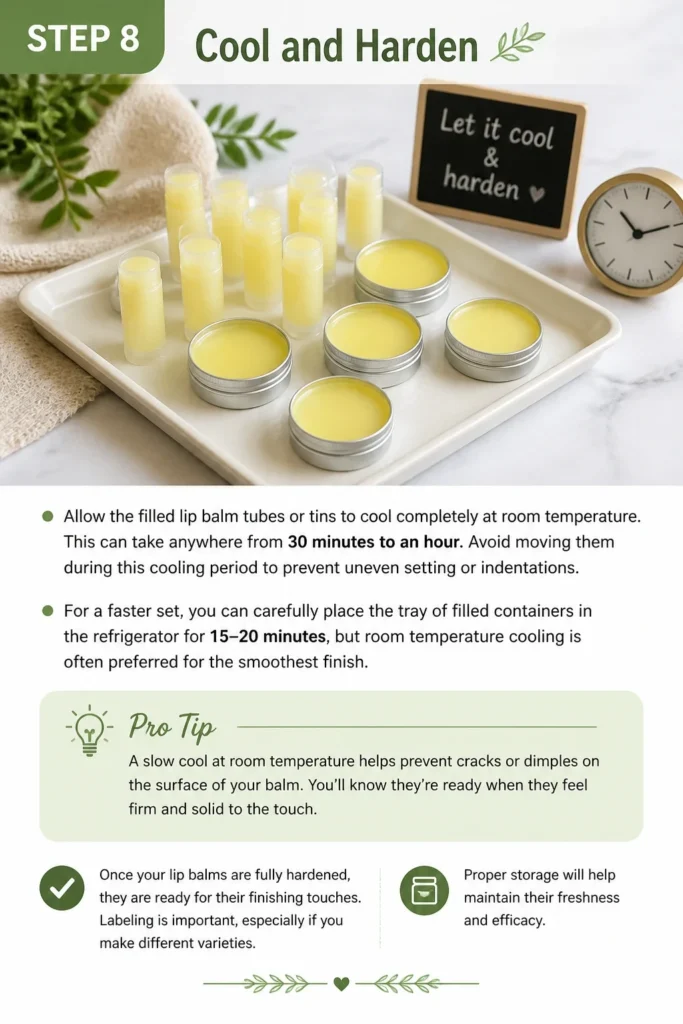
Proper storage will help maintain their freshness and efficacy.
Step 9: Label and Store
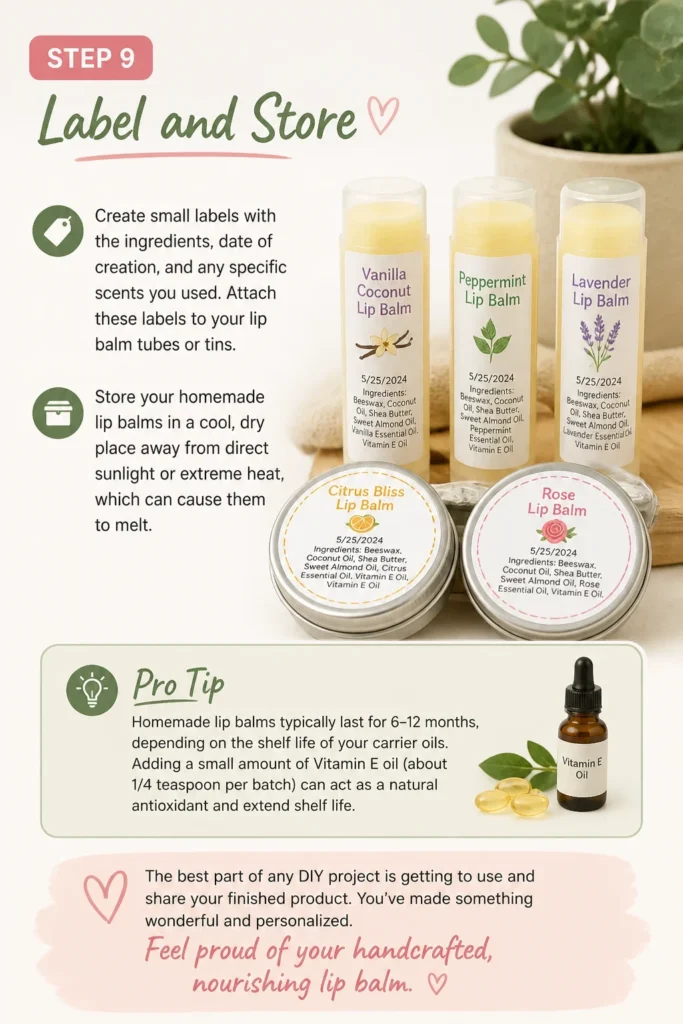
- Create small labels with the ingredients, date of creation, and any specific scents you used.
- Attach these labels to your lip balm tubes or tins.
- Store your homemade lip balms in a cool, dry place away from direct sunlight or extreme heat, which can cause them to melt.
Pro Tip: Homemade lip balms typically last for 6-12 months, depending on the shelf life of your carrier oils. Adding a small amount of Vitamin E oil (about 1/4 teaspoon per batch) can act as a natural antioxidant and extend shelf life.
The best part of any DIY project is getting to use and share your finished product. You’ve made something wonderful and personalized.
Feel proud of your handcrafted, nourishing lip balm.
Step 10: Enjoy Your Creation
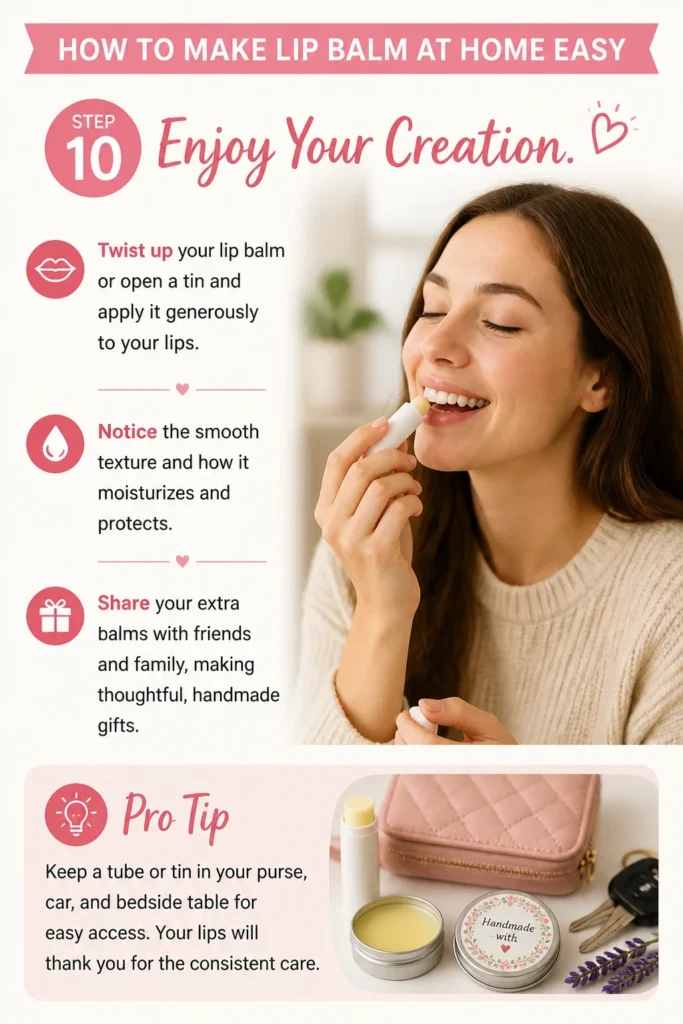
- Twist up your lip balm or open a tin and apply it generously to your lips.
- Notice the smooth texture and how it moisturizes and protects.
- Share your extra balms with friends and family, making thoughtful, handmade gifts.
Pro Tip: Keep a tube or tin in your purse, car, and bedside table for easy access. Your lips will thank you for the consistent care.
Common Mistakes to Avoid
Using Too Much or Too Little Beeswax
The ratio of beeswax to oils and butters is critical for the right consistency. Too much beeswax results in a lip balm that is too hard and difficult to apply.
Conversely, too little beeswax will leave you with a balm that is too soft and melts easily, especially in warmer temperatures. Stick to the recommended 1:2:1 ratio (beeswax:oil:butter) as a starting point, adjusting slightly if needed.
Overheating Ingredients
Melting your ingredients directly over high heat can scorch the delicate oils and butters, diminishing their beneficial properties and potentially causing an off-smell.
Always use a double boiler method with gentle, simmering water. This ensures a slow, even melt, preserving the integrity of your ingredients.
Adding Essential Oils Too Soon
Essential oils are volatile and can evaporate quickly when exposed to heat. Adding them while the mixture is still on the heat or too hot can reduce their potency and fragrance.
Always remove the melted balm mixture from the heat before stirring in your essential oils. This helps retain their therapeutic qualities and scent.
Improper Cooling
Rushing the cooling process or moving the containers too early can lead to an uneven set, cracks, or dimples in your finished lip balm.
Allow your lip balms to cool undisturbed at room temperature for at least 30-60 minutes. This slow cooling promotes a smooth, flawless finish.
Troubleshooting
My Lip Balm is Too Hard
If your lip balm feels too firm or waxy after cooling, it means you likely used too much beeswax in proportion to your oils and butters.
To fix this, gently re-melt your batch in the double boiler. Once liquid, add a small amount (about 1/2 teaspoon) of your chosen carrier oil, stir well, and then re-pour into containers to cool again
Beginner-friendly templates, step-by-step guides,
and weekly project ideas in your inbox.