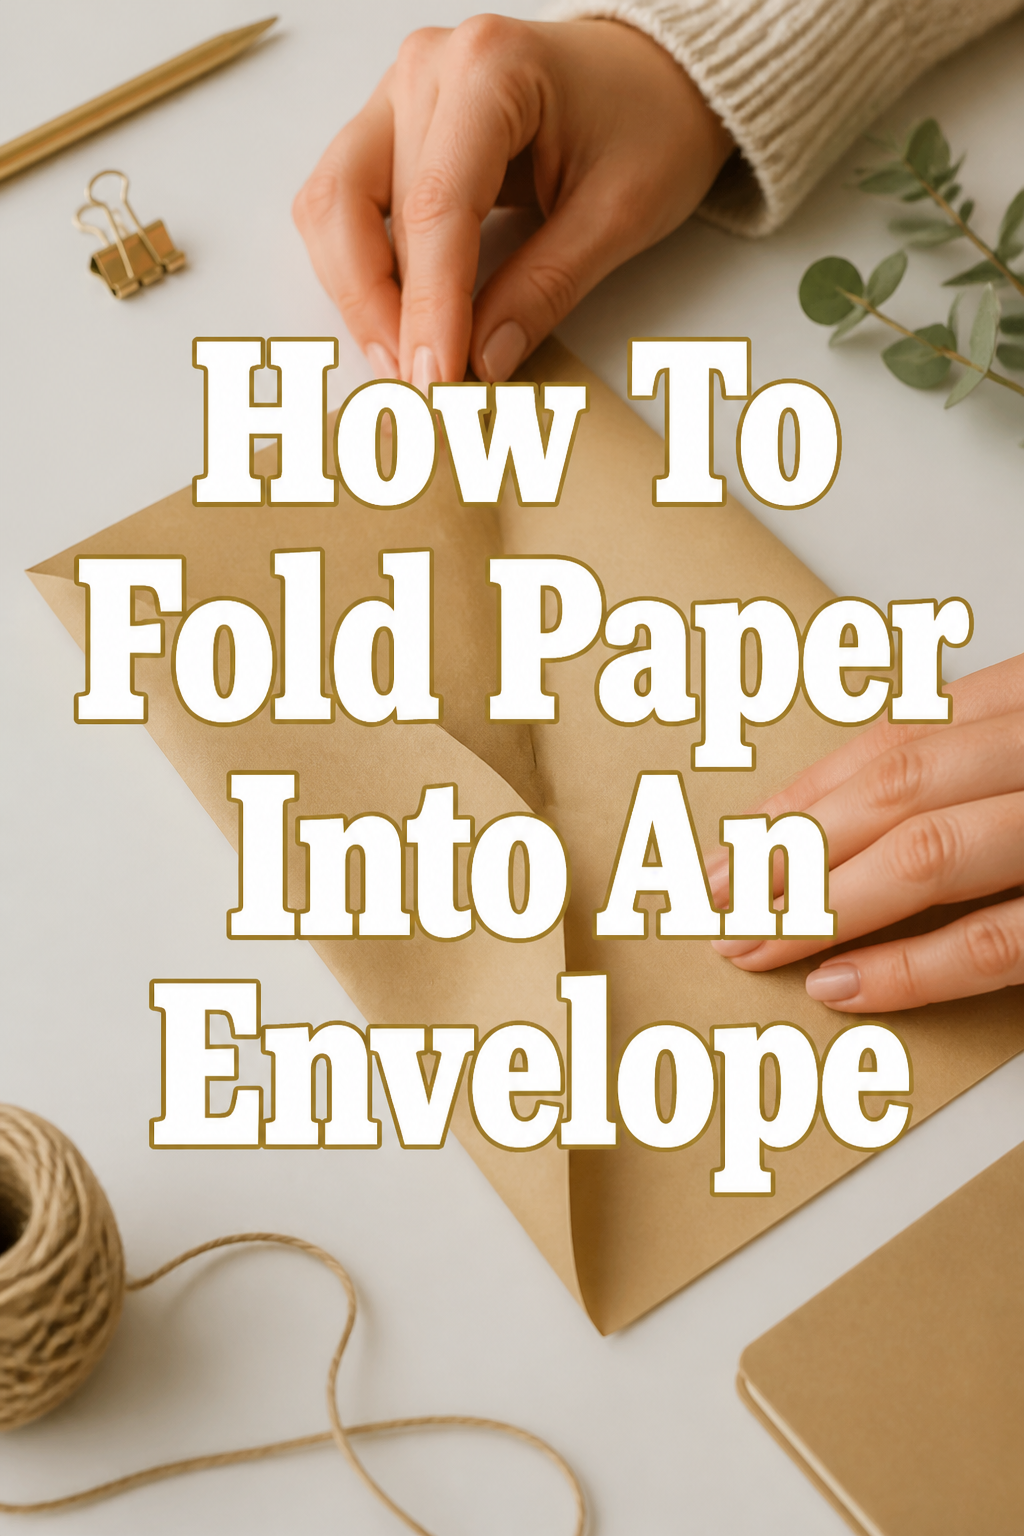
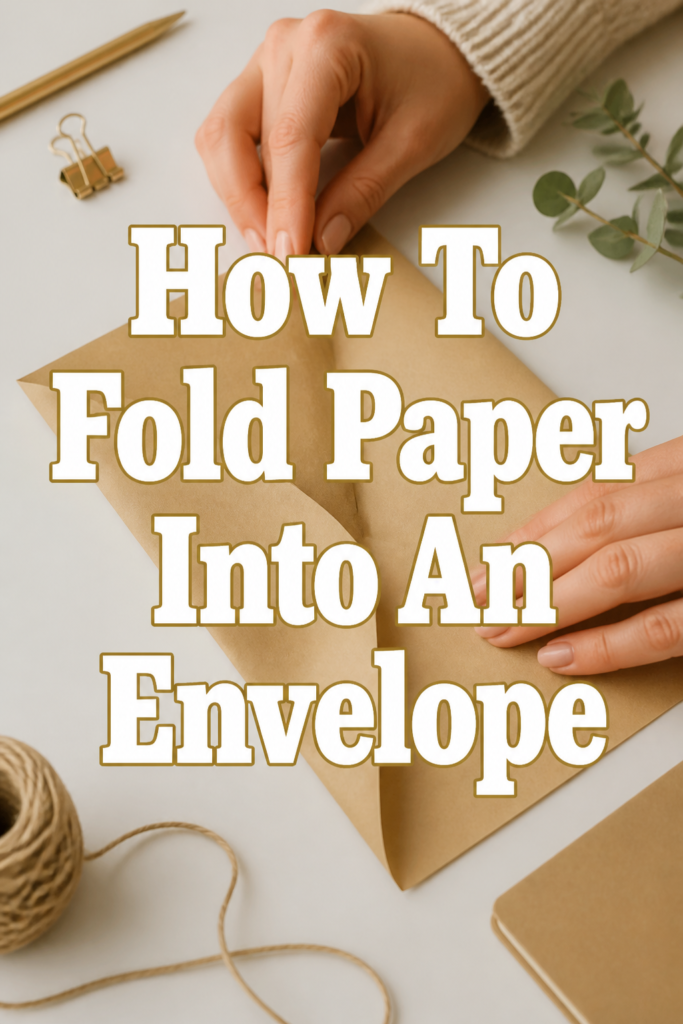
✉️ How To Fold Paper Into An Envelope

Beginner-friendly templates, step-by-step guides,
and weekly project ideas in your inbox.
Have you ever needed an envelope right when you didn’t have one? I certainly have, more times than I can count.
It’s a surprisingly common predicament, leaving you scrambling for a quick solution. Learning to fold your own paper envelope is a wonderfully practical skill.
This guide comes from countless times making custom envelopes for gifts, cards, and last-minute letters. I’ll show you exactly how to do it with clarity and ease.
Quick Overview
Folding a paper envelope is a simple craft that transforms a flat sheet into a functional container. This guide will walk you through creating a standard, square-flap envelope.
You’ll end up with a neat, custom envelope perfect for letters, cards, or small gifts. It’s a satisfying project that yields immediate results.
- Time needed: 10-15 minutes
- Difficulty: Beginner
- What you’ll need: A sheet of paper, ruler, pencil, scissors, glue stick or double-sided tape
Step-by-Step Instructions
Step 1: Choose Your Paper
The foundation of any good envelope is the paper itself. Select a sheet that is slightly larger than what you intend to put inside. For a standard A2 card (4.25 x 5.5 inches), an 8.5 x 11-inch sheet works well.
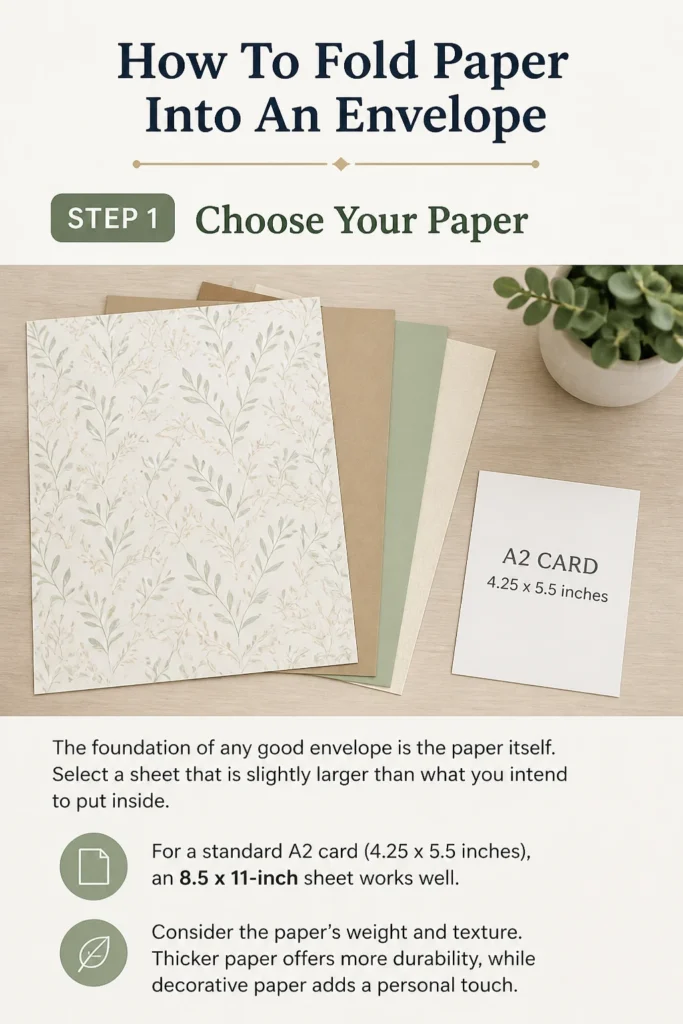
Consider the paper’s weight and texture. Thicker paper offers more durability, while decorative paper adds a personal touch.
Step 2: Measure and Mark Your Square
Lay your chosen paper flat on a clean surface. We will start by creating a perfect square, which is the base for our envelope. For an 8.5 x 11-inch sheet, measure 8.5 inches along the longer side and mark it.
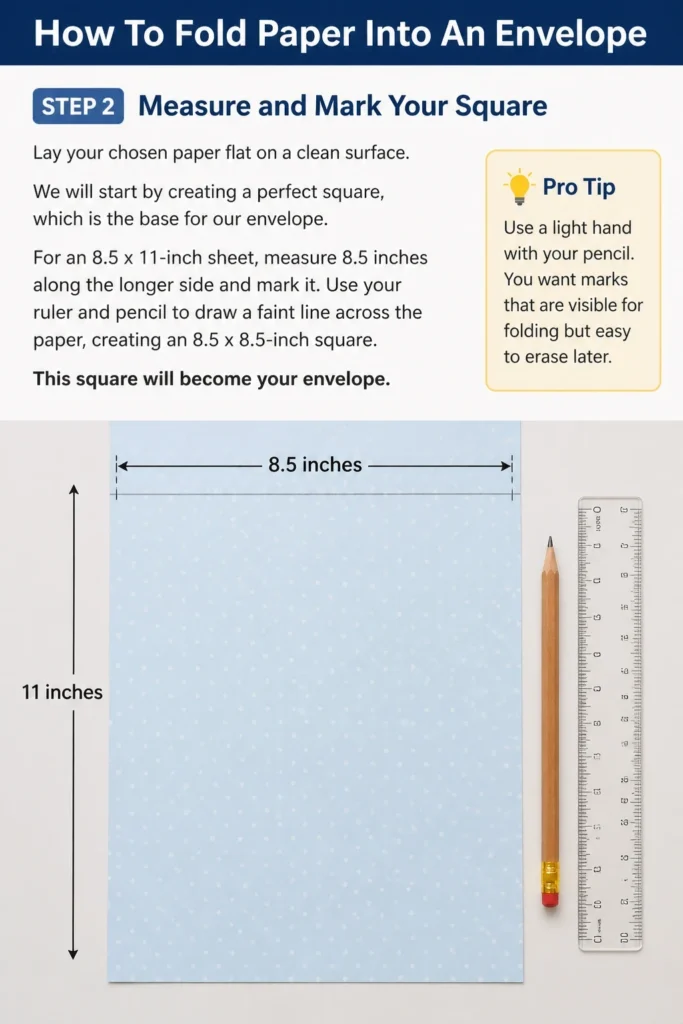
Use your ruler and pencil to draw a faint line across the paper, creating an 8.5 x 8.5-inch square. This square will become your envelope.
Pro Tip: Use a light hand with your pencil. You want marks that are visible for folding but easy to erase later.
Step 3: Trim to a Perfect Square
Carefully cut along the pencil line you just drew. Precision here is important for a neat final product. You should now have a perfect square of paper.
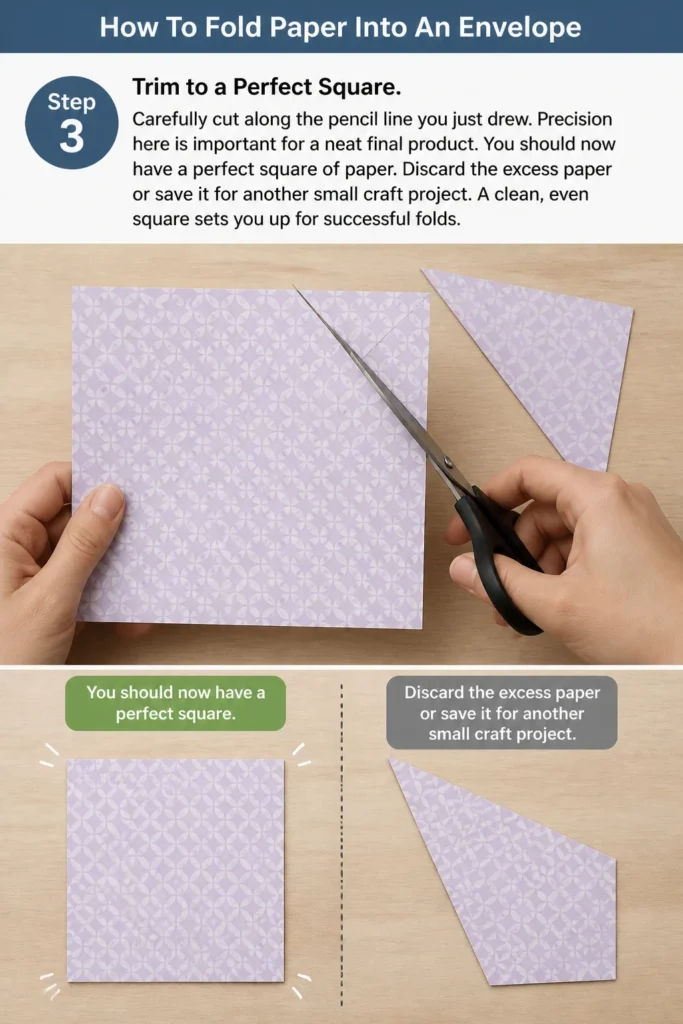
Discard the excess paper or save it for another small craft project. A clean, even square sets you up for successful folds.
Step 4: Fold Diagonally
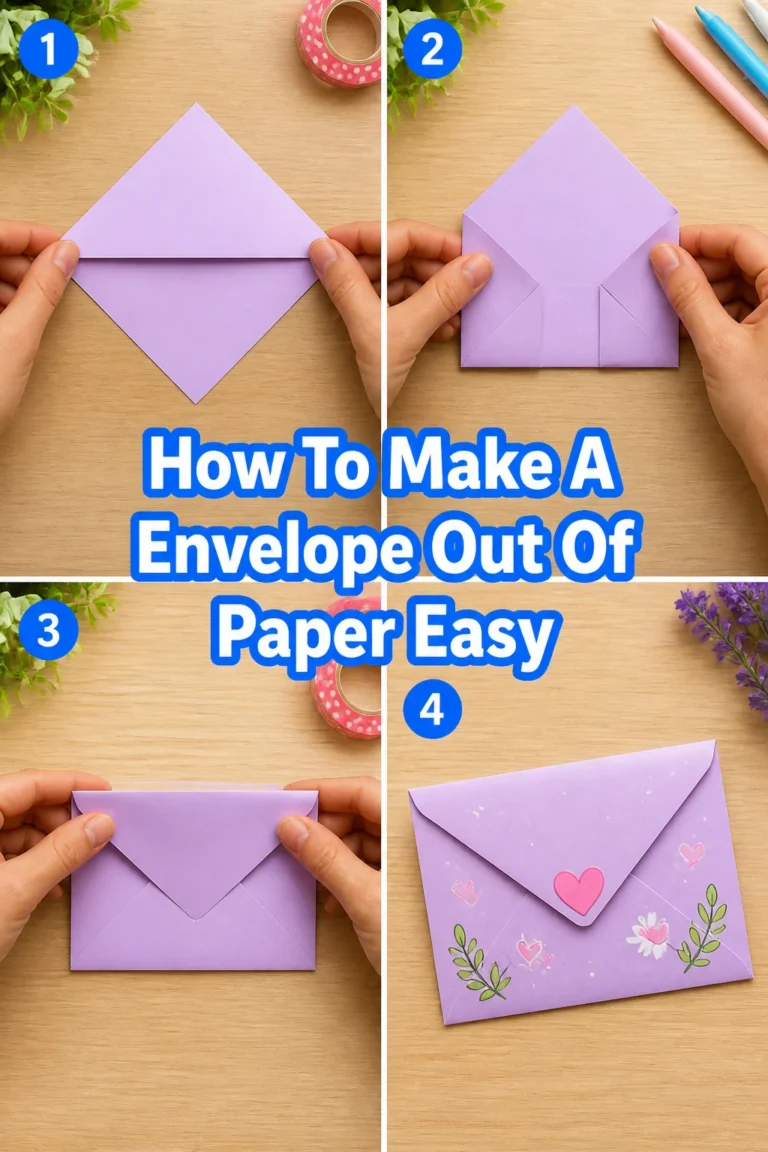
Take your square and fold it in half diagonally. Bring one corner directly across to meet the opposite corner, forming a large triangle. Press down firmly along the fold to create a crisp crease.
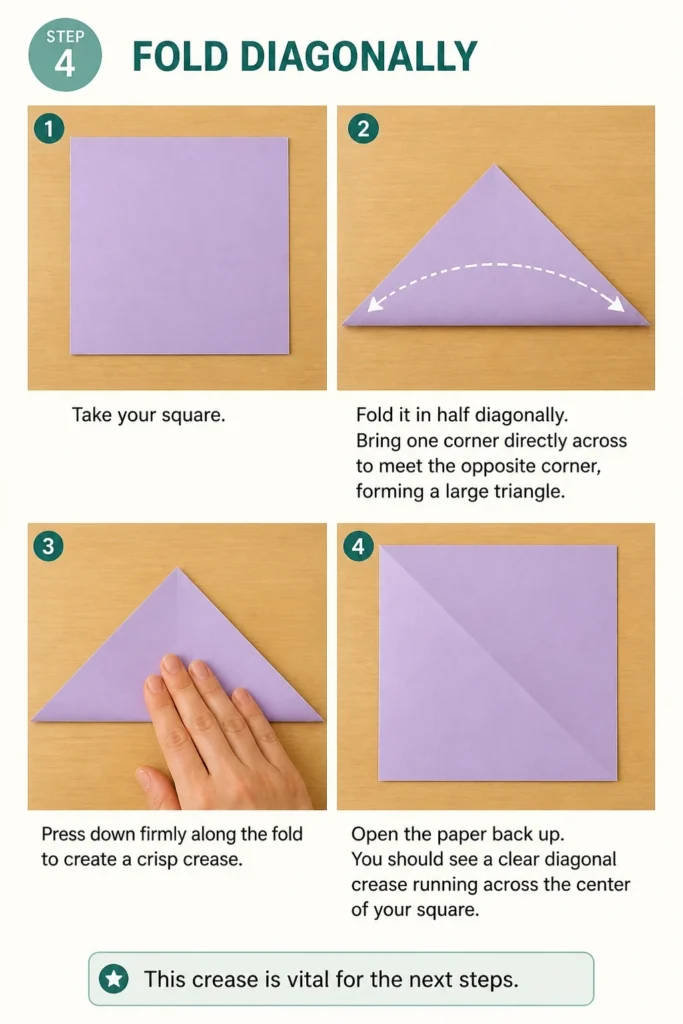
Open the paper back up. You should see a clear diagonal crease running across the center of your square. This crease is vital for the next steps.
Step 5: Bring in the Side Flaps
Orient your paper so that the diagonal crease runs vertically, like a diamond shape. Take the right corner of the paper and fold it inward. The edge of this fold should align with the center diagonal crease.
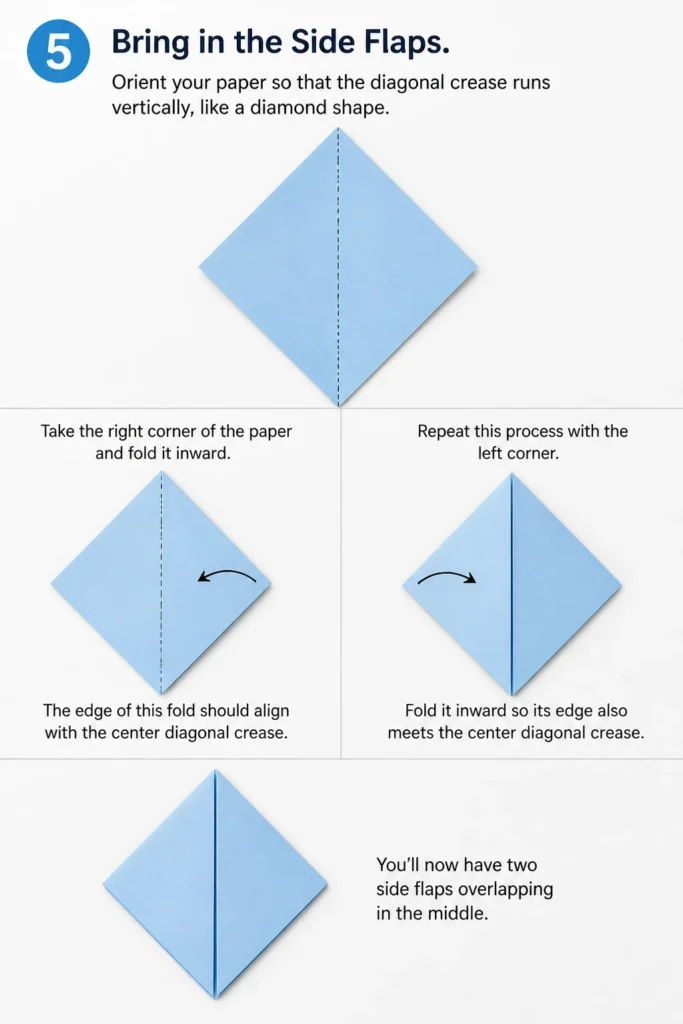
Repeat this process with the left corner. Fold it inward so its edge also meets the center diagonal crease. You’ll now have two side flaps overlapping in the middle.
Step 6: Create the Bottom Flap
With the side flaps still folded inward, take the bottom point of your paper. Fold this point upward, creating a third flap. The bottom point should extend past the intersection of the two side flaps, forming the base of your envelope.
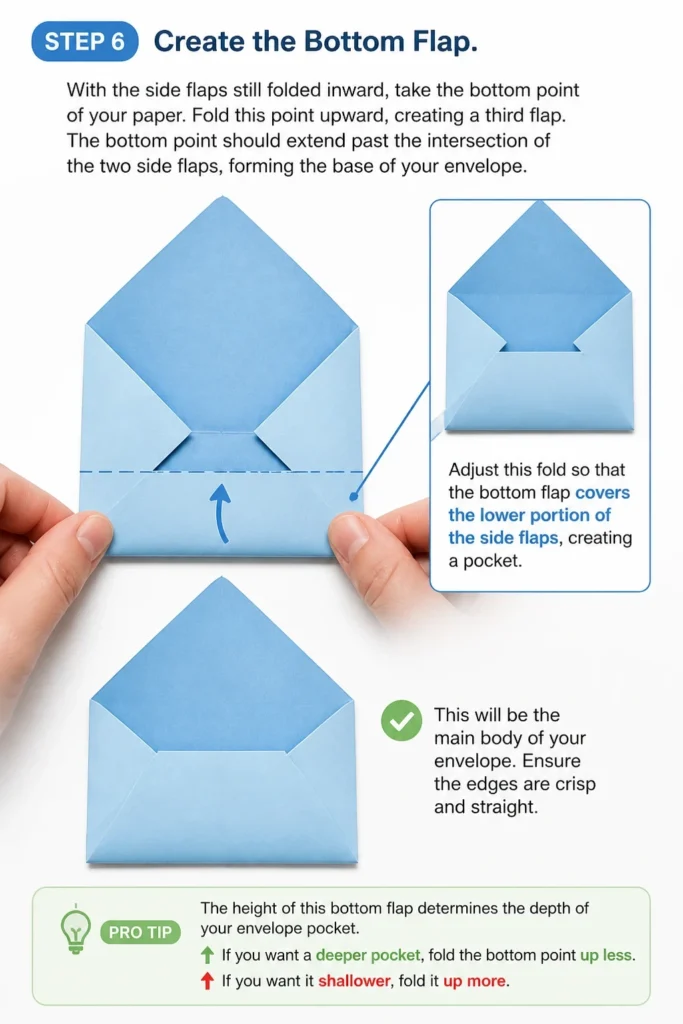
Adjust this fold so that the bottom flap covers the lower portion of the side flaps, creating a pocket. This will be the main body of your envelope. Ensure the edges are crisp and straight.
Pro Tip: The height of this bottom flap determines the depth of your envelope pocket. If you want a deeper pocket, fold the bottom point up less. If you want it shallower, fold it up more.
Step 7: Secure the Bottom Flap
Carefully lift the two side flaps slightly. Apply a thin line of glue or a piece of double-sided tape along the outer edges of the bottom flap where it will meet the side flaps. Press the side flaps down firmly onto the glued bottom flap.
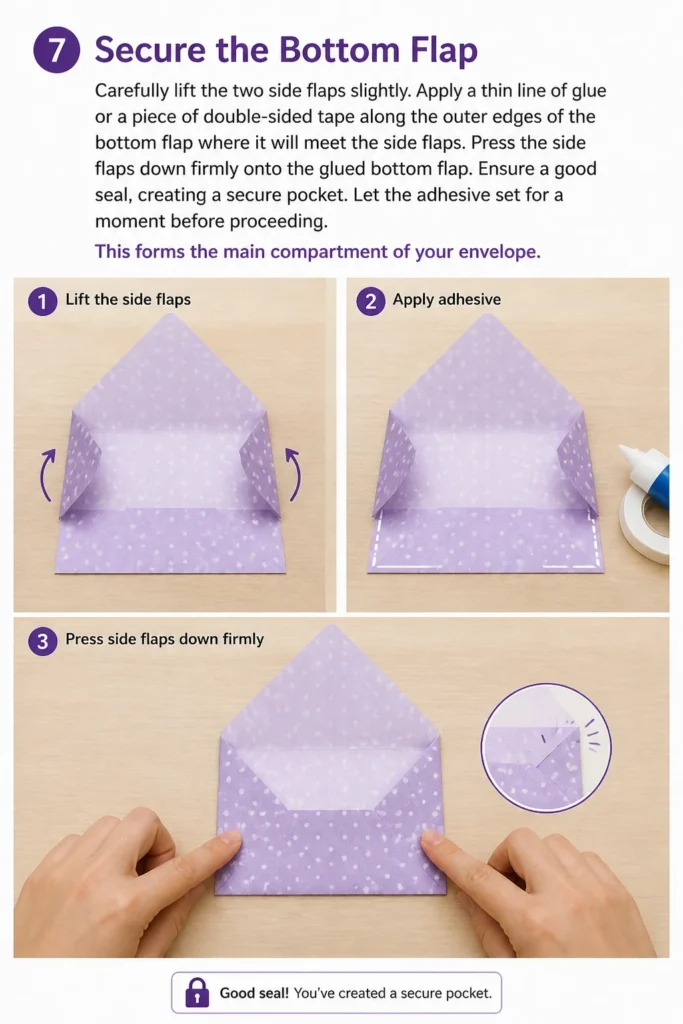
Ensure a good seal, creating a secure pocket. Let the adhesive set for a moment before proceeding. This forms the main compartment of your envelope.
Step 8: Form the Top Flap
Finally, take the remaining top point of your paper. Fold it downward to create the closing flap of your envelope. This flap will cover the opening of the pocket you just formed.
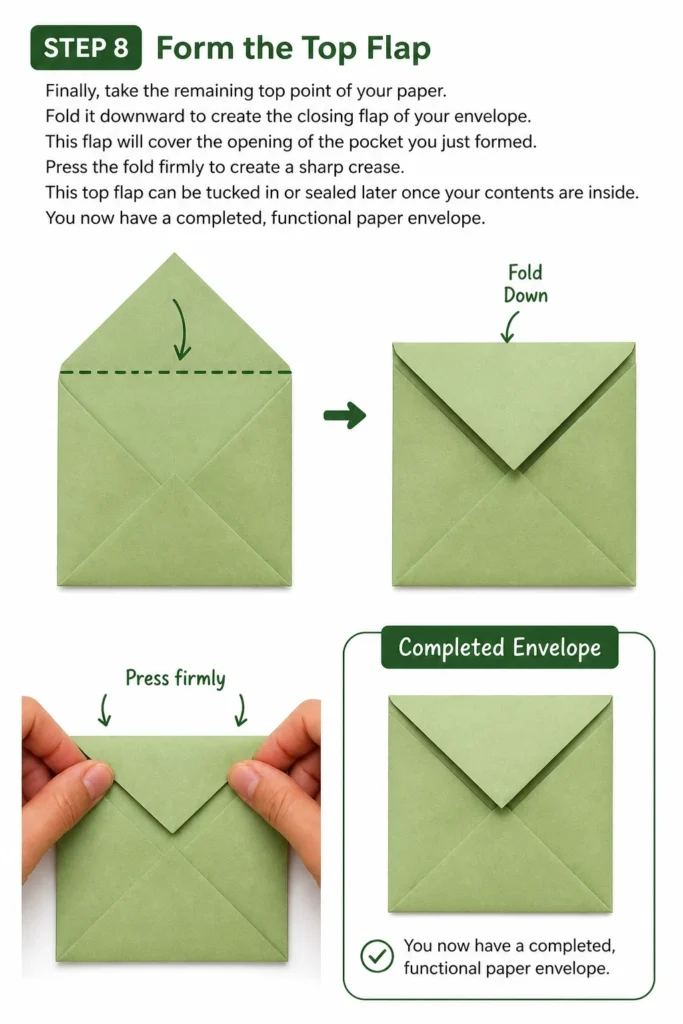
Press the fold firmly to create a sharp crease. This top flap can be tucked in or sealed later once your contents are inside. You now have a completed, functional paper envelope.
Common Mistakes to Avoid
Uneven Folds
One of the most common pitfalls is making folds that aren’t perfectly aligned. This can result in a crooked envelope that doesn’t close properly or looks unprofessional. Always take your time to align corners and edges precisely before pressing down to crease. A ruler can help guide your folds.
Using the Wrong Paper Size
Starting with paper that is too small for your contents, or a square that isn’t proportionate, leads to frustration. Always measure your item first, then select a paper size that allows ample room for folding. Generally, a square base is ideal for this method, with the square’s side length being roughly twice the width of your desired envelope.
Over-Adhering Glue
Applying too much glue or tape can cause the paper to warp, wrinkle, or even stick where it shouldn’t. Use a thin, consistent line of adhesive only on the necessary edges. A glue stick is often better than liquid glue for this project, as it dries faster and causes less paper distortion.
Rushing the Process
Attempting to fold quickly often leads to errors. Each step builds upon the previous one, and a mistake early on will compound later. Take a moment to align, crease, and secure each fold properly. Patience ensures a much better final product.
Troubleshooting
Envelope Doesn’t Close Properly
If your top flap doesn’t meet the body of the envelope neatly, or it gapes open, it’s likely due to uneven side or bottom folds. Carefully re-examine your diagonal crease and how the side flaps align to it. Sometimes, the bottom flap was folded too high or low. You may need to gently unfold and adjust the bottom flap’s position to create a better fit for the top flap.
Flaps Don’t Align
Misaligned side or bottom flaps can make the envelope look lopsided. This often stems from not aligning the paper perfectly with the initial diagonal crease, or not bringing the side corners precisely to the center. Ensure you’re working on a flat surface and use a ruler to check alignment if needed. A slight adjustment before firm creasing can prevent significant misalignment.
Paper Tears During Folding
If your paper is tearing, it could be too thin or you’re pressing too hard during creasing. Very thin paper (like standard printer paper) can be delicate. Try using a slightly heavier weight craft paper. When creasing, use firm but controlled pressure, running your finger or a bone folder along the fold without digging into the paper.
Key Takeaways
- Precision in measuring and folding is crucial for a neat, functional envelope.
- Choosing the right paper size and weight directly impacts the final quality and durability.
- This simple folding technique is adaptable for various paper sizes, allowing for custom envelopes.
- Practice improves your folding technique, leading to faster and more accurate results.
- A handmade envelope adds a unique, personal touch to any letter or gift.
Frequently Asked Questions
Can I use any size paper?
Yes, you can use almost any size square of paper. The key is to start with a perfect square. The larger the square, the larger your final envelope will be. Experiment with different dimensions to suit your needs.
How do I make different sized envelopes?
The method remains the same regardless of size. Simply start with a square of paper proportionate to the item you wish to enclose. For example, if you want a small envelope, begin with a smaller square. The diagonal fold and subsequent side/bottom folds will scale accordingly.
What’s the best adhesive to use?
A good quality glue stick or double-sided tape is ideal. They provide a strong hold without making the paper wet or causing it to buckle. Avoid liquid glues that can bleed through or wrinkle the paper.
Can I print on the paper before folding?
Absolutely! Printing patterns, images, or addresses on the paper before you fold it is a great way to customize your envelope. Just be mindful of where your design will fall once the paper is folded into its final shape.
Our Top Recommended Finds
- Craft Paper Packs: Offer a variety of colors, patterns, and weights, perfect for different envelope styles.
- Precision Ruler with Grid: Essential for accurate measuring and ensuring straight cuts and folds.
- Glue Stick Multipack: Ensures you always have a reliable, mess-free adhesive on hand for all your paper projects.
Your Next Creative Fold Awaits
You now hold the knowledge to transform a simple sheet of paper into a functional, elegant envelope. This skill is more than just practical; it’s a doorway to personalized communication and thoughtful presentation.
Don’t stop here. Try different papers, experiment with decorative edges, or add a wax seal for an extra touch of class. The satisfaction of a handmade item is truly unique. Start folding your custom envelopes today.
Beginner-friendly templates, step-by-step guides,
and weekly project ideas in your inbox.