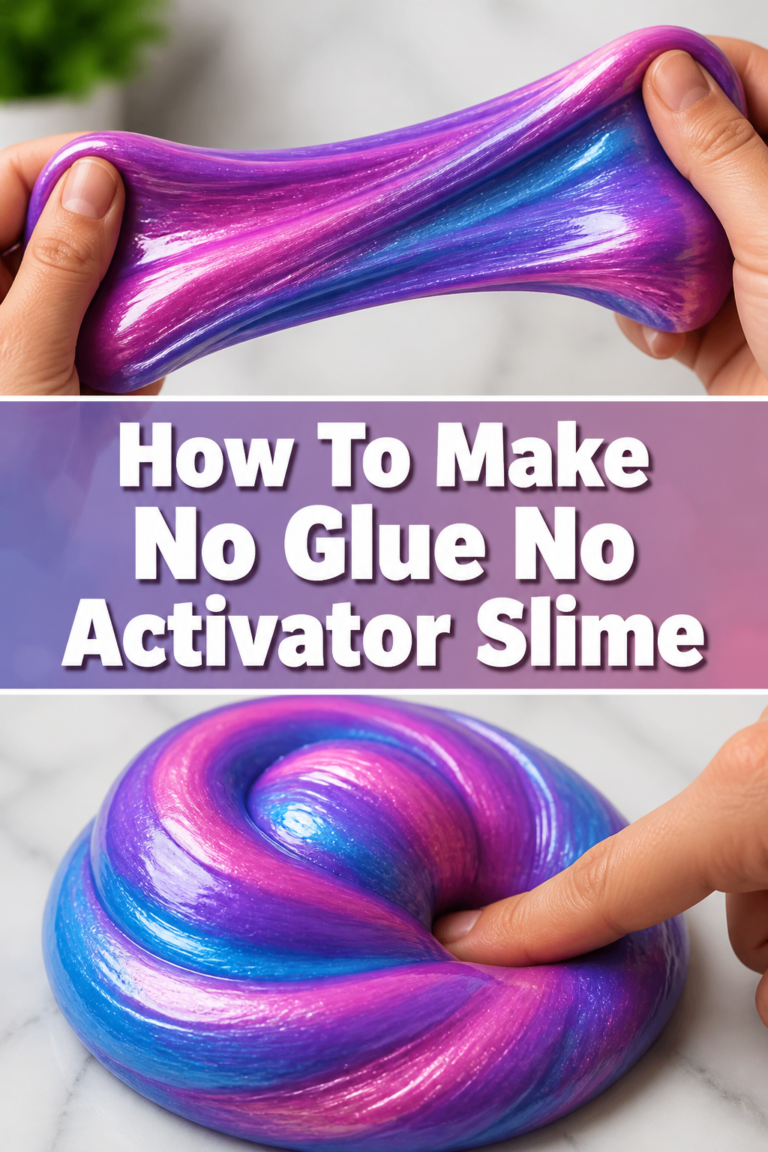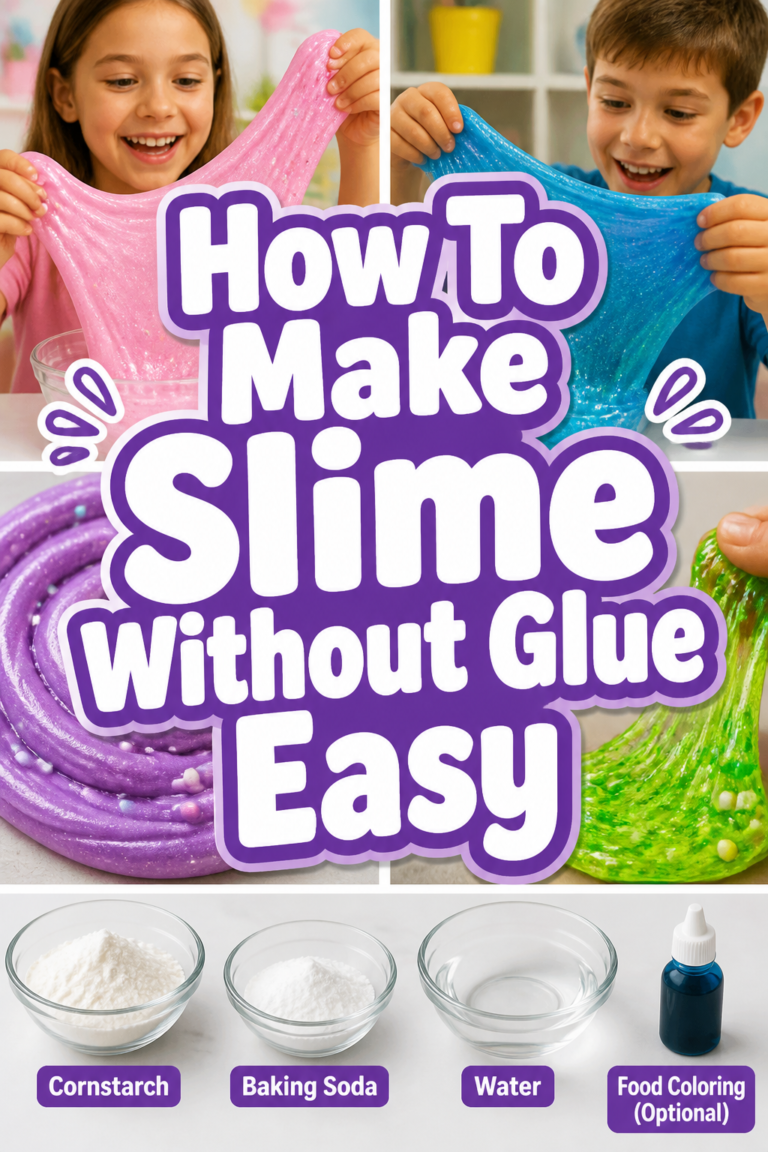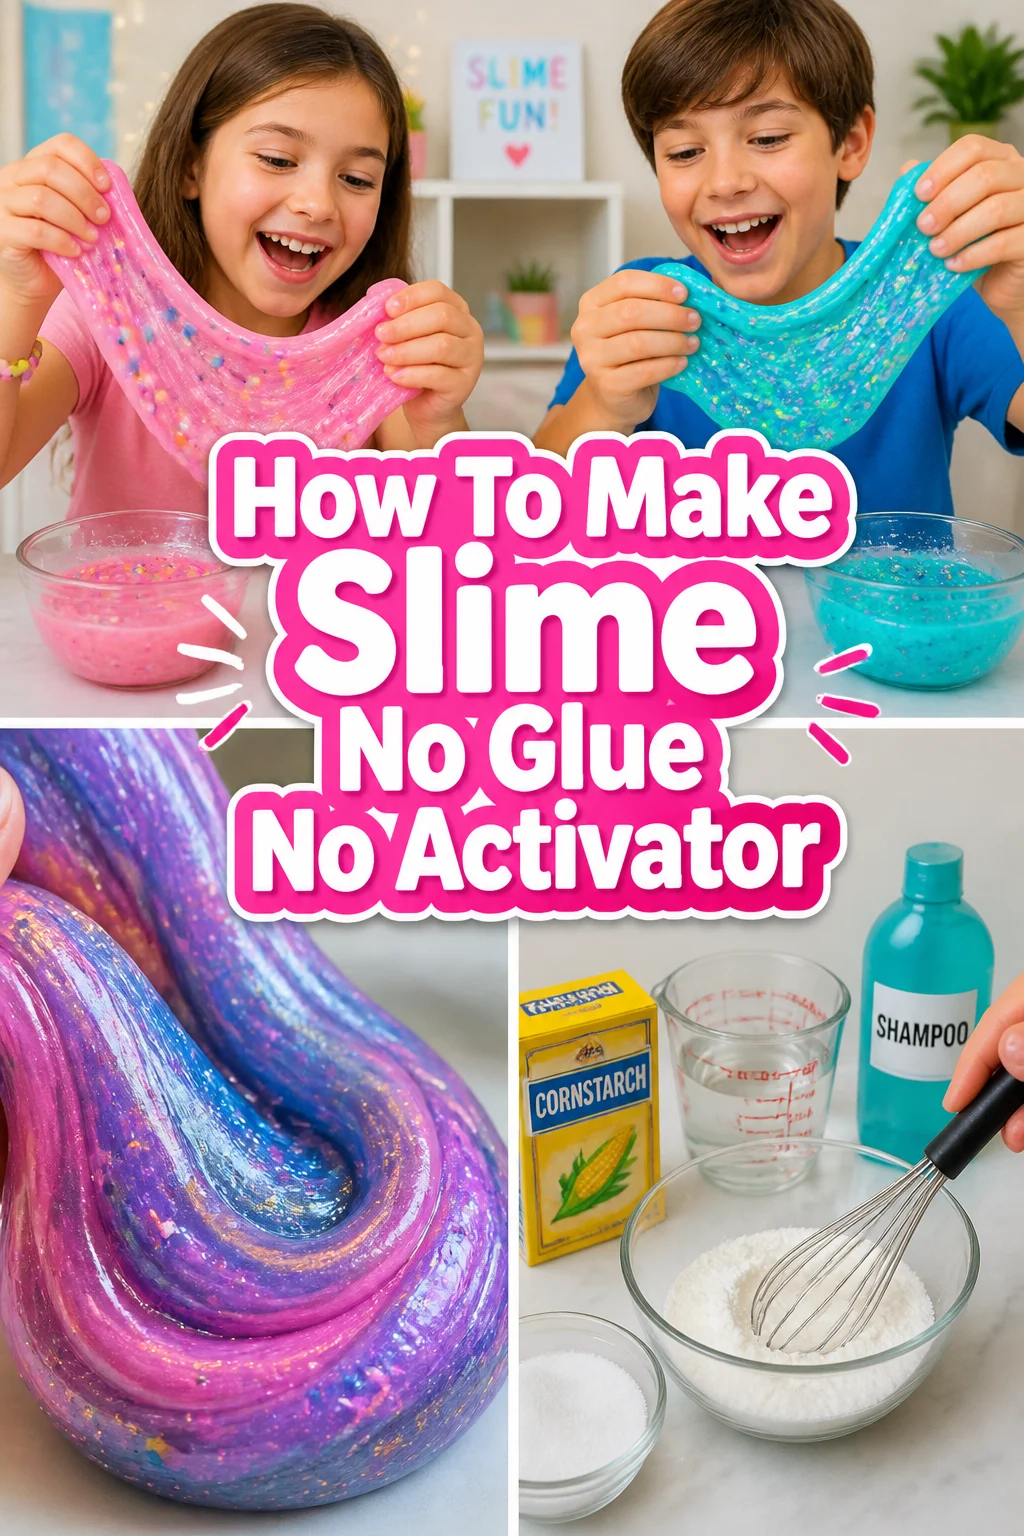
✨ How To Make Slime No Glue No Activator

Beginner-friendly templates, step-by-step guides,
and weekly project ideas in your inbox.
I remember countless afternoons trying to perfect slime recipes, often ending in sticky frustration or a trip to the store for more glue.
It felt like a secret club, and I wasn’t quite in.
After much experimentation and a few messy kitchen adventures, I’ve cracked the code on making fantastic, stretchy slime without needing any glue or traditional activators.

Quick Overview
Get ready to create your very own bouncy, satisfying slime using just a few common household items.
This method focuses on simple ingredients and a bit of patience, proving that you don’t need fancy components to have a great time.
- Time needed: 15-30 minutes (including prep and mixing)
- Difficulty: Beginner
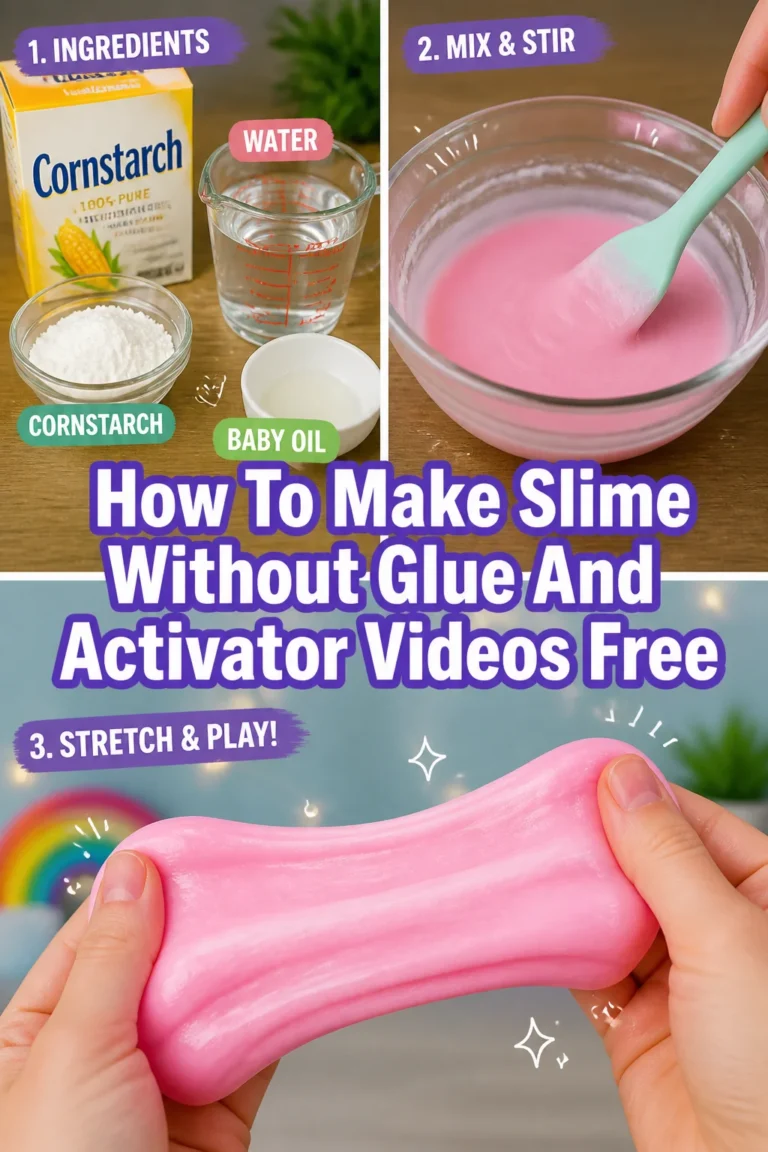
- What you’ll need: Cornstarch, dish soap, water, mixing bowl, spoon
Step-by-Step Instructions
Step 1: Gather Your Essentials
Before you begin, make sure all your ingredients and tools are within easy reach. This prevents interruptions and makes the process smoother.
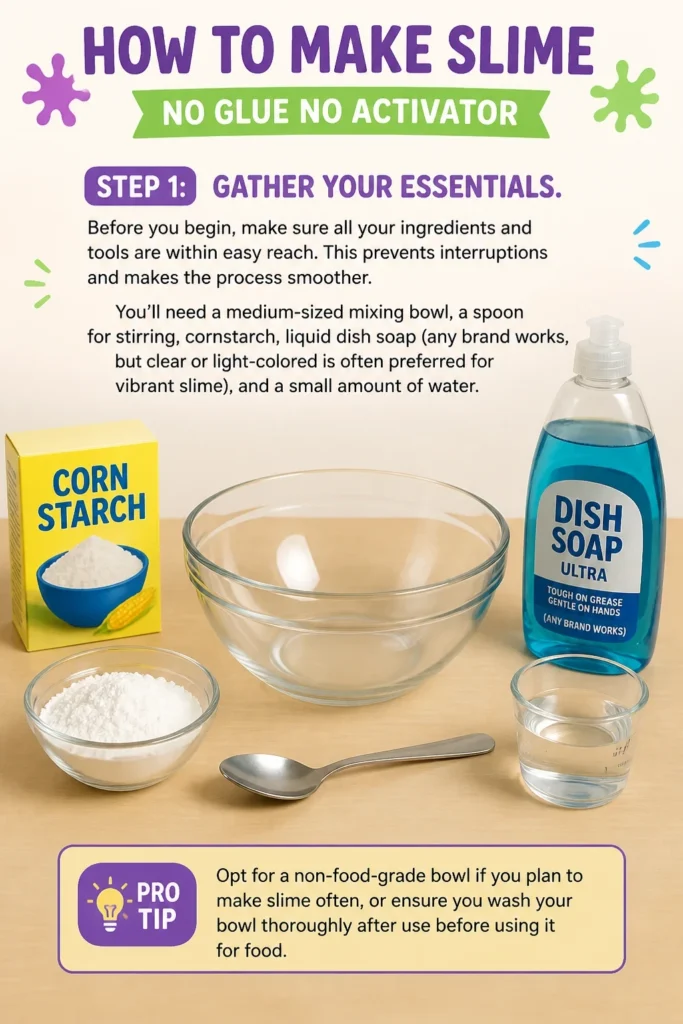
You’ll need a medium-sized mixing bowl, a spoon for stirring, cornstarch, liquid dish soap (any brand works, but clear or light-colored is often preferred for vibrant slime), and a small amount of water.
Pro Tip: Opt for a non-food-grade bowl if you plan to make slime often, or ensure you wash your bowl thoroughly after use before using it for food.
Step 2: Measure Your Cornstarch
Start by adding about 1/2 cup of cornstarch into your mixing bowl. This is your base, and getting the initial measurement right helps maintain consistency.
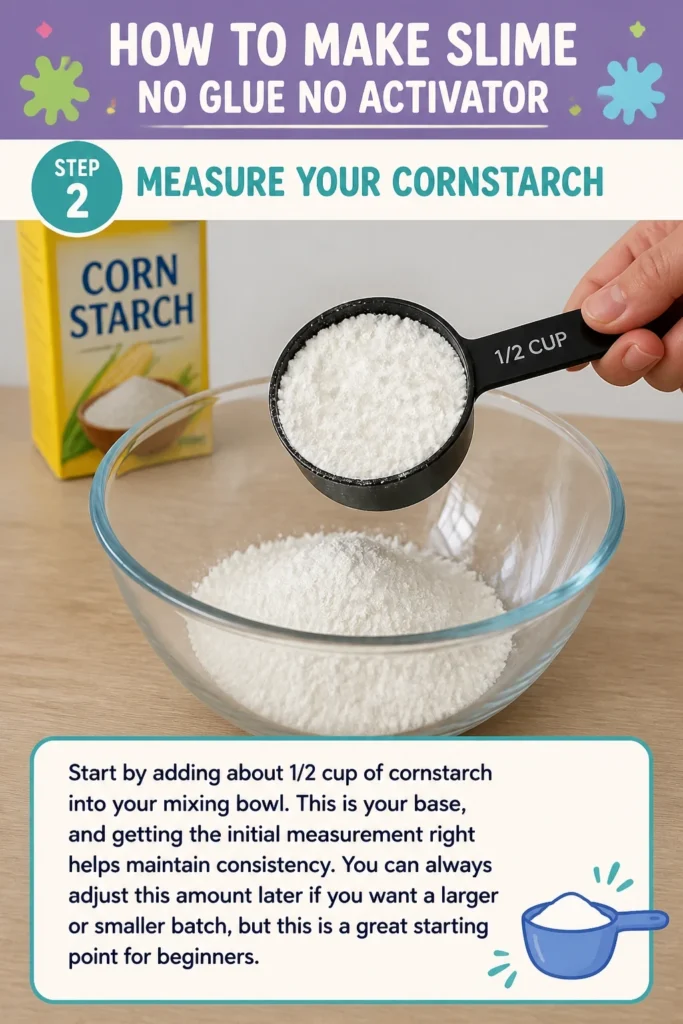
You can always adjust this amount later if you want a larger or smaller batch, but this is a great starting point for beginners.
Step 3: Add the Dish Soap
Now, pour in approximately 1/4 cup of liquid dish soap. The type of dish soap can subtly affect the final texture, but most standard varieties work well.
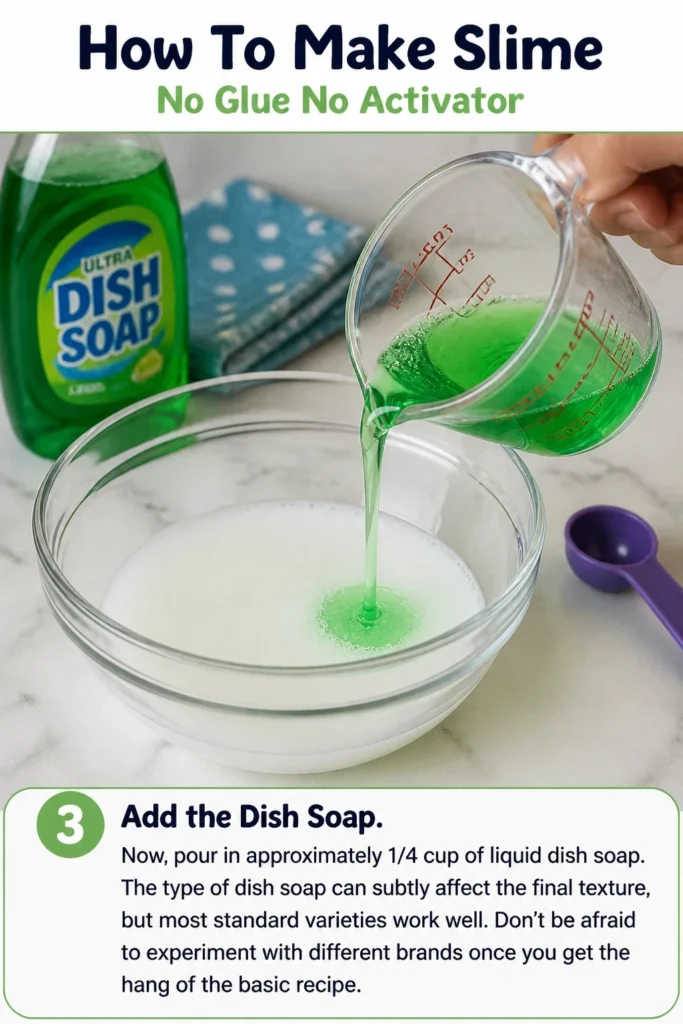
Don’t be afraid to experiment with different brands once you get the hang of the basic recipe.
Step 4: Start Mixing Slowly
Using your spoon, gently begin to mix the cornstarch and dish soap together. At first, it will look crumbly and dry.
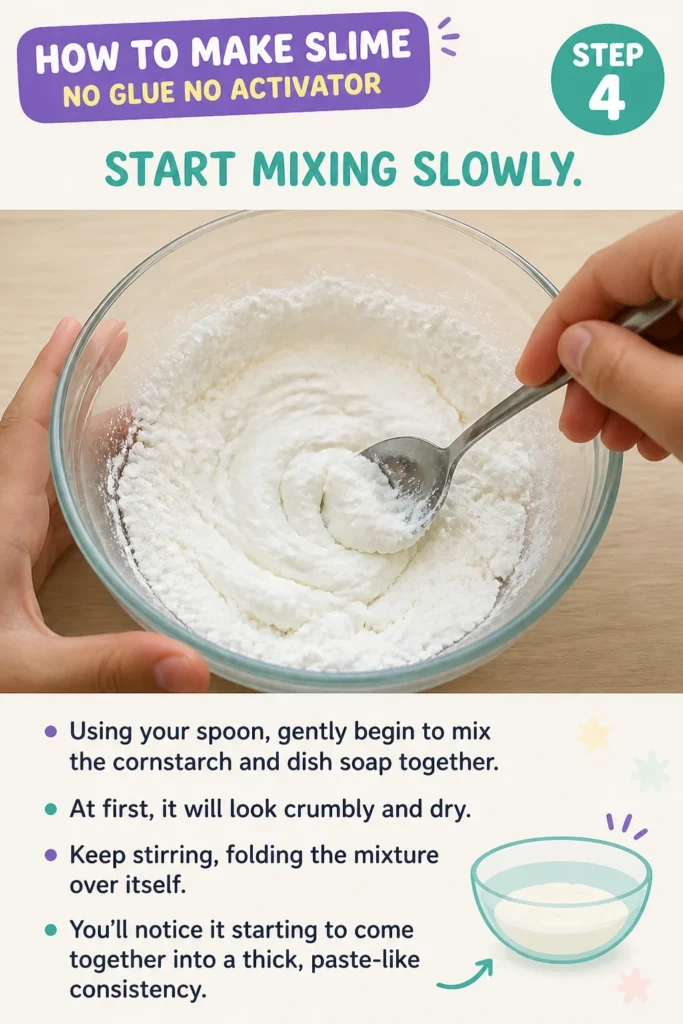
Keep stirring, folding the mixture over itself. You’ll notice it starting to come together into a thick, paste-like consistency.
Step 5: Introduce Water Gradually
This is a crucial step that requires a light touch. Add water one teaspoon at a time to your mixture.
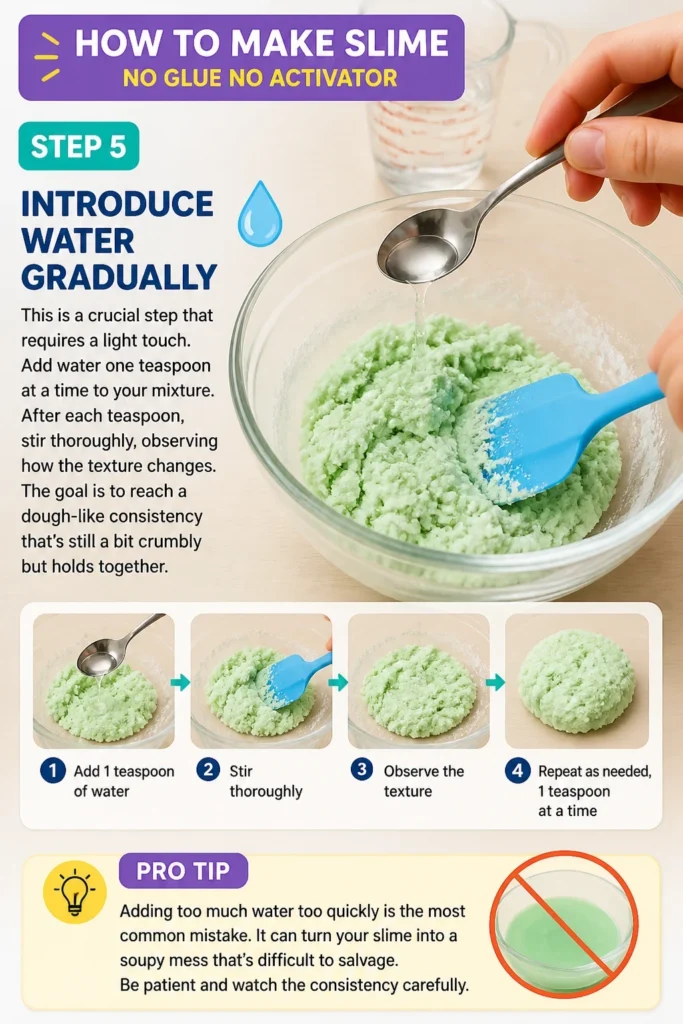
After each teaspoon, stir thoroughly, observing how the texture changes. The goal is to reach a dough-like consistency that’s still a bit crumbly but holds together.
Pro Tip: Adding too much water too quickly is the most common mistake. It can turn your slime into a soupy mess that’s difficult to salvage. Be patient and watch the consistency carefully.
Step 6: Knead for Perfection
Once the mixture is thick enough to handle without being overly sticky, it’s time to get your hands dirty. Turn the mixture out onto a clean, dry surface.
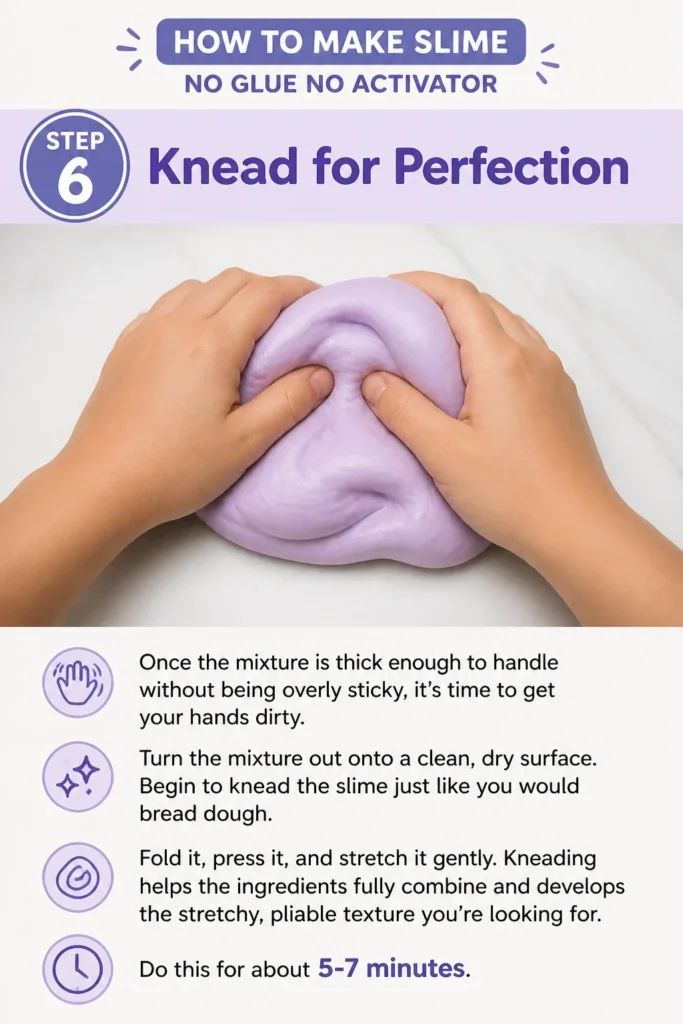
Begin to knead the slime just like you would bread dough. Fold it, press it, and stretch it gently.
Kneading helps the ingredients fully combine and develops the stretchy, pliable texture you’re looking for. Do this for about 5-7 minutes.
Step 7: Test and Adjust
As you knead, continually test the slime’s consistency. If it feels too dry or crumbly, add a tiny drop of dish soap or a fraction of a teaspoon of water and continue kneading.
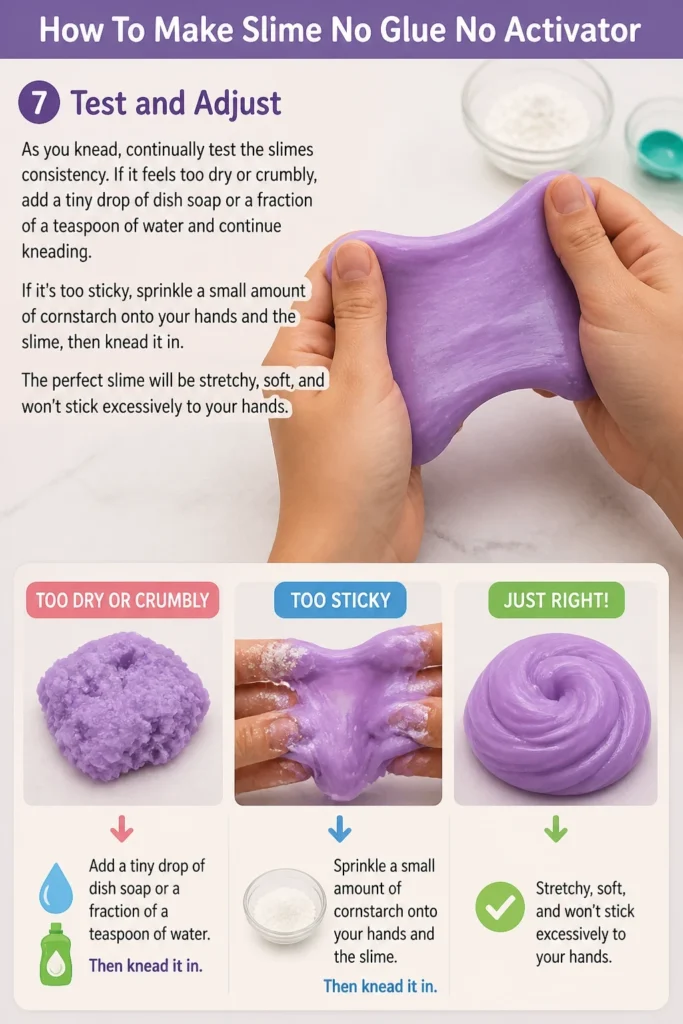
If it’s too sticky, sprinkle a small amount of cornstarch onto your hands and the slime, then knead it in.
The perfect slime will be stretchy, soft, and won’t stick excessively to your hands.
Step 8: Playtime and Storage
Your no-glue, no-activator slime is ready for action! Enjoy stretching, squishing, and shaping your creation.
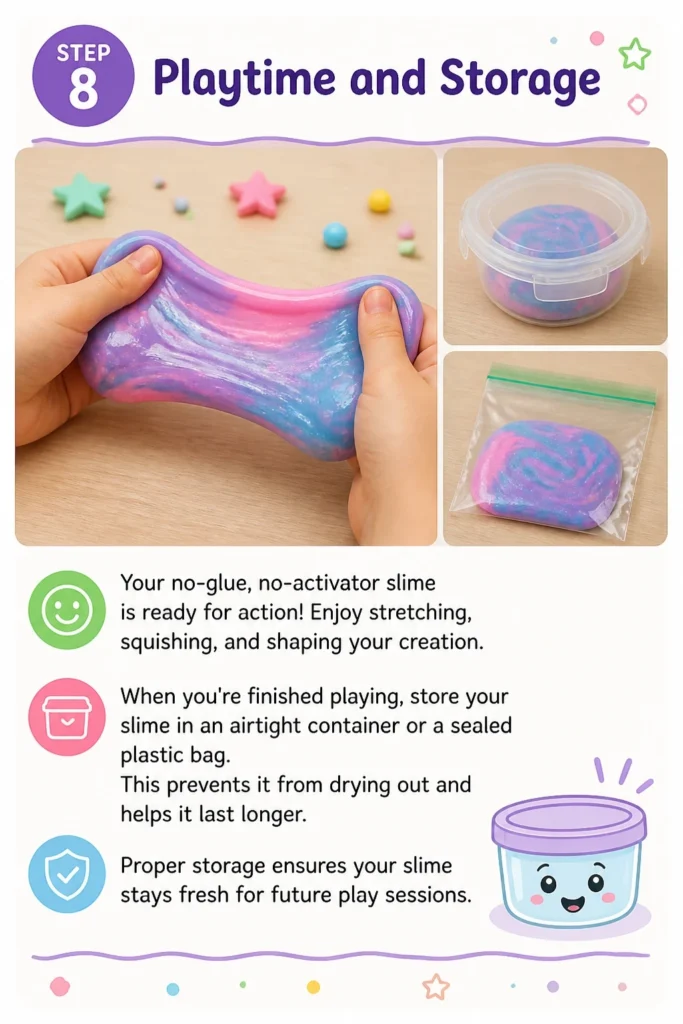
When you’re finished playing, store your slime in an airtight container or a sealed plastic bag. This prevents it from drying out and helps it last longer.
Proper storage ensures your slime stays fresh for future play sessions.
Common Mistakes to Avoid
Adding Too Much Liquid Too Fast
A common pitfall is pouring in too much water or dish soap at once. This quickly turns your mixture into a runny, unmanageable liquid that’s hard to fix.
Always add liquids in very small increments, like a teaspoon or even half a teaspoon, and mix thoroughly before adding more.
Not Kneading Enough
Many beginners stop mixing once the ingredients are vaguely combined. However, kneading is essential for developing the slime’s elasticity and smooth texture.
Without sufficient kneading, your slime might remain crumbly, stiff, or not hold together properly. Give it a good 5-7 minutes of hands-on work.
Expecting Traditional Slime Texture
This cornstarch and dish soap slime has a unique, dough-like, soft, and slightly powdery texture, different from glue-based slime.
Don’t be disappointed if it doesn’t have the exact gooey, super-stretchy feel of borax-activated glue slime. Embrace its distinct qualities!
Ignoring Consistency Cues
The mixture will tell you what it needs. If it’s too dry, it will crumble; if it’s too wet, it will be very sticky or liquidy.
Pay close attention to these signals and adjust with small additions of cornstarch or liquid, rather than blindly following exact measurements.
Troubleshooting
Slime is Too Sticky
If your slime is sticking excessively to your hands and the surface, it means it has too much liquid. Don’t worry, this is easily fixed.
Sprinkle a small amount of cornstarch onto the slime and your hands, then continue to knead it in. Add cornstarch gradually until the stickiness subsides and the slime becomes more manageable.
Slime is Too Crumbly or Dry
A crumbly or stiff slime indicates it needs more moisture. This often happens if you didn’t add enough liquid initially or if it has started to dry out.
Add a tiny drop of dish soap or a fraction of a teaspoon of water to the slime. Knead it in thoroughly. Repeat this process slowly until the slime becomes pliable and holds together.
Slime Isn’t Stretchy
If your slime breaks apart easily instead of stretching, it might be a combination of not enough kneading or slightly off liquid-to-solid ratio.
First, try kneading it more vigorously for a few extra minutes. If it still lacks stretch, add another tiny drop of dish soap and knead it in completely. Dish soap helps with elasticity.
Key Takeaways
- Patience is paramount when mixing; gradual additions prevent major errors.
- The cornstarch and dish soap method creates a unique, soft, and moldable slime texture.
- Thorough kneading is crucial for developing the slime’s elasticity and consistency.
- Always add liquids (water or dish soap) slowly, one small increment at a time.
- Store your finished slime in an airtight container to prevent it from drying out and extend its lifespan.
- Don’t be afraid to experiment with food coloring for vibrant, personalized slime creations.
Frequently Asked Questions
How long does this slime last?
When stored properly in an airtight container, your no-glue slime can last anywhere from a few days to a week. Its lifespan depends on humidity, air exposure, and how often it’s played with.
If it starts to get stiff or moldy, it’s time to make a fresh batch.
Can I use other types of flour instead of cornstarch?
While cornstarch works best due to its fine texture and chemical properties, some people have success with other fine flours like tapioca starch or arrowroot powder.
However, regular wheat flour typically won’t yield the same slime-like consistency and may result in a more doughy or pasty texture.
Is this slime safe for kids?
This slime recipe uses common household ingredients like cornstarch and dish soap, which are generally considered non-toxic. However, it’s not meant for consumption.
Always supervise younger children during slime making and play to ensure they don’t ingest it. Wash hands thoroughly after playing.
How do I clean up slime residue?
If your slime leaves any residue on surfaces or hands, warm water and a little more dish soap usually do the trick.
For fabrics, scrape off as much as possible, then pretreat with a stain remover or a dab of liquid dish soap before washing as usual.
Our Top Recommended Finds
- Argo 100% Pure Corn Starch: A reliable, high-quality cornstarch that consistently delivers great results for slime and cooking.
- Airtight Food Storage Containers: Essential for keeping your homemade slime fresh and preventing it from drying out between play sessions.
- Food Coloring Gel Set: Perfect for adding vibrant, non-staining colors to your slime, allowing for endless creative possibilities.
Your Next Slime Adventure Awaits
You’ve successfully created amazing slime without needing glue or activator, proving that creativity often thrives with simplicity.
This hands-on experience not only results in a fun toy but also teaches valuable lessons in patience and observation.
Now that you’ve mastered the basics, consider experimenting with different scents by adding a drop of essential oil, or try incorporating glitter for extra sparkle.
Don’t wait – gather your ingredients and start mixing today to discover the joy of homemade slime!
Beginner-friendly templates, step-by-step guides,
and weekly project ideas in your inbox.