🌟 How To Wrap A Bag As A Gift
Giving a beautiful bag as a gift is always special. But wrapping an oddly shaped item can feel like a puzzle. I’ve spent countless hours perfecting gift presentations, especially for those challenging, non-boxy items. This guide will help you transform a tricky bag into a beautifully wrapped present, adding an extra layer of delight for the recipient.
You’ll soon master techniques that make even the floppiest tote look elegant.
Quick Overview
This guide will walk you through the process of wrapping various types of bags, from handbags to backpacks, ensuring a polished and professional presentation. You’ll learn how to handle irregular shapes and create a stunning reveal.
- Time needed: 20-45 minutes (depending on complexity and bag size)
- Difficulty: Beginner to Intermediate
- What you’ll need: Wrapping paper, scissors, tape, tissue paper, ribbon, gift tag (optional: gift box, fabric wrap)
Step-by-Step Instructions
Step 1: Choose Your Wrapping Approach
The first decision depends on the bag’s shape and material. Consider if the bag is soft and collapsible or more rigid. This choice will guide your material selection.
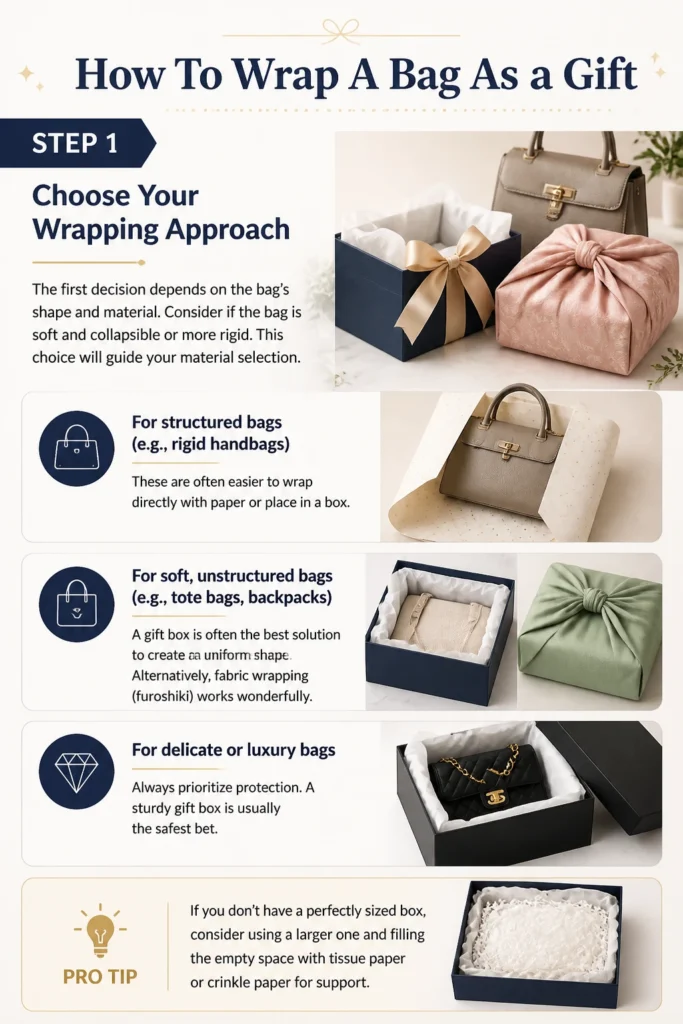
- For structured bags (e.g., rigid handbags): These are often easier to wrap directly with paper or place in a box.
- For soft, unstructured bags (e.g., tote bags, backpacks): A gift box is often the best solution to create a uniform shape. Alternatively, fabric wrapping (furoshiki) works wonderfully.
- For delicate or luxury bags: Always prioritize protection. A sturdy gift box is usually the safest bet.
Pro Tip: If you don’t have a perfectly sized box, consider using a larger one and filling the empty space with tissue paper or crinkle paper for support.
Step 2: Prepare the Bag
Before wrapping, ensure the bag is ready for its grand reveal. A little preparation goes a long way in achieving a smooth finish. This step helps the bag maintain its form and prevents creasing.
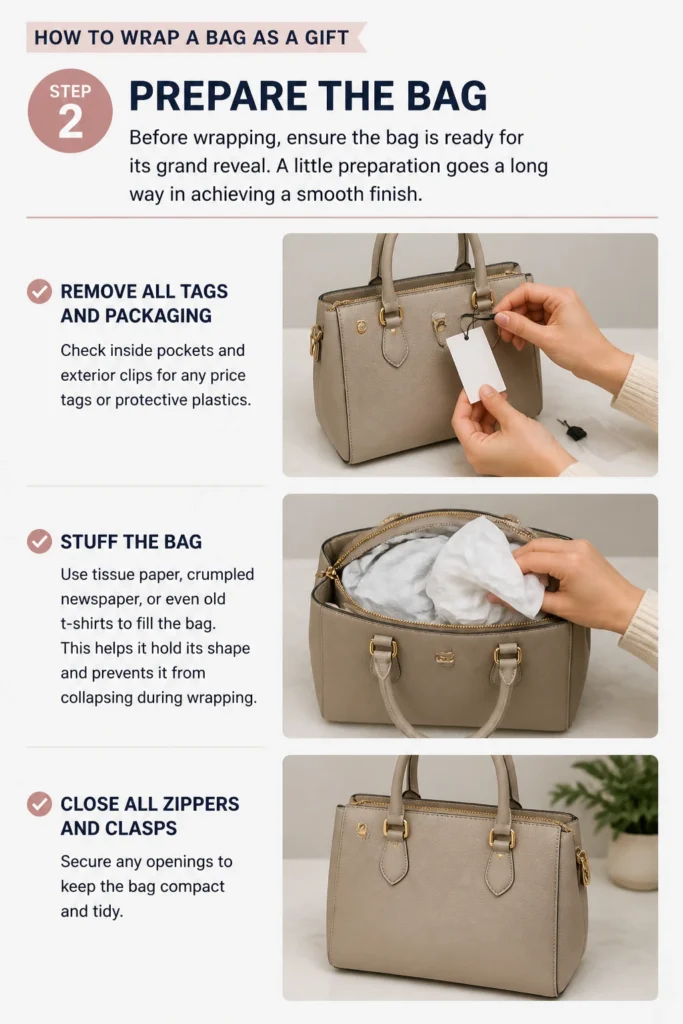
- Remove all tags and packaging: Check inside pockets and exterior clips for any price tags or protective plastics.
- Stuff the bag: Use tissue paper, crumpled newspaper, or even old t-shirts to fill the bag. This helps it hold its shape and prevents it from collapsing during wrapping.
- Close all zippers and clasps: Secure any openings to keep the bag compact and tidy.
Step 3: Select Your Wrapping Material
The right material can elevate your gift. Think about the occasion and the recipient’s style. Consider the bag’s size when choosing your paper or fabric.
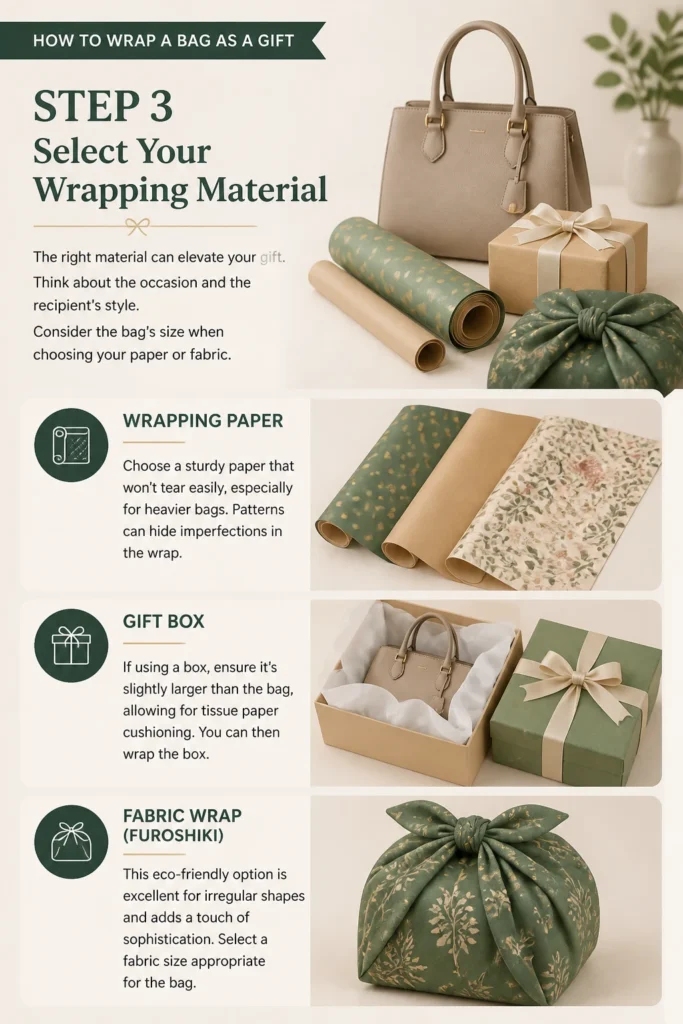
- Wrapping Paper: Choose a sturdy paper that won’t tear easily, especially for heavier bags. Patterns can hide imperfections in the wrap.
- Gift Box: If using a box, ensure it’s slightly larger than the bag, allowing for tissue paper cushioning. You can then wrap the box.
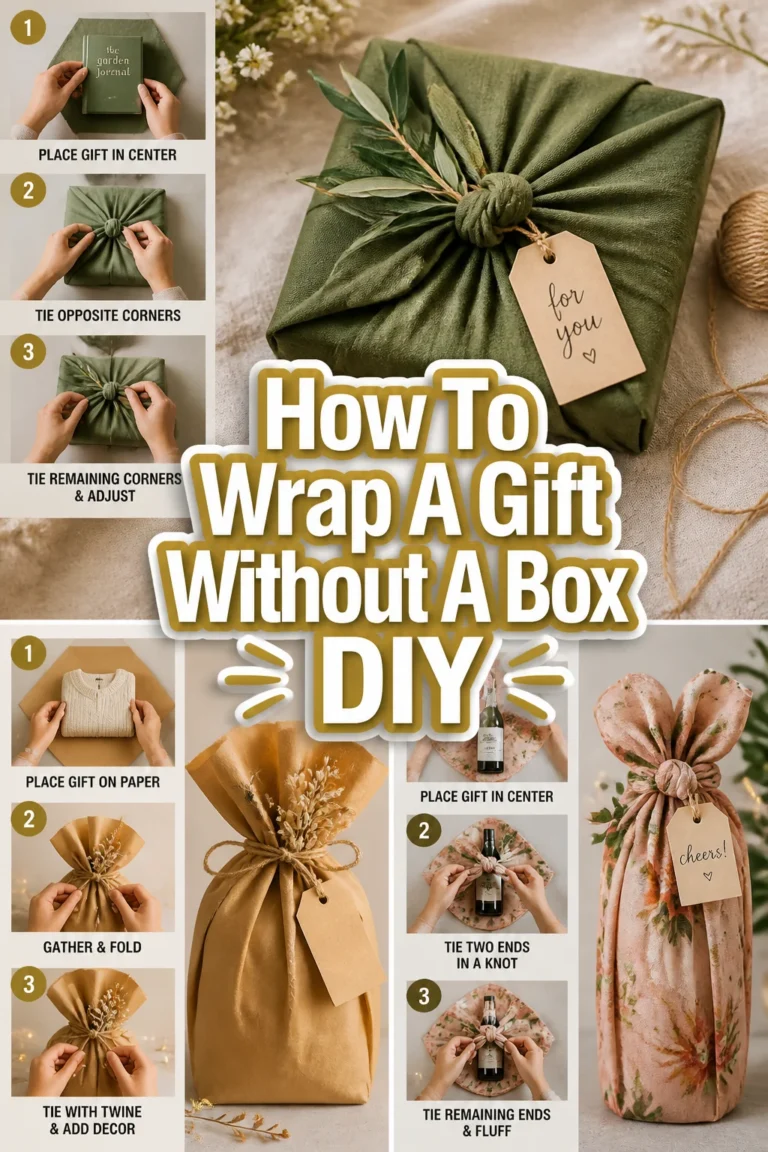
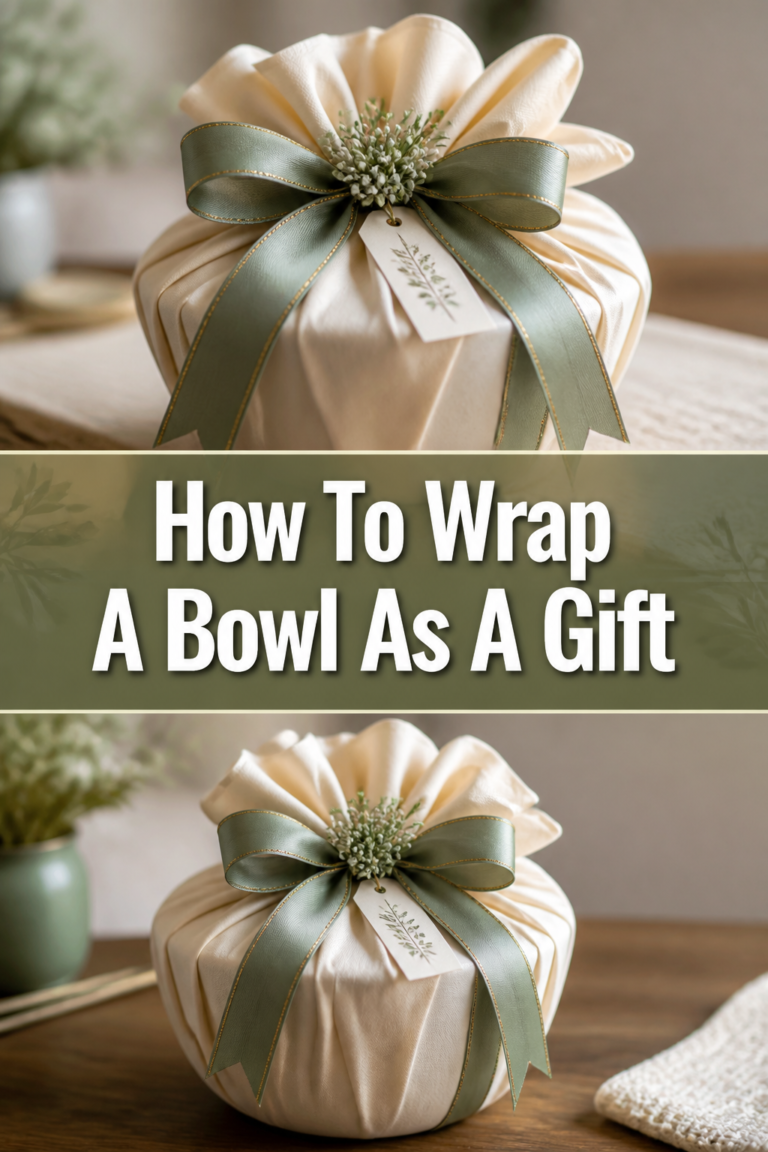
- Fabric Wrap (Furoshiki): This eco-friendly option is excellent for irregular shapes and adds a touch of sophistication. Select a fabric size appropriate for the bag.
Step 4: Measure and Cut Your Material
Accurate measurement is key to a neat wrap. Too little material will leave gaps, and too much creates bulk. Take your time with this step.
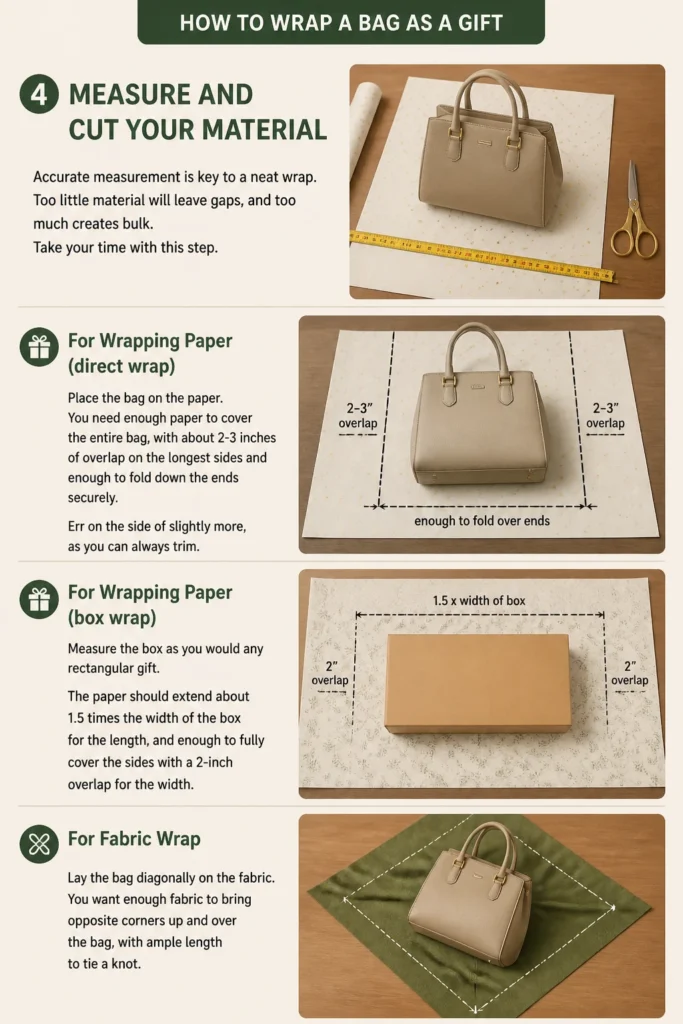
- For Wrapping Paper (direct wrap): Place the bag on the paper. You need enough paper to cover the entire bag, with about 2-3 inches of overlap on the longest sides and enough to fold down the ends securely. Err on the side of slightly more, as you can always trim.
- For Wrapping Paper (box wrap): Measure the box as you would any rectangular gift. The paper should extend about 1.5 times the width of the box for the length, and enough to fully cover the sides with a 2-inch overlap for the width.
- For Fabric Wrap: Lay the bag diagonally on the fabric. You want enough fabric to bring opposite corners up and over the bag, with ample length to tie a knot.
Step 5: Execute the Main Wrap
This is where the magic happens. The technique will vary based on your chosen approach. Focus on tautness and smooth edges.
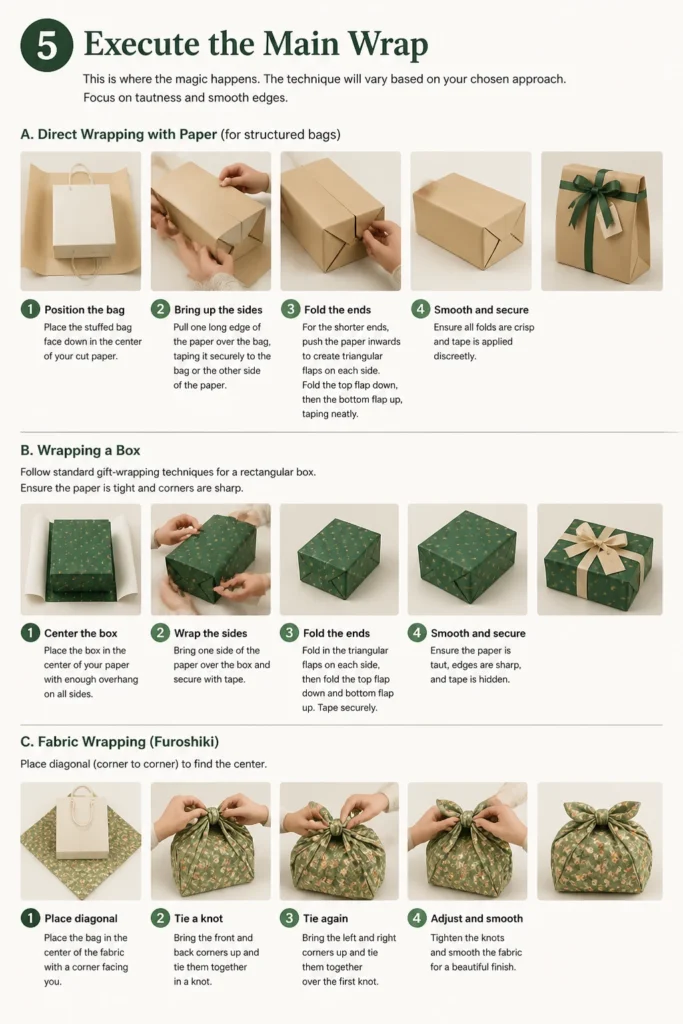
- Direct Wrapping with Paper (for structured bags):
- Position the bag: Place the stuffed bag face down in the center of your cut paper.
- Bring up the sides: Pull one long edge of the paper over the bag, taping it securely to the bag or the other side of the paper.
- Fold the ends: For the shorter ends, push the paper inwards to create triangular flaps on each side. Fold the top flap down, then the bottom flap up, taping neatly.
- Smooth and secure: Ensure all folds are crisp and tape is applied discreetly.
- Wrapping a Box: Follow standard gift-wrapping techniques for a rectangular box. Ensure the paper is tight and corners are sharp.
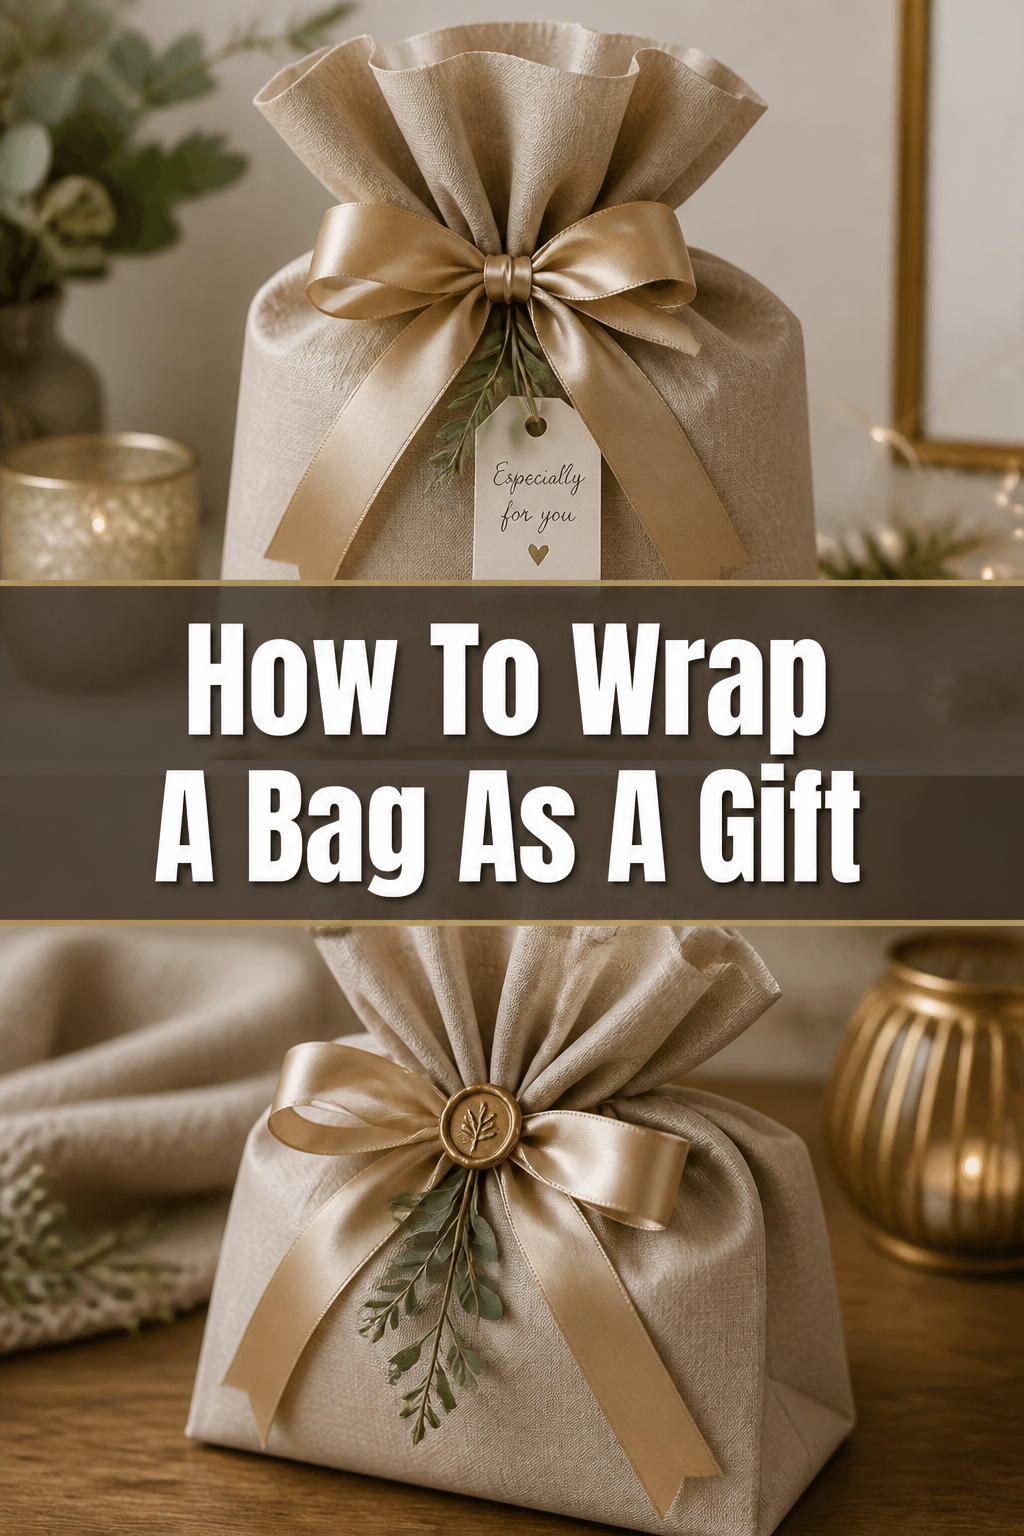
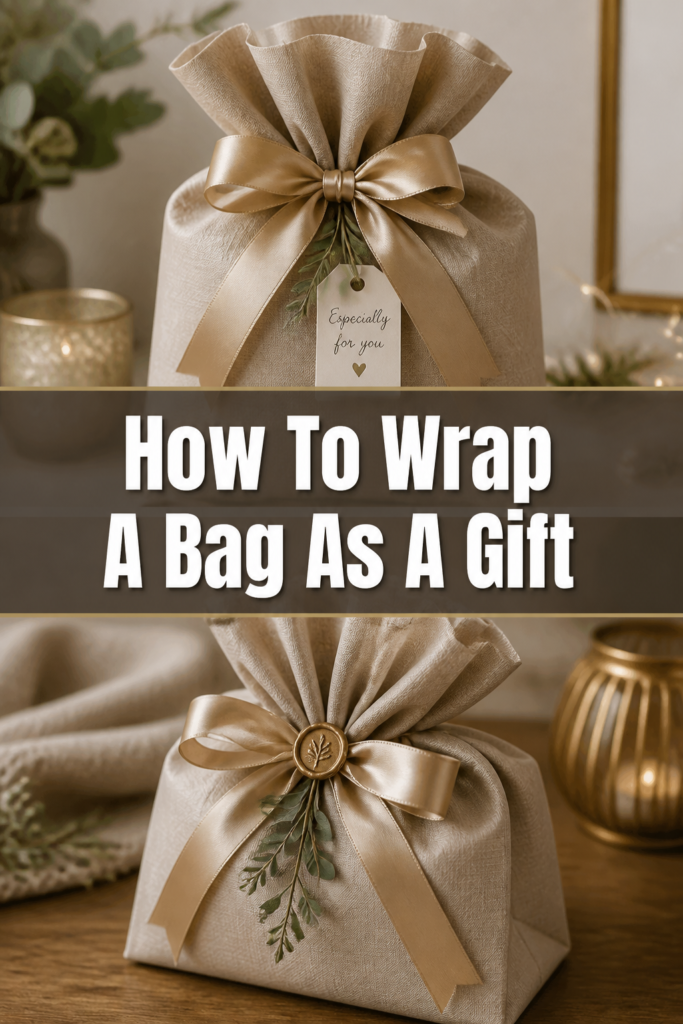
- Fabric Wrapping (Furoshiki):
- Place diagonally: Lay the bag diagonally in the center of your fabric.
- Bring opposite corners: Take two opposite corners and tie them tightly over the top of the bag.
- Bring remaining corners: Take the other two opposite corners and tie them over the first knot, or create a decorative bow.
Pro Tip: For direct paper wrapping of an irregular bag, use smaller pieces of tape to secure folds as you go, rather than waiting until the end. This helps maintain shape.
Step 6: Handle Irregularities (Direct Wrap)
Bags often have handles or unique shapes that challenge traditional wrapping. Here’s how to manage them. This step is crucial for an elegant finish.
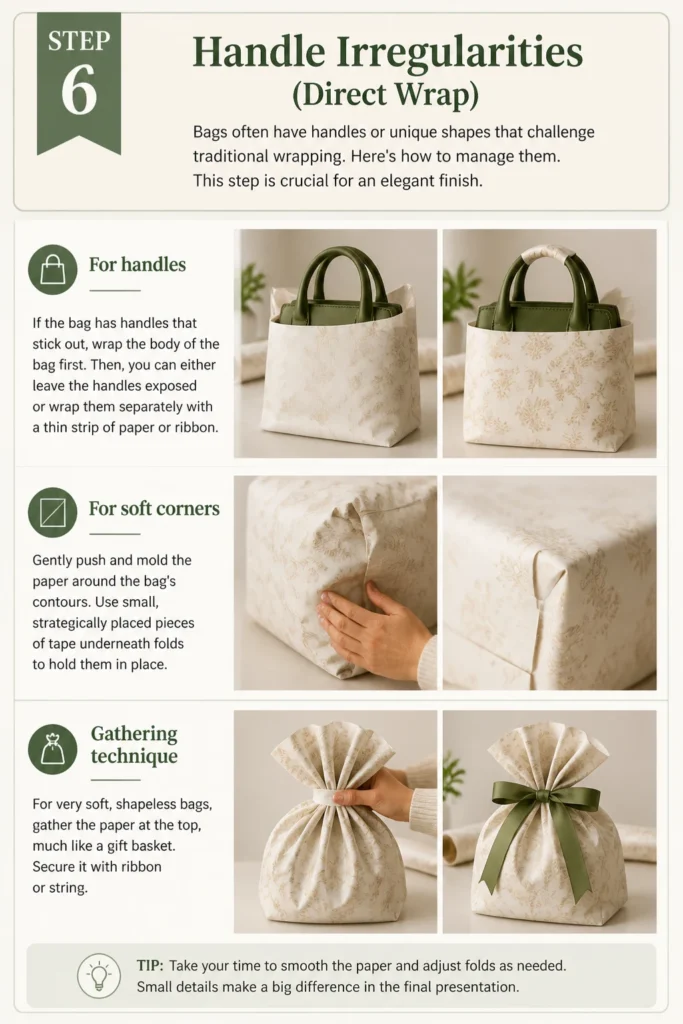
- For handles: If the bag has handles that stick out, wrap the body of the bag first. Then, you can either leave the handles exposed or wrap them separately with a thin strip of paper or ribbon.
- For soft corners: Gently push and mold the paper around the bag’s contours. Use small, strategically placed pieces of tape underneath folds to hold them in place.
- Gathering technique: For very soft, shapeless bags, gather the paper at the top, much like a gift basket. Secure it with ribbon or string.
Step 7: Add Embellishments
Now for the fun part: making your gift truly stand out. Embellishments add personality and a touch of luxury. Don’t underestimate the impact of a well-chosen accessory.
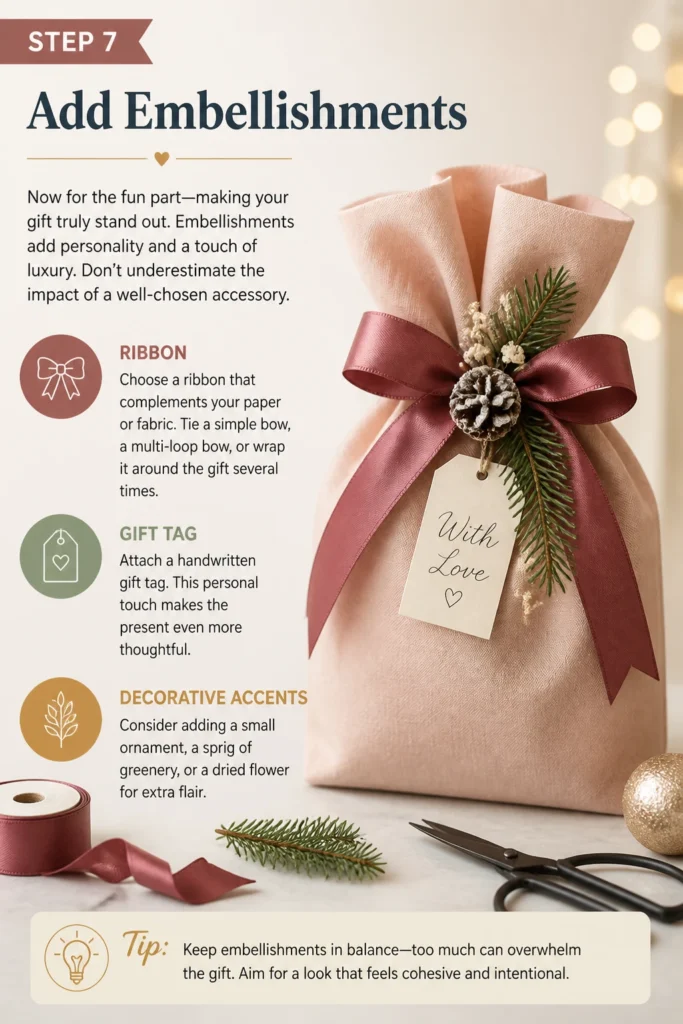
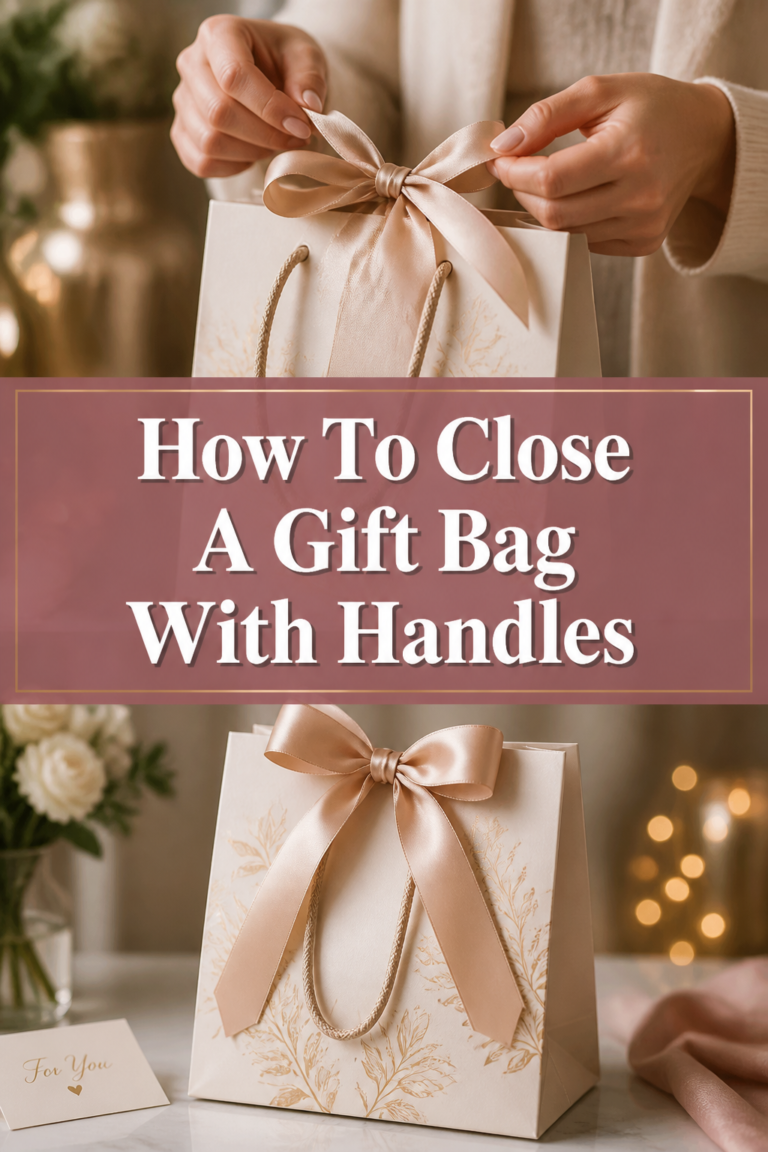
- Ribbon: Choose a ribbon that complements your paper or fabric. Tie a simple bow, a multi-loop bow, or wrap it around the gift several times.
- Gift Tag: Attach a handwritten gift tag. This personal touch makes the present even more thoughtful.
- Decorative Accents: Consider adding a small ornament, a sprig of greenery, or a dried flower for extra flair.
Step 8: Final Inspection
Before presenting your gift, take a moment for a final review. A quick check ensures everything is perfect. This step guarantees a flawless presentation.
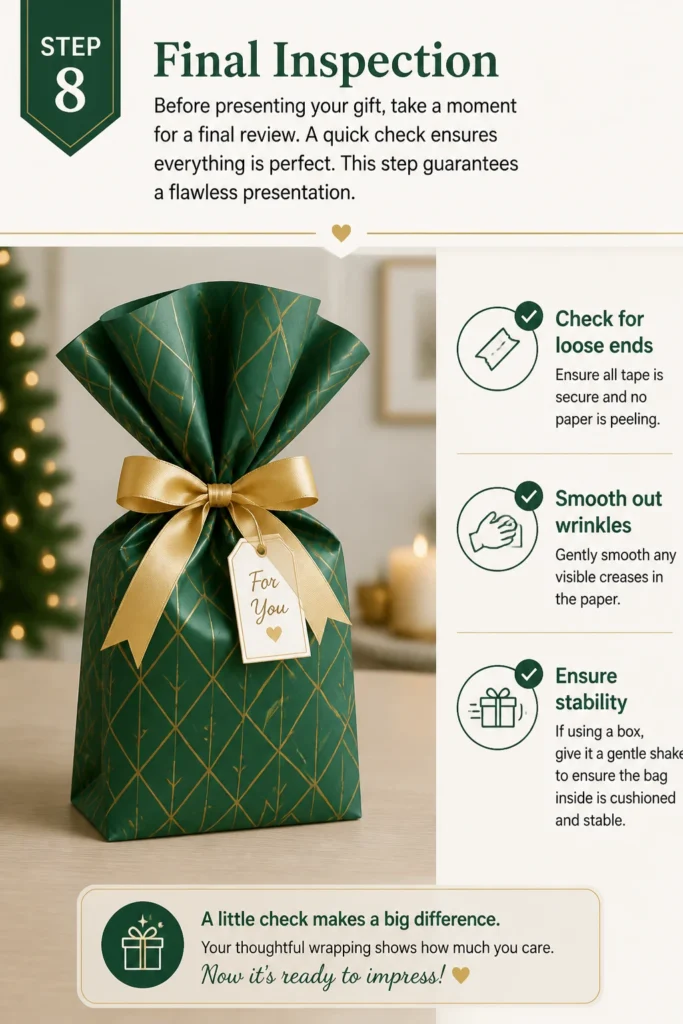
- Check for loose ends: Ensure all tape is secure and no paper is peeling.
- Smooth out wrinkles: Gently smooth any visible creases in the paper.
- Ensure stability: If using a box, give it a gentle shake to ensure the bag inside is cushioned and stable.
Common Mistakes to Avoid
Using Too Little Paper
Attempting to stretch a small piece of wrapping paper over a large or oddly shaped bag almost always results in frustration. You’ll end up with exposed areas or poorly taped seams that tear easily. Always measure generously, allowing for ample overlap and neat folding.
Ignoring the Bag’s Shape
Trying to wrap a floppy tote bag as if it were a rigid box will lead to a lumpy, unattractive package. Understand the bag’s structure and choose a wrapping method that complements it, whether it’s a box, direct paper wrap, or fabric. Stuffing the bag beforehand is key to giving it form.
Over-Taping or Under-Taping
Using too much tape makes the gift look messy and can damage the paper when opened. Conversely, too little tape will result in the wrapping falling apart. Use strong, clear tape sparingly and strategically, focusing on securing seams and folds discreetly.
Skipping the Stuffing Step
Presenting a flat, deflated bag, even if beautifully wrapped, diminishes the impact. Stuffing the bag with tissue paper or other soft material gives it volume and a more appealing shape, making the wrapped gift look substantial and inviting.
Troubleshooting
My Paper Keeps Tearing
This usually happens with thin paper or when the bag has sharp edges. Try using a heavier-weight wrapping paper. You can also reinforce delicate areas with a layer of tissue paper underneath the main wrap. Gently round off any sharp corners of the bag itself with soft padding if possible.
The Bag’s Shape is Too Awkward to Wrap Neatly
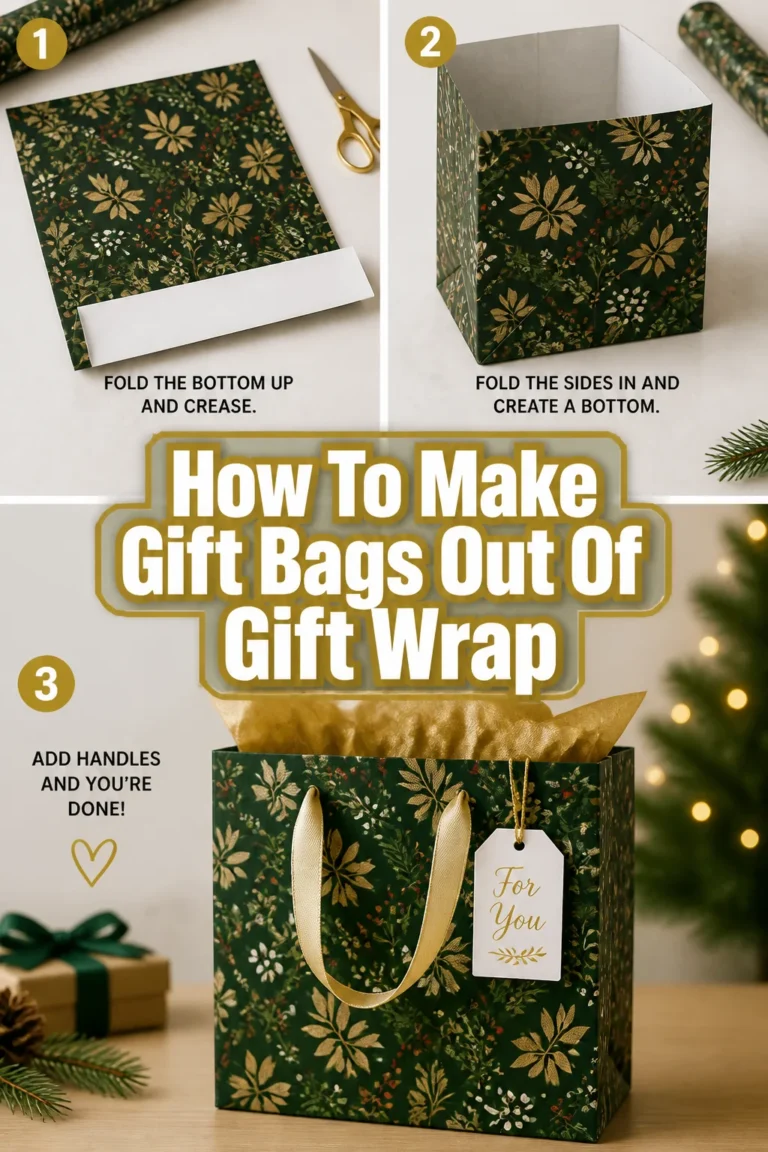
When direct paper wrapping proves too challenging, a gift box is your best friend. Find a box that comfortably fits the stuffed bag. If a box isn’t an option, consider a gift bag that is large enough, or explore fabric wrapping (furoshiki), which is incredibly forgiving for irregular shapes.
My Ribbon Doesn’t Stay Tied
Slippery ribbons can be frustrating. Try using a double knot or a wider ribbon with a bit more texture. You can also secure the ribbon to the wrapping paper with a tiny dot of hot glue (be careful not to damage the paper) or a discreet piece of double-sided tape at the base of the bow.
Key Takeaways
- Preparation is paramount: Always stuff the bag to give it shape before wrapping.
- Choose the right method: Opt for a box for soft bags, or direct paper/fabric for more structured items.
- Measure generously: Ensure you have enough wrapping material to cover the bag completely with overlap.
- Handle irregularities with care: Mold the paper and use strategic tape for handles and unique contours.
- Embellish thoughtfully: Ribbons and tags add a personal and polished finish.
- Inspect your work: A final check ensures a flawless presentation.
Frequently Asked Questions
Can I wrap a backpack directly with paper?
Yes, you can, but it requires patience. Stuff the backpack firmly to give it a more defined shape. Treat the main body as the primary object to wrap, then carefully fold and tape the paper around straps and pockets. A box or a large gift bag might be an easier alternative for a backpack.
What’s the best way to wrap a delicate leather handbag?
For delicate leather, a sturdy gift box is highly recommended. Line the box with soft tissue paper or silk to prevent any scuffs or creases. This method protects the bag and creates a luxurious unwrapping experience. Then, wrap the box as you would any other gift.
How do I make a gift look elegant if I don’t have a box?
If a box isn’t available, consider using multiple layers of tissue paper inside the wrapping paper for extra cushioning and to help define the shape. Fabric wrapping (furoshiki) is another excellent way to achieve an elegant look for irregular items without needing a box. A simple, quality ribbon can also elevate the presentation.
Should I remove the price tag before wrapping?
Absolutely, always remove all price tags and any other retail packaging before wrapping a gift. It ensures a clean presentation and prevents any awkward moments when the recipient opens their present. Check inside pockets and hidden compartments carefully.
Our Top Recommended Finds
- Heavy-Duty Wrapping Paper: Essential for preventing tears, especially with irregularly shaped items. Look for rolls labeled “premium” or “heavyweight.”
- Double-Sided Tape: Creates a seamless, professional finish without visible tape lines. Perfect for securing folds and embellishments discreetly.
- Assorted Tissue Paper Packs: Ideal for stuffing bags to maintain shape and adding a soft, cushioning layer inside boxes or wraps.
Unwrap Your Inner Gift-Wrapping Guru
You now have the tools and techniques to confidently wrap any bag as a gift. No more struggling with awkward shapes or settling for a plain gift bag. Each beautifully wrapped present you create is a testament to your care and thoughtfulness.
Why not try these techniques on your next gift? Experiment with different papers, ribbons, and embellishments to truly make each present unique. Your recipients will surely appreciate the extra effort and the stunning presentation.