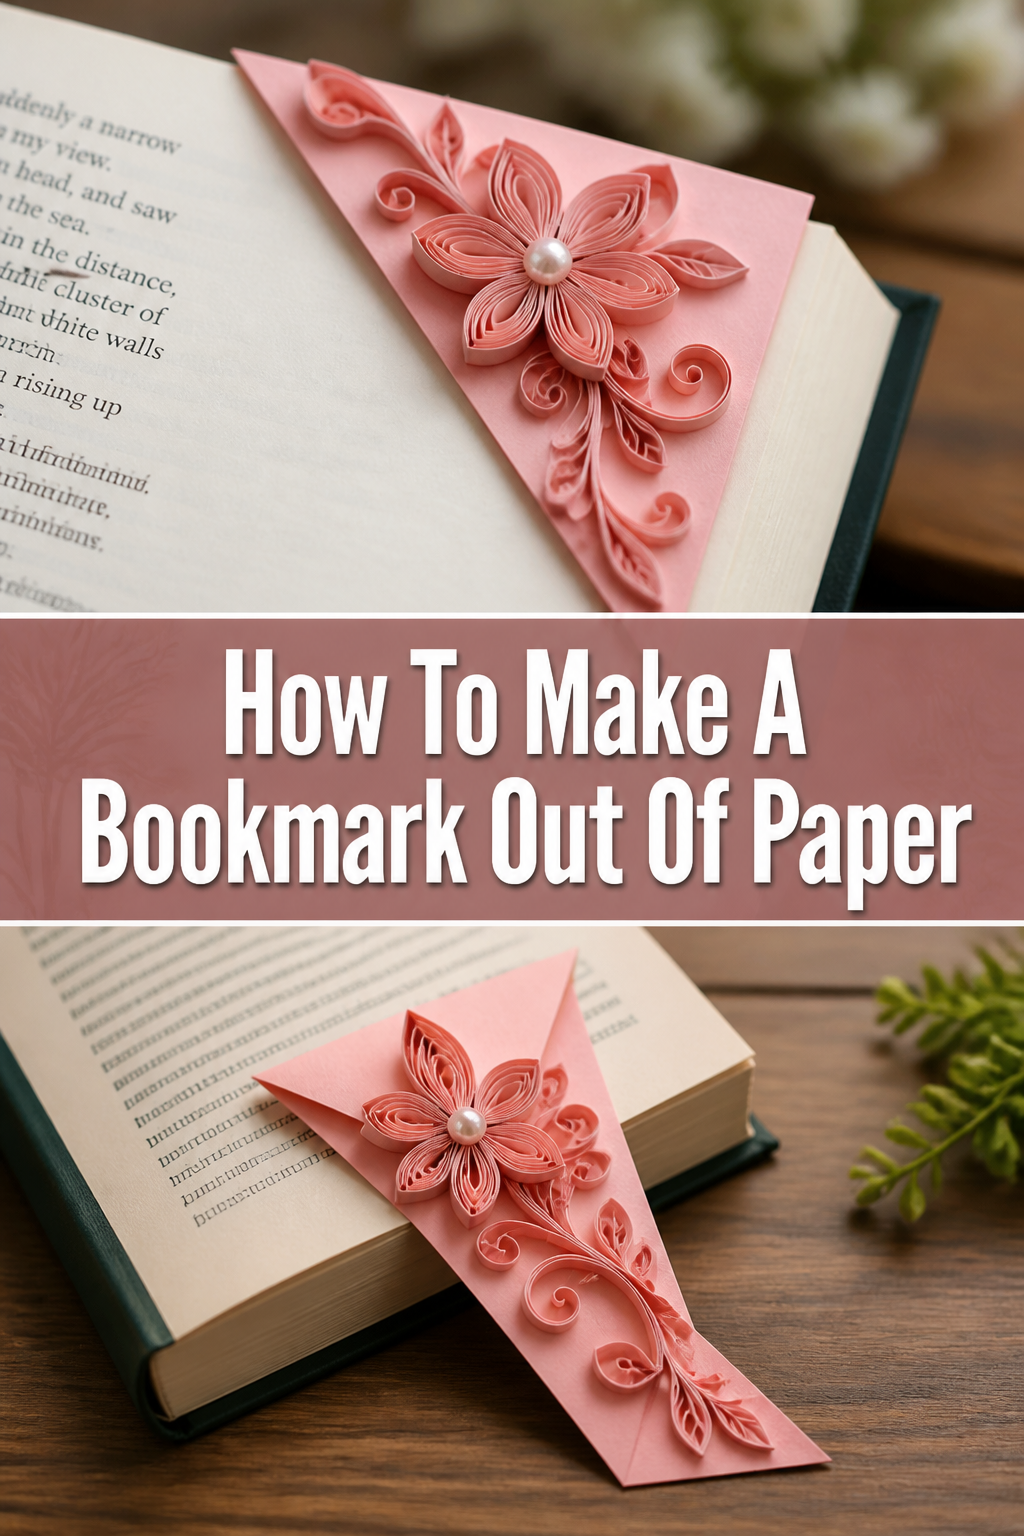
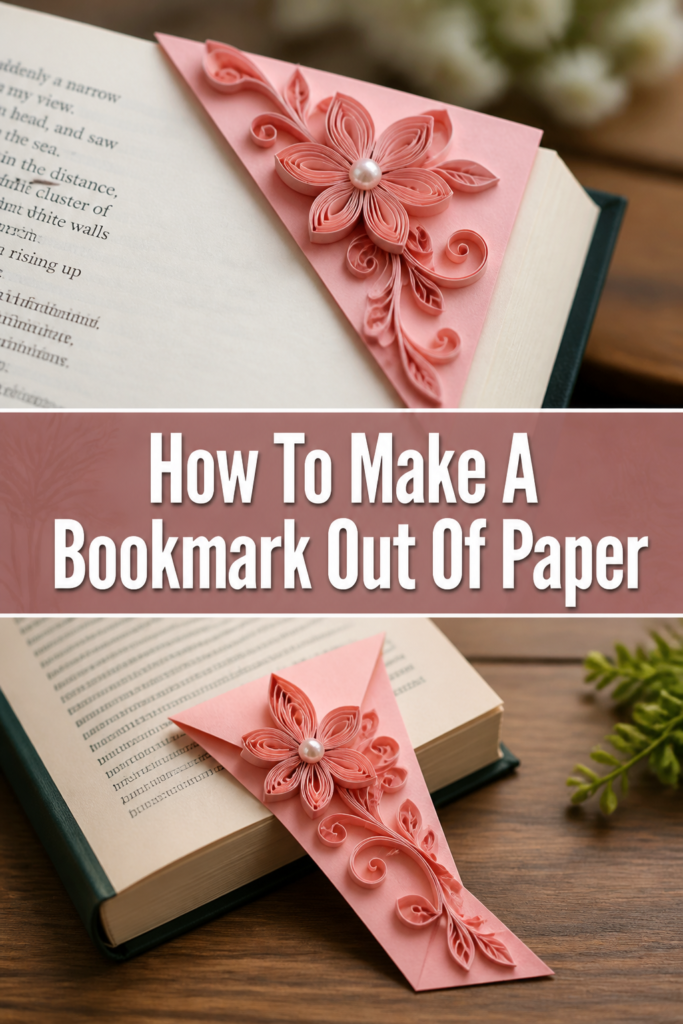
🔖 How To Make A Bookmark Out Of Paper

Beginner-friendly templates, step-by-step guides,
and weekly project ideas in your inbox.
There’s a special joy in holding a physical book, turning its pages, and marking your spot. Forget dog-earing or random scraps of paper.
Creating your own bookmark adds a personal touch to your reading experience. It’s a simple craft I’ve enjoyed making for years, perfect for personal use or thoughtful gifts.
This guide will walk you through crafting beautiful, functional paper bookmarks from start to finish.
Quick Overview
You’re about to embark on a delightful creative journey, transforming humble paper into a personalized reading companion. By the end, you’ll have a unique bookmark ready to grace the pages of your favorite novel. This project is incredibly rewarding and highly customizable.
- Time needed: 30-60 minutes (depending on decoration)
- Difficulty: Beginner
- What you’ll need: Paper, scissors, ruler, pencil, glue (optional), decorations (optional)
Step-by-Step Instructions
Step 1: Gather Your Materials
Before you begin, lay out everything you’ll need on a clean, flat surface. This ensures a smooth crafting process without interruptions. Having all your tools within reach makes the experience more enjoyable and efficient.
Collect a sturdy piece of paper, such as cardstock, construction paper, or even an old greeting card. You’ll also need a sharp pair of scissors, a ruler for precise measurements, and a pencil.
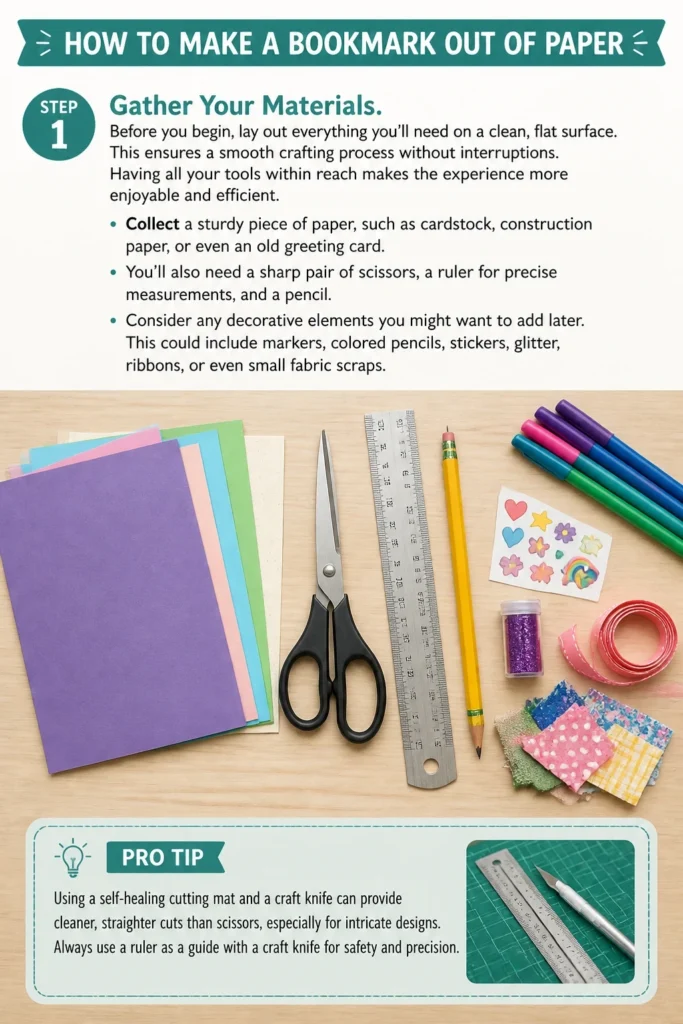
Consider any decorative elements you might want to add later. This could include markers, colored pencils, stickers, glitter, ribbons, or even small fabric scraps.
Pro Tip: Using a self-healing cutting mat and a craft knife can provide cleaner, straighter cuts than scissors, especially for intricate designs. Always use a ruler as a guide with a craft knife for safety and precision.
Step 2: Choose Your Paper Wisely
The foundation of your bookmark is the paper itself. Its quality will significantly impact the bookmark’s durability and overall feel. Don’t underestimate the importance of this initial choice.
Select paper that is robust enough to withstand repeated use without tearing or bending easily. Cardstock (65lb to 110lb) is an excellent choice, offering good stiffness and a smooth surface for decorating.
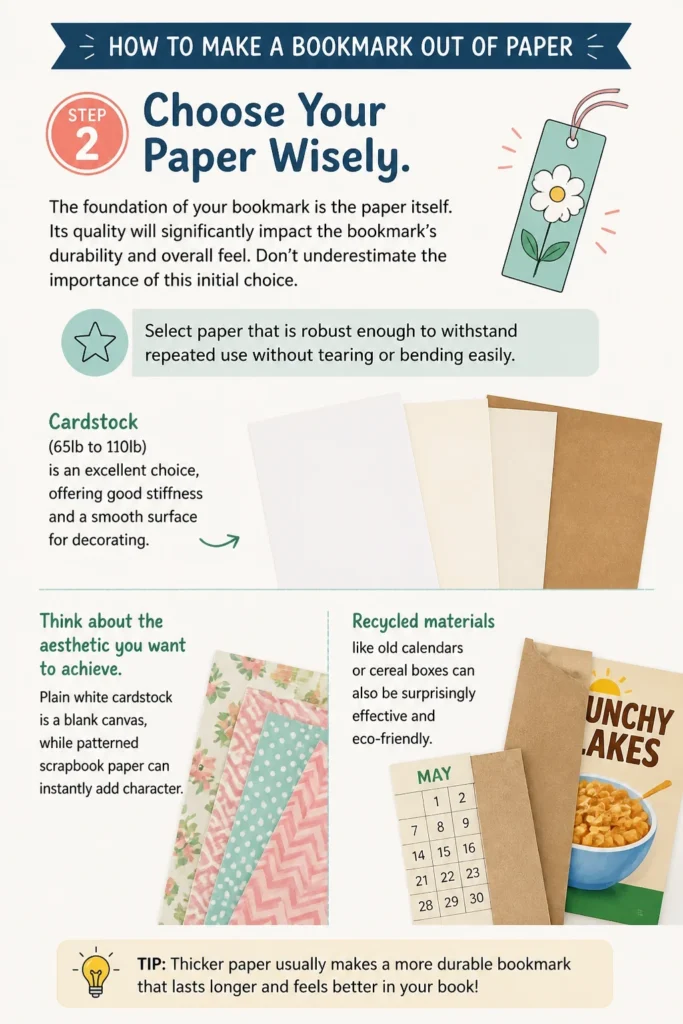
Think about the aesthetic you want to achieve. Plain white cardstock is a blank canvas, while patterned scrapbook paper can instantly add character. Recycled materials like old calendars or cereal boxes can also be surprisingly effective and eco-friendly.
Step 3: Measure and Mark Your Bookmark
Accuracy in measuring is crucial for a well-proportioned and professional-looking bookmark. Take your time with this step to avoid lopsided results. A precisely measured bookmark fits better in books and looks more appealing.
Decide on the dimensions for your bookmark. A common size is about 2 inches wide by 6-8 inches long, but you can adjust this to suit your preference or the size of the books you typically read.
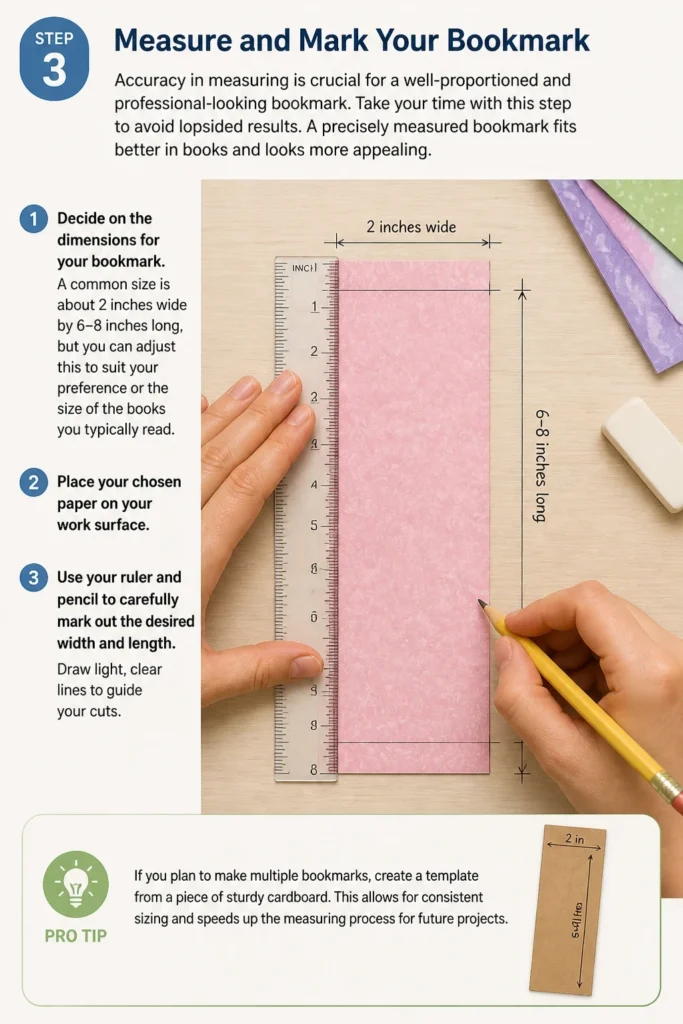
Place your chosen paper on your work surface. Use your ruler and pencil to carefully mark out the desired width and length. Draw light, clear lines to guide your cuts.
Pro Tip: If you plan to make multiple bookmarks, create a template from a piece of sturdy cardboard. This allows for consistent sizing and speeds up the measuring process for future projects.
Step 4: Cut the Base Shape
Now it’s time to bring your bookmark to life by cutting it out. Precision here ensures clean edges and a neat finish. Take your time and focus on cutting along your marked lines.
Carefully cut along the pencil lines you just drew. If using scissors, make long, steady cuts rather than short, choppy ones to achieve straighter edges.
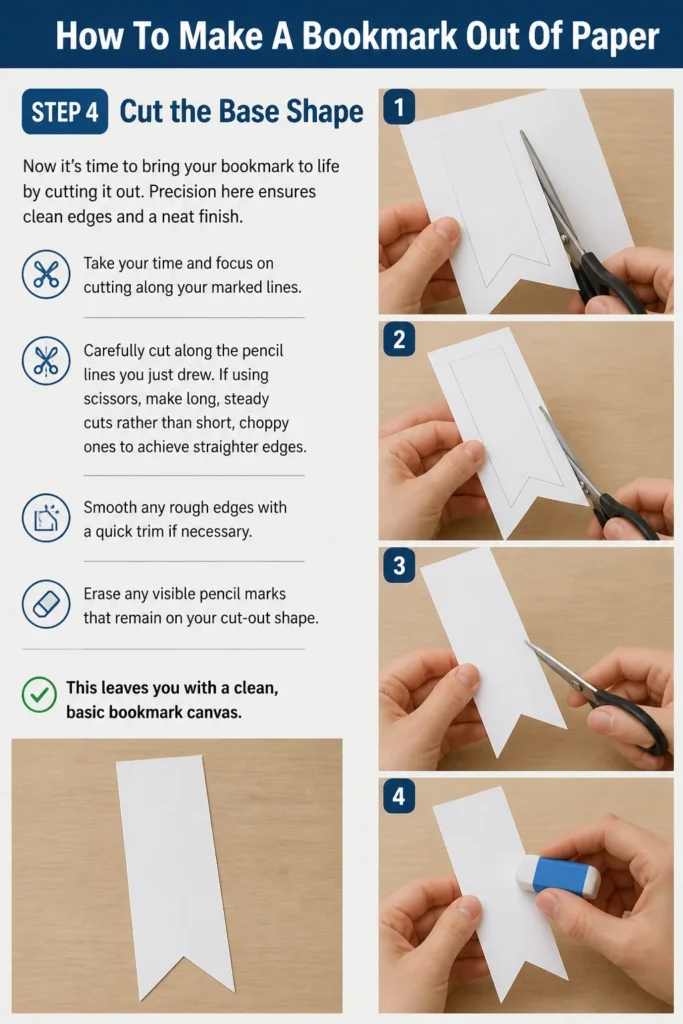
Smooth any rough edges with a quick trim if necessary. Erase any visible pencil marks that remain on your cut-out shape. This leaves you with a clean, basic bookmark canvas.
Step 5: Decorate Your Bookmark
This is where your creativity truly shines! Personalizing your bookmark makes it uniquely yours and adds character. There are endless possibilities for decoration.
Unleash your artistic side. You can draw designs, write inspiring quotes, paint intricate patterns, or glue on small cut-outs from magazines. Markers, colored pencils, watercolors, or even stamps work wonderfully.
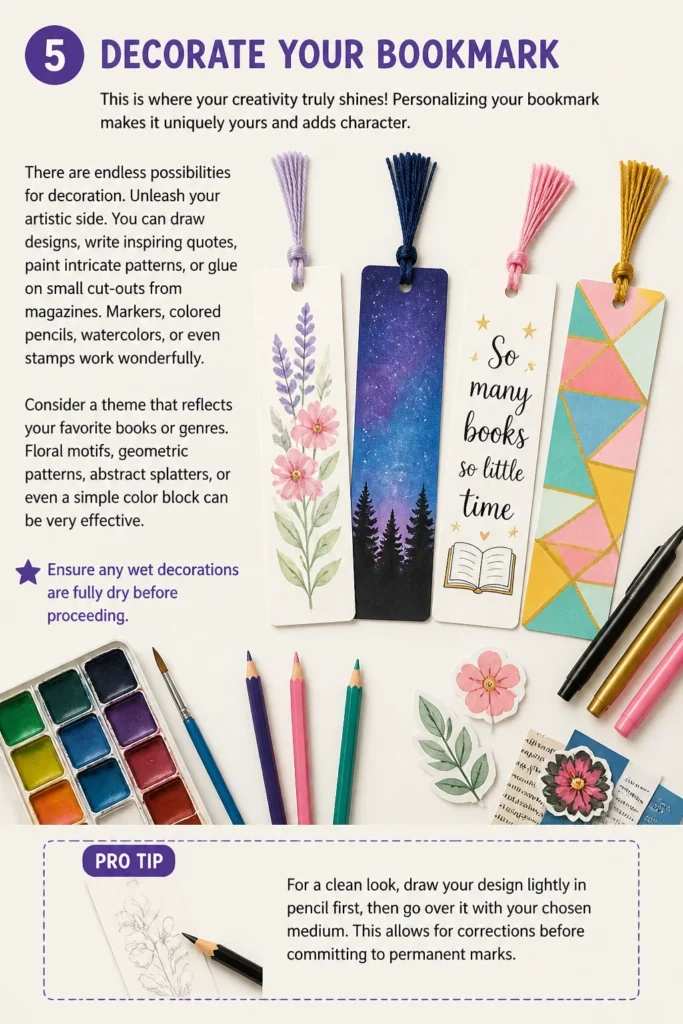
Consider a theme that reflects your favorite books or genres. Floral motifs, geometric patterns, abstract splatters, or even a simple color block can be very effective. Ensure any wet decorations are fully dry before proceeding.
Pro Tip: For a clean look, draw your design lightly in pencil first, then go over it with your chosen medium. This allows for corrections before committing to permanent marks.
Step 6: Add Embellishments (Optional)
Embellishments can elevate your bookmark from simple to stunning. They add texture, dimension, and a touch of elegance. Think about how these additions complement your design.
Attach a tassel to one end for a classic bookmark look. Punch a small hole at the top center of your bookmark using a hole punch. Thread a pre-made tassel or a loop of ribbon through the hole and secure it with a knot.
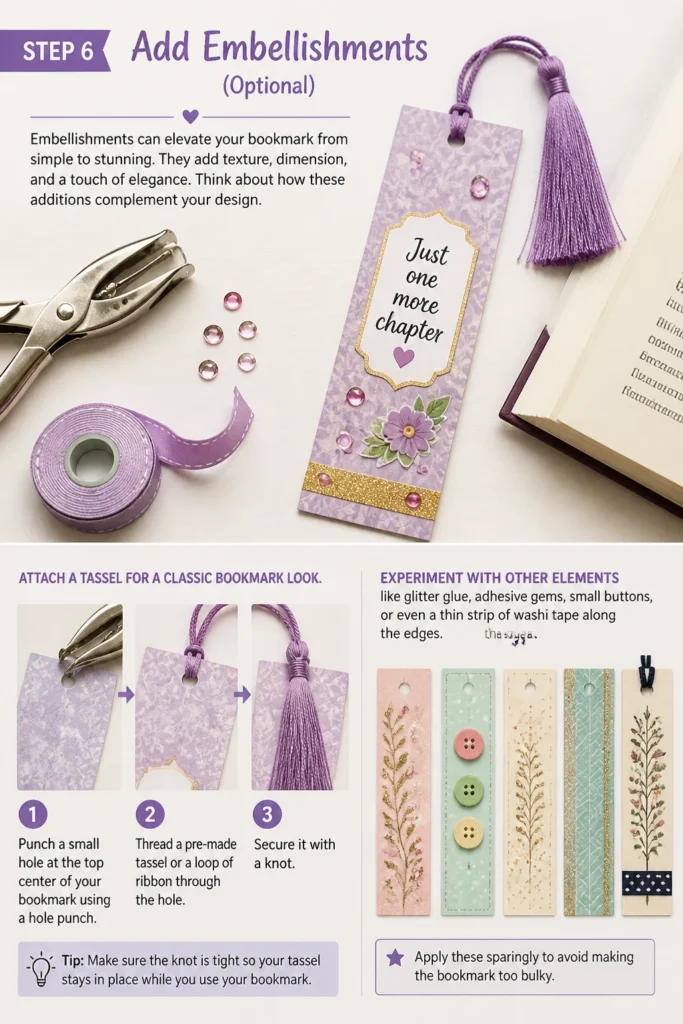
Experiment with other elements like glitter glue, adhesive gems, small buttons, or even a thin strip of washi tape along the edges. Apply these sparingly to avoid making the bookmark too bulky.
Step 7: Protect Your Creation
To ensure your beautiful bookmark lasts through many reading adventures, protecting it is a smart step. This guards against wear, tear, and accidental spills. Longevity is key for a functional bookmark.
Laminate your bookmark for maximum durability. You can use a home laminating machine or self-adhesive laminating sheets. Carefully place your decorated bookmark between the laminating sheets, ensuring no air bubbles.
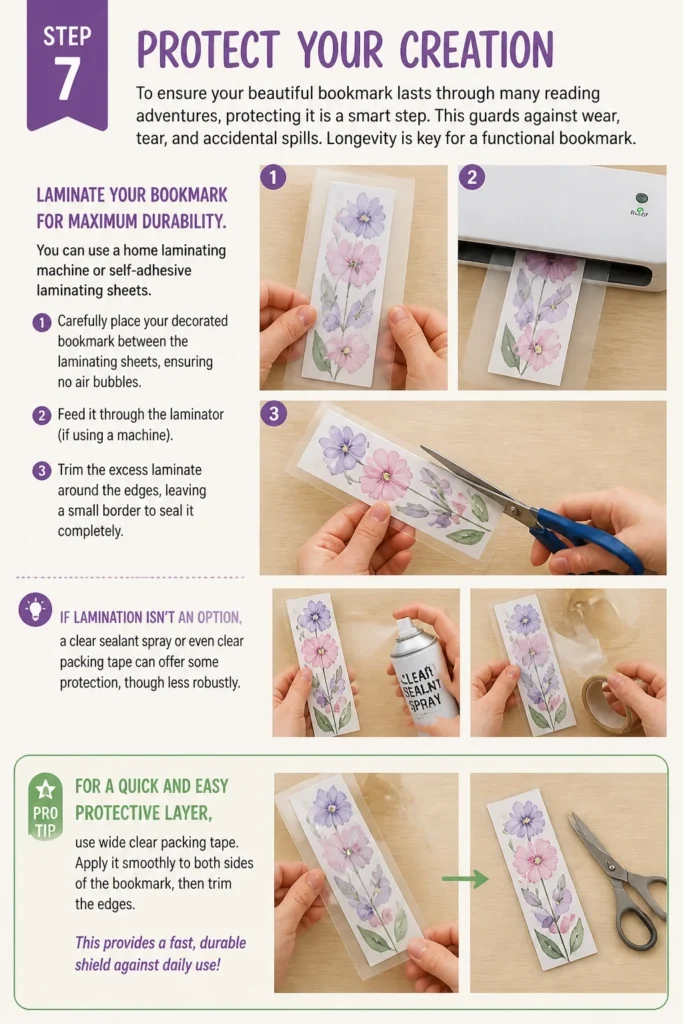
Trim the excess laminate around the edges, leaving a small border to seal it completely. If lamination isn’t an option, a clear sealant spray or even clear packing tape can offer some protection, though less robustly.
Pro Tip: For a quick and easy protective layer, use wide clear packing tape. Apply it smoothly to both sides of the bookmark, then trim the edges. This provides a decent level of water resistance and stiffness.
Step 8: Final Touches and Enjoy
With the protection in place, your bookmark is almost ready. Take a moment to admire your handiwork and prepare it for its important role. This final check ensures everything is perfect.
Inspect your bookmark for any final touches. Are the edges smooth? Are there any smudges that need cleaning? Is the tassel securely attached?
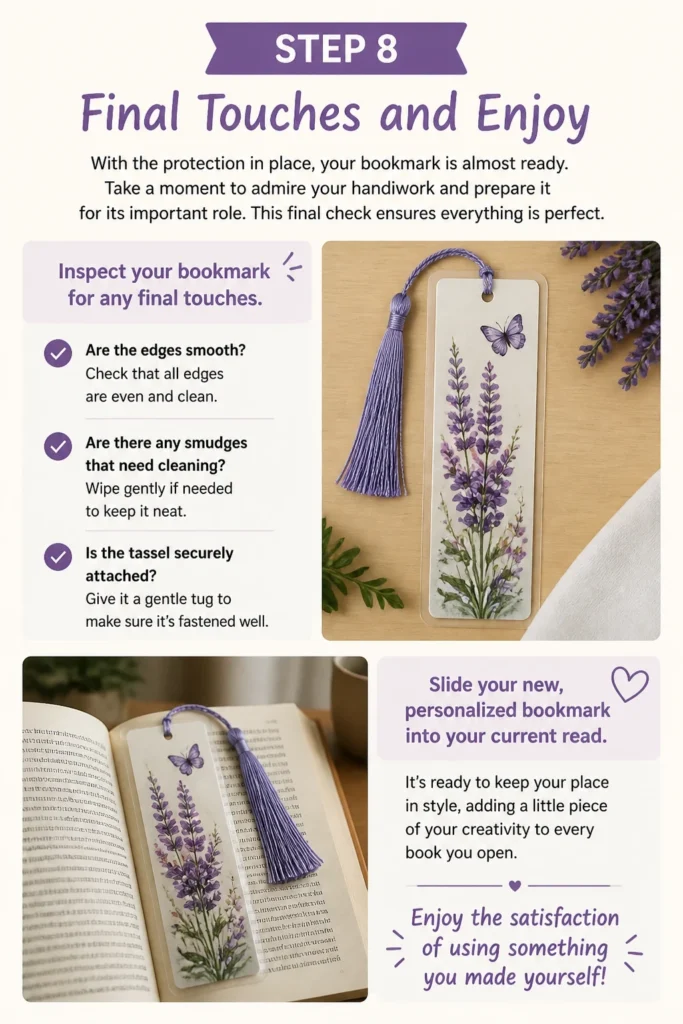
Slide your new, personalized bookmark into your current read. It’s ready to keep your place in style, adding a little piece of your creativity to every book you open. Enjoy the satisfaction of using something you made yourself!
Common Mistakes to Avoid
Using Flimsy Paper
One of the most common pitfalls is choosing paper that is too thin, like standard printer paper. While it’s easy to cut and decorate, a flimsy bookmark will quickly bend, tear, or crease, losing its shape and effectiveness. It won’t stand up to repeated use or the slight pressure of a book’s spine.
Always opt for cardstock or a similar heavyweight paper. This provides the necessary stiffness and durability, ensuring your bookmark remains functional and attractive for a long time. A good foundation prevents early wear and tear.
Cutting Unevenly
Crooked lines and uneven edges can detract significantly from the overall appearance of your bookmark. Hasty cutting without proper guidance often leads to a less polished and amateurish result. It impacts both aesthetics and how neatly the bookmark sits in a book.
Take your time when cutting. Always use a ruler and pencil to draw guide lines, and cut slowly and steadily. For intricate shapes, use sharp craft scissors or a craft knife with a cutting mat. Precision makes a big difference in the final product.
Over-Decorating
While decorating is fun, too many embellishments can make your bookmark bulky, heavy, or prone to snagging. Excessive glitter, large glued-on items, or multiple layers of paper can cause the bookmark to fall out of the book easily or even damage pages. It can also make the bookmark less pleasant to handle.
Strive for balance in your design. Choose a few key decorative elements that complement each other rather than overwhelming the bookmark. Less can often be more, allowing individual elements to stand out and keeping the bookmark practical.
Forgetting Protection
Skipping the protection step is a missed opportunity to extend your bookmark’s lifespan. An unprotected paper bookmark is vulnerable to moisture, smudges, tears, and general wear and tear from handling. Its beautiful design can quickly degrade without a protective layer.
Always consider laminating or applying a clear sealant to your bookmark, especially if it’s heavily decorated or intended for frequent use. This simple step shields your creation from everyday hazards, preserving its beauty and functionality for years to come.
Troubleshooting
Bookmark Bends Easily
If your finished bookmark feels too flexible and easily bends, it’s likely due to the paper choice. Standard copy paper or very thin cardstock lacks the rigidity needed for a durable bookmark. This issue often becomes apparent quickly with regular use.
To fix this, you can try reinforcing the existing bookmark by gluing it onto a thicker piece of cardstock or even a thin piece of cardboard (like from a cereal box). Alternatively, laminate the bookmark with heavy-duty laminating sheets, which add significant stiffness. For future projects, always start with sturdier paper.
Decorations Smudge/Fade
Smudged ink or fading colors often occur when decorations aren’t fully dry before handling or when exposed to moisture. Certain art mediums, like some watercolors or non-permanent markers, are more prone to smudging if not properly sealed. This can ruin your carefully crafted design.
Ensure all paints, inks, and glues are completely dry before touching or laminating your bookmark. Use a clear sealant spray (test on a scrap piece first) or laminate the bookmark to protect the artwork. Consider using permanent markers or archival-quality pens for designs that need to last.
Edges Fray
Fraying edges, especially on paper that’s been handled frequently or is slightly textured, can make a bookmark look worn out prematurely. This is common if the paper isn’t cut cleanly or if it’s exposed to humidity. It compromises the bookmark’s neat appearance.
To prevent fraying, always use sharp scissors or a craft knife for clean cuts. After cutting, you can lightly sand the edges with a very fine-grit sandpaper for a smoother finish. Laminating the bookmark is the most effective way to seal and protect all edges from fraying and damage.
Key Takeaways
- Always choose sturdy paper like cardstock for a durable bookmark.
- Measure and cut precisely to ensure a neat and professional appearance.
- Personalize your bookmark with decorations that reflect your style.
- Laminate or seal your bookmark to protect it from wear and tear.
- Take your time with each step for the best results and an enjoyable crafting experience.
- Homemade bookmarks make thoughtful, unique gifts for fellow book lovers.
Frequently Asked Questions
What’s the best paper for bookmarks?
The best paper for bookmarks is generally cardstock, ranging from 65lb to 110lb. This weight provides excellent durability and stiffness, preventing the bookmark from bending or tearing easily. You can also use watercolor paper, scrapbook paper, or even thin cardboard for good results.
How can I make my bookmark more durable?
To significantly increase your bookmark’s durability, the best method is lamination. You can use a laminating machine or self-adhesive laminating sheets. Applying a clear sealant spray or even covering both sides with wide, clear packing tape can also offer a good level of protection against wear and moisture.
Can kids make these?
Absolutely! Making paper bookmarks is a fantastic craft for children of all ages. Younger children might need help with cutting, but they can fully participate in choosing paper, decorating, and adding embellishments. It’s a great way to encourage creativity and a love for reading.
How do I make a tassel for my bookmark?
To make a simple tassel, wrap embroidery floss or yarn around a piece of cardboard (about 3-4 inches long) many times. Slide the wrapped floss off the cardboard, tie a separate piece of floss tightly around one end, and then cut the loops at the other end. Trim to even out the strands, then attach it to your bookmark through a punched hole.
Our Top Recommended Finds
- Heavyweight Cardstock: Essential for a sturdy base that won’t easily bend or tear.
- Precision Craft Scissors: Ensures clean, straight cuts for professional-looking edges.
- Self-Adhesive Laminating Sheets: A simple, no-machine way to protect and strengthen your finished bookmark.
Your Next Creative Adventure Awaits
Crafting a paper bookmark is more than just a simple DIY project; it’s an opportunity to infuse a little bit of your personality into your reading routine. Each bookmark you make can be a tiny canvas, reflecting your mood, favorite colors, or literary passions. It’s a mindful activity that yields a practical and beautiful result.
Why not gather your materials today and create a bookmark that’s uniquely yours? You might discover a new favorite hobby. This simple act of creation can spark further exploration into paper crafts, journaling, or even bookbinding.
Beginner-friendly templates, step-by-step guides,
and weekly project ideas in your inbox.