🌿 How To Make Skin Care Products At Home

Beginner-friendly templates, step-by-step guides,
and weekly project ideas in your inbox.
A few years ago, I started noticing how many unpronounceable ingredients filled my favorite skin care product labels.
That curiosity quickly led me down a fascinating path of discovering the joy and simplicity of making my own at home.
This guide shares that practical journey, helping you create effective, natural skincare with confidence, just as I learned to do.
Quick Overview
This guide will walk you through the process of creating your own effective and natural skincare products right in your kitchen.
You will learn about essential ingredients, proper techniques, and crucial safety measures to ensure your homemade products are beneficial and safe for your skin.
- Time needed: 1-2 hours for initial setup and first batch (per product type).
- Difficulty: Beginner
- What you’ll need: Basic kitchen tools, common natural ingredients like oils and butters, and clean containers.
Step-by-Step Instructions
Step 1: Gather Your Tools and Ingredients
Before beginning any skin care creation, ensure your workspace is clean and organized. Having everything ready prevents cross-contamination and makes the process smoother.
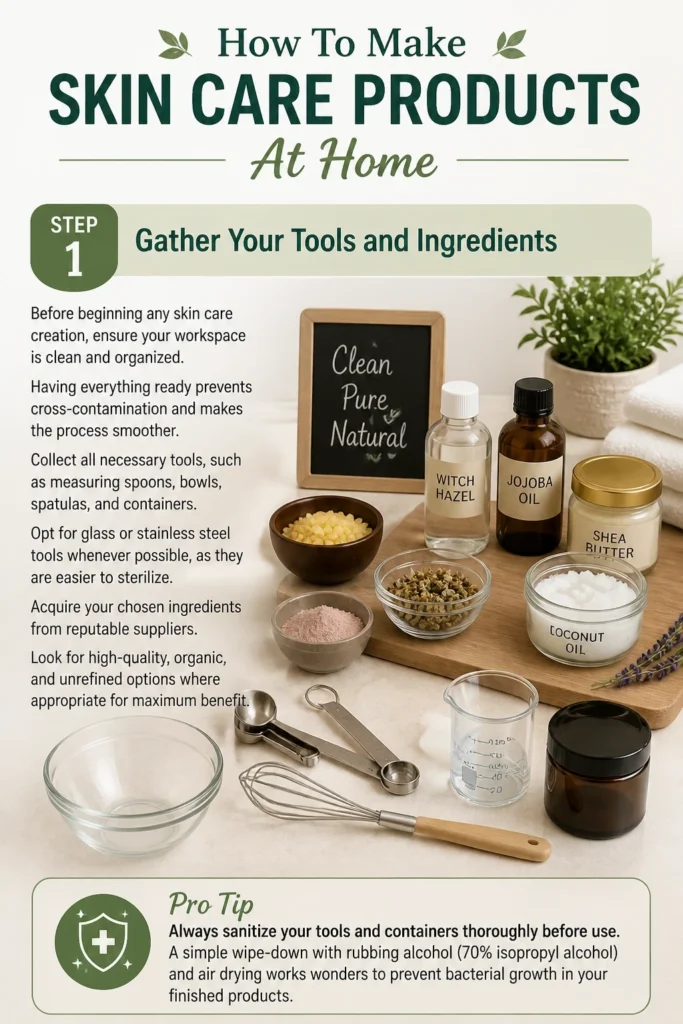
Collect all necessary tools, such as measuring spoons, bowls, spatulas, and containers. Opt for glass or stainless steel tools whenever possible, as they are easier to sterilize.
Acquire your chosen ingredients from reputable suppliers. Look for high-quality, organic, and unrefined options where appropriate for maximum benefit.
Pro Tip: Always sanitize your tools and containers thoroughly before use. A simple wipe-down with rubbing alcohol (70% isopropyl alcohol) and air drying works wonders to prevent bacterial growth in your finished products.
Step 2: Understand Basic Skincare Categories
Familiarize yourself with the fundamental types of skincare products and their purposes. This knowledge helps you choose the right ingredients for your desired outcome.
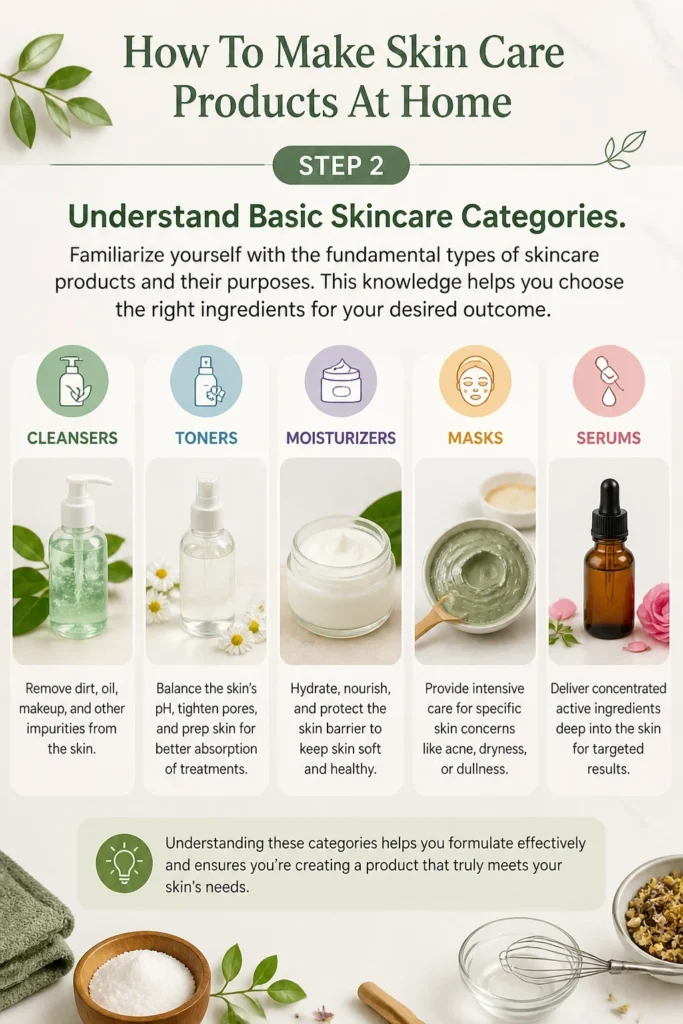
Learn about cleansers, which remove impurities; toners, which balance skin pH; and moisturizers, which hydrate and protect.
Explore specialized treatments like masks, designed for targeted concerns, and serums, which deliver concentrated ingredients to the skin.
Understanding these categories helps you formulate effectively and ensures you’re creating a product that truly meets your skin’s needs.
Step 3: Choose Your First Simple Recipe
Starting with an easy recipe builds confidence and familiarity with the process. Don’t try to create a complex anti-aging serum on your first attempt.
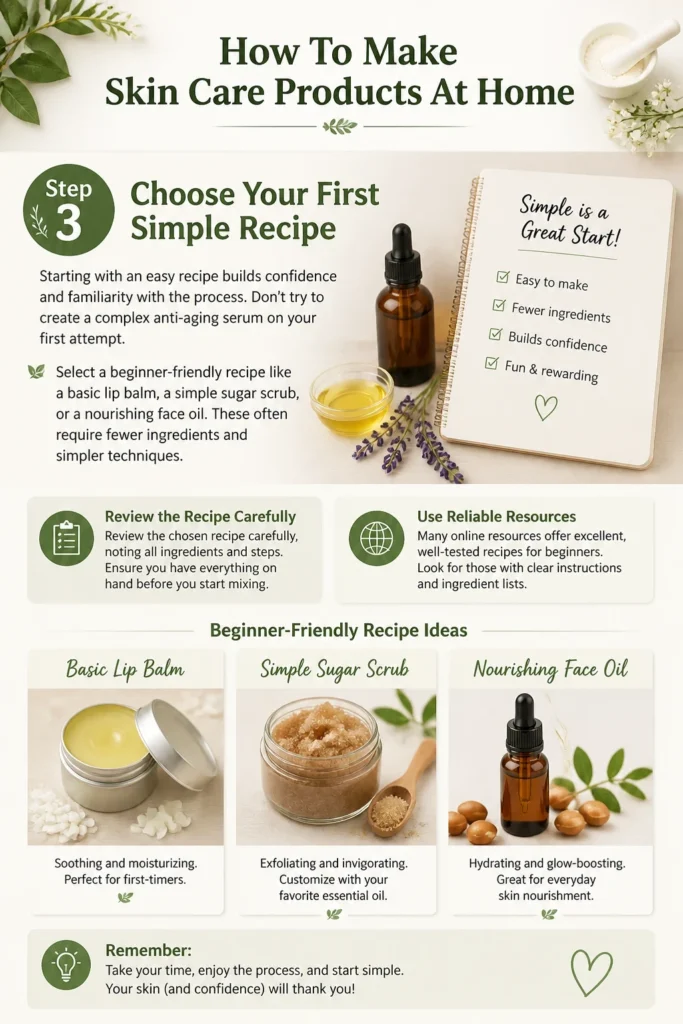
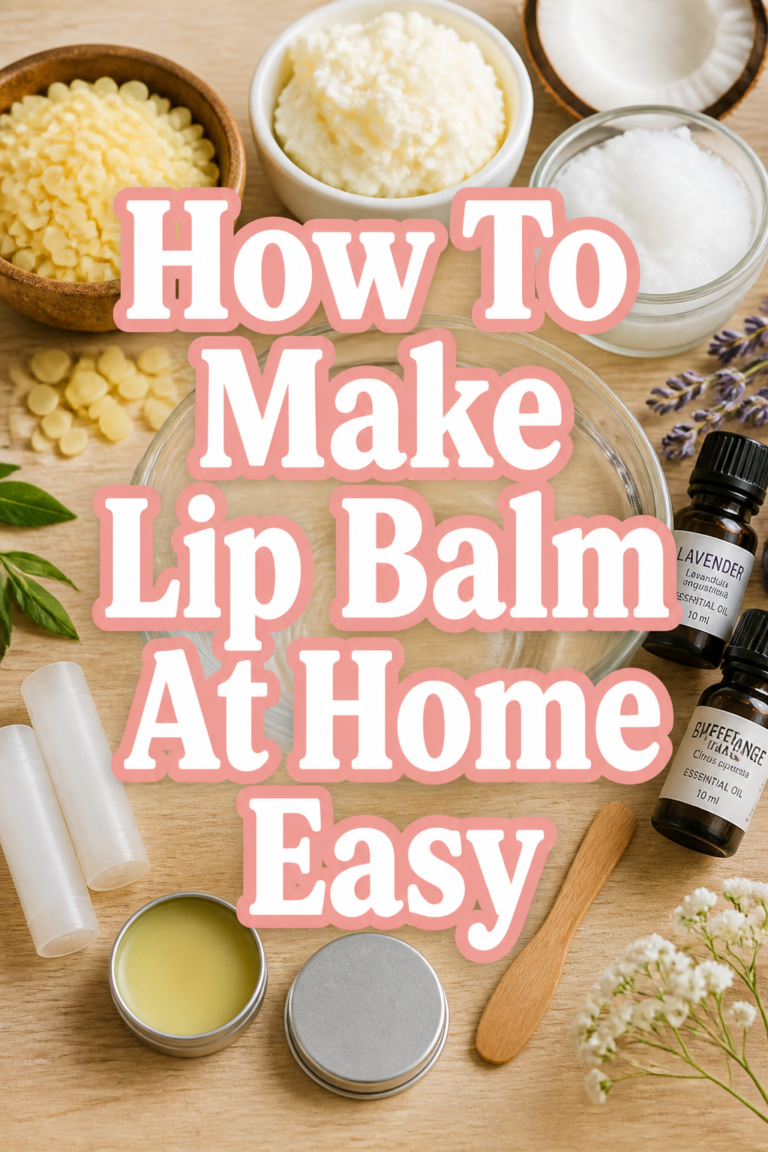
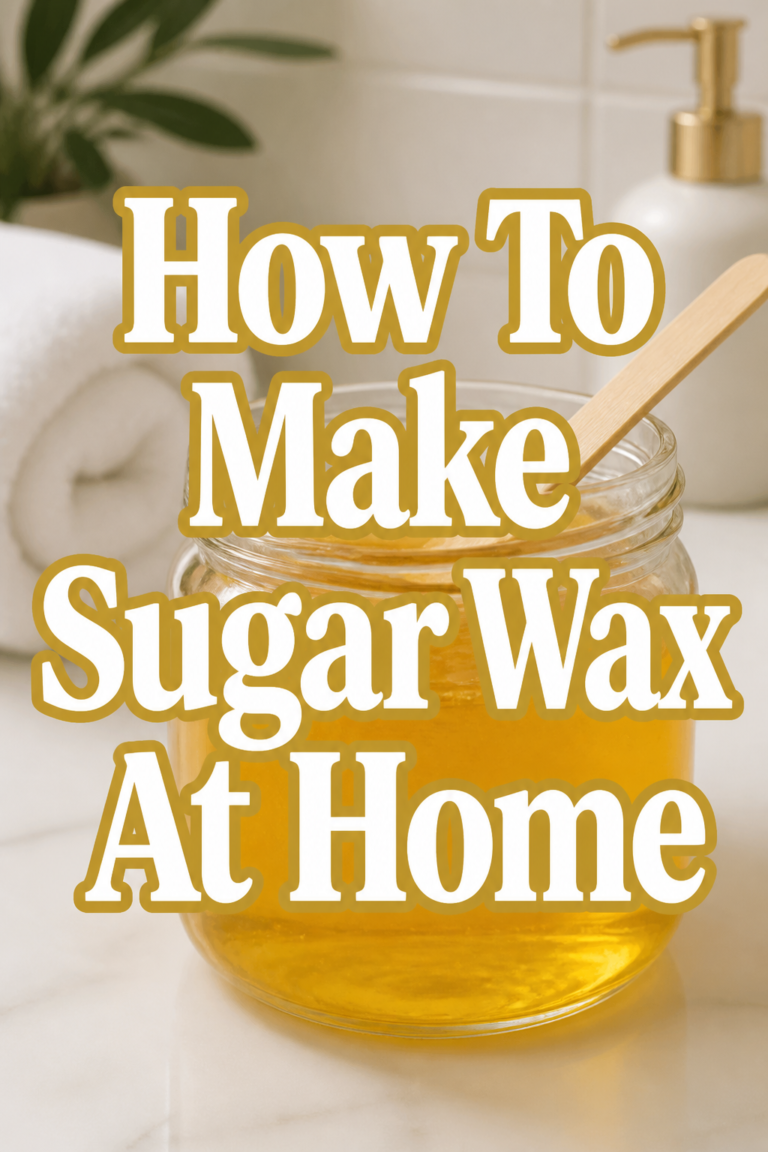
Select a beginner-friendly recipe like a basic lip balm, a simple sugar scrub, or a nourishing face oil. These often require fewer ingredients and simpler techniques.
Review the chosen recipe carefully, noting all ingredients and steps. Ensure you have everything on hand before you start mixing.
Many online resources offer excellent, well-tested recipes for beginners. Look for those with clear instructions and ingredient lists.
Step 4: Master Measurement and Mixing Techniques
Precision is key in homemade skincare to ensure efficacy and proper texture. Eyeballing measurements can lead to inconsistent results and product failure.
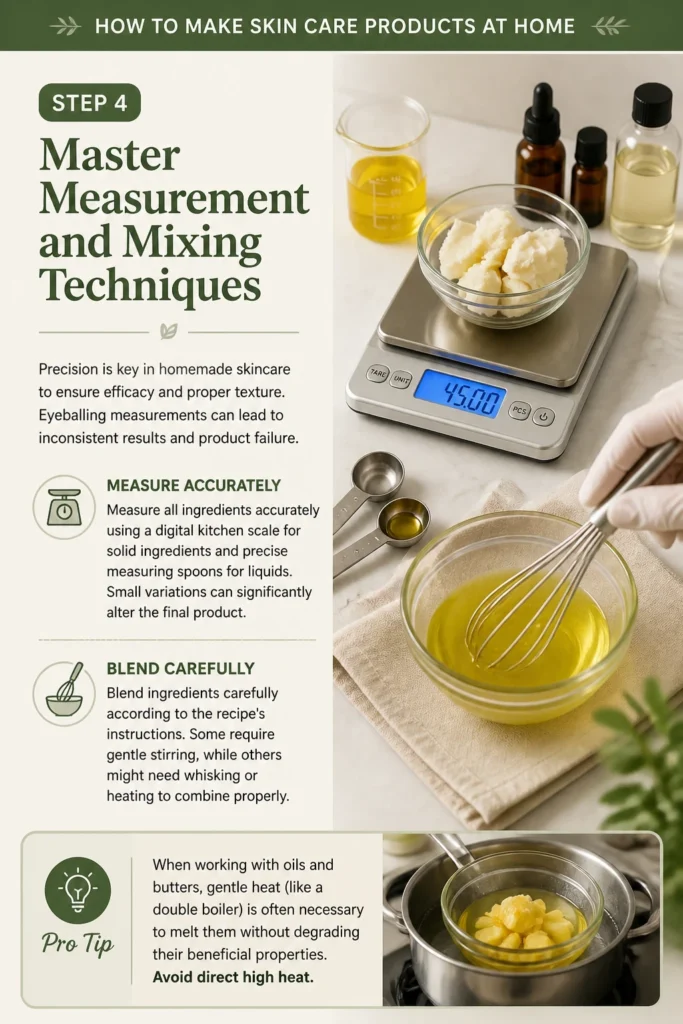
Measure all ingredients accurately using a digital kitchen scale for solid ingredients and precise measuring spoons for liquids. Small variations can significantly alter the final product.
Blend ingredients carefully according to the recipe’s instructions. Some require gentle stirring, while others might need whisking or heating to combine properly.
Pro Tip: When working with oils and butters, gentle heat (like a double boiler) is often necessary to melt them without degrading their beneficial properties. Avoid direct high heat.
Step 5: Prioritize Preservation and Safety
Homemade products, especially those containing water, are susceptible to bacterial growth. Safety is paramount to avoid skin irritation or infection.
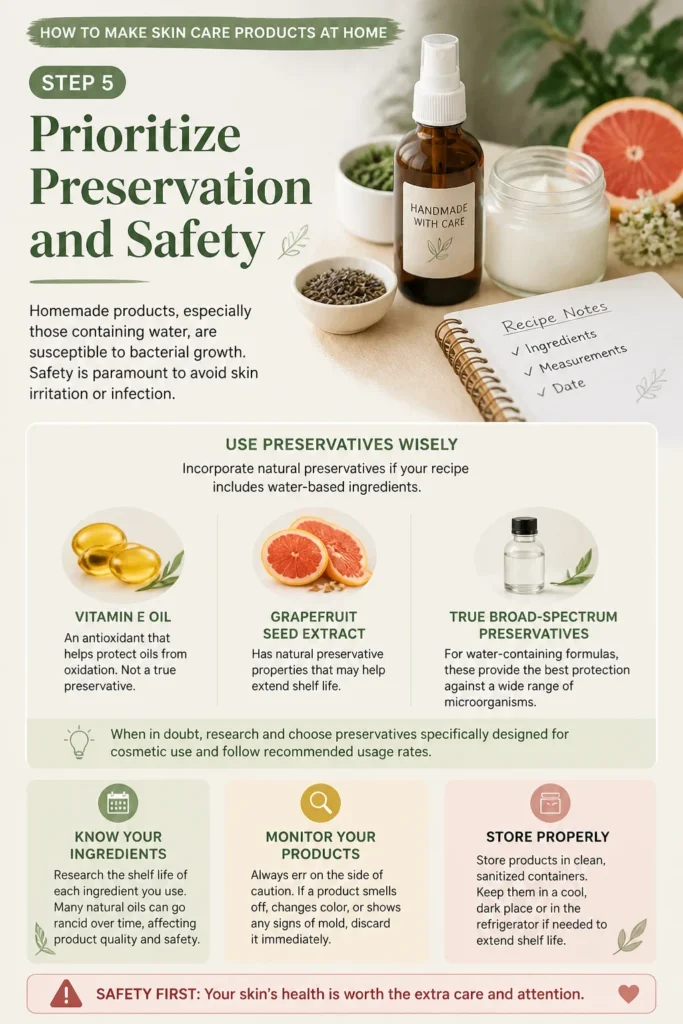
Incorporate natural preservatives if your recipe includes water-based ingredients. Options like Vitamin E oil (an antioxidant, not a true preservative) or grapefruit seed extract can extend shelf life, but true broad-spectrum preservatives are best for water-containing formulas.
Research the shelf life of each ingredient you use. Many natural oils can go rancid over time, affecting product quality and safety.
Always err on the side of caution. If a product smells off, changes color, or shows any signs of mold, discard it immediately.
Step 6: Perform a Patch Test
Even natural ingredients can cause allergic reactions or irritation in some individuals. A patch test is a crucial step before applying a new product to your entire face or body.
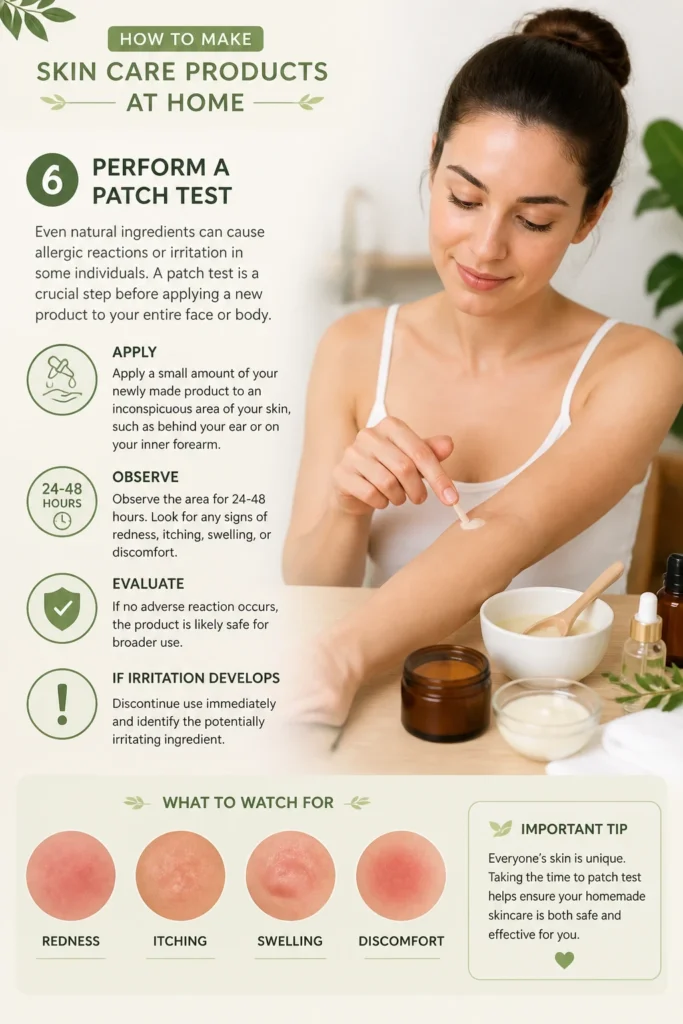
Apply a small amount of your newly made product to an inconspicuous area of your skin, such as behind your ear or on your inner forearm.
Observe the area for 24-48 hours. Look for any signs of redness, itching, swelling, or discomfort.
If no adverse reaction occurs, the product is likely safe for broader use. If irritation develops, discontinue use immediately and identify the potentially irritating ingredient.
Step 7: Store Your Creations Properly
Correct storage significantly impacts the longevity and efficacy of your homemade skincare products. Exposure to light, heat, and air can degrade ingredients.
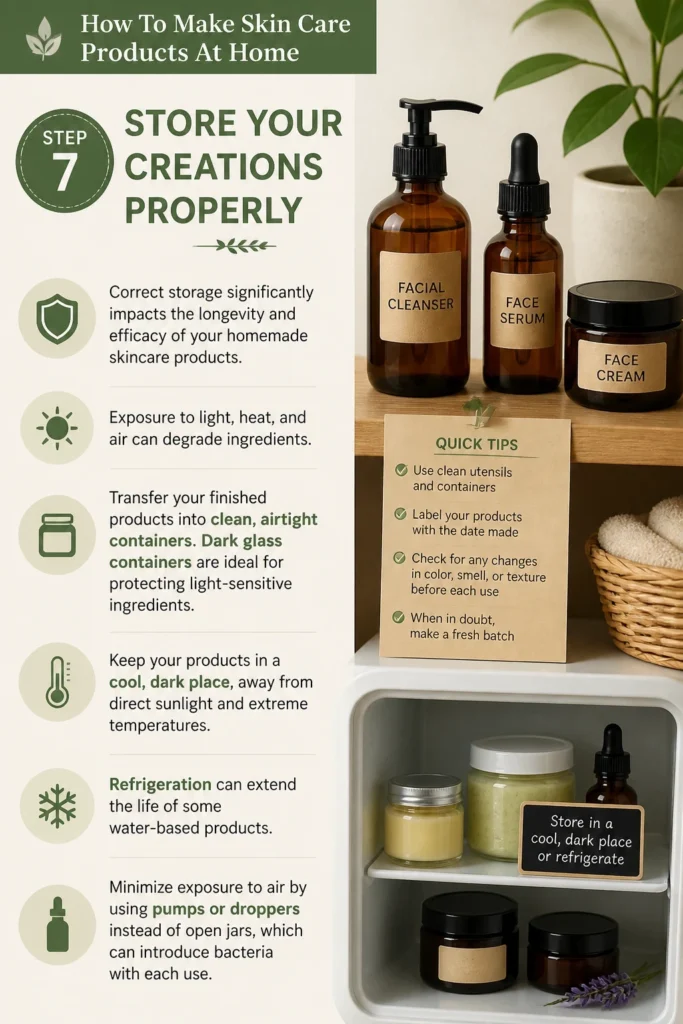
Transfer your finished products into clean, airtight containers. Dark glass containers are ideal for protecting light-sensitive ingredients.
Keep your products in a cool, dark place, away from direct sunlight and extreme temperatures. Refrigeration can extend the life of some water-based products.
Minimize exposure to air by using pumps or droppers instead of open jars, which can introduce bacteria with each use.
Step 8: Label and Track Your Recipes
Keeping detailed records helps you recreate successful batches and troubleshoot issues. It’s easy to forget ratios or specific ingredients without proper documentation.
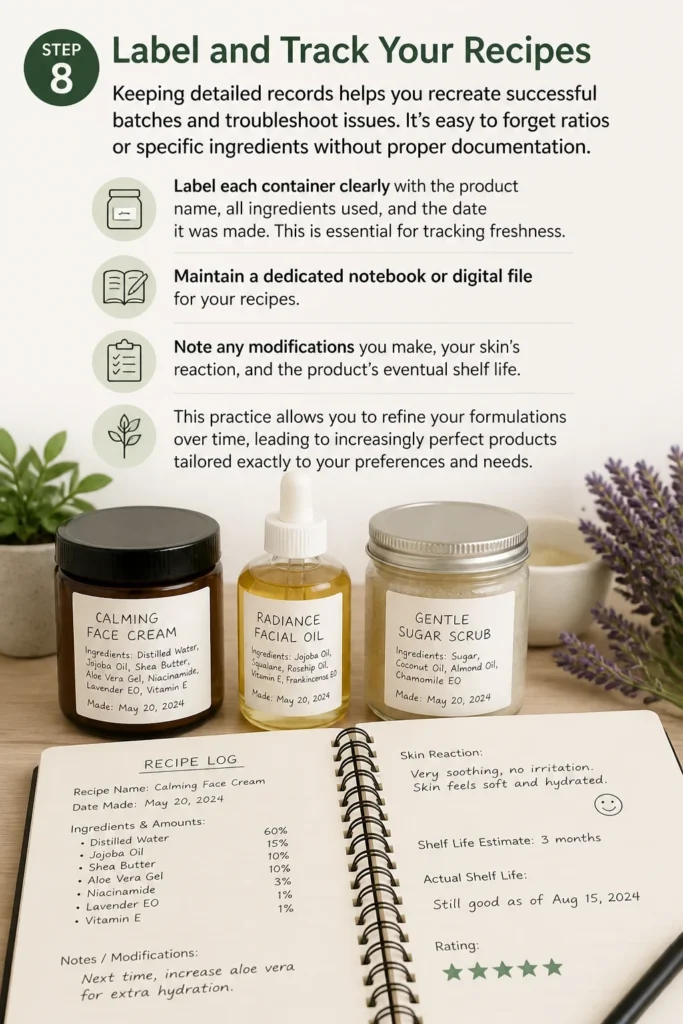
Label each container clearly with the product name, all ingredients used, and the date it was made. This is essential for tracking freshness.
Maintain a dedicated notebook or digital file for your recipes. Note any modifications you make, your skin’s reaction, and the product’s eventual shelf life.
This practice allows you to refine your formulations over time, leading to increasingly perfect products tailored exactly to your preferences and needs.
Common Mistakes to Avoid
Skipping Sanitation
Many beginners overlook the critical step of sterilizing their tools and containers. This oversight introduces bacteria and mold into your homemade products, leading to spoilage and potential skin infections.
Always clean everything that will touch your ingredients with hot, soapy water, then follow up with a rinse of rubbing alcohol or a sterilizing solution. Let them air dry completely before use.
Incorrect Measurements
Eyeballing ingredients, especially potent ones like essential oils or preservatives, can lead to product failure or irritation. Too little of an emulsifier might cause separation; too much of an active ingredient could harm your skin.
Invest in an accurate digital scale and precise measuring spoons. Follow recipes exactly, particularly when starting out, to ensure stability and safety.
Ignoring Preservatives
Products containing water are breeding grounds for bacteria, yeast, and mold. Believing “natural” means “self-preserving” is a dangerous misconception that can lead to contaminated products.
For any water-containing formula, a broad-spectrum preservative is essential for safety and shelf life. For oil-only products, an antioxidant like Vitamin E helps prevent rancidity, but it won’t stop microbial growth.
Overcomplicating Recipes
It’s tempting to add every beneficial ingredient you can find to a single recipe. However, this often leads to unstable products, ingredient interactions, and difficulty identifying what works or doesn’t for your skin.
Start with simple recipes that have few ingredients. Master the basics, understand how each component functions, and then gradually introduce new elements one at a time.
Troubleshooting
Product Separates
If your lotion or cream separates into distinct oil and water layers, it usually indicates an emulsification issue. This means the oil and water phases didn’t combine properly or the emulsion broke.
Ensure you are using the correct amount and type of emulsifier specified in the recipe. Also, make sure both oil and water phases are at similar temperatures when you combine them, usually around 70-75°C (158-167°F), and blend thoroughly.
Texture is Off
Sometimes your product might turn out too oily, too thick, or too thin compared to expectations. This often comes down to ingredient ratios or temperature control during mixing.
For an overly oily product, you might have too much oil or not enough water/hydrosol. For a too-thick consistency, you might have used too much wax or butter. For a thin product, you might need to increase solid ingredients or decrease liquids in future batches. Adjust one variable at a time in subsequent attempts.
Skin Irritation
If your skin feels itchy, red, or develops a rash after using a homemade product, it’s a sign of irritation or an allergic reaction. Even natural ingredients can be potent and cause adverse effects.
Immediately discontinue use of the product. Review your ingredient list to identify potential irritants, especially essential oils or new extracts. Always perform a patch test on a small area of skin before applying any new product extensively.
Key Takeaways
- Start with simple recipes to build your confidence and understanding of the process.
- Strict sanitation of all tools and containers is absolutely critical to prevent contamination and spoilage.
- Accurate measurement of ingredients is essential for consistent results and product stability.
- Always perform a patch test to ensure skin compatibility before full application.
- Proper storage in airtight, dark containers in a cool place extends the shelf life of your creations.
- Understand that “natural” does not automatically mean “safe” for all skin types; research ingredients carefully.
Frequently Asked Questions
How long do homemade products last?
The shelf life of homemade products varies significantly depending on the ingredients and whether a preservative is used. Oil-based products without water typically last 3-6 months, while water-based products with a broad-spectrum preservative can last 6-12 months. Without a preservative, water-based items might only last a week or two.
Can I use essential oils in my recipes?
Yes, essential oils can be used to add fragrance and therapeutic benefits, but with caution. They are highly concentrated and must be properly diluted in a carrier oil or lotion base. Always research safe dilution rates (typically 0.5-2% for facial products) and be aware of potential sensitivities or phototoxicity.
Are natural ingredients always safe for my skin?
No, “natural” does not automatically equate to “safe” for everyone. Many natural ingredients, such as certain essential oils, plant extracts, or even common food items like citrus or cinnamon, can cause irritation, allergic reactions, or photosensitivity in some individuals. Always research ingredients and patch test new formulations.
Where do I buy ingredients for homemade skincare?
You can find high-quality ingredients from various sources. Reputable online suppliers specialize in cosmetic-grade raw materials, offering everything from carrier oils and butters to emulsifiers and preservatives. Local health food stores sometimes carry basic oils and essential oils, but ensure they are pure and suitable for skin application.
Our Top Recommended Finds
- Digital Kitchen Scale: Essential for precise measurements, especially for solid ingredients and small quantities, ensuring consistent and reliable results.
- Glass Jars with Airtight Lids: Perfect for storing your finished products, protecting them from air and light, and extending their freshness.
- 70% Isopropyl Alcohol Spray: An indispensable tool for sanitizing all your equipment and containers before and after use, preventing bacterial contamination.
Embrace Your Inner Skincare Alchemist
Embarking on the journey of making your own skincare is incredibly rewarding. You gain control over ingredients, reduce chemical exposure, and tailor products perfectly to your unique skin.
Each batch you create builds your knowledge and confidence, transforming you into a true skincare alchemist. Don’t be afraid to experiment after you’ve mastered the basics.
Consider exploring more advanced formulations like emulsified lotions or gentle facial cleansers once you feel comfortable. The possibilities are vast and exciting.
Why wait? Gather your first few ingredients today and take the first step towards a more personalized and natural skincare routine.
Beginner-friendly templates, step-by-step guides,
and weekly project ideas in your inbox.