📌 How To Clean Grout On Tile Floors

Beginner-friendly templates, step-by-step guides,
and weekly project ideas in your inbox.
Dirty grout can make even the cleanest tile floor look dingy and neglected. It’s a common problem, but one that’s surprisingly satisfying to fix.
I’ve spent countless hours bringing neglected grout lines back to life in various homes. This guide shares the practical, effective methods I’ve refined over time. You can absolutely achieve sparkling results with the right approach.
Quick Overview
This guide will walk you through transforming your dull, dirty grout into clean, bright lines that enhance your tile floors. You’ll learn the best tools, solutions, and techniques for lasting results.
- Time needed: 2-4 hours (depending on floor size and soil level)
- Difficulty: Beginner
- What you’ll need: Grout brush, cleaning solution, buckets, rags, gloves, safety glasses
Step-by-Step Instructions
Step 1: Prepare Your Workspace
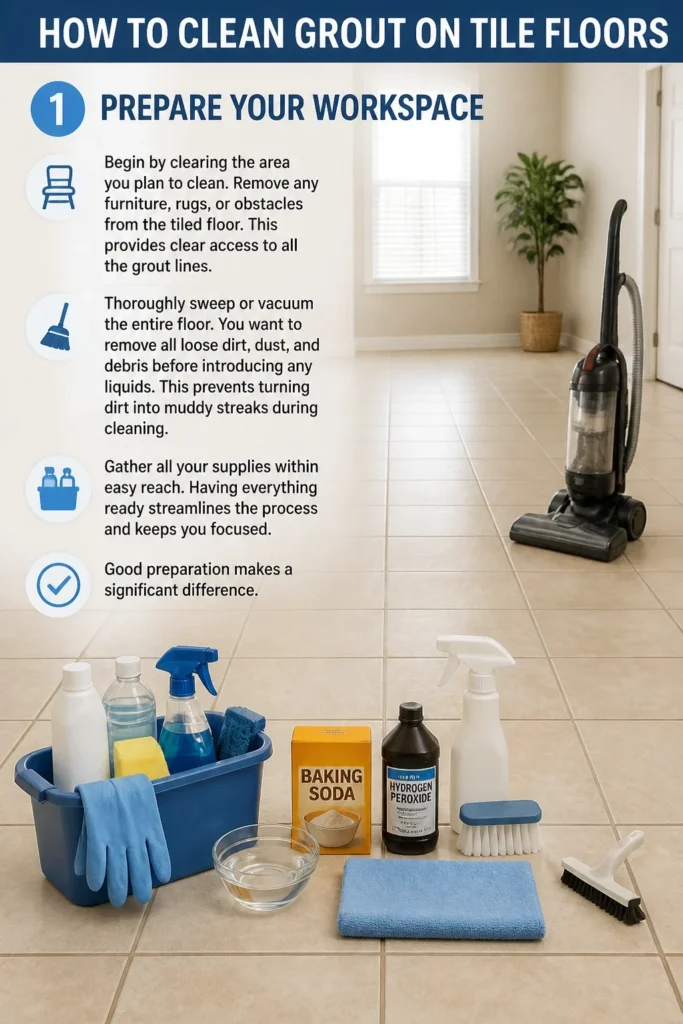
Begin by clearing the area you plan to clean. Remove any furniture, rugs, or obstacles from the tiled floor. This provides clear access to all the grout lines.
Thoroughly sweep or vacuum the entire floor. You want to remove all loose dirt, dust, and debris before introducing any liquids. This prevents turning dirt into muddy streaks during cleaning.
Gather all your supplies within easy reach. Having everything ready streamlines the process and keeps you focused. Good preparation makes a significant difference.
Step 2: Choose Your Cleaning Solution
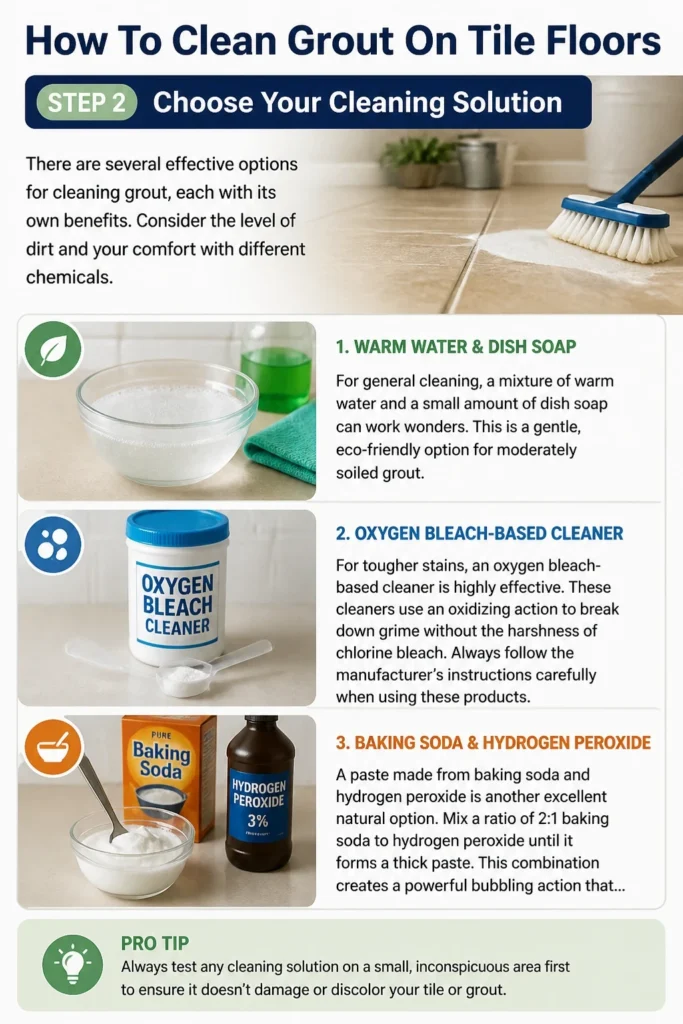
There are several effective options for cleaning grout, each with its own benefits. Consider the level of dirt and your comfort with different chemicals.
For general cleaning, a mixture of warm water and a small amount of dish soap can work wonders. This is a gentle, eco-friendly option for moderately soiled grout.
For tougher stains, an oxygen bleach-based cleaner is highly effective. These cleaners use an oxidizing action to break down grime without the harshness of chlorine bleach. Always follow the manufacturer’s instructions carefully when using these products.
A paste made from baking soda and hydrogen peroxide is another excellent natural option. Mix a ratio of 2:1 baking soda to hydrogen peroxide until it forms a thick paste. This combination creates a powerful bubbling action that lifts dirt.
Pro Tip: Avoid using acidic cleaners like vinegar on natural stone tiles (marble, travertine) or unsealed grout. Acids can etch the stone or degrade the grout over time. Always check your tile type first.
Step 3: Test a Small Area
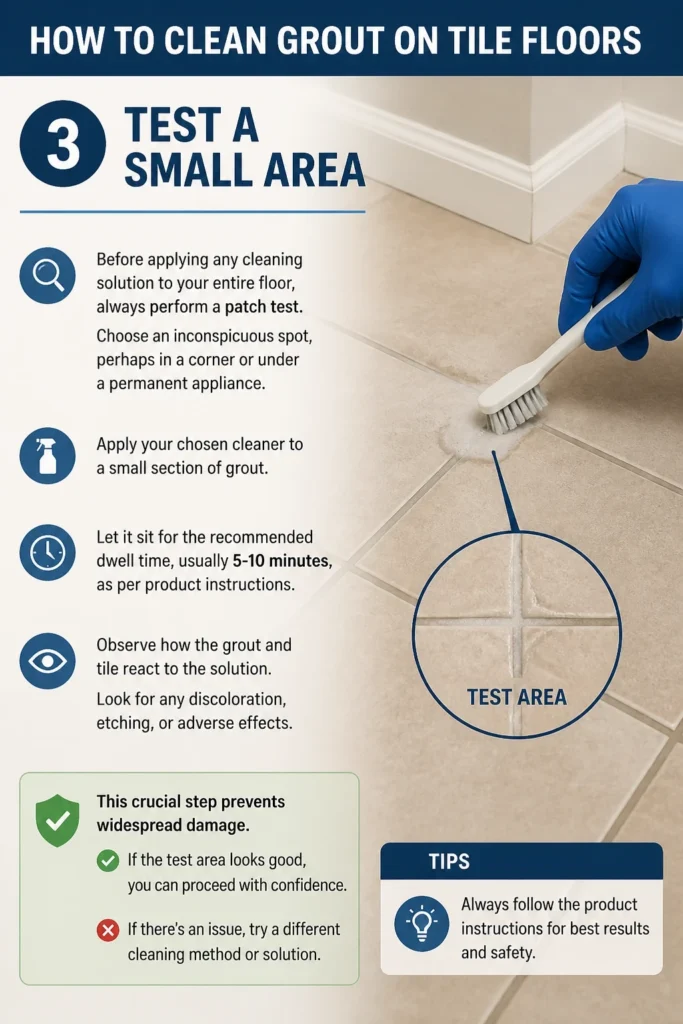
Before applying any cleaning solution to your entire floor, always perform a patch test. Choose an inconspicuous spot, perhaps in a corner or under a permanent appliance.
Apply your chosen cleaner to a small section of grout. Let it sit for the recommended dwell time, usually 5-10 minutes, as per product instructions.
Observe how the grout and tile react to the solution. Look for any discoloration, etching, or adverse effects. This crucial step prevents widespread damage.
If the test area looks good, you can proceed with confidence. If there’s an issue, try a different cleaning method or solution.
Step 4: Apply the Cleaner
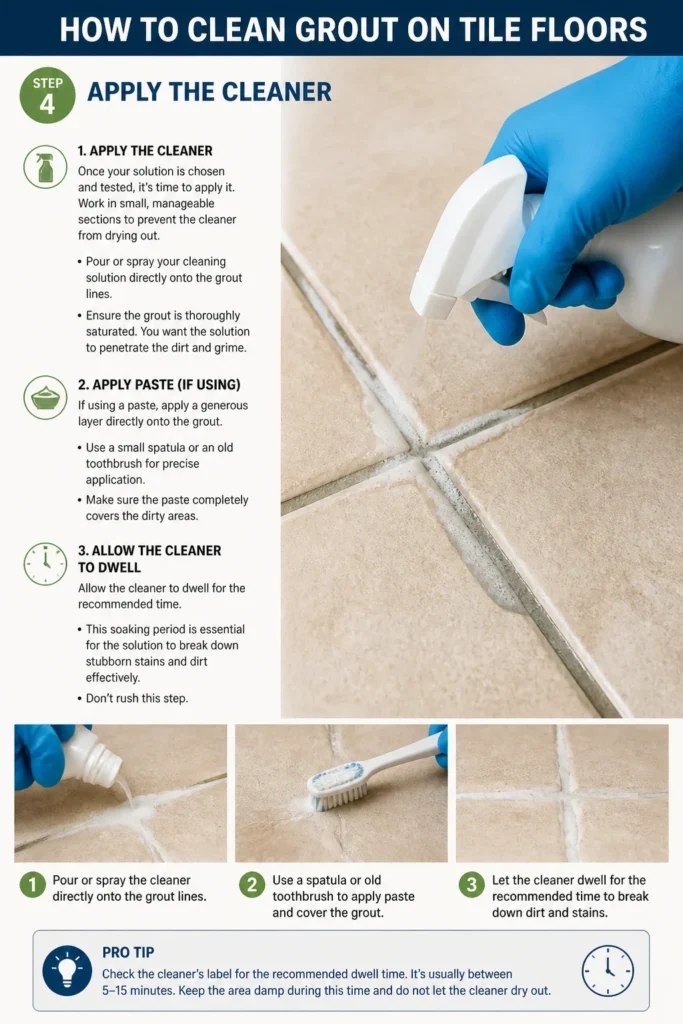
Once your solution is chosen and tested, it’s time to apply it. Work in small, manageable sections to prevent the cleaner from drying out.
Pour or spray your cleaning solution directly onto the grout lines. Ensure the grout is thoroughly saturated. You want the solution to penetrate the dirt and grime.
If using a paste, apply a generous layer directly onto the grout. Use a small spatula or an old toothbrush for precise application. Make sure the paste completely covers the dirty areas.
Allow the cleaner to dwell for the recommended time. This “soaking” period is essential for the solution to break down stubborn stains and dirt effectively. Don’t rush this step.
Step 5: Scrub the Grout Lines
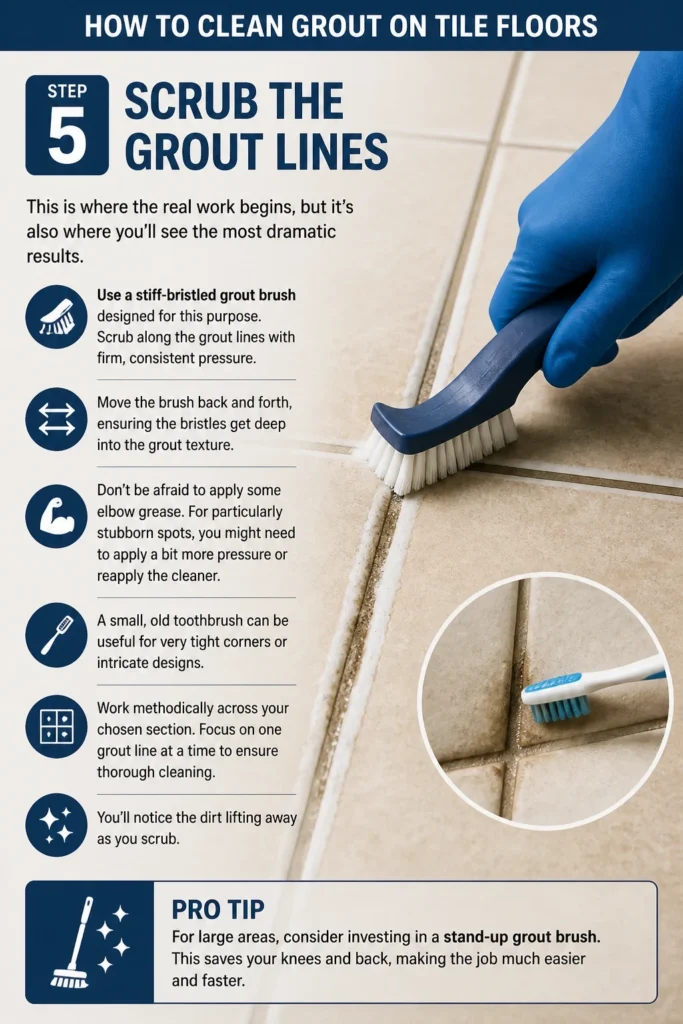
This is where the real work begins, but it’s also where you’ll see the most dramatic results. Use a stiff-bristled grout brush designed for this purpose.
Scrub along the grout lines with firm, consistent pressure. Move the brush back and forth, ensuring the bristles get deep into the grout texture. Don’t be afraid to apply some elbow grease.
For particularly stubborn spots, you might need to apply a bit more pressure or reapply the cleaner. A small, old toothbrush can be useful for very tight corners or intricate designs.
Work methodically across your chosen section. Focus on one grout line at a time to ensure thorough cleaning. You’ll notice the dirt lifting away as you scrub.
Pro Tip: For large areas, consider investing in a stand-up grout brush. This saves your knees and back, making the task much more comfortable and efficient.
Step 6: Rinse Thoroughly
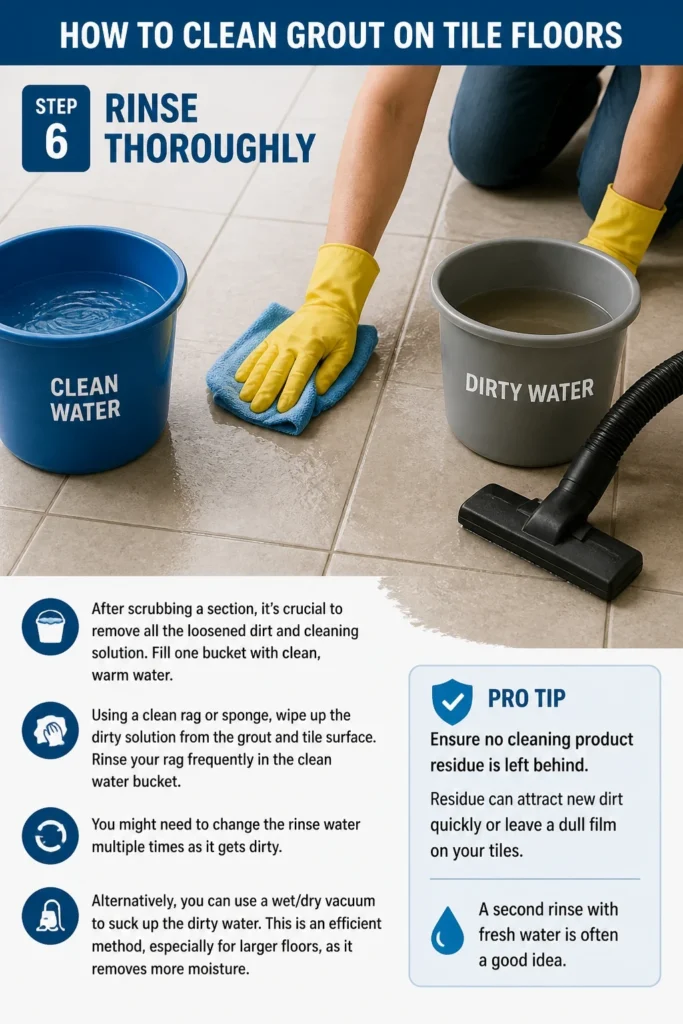
After scrubbing a section, it’s crucial to remove all the loosened dirt and cleaning solution. Fill one bucket with clean, warm water.
Using a clean rag or sponge, wipe up the dirty solution from the grout and tile surface. Rinse your rag frequently in the clean water bucket. You might need to change the rinse water multiple times as it gets dirty.
Alternatively, you can use a wet/dry vacuum to suck up the dirty water. This is an efficient method, especially for larger floors, as it removes more moisture.
Ensure no cleaning product residue is left behind. Residue can attract new dirt quickly or leave a dull film on your tiles. A second rinse with fresh water is often a good idea.
Step 7: Dry the Floor
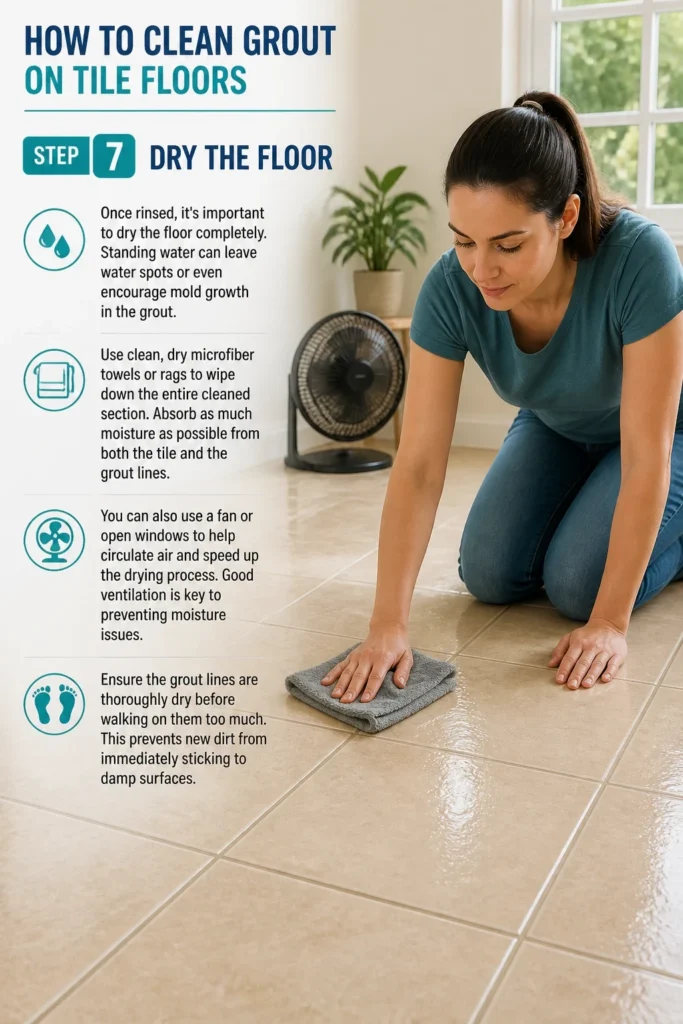
Once rinsed, it’s important to dry the floor completely. Standing water can leave water spots or even encourage mold growth in the grout.
Use clean, dry microfiber towels or rags to wipe down the entire cleaned section. Absorb as much moisture as possible from both the tile and the grout lines.
You can also use a fan or open windows to help circulate air and speed up the drying process. Good ventilation is key to preventing moisture issues.
Ensure the grout lines are thoroughly dry before walking on them too much. This prevents new dirt from immediately sticking to damp surfaces.
Step 8: Consider Sealing Your Grout (Optional but Recommended)
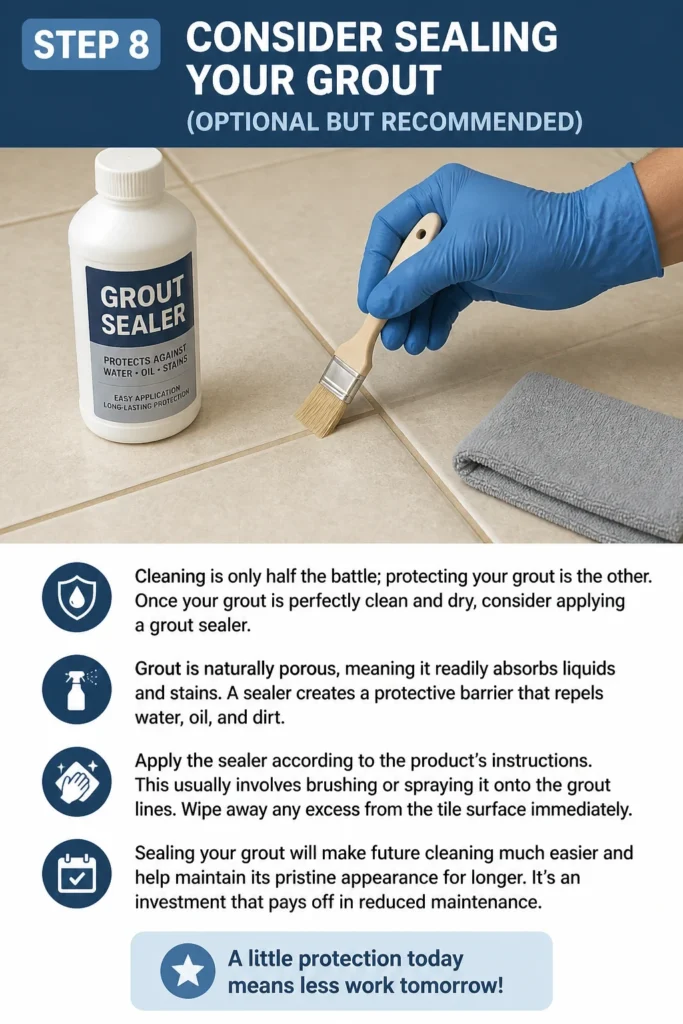
Cleaning is only half the battle; protecting your grout is the other. Once your grout is perfectly clean and dry, consider applying a grout sealer.
Grout is naturally porous, meaning it readily absorbs liquids and stains. A sealer creates a protective barrier that repels water, oil, and dirt.
Apply the sealer according to the product’s instructions. This usually involves brushing or spraying it onto the grout lines. Wipe away any excess from the tile surface immediately.
Sealing your grout will make future cleaning much easier and help maintain its pristine appearance for longer. It’s an investment that pays off in reduced maintenance.
Common Mistakes to Avoid
Using Harsh Chemicals
Many people reach for strong, undiluted chlorine bleach or highly acidic cleaners for tough grout stains. While these might seem effective, they can cause significant damage. Bleach can weaken grout over time, making it brittle and prone to crumbling. Acids, like vinegar, can etch natural stone tiles and degrade cementitious grout, leaving it porous and susceptible to future staining. Always opt for gentler, oxygen-based cleaners or specialized grout solutions designed for your specific tile and grout type.
Skipping the Test Spot
Failing to test your chosen cleaner on an inconspicuous area is a common oversight that can lead to costly regrets. Different grout types and sealers react differently to cleaning agents. What works perfectly on one floor might discolor or damage another. A quick test spot takes only a few minutes but can save you from ruining a large section of your flooring.
Not Rinsing Properly
After scrubbing, it’s tempting to quickly wipe away the dirty water and call it a day. However, improper rinsing leaves behind a residue of cleaning solution and loosened dirt. This residue acts like a magnet, attracting new dirt and making your grout appear dull much faster. Always rinse thoroughly with clean water, changing your rinse water frequently, until no suds or film remain.
Neglecting Ventilation
Working with cleaning solutions, especially those with stronger fumes, requires good air circulation. Cleaning in a poorly ventilated area can lead to inhaling harmful fumes, causing dizziness or respiratory irritation. Always open windows and doors, or use fans, to ensure fresh air circulates throughout your workspace. This protects your health and helps the floor dry faster.
Troubleshooting
Stubborn Stains Remain
If some dark stains persist after your initial cleaning, don’t despair. These might be deeply embedded or mold-related issues. Try making a thicker paste of baking soda and hydrogen peroxide, applying it directly to the stain, and letting it sit for an hour or two before scrubbing again. For mold, a specialized mold and mildew cleaner designed for grout might be necessary.
Ensure you’re using a stiff-bristled brush that can really dig into the grout lines. Sometimes, the issue isn’t the cleaner but the lack of mechanical action. A small detail brush can target specific, tough spots effectively.
Grout Looks Dull After Cleaning
A dull appearance after cleaning can often be attributed to residue left behind. This might be from the cleaning solution itself or from dissolved dirt that wasn’t fully rinsed away. Try re-rinsing the area thoroughly with plain, clean water, then wiping it completely dry with a fresh microfiber cloth.
If the dullness persists, the grout might be unsealed and has absorbed some minerals from your tap water. Consider applying a high-quality grout sealer once the grout is completely dry. Sealing often enhances the color and provides a slight sheen.
White Residue Appears
White residue on your grout after cleaning is usually a sign of efflorescence or cleaning product residue. Efflorescence is a mineral deposit that can wick up from beneath the tile. For this, a specialized efflorescence remover or a light acid wash (if your tile type allows) might be needed, but always test first.
If it’s cleaning product residue, it means the area wasn’t rinsed well enough. Repeat the rinsing process with multiple changes of clean water until all traces of the product are gone. Drying the floor immediately after rinsing is also key to preventing new residue formation.
Key Takeaways
- Preparation is key: Clear the area and sweep thoroughly before you begin.
- Choose your cleaning solution wisely, considering grout type and stain severity.
- Always perform a patch test on an inconspicuous area to prevent damage.
- Allow the cleaner adequate dwell time to effectively break down grime.
- Use a stiff-bristled brush and firm pressure for effective scrubbing.
- Rinse the grout thoroughly with clean water to remove all residue and dirt.
- Dry the floor completely after cleaning to prevent water spots and mildew.
- Consider sealing your grout to protect it from future stains and simplify maintenance.
Frequently Asked Questions
How often should I clean my grout?
The frequency depends on traffic and usage. For high-traffic areas like kitchens and bathrooms, deep cleaning every 3-6 months is recommended. Low-traffic areas might only need deep cleaning once a year. Regular sweeping and damp mopping will help extend the time between deep cleans.
Can I use a steam cleaner on grout?
Yes, steam cleaners can be very effective for cleaning grout. The high heat and pressure help to loosen dirt and sanitize the surface without chemicals. Always ensure your grout is well-maintained and doesn’t have any cracks before steaming, as steam could force water into subflooring.
Is bleach safe for cleaning grout?
Chlorine bleach can be used sparingly and carefully on white, unsealed cementitious grout. However, it can weaken grout over time, cause discoloration on colored grout, and is harsh on the environment. Oxygen bleach is a safer and often equally effective alternative for most grout types.
What’s the best homemade grout cleaner?
A paste made from baking soda and hydrogen peroxide is widely considered one of the best homemade options. Mix two parts baking soda to one part hydrogen peroxide. This mixture creates a powerful, non-toxic cleaner that effectively lifts dirt and brightens grout.
Our Top Recommended Finds
- Stiff-Bristled Grout Brush: Essential for scrubbing effectively without damaging your grout. Look for one with an ergonomic handle.
- Oxygen Bleach-Based Grout Cleaner: A powerful yet safe alternative to chlorine bleach, effective on tough stains and general grime.
- Microfiber Mop or Towels: Excellent for rinsing and drying, these absorb a lot of water and leave surfaces streak-free.
Transform Your Tile Floors Today
Don’t let dirty grout diminish the beauty of your tile floors any longer. With the right tools and techniques, you can achieve results that look professionally cleaned. Imagine the satisfaction of seeing those bright, clean lines bring new life to your space.
Start with a small section today and witness the transformation firsthand. Your efforts will be rewarded with a noticeably cleaner, fresher-looking home. Get ready to enjoy your sparkling floors!
Beginner-friendly templates, step-by-step guides,
and weekly project ideas in your inbox.