💅 How To Get Nail Polish Out Of Clothes

Beginner-friendly templates, step-by-step guides,
and weekly project ideas in your inbox.
We’ve all been there: a quick slip, a misplaced brush, and suddenly your favorite shirt has a vibrant new “design.” It feels like a disaster, but it doesn’t have to be.
I’ve tackled my fair share of polish spills, from delicate silk to sturdy denim, and I’m here to share the exact methods that truly work. This guide will walk you through rescuing your garments with confidence.
You’ll learn how to approach different fabrics and polish types, turning a moment of panic into a simple, solvable task.
Quick Overview
Getting nail polish out of clothes might seem intimidating, but with the right approach, it’s a straightforward process. You’ll learn to identify your fabric, choose the correct solvent, and gently lift the stain without damaging your garment.
- Time needed: 15-45 minutes (plus drying time)
- Difficulty: Beginner
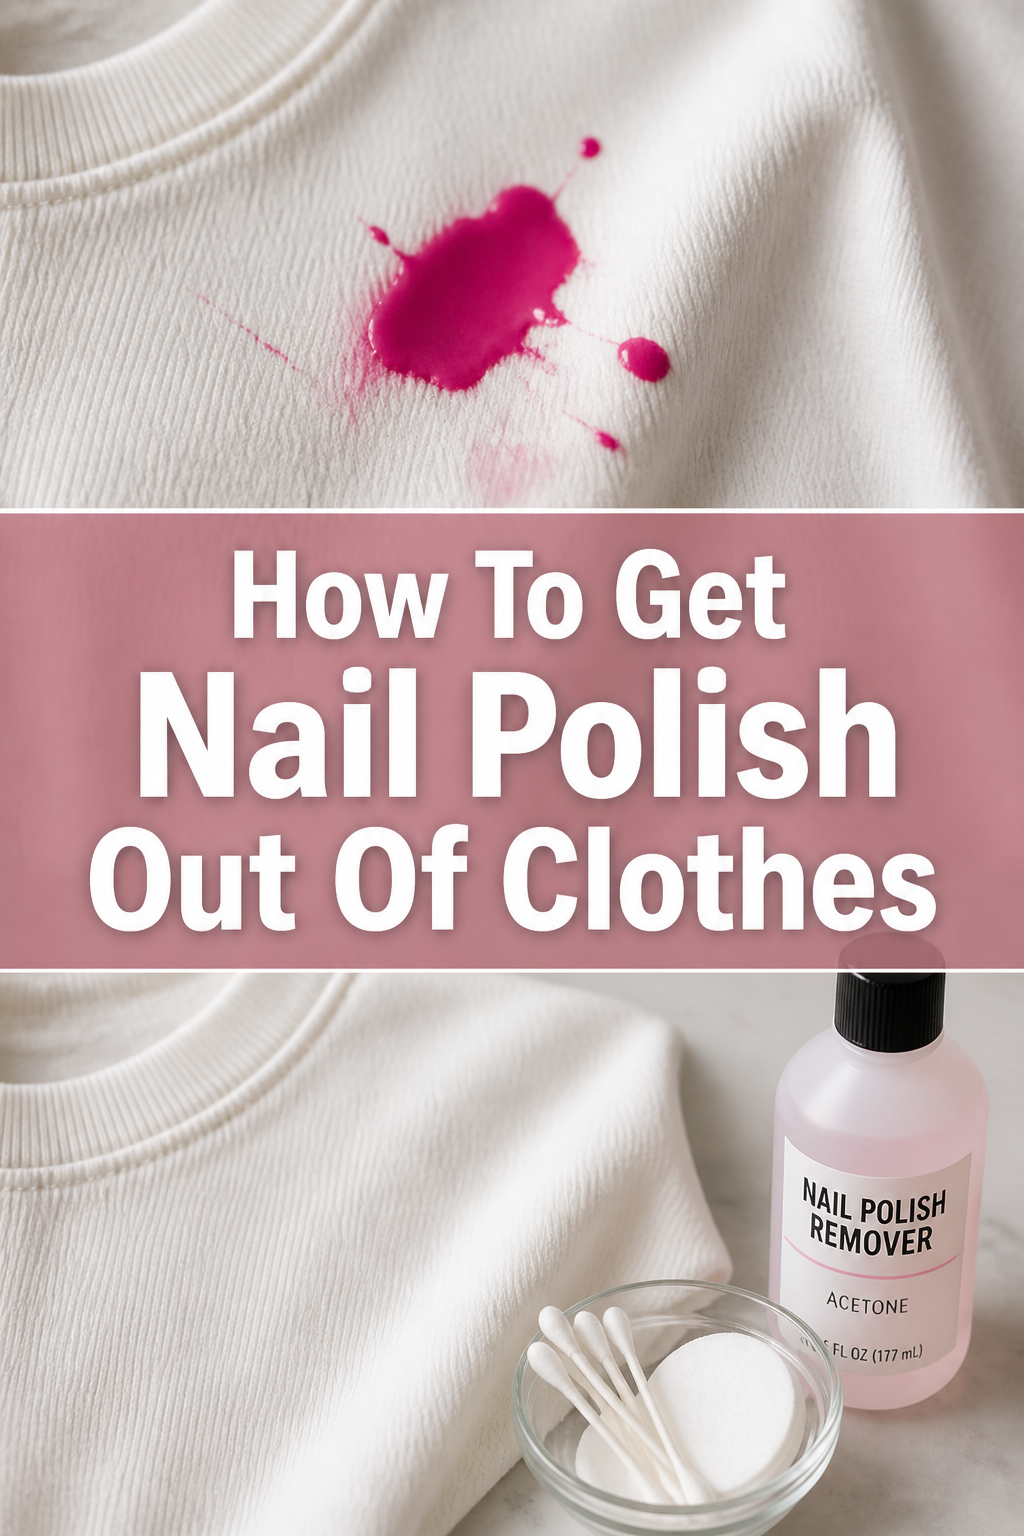
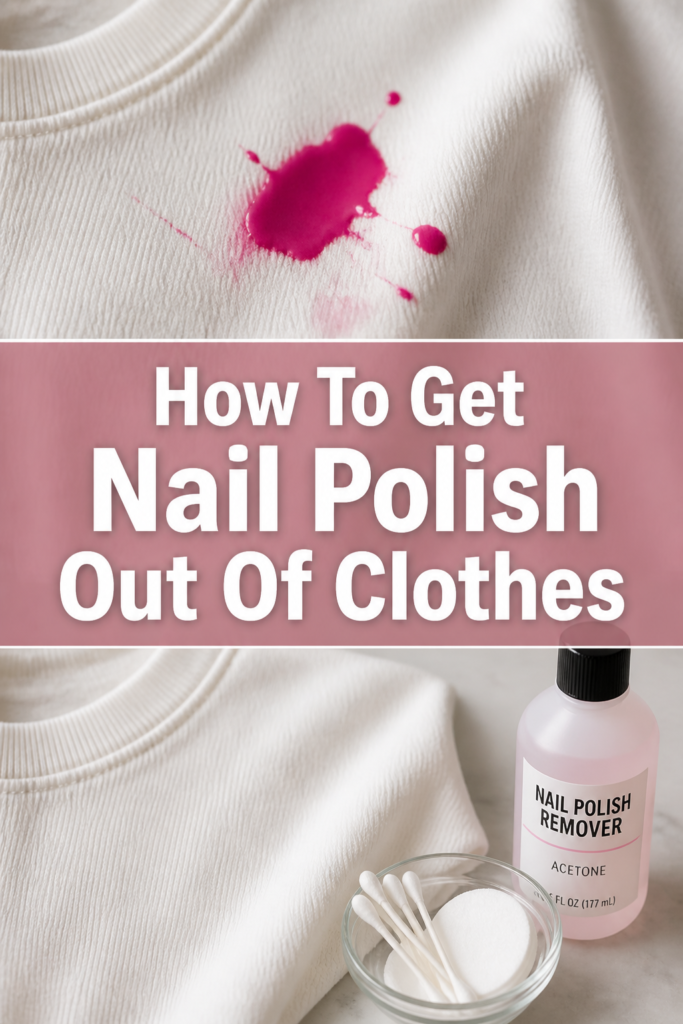
- What you’ll need: Acetone or non-acetone remover, cotton balls or clean cloths, paper towels, old toothbrush, laundry detergent.
Step-by-Step Instructions
Step 1: Act Quickly, But Carefully
Time is your biggest ally when dealing with fresh nail polish spills. The sooner you address the stain, the easier it will be to remove. Avoid letting the polish dry completely if possible.
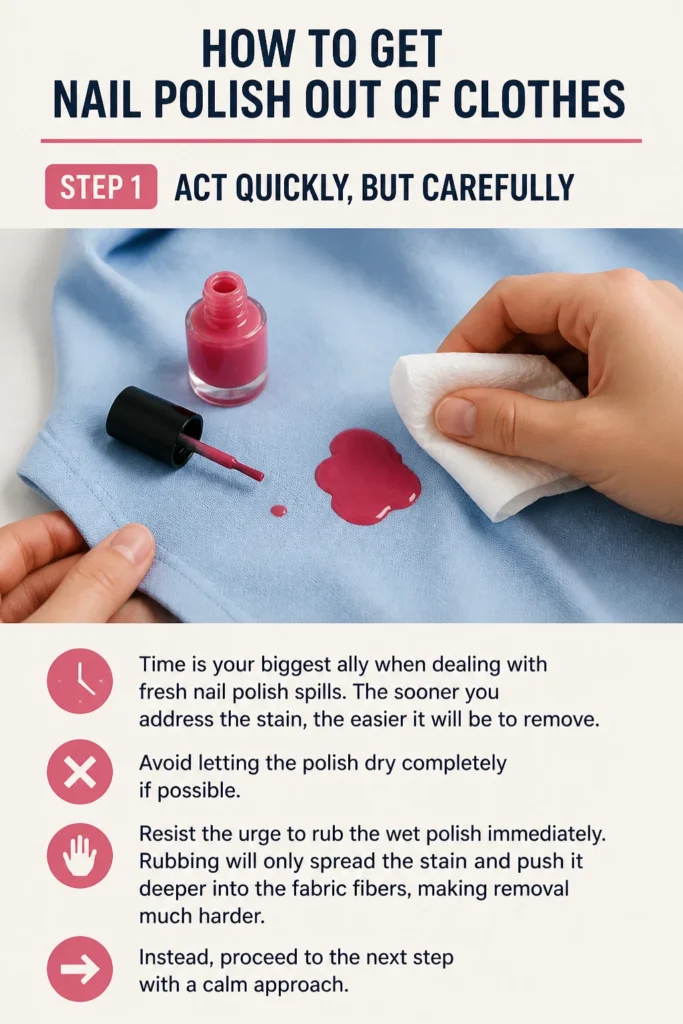
Resist the urge to rub the wet polish immediately. Rubbing will only spread the stain and push it deeper into the fabric fibers, making removal much harder. Instead, proceed to the next step with a calm approach.
Step 2: Scrape Off Excess Polish
If the nail polish is still wet or slightly tacky, use a dull knife, the edge of a credit card, or a spoon to gently scrape away any excess. Work carefully from the outer edges of the spill towards the center.
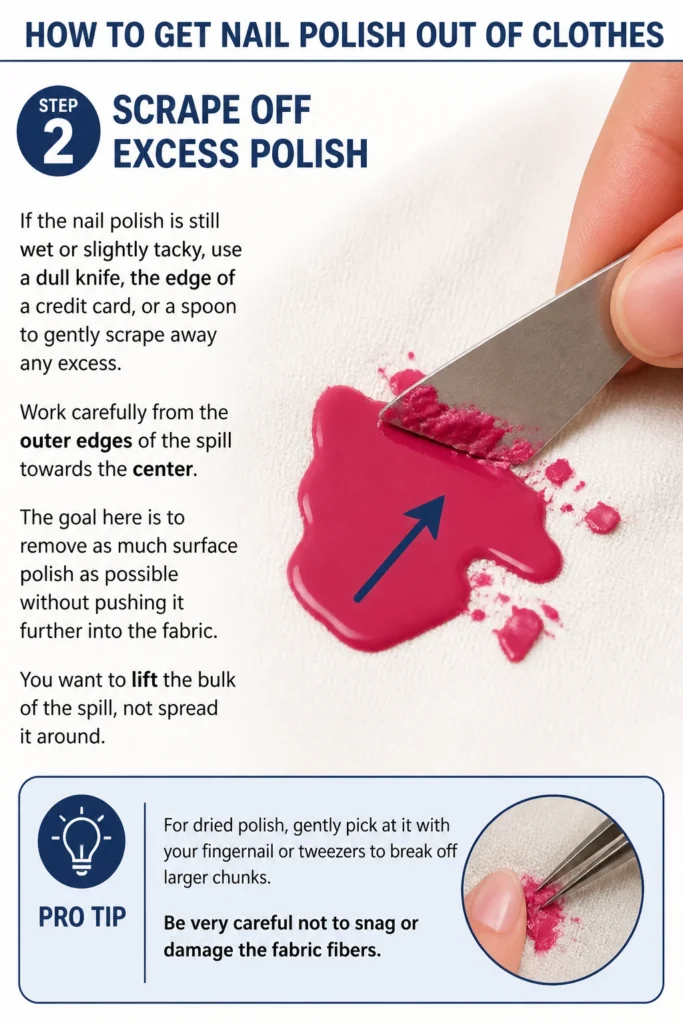
The goal here is to remove as much surface polish as possible without pushing it further into the fabric. You want to lift the bulk of the spill, not spread it around.
Pro Tip: For dried polish, gently pick at it with your fingernail or tweezers to break off larger chunks. Be very careful not to snag or damage the fabric fibers.
Step 3: Identify Your Fabric Type
Knowing what your garment is made of is crucial for choosing the right removal method. Check the care label inside the clothing item. Different fabrics react differently to solvents.
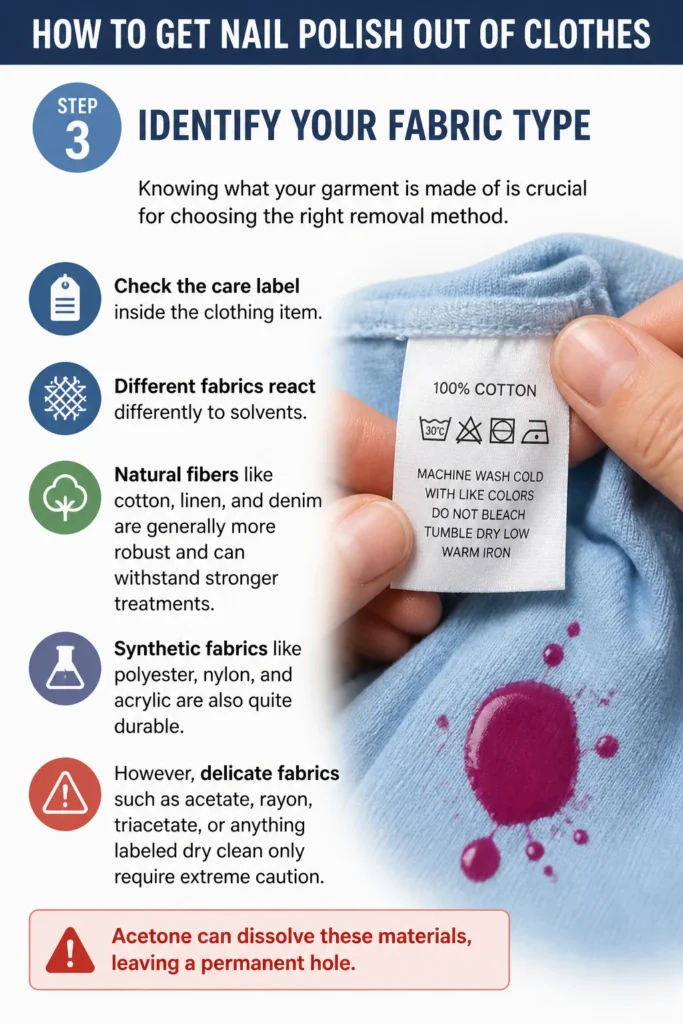
Natural fibers like cotton, linen, and denim are generally more robust and can withstand stronger treatments. Synthetic fabrics like polyester, nylon, and acrylic are also quite durable.
However, delicate fabrics such as acetate, rayon, triacetate, or anything labeled “dry clean only” require extreme caution. Acetone can dissolve these materials, leaving a permanent hole.
Step 4: Choose Your Solvent Wisely
For most natural and synthetic fabrics (cotton, denim, polyester, blends), regular acetone nail polish remover is your best bet. Acetone is a powerful solvent that breaks down the polish effectively.
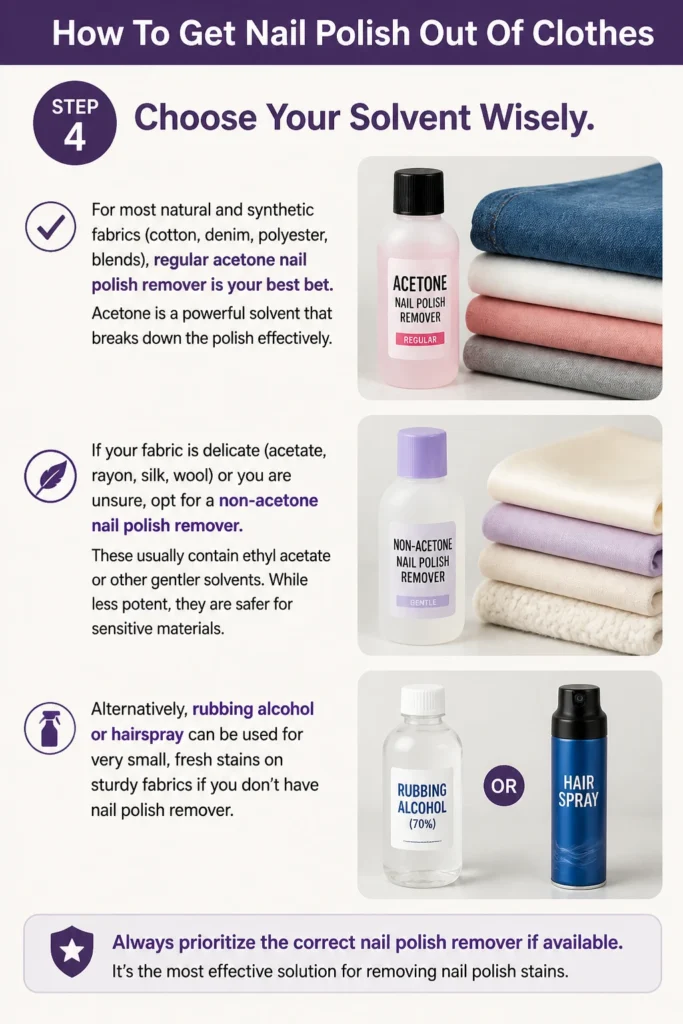
If your fabric is delicate (acetate, rayon, silk, wool) or you are unsure, opt for a non-acetone nail polish remover. These usually contain ethyl acetate or other gentler solvents. While less potent, they are safer for sensitive materials.
Alternatively, rubbing alcohol or hairspray can be used for very small, fresh stains on sturdy fabrics if you don’t have nail polish remover. Always prioritize the correct nail polish remover if available.
Step 5: Test in an Inconspicuous Area
Before applying any solvent directly to the stain, always perform a patch test. Find a hidden spot on the garment, like an inside seam or the hem.
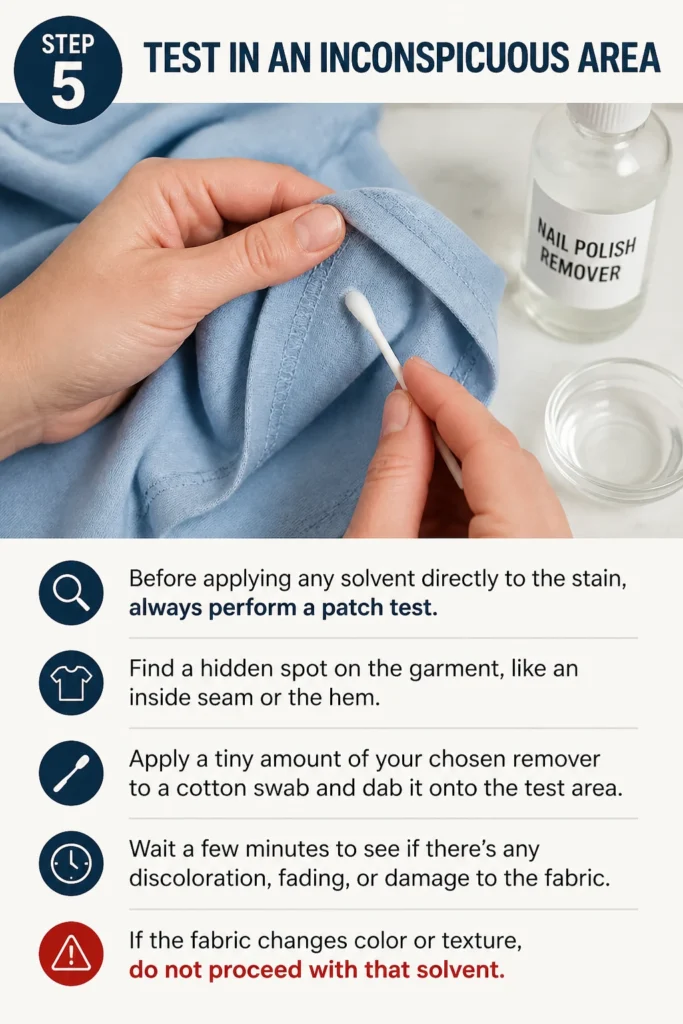
Apply a tiny amount of your chosen remover to a cotton swab and dab it onto the test area. Wait a few minutes to see if there’s any discoloration, fading, or damage to the fabric. If the fabric changes color or texture, do not proceed with that solvent.
Step 6: Place a Barrier Under the Stain
Lay the stained area of the garment face down on a stack of clean paper towels or an old, clean cloth. This barrier will absorb the polish as it’s lifted from the fabric, preventing it from transferring to other parts of the garment.
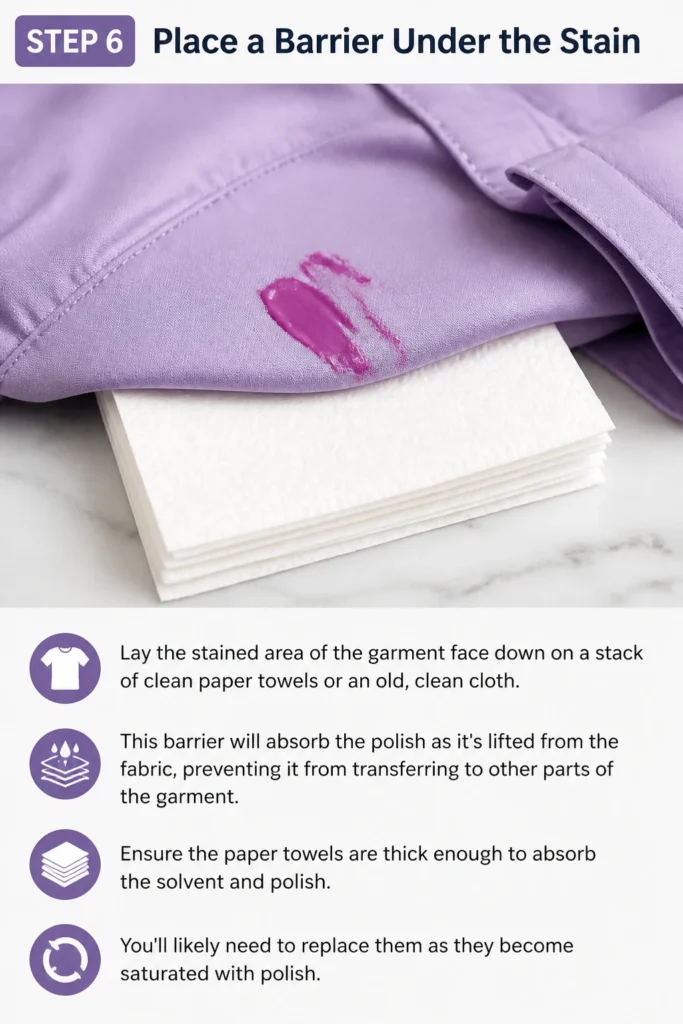
Ensure the paper towels are thick enough to absorb the solvent and polish. You’ll likely need to replace them as they become saturated with polish.
Step 7: Blot the Stain from the Back
Dip a clean cotton ball or the corner of a clean white cloth into your chosen nail polish remover. Start blotting the stain from the back of the fabric.
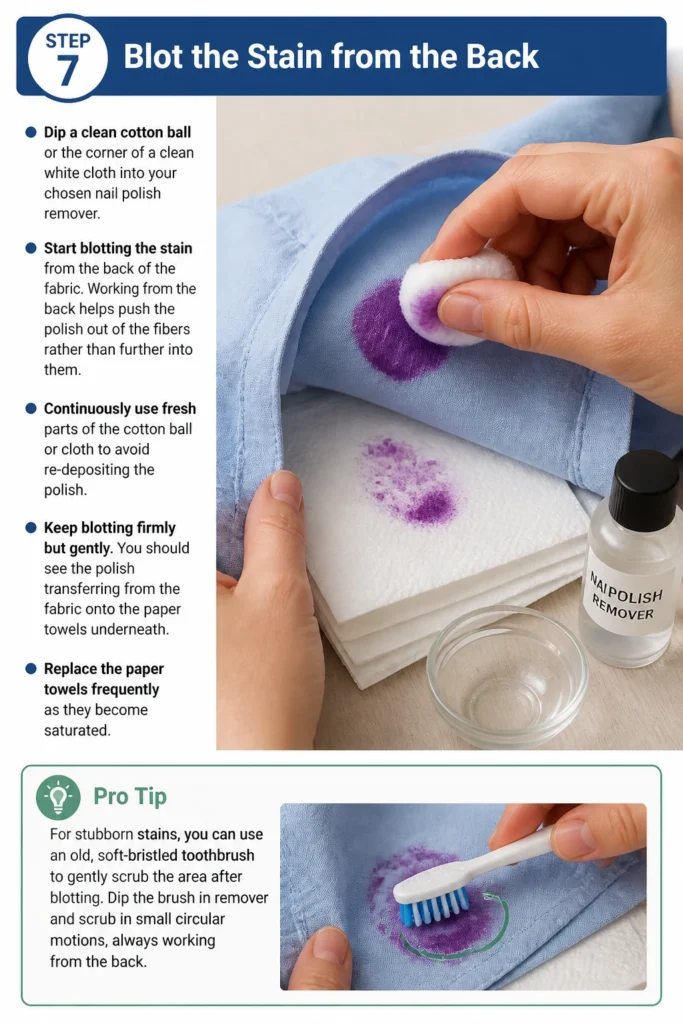
Working from the back helps push the polish out of the fibers rather than further into them. Continuously use fresh parts of the cotton ball or cloth to avoid re-depositing the polish.
Keep blotting firmly but gently. You should see the polish transferring from the fabric onto the paper towels underneath. Replace the paper towels frequently as they become saturated.
Pro Tip: For stubborn stains, you can use an old, soft-bristled toothbrush to gently scrub the area after blotting. Dip the brush in remover and scrub in small circular motions, always working from the back.
Step 8: Rinse and Repeat
Once the majority of the polish seems to be gone, rinse the stained area thoroughly under cold running water. This helps flush out any remaining solvent and polish residue.
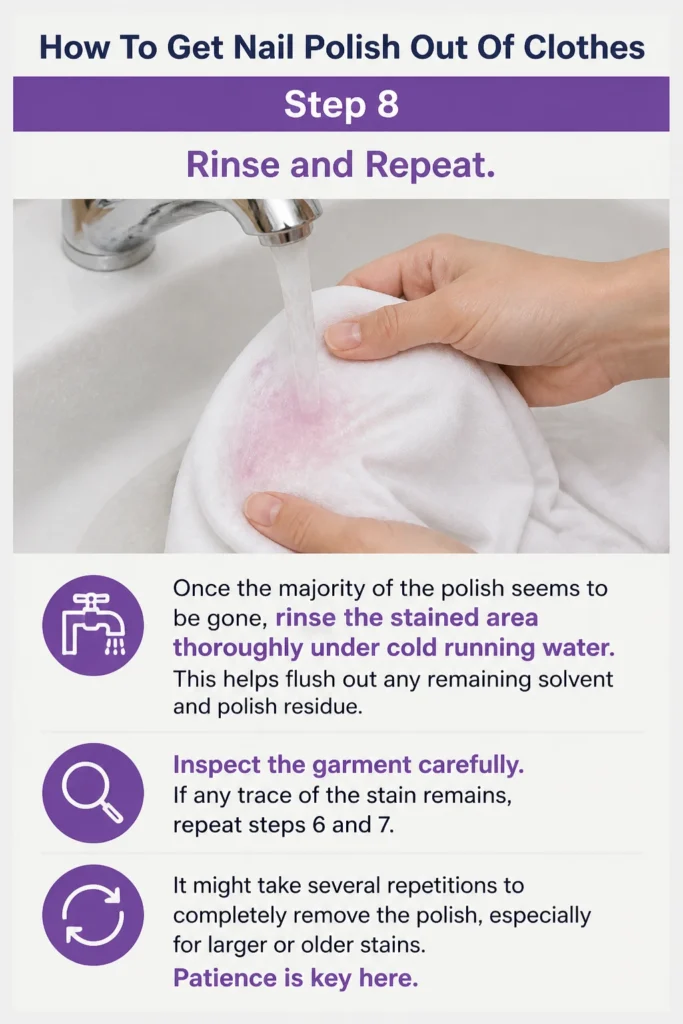
Inspect the garment carefully. If any trace of the stain remains, repeat steps 6 and 7. It might take several repetitions to completely remove the polish, especially for larger or older stains. Patience is key here.
Step 9: Pre-Treat and Wash as Normal
After the stain is completely gone, apply a dab of liquid laundry detergent directly to the treated area. Gently rub it into the fabric with your fingers or a soft brush.
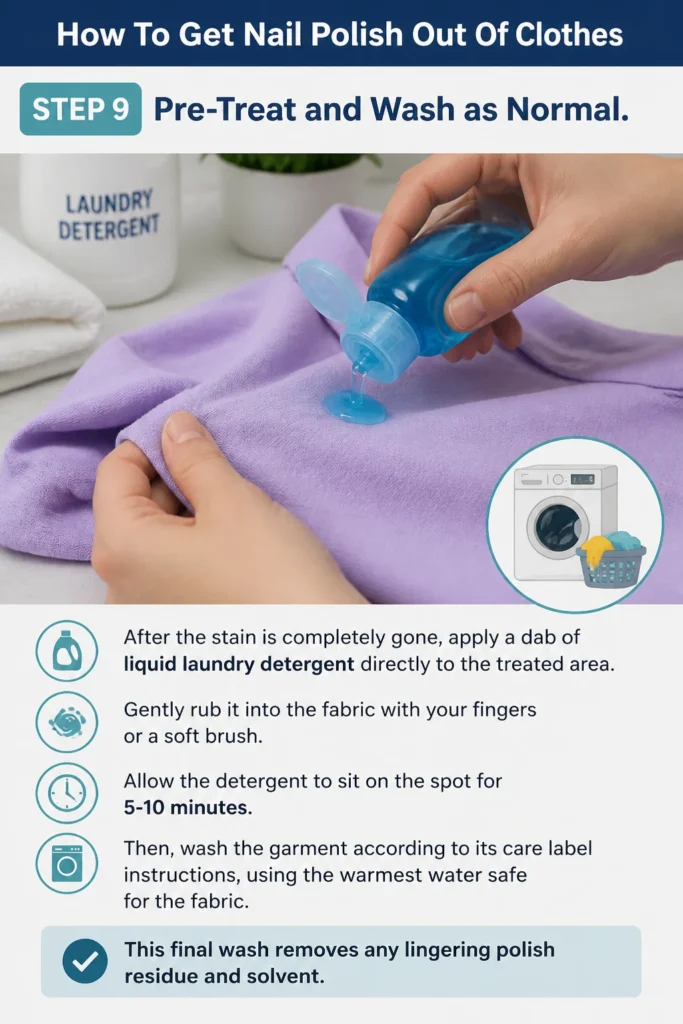
Allow the detergent to sit on the spot for 5-10 minutes. Then, wash the garment according to its care label instructions, using the warmest water safe for the fabric. This final wash removes any lingering polish residue and solvent.
Step 10: Air Dry the Garment
Once washed, remove the garment from the washing machine and carefully inspect the treated area again. Make absolutely sure the stain is completely gone.
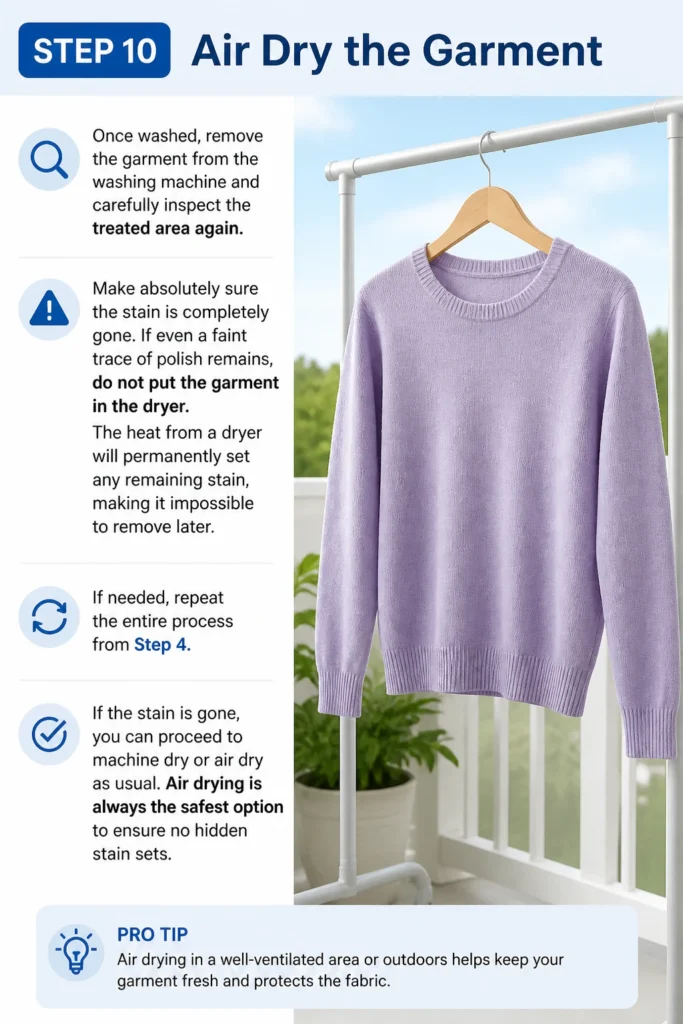
If even a faint trace of polish remains, do not put the garment in the dryer. The heat from a dryer will permanently set any remaining stain, making it impossible to remove later. If needed, repeat the entire process from Step 4.
If the stain is gone, you can proceed to machine dry or air dry as usual. Air drying is always the safest option to ensure no hidden stain sets.
Common Mistakes to Avoid
Rubbing the Wet Stain
Your immediate instinct might be to rub a fresh nail polish spill. This is a common mistake that pushes the polish deeper into the fabric fibers, making it much harder to remove. Always blot or scrape instead.
Using Acetone on Delicate Fabrics
Applying acetone to fabrics like acetate, rayon, or triacetate can cause irreversible damage. Acetone literally dissolves these materials, leaving a hole where the stain once was. Always check the care label and patch test.
Not Testing the Solvent First
Skipping the patch test on an inconspicuous area can lead to unexpected discoloration, fading, or damage to your garment. Different dyes and fabrics react uniquely to solvents. Always test first to be safe.
Drying the Garment Before the Stain is Gone
Putting a garment with a partially removed nail polish stain into a clothes dryer will permanently set the stain. The heat bakes the polish into the fibers, making it impossible to remove later. Always air dry until you are certain the stain is gone.
Troubleshooting
Stain Still Visible After Several Attempts
If the stain persists even after multiple rounds of blotting and rinsing, it might be an older, deeply set stain or a very stubborn polish type. Try using a stronger solvent if your fabric allows, such as denatured alcohol or even hairspray (for very small spots on sturdy fabrics). Apply, let sit for a minute, then blot. Consider professional dry cleaning if you’re uncomfortable continuing the process yourself.
Fabric Discoloration or Damage
If you notice the fabric’s color fading or the texture changing during the process, stop immediately. This indicates the solvent is too harsh for your garment. Rinse the area thoroughly with cold water to remove the solvent. Unfortunately, some damage might be permanent, especially if acetone was used on a sensitive fabric. In the future, always perform a patch test.
Stain Spreading
If the stain seems to be getting larger or spreading rather than shrinking, you might be using too much solvent or rubbing too aggressively. Use smaller amounts of remover on a clean cotton ball and focus on blotting from the outer edge inwards, or exclusively from the back of the fabric. Ensure you’re replacing the paper towels underneath frequently to absorb the lifted polish.
Key Takeaways
- Act quickly: Fresh stains are significantly easier to remove than dried ones.
- Blot, don’t rub: Rubbing spreads the stain and pushes it deeper into fabric fibers.
- Identify your fabric: Acetone is safe for most fabrics but damages delicate synthetics like acetate and rayon.
- Always test first: Patch test any solvent on an inconspicuous area before applying to the main stain.
- Work from the back: Place the stain face down and blot from the back to push polish out.
- Never machine dry prematurely: Heat will permanently set any remaining stain. Air dry until fully confident the stain is gone.
Frequently Asked Questions
Can I use non-acetone remover for all fabrics?
Non-acetone remover is generally safer for a wider range of fabrics, especially delicate ones like acetate or rayon. However, it is less potent than acetone and might require more effort or multiple applications for stubborn stains on sturdy fabrics. Always patch test first.
What if the nail polish is already dry?
For dried polish, gently scrape off any raised chunks with a dull knife or credit card. Then, proceed with the blotting method using your chosen solvent. It might take longer and require more repetitions, but dried polish can often still be removed.
Will hairspray work on nail polish stains?
Hairspray can sometimes work on small, fresh nail polish stains on sturdy fabrics. The alcohol in hairspray can help break down the polish. Spray the stain, let it sit for a minute, then blot. It’s not as effective as dedicated removers, but it can be a quick fix in a pinch.
Is it safe to use rubbing alcohol?
Rubbing alcohol (isopropyl alcohol) can be effective on nail polish stains, similar to hairspray. It’s generally safe for most fabrics, but like any solvent, it’s crucial to perform a patch test first. Use it with the same blotting technique.
Your Clothes Deserve a Second Chance
Seeing a splash of nail polish on your favorite outfit can be disheartening. But with this guide, you now have the power to tackle those spills head-on. Don’t let a small accident ruin a perfectly good piece of clothing.
Take a moment to gather your supplies and approach the task with confidence. You’ll be amazed at how easily you can restore your garments to their former glory. Start today and save those beloved items from the discard pile!
Beginner-friendly templates, step-by-step guides,
and weekly project ideas in your inbox.