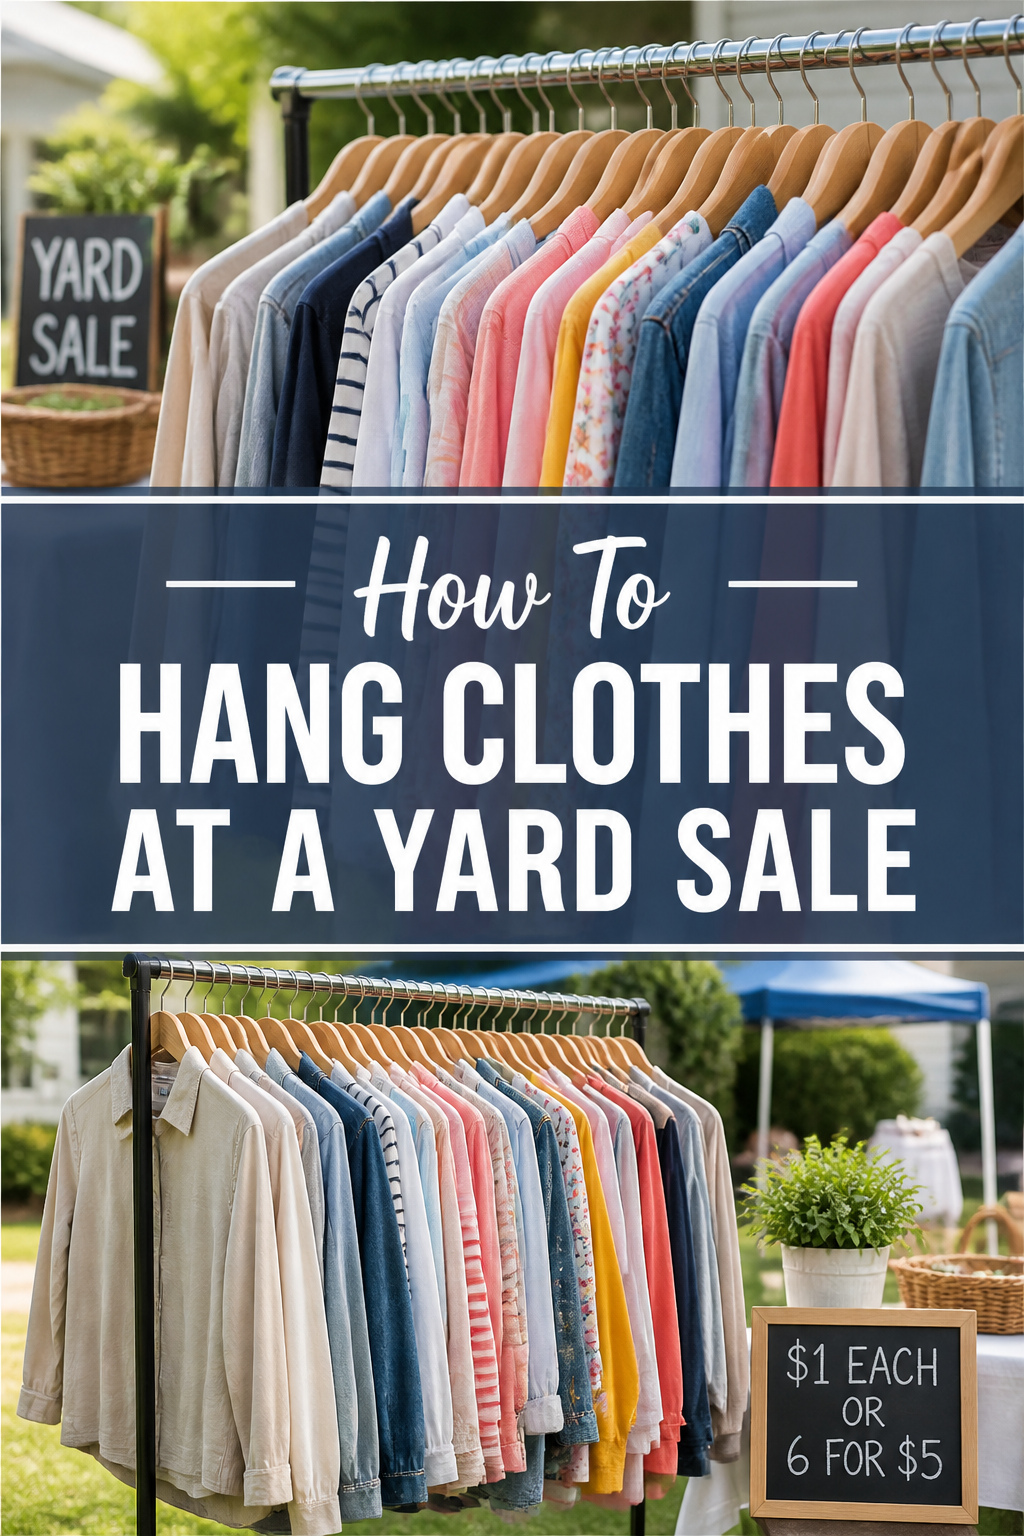
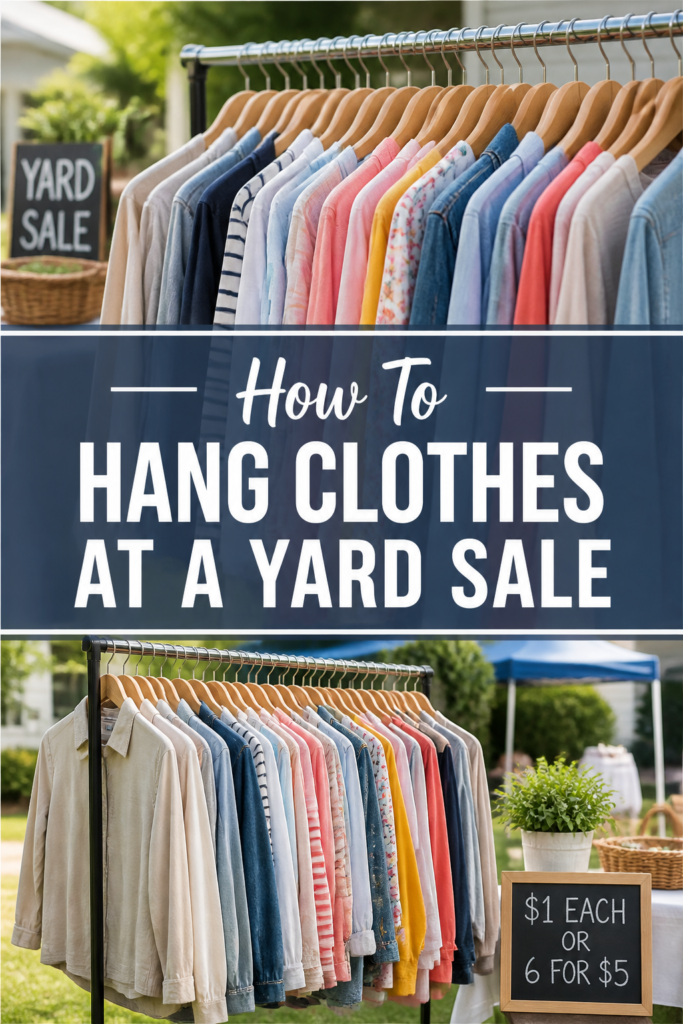
👕 How To Hang Clothes At A Yard Sale

Beginner-friendly templates, step-by-step guides,
and weekly project ideas in your inbox.
Hanging clothes instead of piling them in boxes can double your sales overnight.
I’ve hosted over a dozen yard sales and learned that visibility is the secret to moving inventory fast.
This guide will show you how to turn your driveway into a high-end boutique that shoppers can’t resist.
Quick Overview
Organizing a clothing display requires a bit of upfront effort but pays off in higher prices and happier customers.
- Time needed: 3 to 5 hours (depending on volume)
- Difficulty: Beginner
- What you’ll need: Rolling racks, sturdy hangers, price tags, sizing dividers, and weights for stability.
Step-by-Step Instructions
Step 1: Gather Your Hanging Infrastructure
Source your racks well before the morning of the sale. You can buy inexpensive rolling racks at big-box stores or borrow them from friends who have hosted sales in the past.
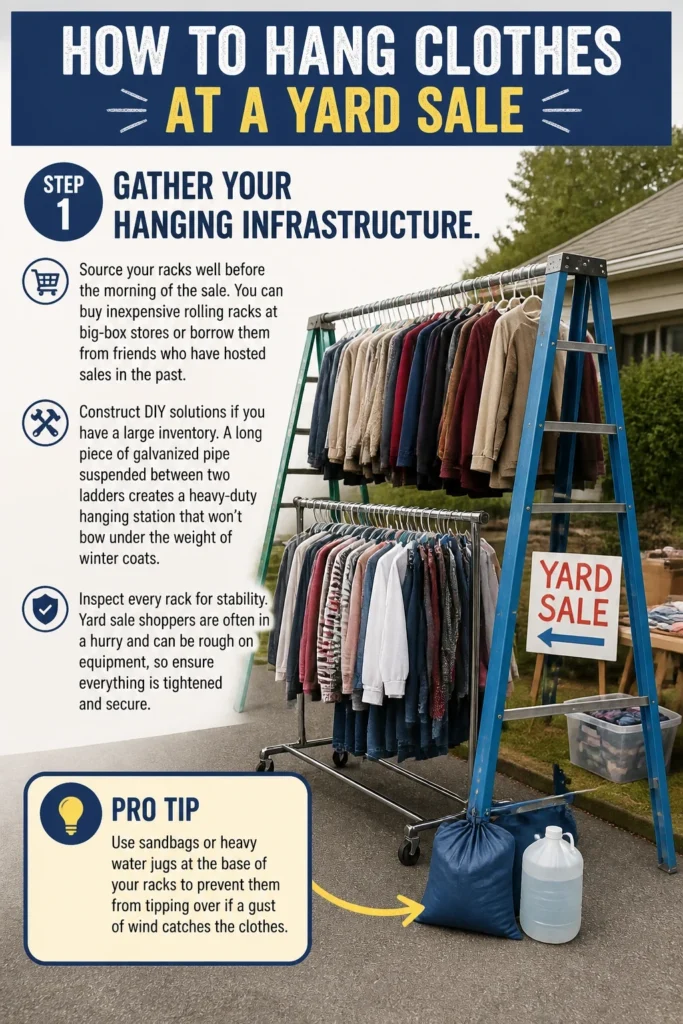
Construct DIY solutions if you have a large inventory. A long piece of galvanized pipe suspended between two ladders creates a heavy-duty hanging station that won’t bow under the weight of winter coats.
Inspect every rack for stability. Yard sale shoppers are often in a hurry and can be rough on equipment, so ensure everything is tightened and secure.
Pro Tip: Use sandbags or heavy water jugs at the base of your racks to prevent them from tipping over if a gust of wind catches the clothes.
Step 2: Clean and Prep Your Inventory
Wash every item you plan to hang. Musty smells or visible pet hair will drive away potential buyers and lower the perceived value of your clothes.
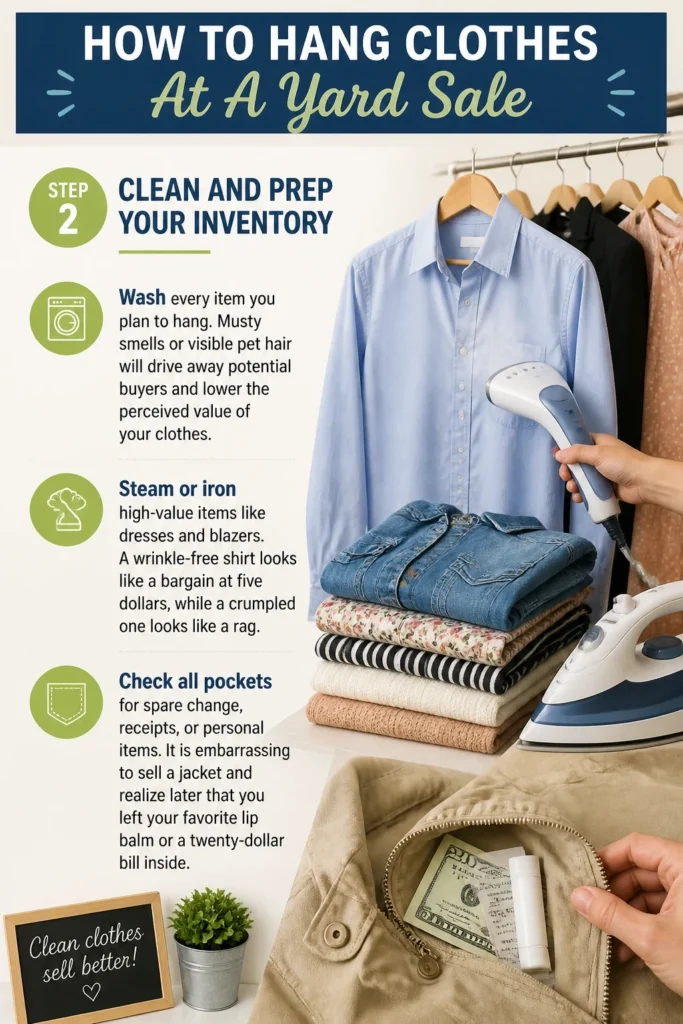
Steam or iron high-value items like dresses and blazers. A wrinkle-free shirt looks like a bargain at five dollars, while a crumpled one looks like a rag.
Check all pockets for spare change, receipts, or personal items. It is embarrassing to sell a jacket and realize later that you left your favorite lip balm or a twenty-dollar bill inside.
Step 3: Master the Hanger Direction
Face all your hangers in the same direction to create a professional look. The hook of the hanger should look like a question mark (?) when you are facing the rack.
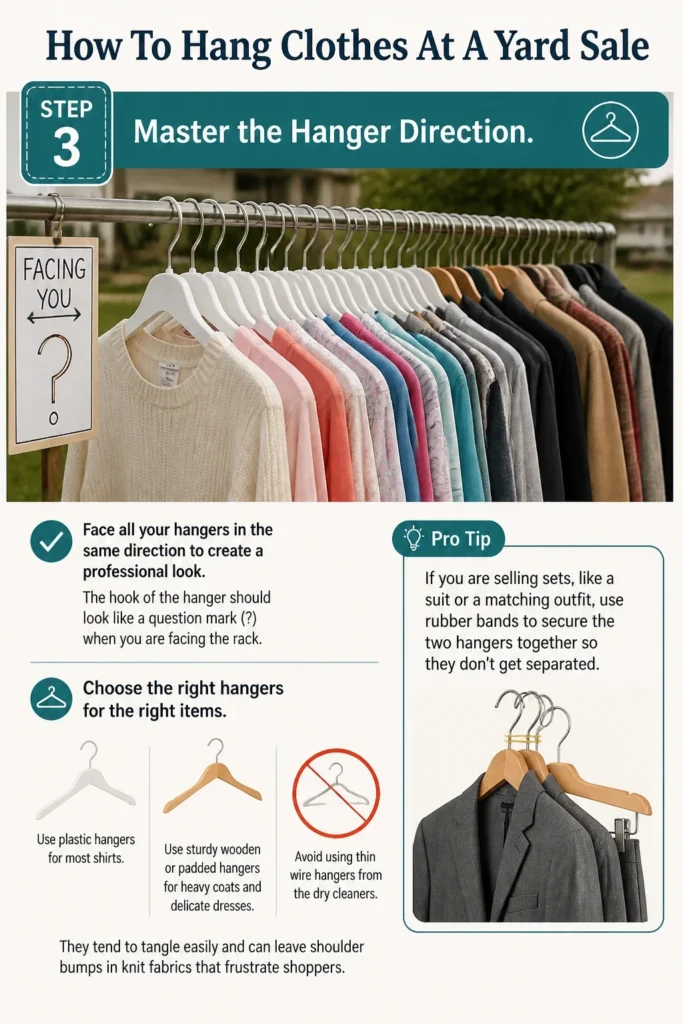
Choose the right hangers for the right items. Use plastic hangers for most shirts and sturdy wooden or padded hangers for heavy coats and delicate dresses.
Avoid using thin wire hangers from the dry cleaners. They tend to tangle easily and can leave “shoulder bumps” in knit fabrics that frustrate shoppers.
Pro Tip: If you are selling sets, like a suit or a matching outfit, use rubber bands to secure the two hangers together so they don’t get separated.
Step 4: Sort by Size and Category
Group items by type first. Keep all your t-shirts together, all your jeans together, and all your dresses in their own section.
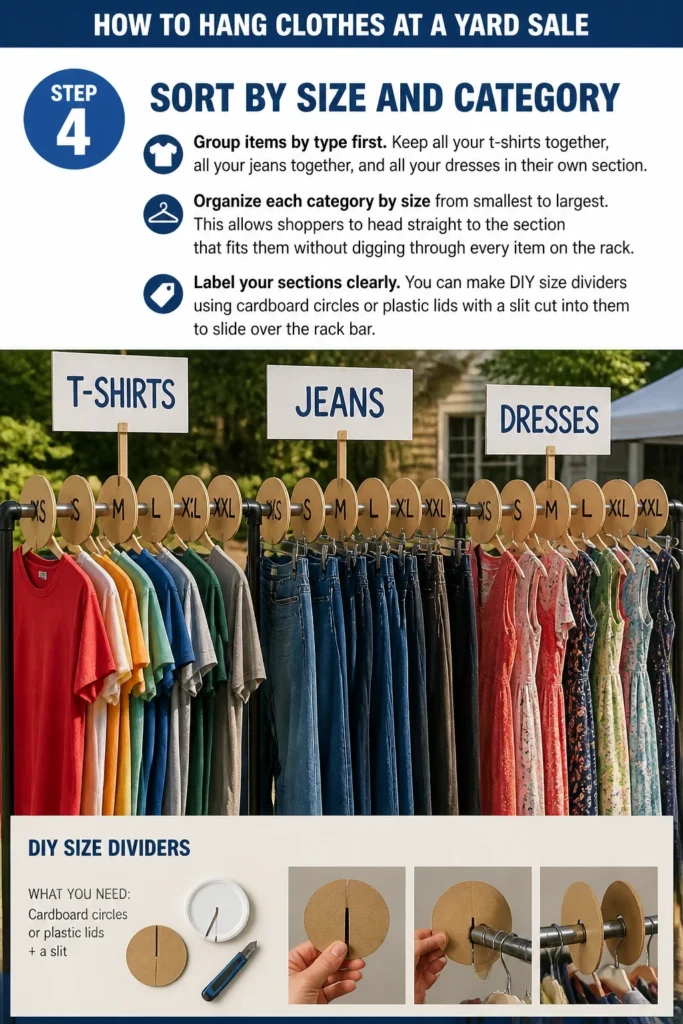
Organize each category by size from smallest to largest. This allows shoppers to head straight to the section that fits them without digging through every item on the rack.
Label your sections clearly. You can make DIY size dividers using cardboard circles or plastic lids with a slit cut into them to slide over the rack bar.
Step 5: Price for Profit and Speed
Attach price tags in a consistent location on every garment. The right shoulder or the brand label inside the neck are the most common spots for quick scanning.
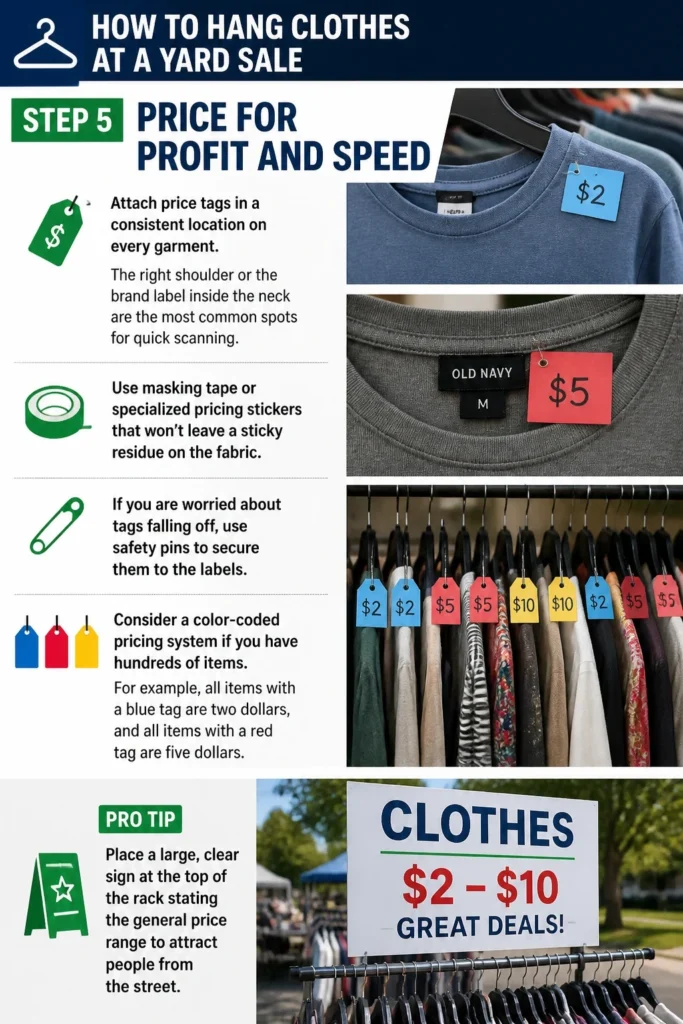
Use masking tape or specialized pricing stickers that won’t leave a sticky residue on the fabric. If you are worried about tags falling off, use safety pins to secure them to the labels.
Consider a “color-coded” pricing system if you have hundreds of items. For example, all items with a blue tag are two dollars, and all items with a red tag are five dollars.
Pro Tip: Place a large, clear sign at the top of the rack stating the general price range to attract people from the street.
Step 6: Optimize Your Layout for Curb Appeal
Position your best items closest to the street. A beautiful floral dress or a high-end designer jacket acts as a “magnet” to pull people out of their cars.
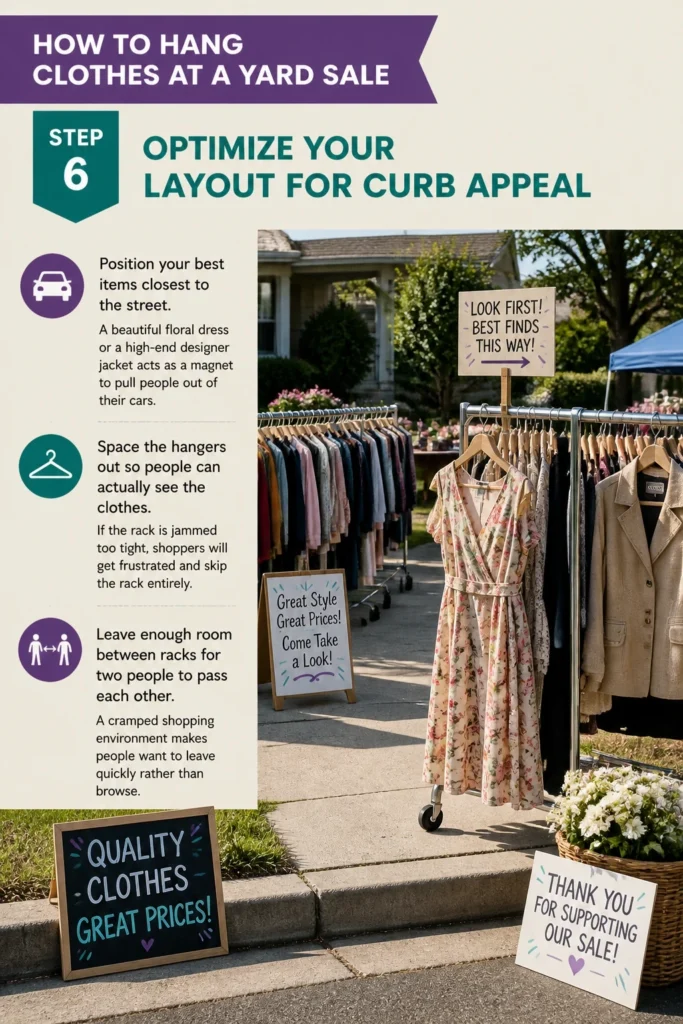
Space the hangers out so people can actually see the clothes. If the rack is jammed too tight, shoppers will get frustrated and skip the rack entirely.
Leave enough room between racks for two people to pass each other. A cramped shopping environment makes people want to leave quickly rather than browse.
Step 7: Create a “Boutique” Experience
Set up a full-length mirror near the hanging racks. People are much more likely to buy a garment if they can see how it looks against their frame.
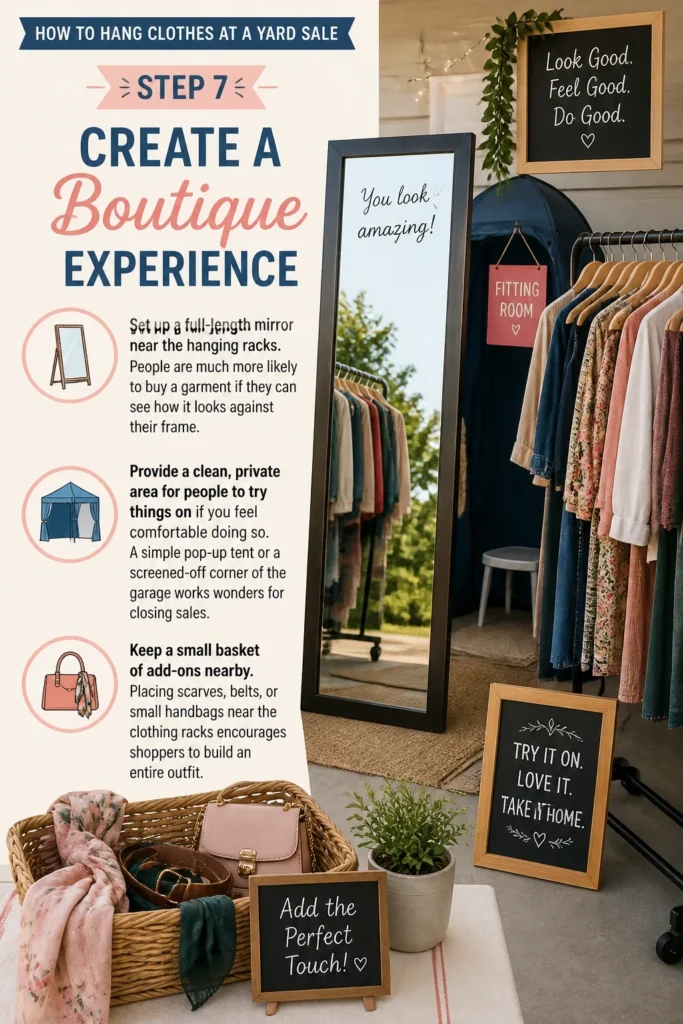
Provide a clean, private area for people to try things on if you feel comfortable doing so. A simple pop-up tent or a screened-off corner of the garage works wonders for closing sales.
Keep a small basket of “add-ons” nearby. Placing scarves, belts, or small handbags near the clothing racks encourages shoppers to build an entire outfit.
Common Mistakes to Avoid
The Overstuffed Rack Syndrome
Many sellers try to fit their entire wardrobe onto a single six-foot rack. This is a mistake because it makes it impossible for shoppers to slide the hangers across the bar.
When people have to use force to see an item, they usually just move on to the next house. Aim for about two inches of space between each hanger for the best browsing experience.
If you have too much inventory, keep the extras in bins under the rack and restock as items sell throughout the day. This keeps the display looking fresh and manageable.
The Mystery Pricing Trap
Nothing kills a sale faster than a shopper having to ask “How much is this?” for every single item they pick up. Most people are shy and would rather put the item back than start a conversation about price.
Even if you have a sign that says “All Shirts $3,” it is still better to tag each individual item. Signs can fall down or be ignored, but a tag provides instant clarity and confidence for the buyer.
Clear pricing also prevents awkward negotiations where the buyer tries to lowball you because they don’t know your starting point. It sets a professional tone from the moment they arrive.
Ignoring the “Shoulder” View
Shoppers see the shoulders of the clothes first when they are walking down a rack. If all they see are the tops of hangers and messy collars, they won’t be inspired to look closer.
Make sure collars are popped correctly and buttons are done up at the top. This small detail makes the clothes look cared for and significantly increases their perceived value.
Check the rack every hour to straighten hangers that have been moved. A tidy rack signals to buyers that you take pride in your items and that they are worth the asking price.
Troubleshooting
The Falling Rack Fiasco
Cheap plastic racks are notorious for collapsing under the weight of heavy winter coats or when several people are pulling on them at once. If you see the rack starting to lean, take immediate action.
Distribute the weight more evenly by putting the heaviest items near the vertical supports rather than in the middle of the horizontal bar. You can also reinforce plastic joints with heavy-duty duct tape or zip ties.
If a rack does collapse, don’t panic. Move the clothes to a nearby table or clean tarp while you repair the stand, and use it as an opportunity to offer a “flash sale” on those items to move them quickly.
Tags Falling Off in the Heat
If it is a hot or humid day, the adhesive on pricing stickers can fail, leading to a pile of “mystery priced” clothes by noon. This is especially common with synthetic fabrics like polyester or nylon.
The best fix is to use a tagging gun, which uses small plastic barbs to attach tags directly to the fabric. These are very inexpensive to buy online and will save you hours of re-tagging work.
If you don’t have a tagging gun, use safety pins. They are more reliable than stickers and don’t leave marks on the clothes if you pin them through the seam or the care label.
The Wind Blowing Clothes Away
Lightweight items like silk blouses or kid’s clothes can act like sails in a stiff breeze. They might slide off the hangers or the entire hanger might lift off the rack and land in the dirt.
Use “notched” hangers that have grooves to hold straps in place. For slippery fabrics, you can wrap a rubber band around the ends of the hanger to create a non-slip grip.
If the wind is truly aggressive, consider moving the racks inside the garage or closer to the house. You can also use clothespins to clip the garments directly to the hangers for extra security.
Key Takeaways
- Visibility is king: Hanging clothes allows shoppers to see the style and condition of a garment at a glance.
- Organization saves time: Sorting by size and category prevents frustration and helps buyers find what they need quickly.
- Presentation adds value: Clean, steamed, and neatly hung items can be priced higher than those in a cardboard box.
- Stability is essential: Weight your racks and use sturdy hangers to prevent accidents and damage to your inventory.
- Clear pricing is non-negotiable: Tag every item individually to encourage quick decisions and avoid awkward haggling.
- Create a shopping flow: Use mirrors and “magnet” items to draw people in and keep them browsing longer.
Frequently Asked Questions
Should I let people take the hangers?
This depends on how many spare hangers you have. Many sellers prefer to keep their hangers for future sales, while others find that giving them away makes the process easier for the buyer. If you want to keep them, place a sign near the checkout stating “Hangers not included,” and be prepared to swap the garment onto a folding table as you bag it up.
What is the best way to hang pants?
Pants are best displayed using clip hangers so they can hang vertically without wrinkling. If you don’t have enough clip hangers, you can fold them over a standard hanger, but make sure to pin them so they don’t slide off. Hanging pants by the belt loops is another option, though it can sometimes stretch out the fabric on heavier denim.
How much should I charge for hung clothes?
Generally, you can charge a premium for hung clothes compared to “bin” clothes. Standard t-shirts might go for $1-$3, while nice dresses or jackets on hangers can easily fetch $5-$15 depending on the brand. Always be prepared to offer a bulk discount, such as “Buy 3, get 1 free,” to encourage people to clear out your racks faster.
What do I do with the clothes that don’t sell?
At the end of the sale, you have a few choices. You can pack them up for a future sale, list them on an online marketplace, or donate them to a local charity. Many organizations will even come to your house to pick up leftover yard sale items if you schedule it in advance, which saves you the trouble of reloading your car.
Our Top Recommended Finds
- Heavy-Duty Rolling Z-Rack: These are the gold standard for yard sales because they are designed for commercial use and won’t buckle under heavy loads.
- Plastic Size Dividers: These simple round discs make your racks look incredibly organized and help shoppers navigate your inventory with ease.
- Clothing Tagging Gun: A small investment that pays for itself by ensuring your price tags stay attached to the clothes through hours of browsing.
Transform Your Driveway Into A Destination
Now that you know the secrets to a professional clothing display, it’s time to start sorting through your closets. The effort you put into hanging and organizing your items today will translate directly into more cash in your pocket by the end of the weekend.
Once your clothes are ready, you might want to look into how to price your household goods or how to create effective street signs to drive even more traffic to your sale. A successful yard sale is all about the details, and you are now well on your way to a sell-out event.
Grab your hangers and start prepping. Your neighbors are waiting for those hidden gems you’re about to put on display.
Beginner-friendly templates, step-by-step guides,
and weekly project ideas in your inbox.