🌿 How To Make A Face Mask At Home

Beginner-friendly templates, step-by-step guides,
and weekly project ideas in your inbox.
Creating your own face mask at home is a simple pleasure that elevates your self-care routine.
I remember first trying a DIY mask and being amazed by how fresh and radiant my skin felt, all from ingredients I already had.
This guide will walk you through crafting a personalized mask that leaves your skin feeling pampered and refreshed.
Quick Overview
You’re about to learn how to mix a simple, effective face mask using natural ingredients, tailored to your skin’s needs.
- Time needed: 15-20 minutes (including application and wait time)
- Difficulty: Beginner
- What you’ll need: Clay, a liquid base, mixing bowl, spoon, and optional additives.
Step-by-Step Instructions
Step 1: Gather Your Ingredients and Tools
Before you begin, lay out everything you’ll need. This makes the process smooth and enjoyable.
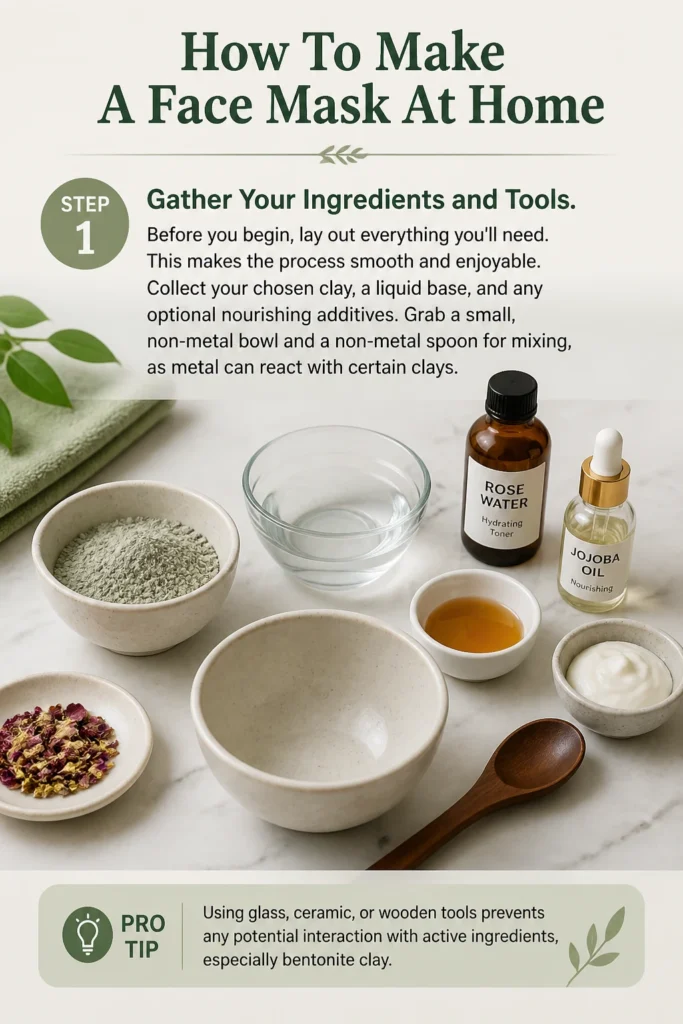
Collect your chosen clay, a liquid base, and any optional nourishing additives.
Grab a small, non-metal bowl and a non-metal spoon for mixing, as metal can react with certain clays.
Pro Tip: Using glass, ceramic, or wooden tools prevents any potential interaction with active ingredients, especially bentonite clay.
Step 2: Choose Your Perfect Clay Base
The type of clay you select forms the foundation of your mask and targets specific skin concerns.
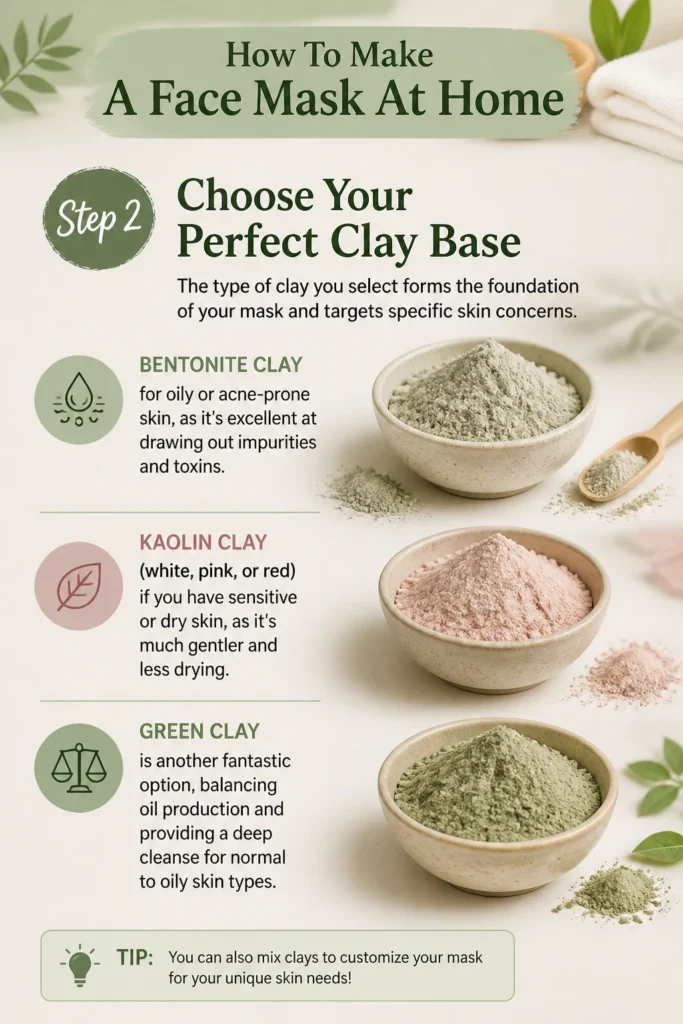
Select bentonite clay for oily or acne-prone skin, as it’s excellent at drawing out impurities and toxins.
Opt for kaolin clay (white, pink, or red) if you have sensitive or dry skin, as it’s much gentler and less drying.
Green clay is another fantastic option, balancing oil production and providing a deep cleanse for normal to oily skin types.
Step 3: Measure Your Dry Ingredients
Accuracy here helps achieve the perfect mask consistency.
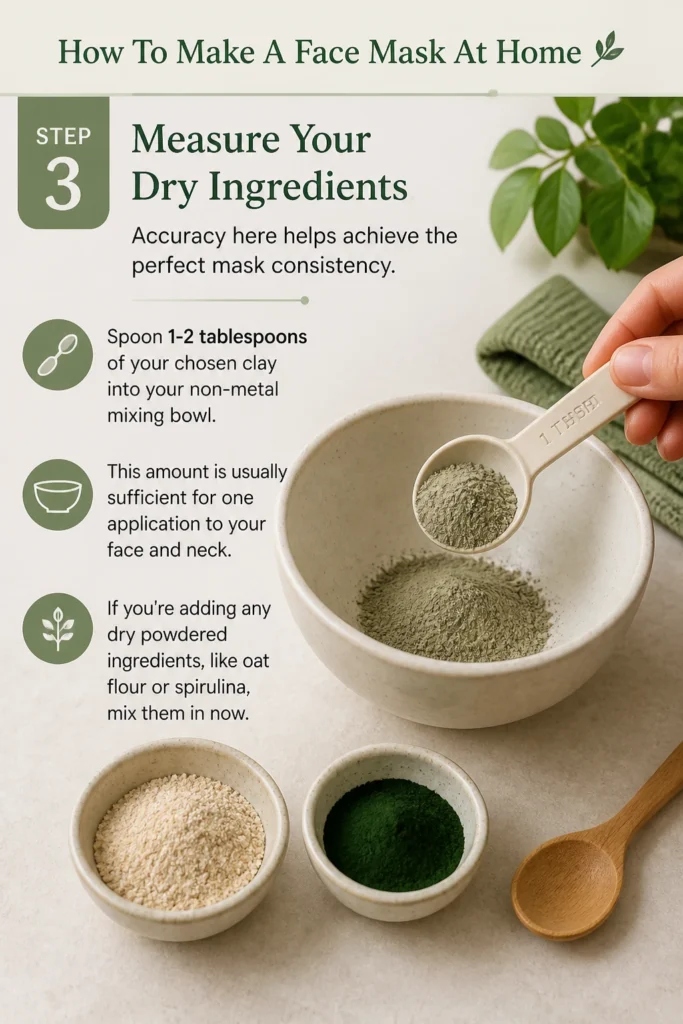
Spoon 1-2 tablespoons of your chosen clay into your non-metal mixing bowl.
This amount is usually sufficient for one application to your face and neck.
If you’re adding any dry powdered ingredients, like oat flour or spirulina, mix them in now.
Step 4: Gradually Add Your Liquid Base
The liquid base brings your mask to life and provides hydration.
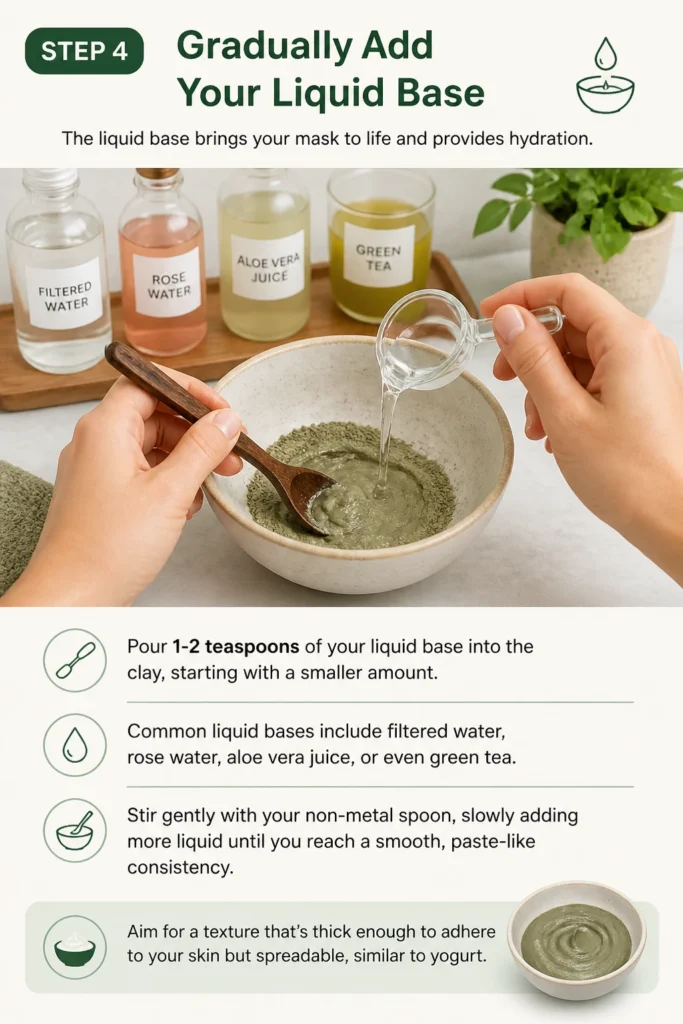
Pour 1-2 teaspoons of your liquid base into the clay, starting with a smaller amount.
Common liquid bases include filtered water, rose water, aloe vera juice, or even green tea.
Stir gently with your non-metal spoon, slowly adding more liquid until you reach a smooth, paste-like consistency.
Aim for a texture that’s thick enough to adhere to your skin but spreadable, similar to yogurt.
Step 5: Incorporate Nourishing Additives (Optional)
This is where you truly personalize your mask for maximum benefit.
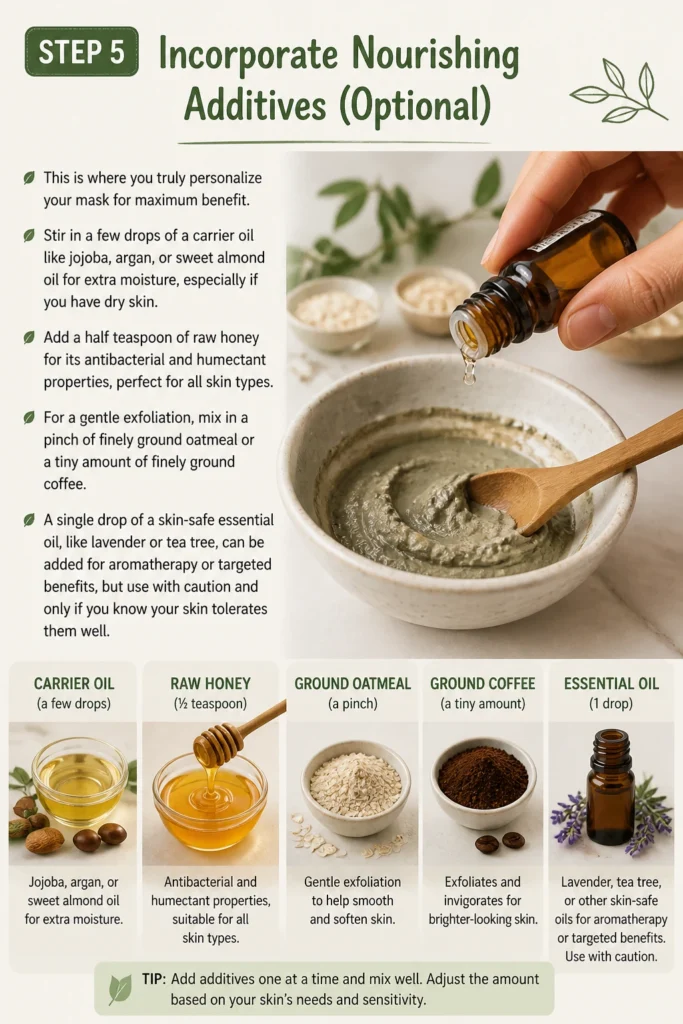
Stir in a few drops of a carrier oil like jojoba, argan, or sweet almond oil for extra moisture, especially if you have dry skin.
Add a half teaspoon of raw honey for its antibacterial and humectant properties, perfect for all skin types.
For a gentle exfoliation, mix in a pinch of finely ground oatmeal or a tiny amount of finely ground coffee.
A single drop of a skin-safe essential oil, like lavender or tea tree, can be added for aromatherapy or targeted benefits, but use with caution and only if you know your skin tolerates them well.
Step 6: Prepare Your Skin
A clean canvas ensures your mask can work its magic effectively.
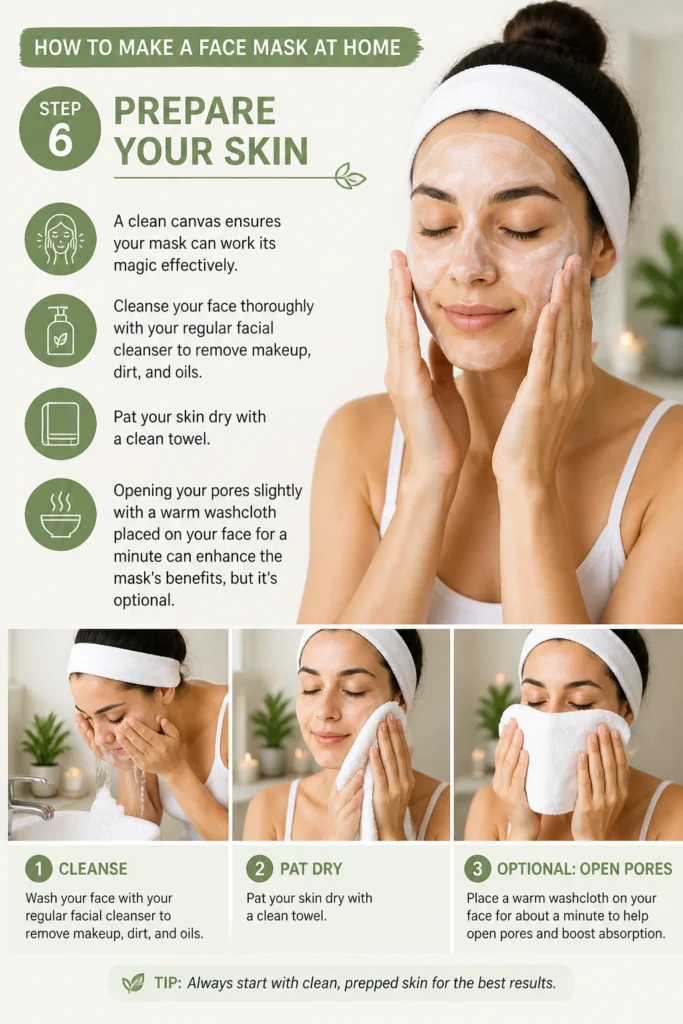
Cleanse your face thoroughly with your regular facial cleanser to remove makeup, dirt, and oils.
Pat your skin dry with a clean towel.
Opening your pores slightly with a warm washcloth placed on your face for a minute can enhance the mask’s benefits, but it’s optional.
Step 7: Apply the Mask Evenly
Application is a key part of the pampering experience.
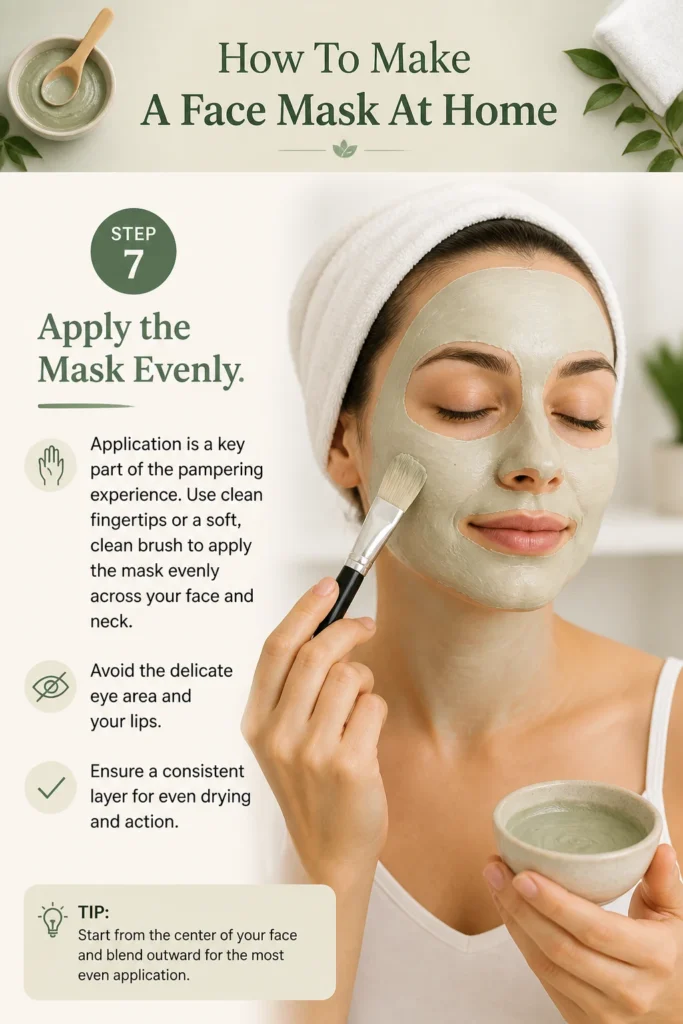
Use clean fingertips or a soft, clean brush to apply the mask evenly across your face and neck.
Avoid the delicate eye area and your lips.
Ensure a consistent layer for even drying and action.
Step 8: Relax and Let the Mask Work
This is your time to unwind.
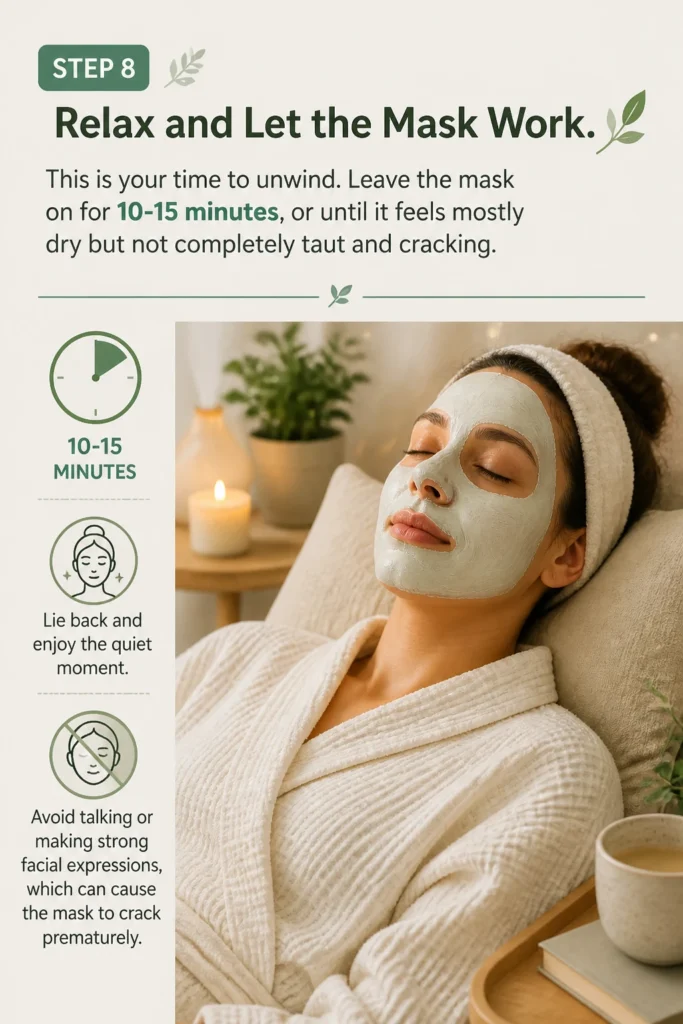
Leave the mask on for 10-15 minutes, or until it feels mostly dry but not completely taut and cracking.
Lie back and enjoy the quiet moment. Avoid talking or making strong facial expressions, which can cause the mask to crack prematurely.
Step 9: Gently Rinse Off the Mask
Removing the mask carefully is important to avoid irritating your skin.
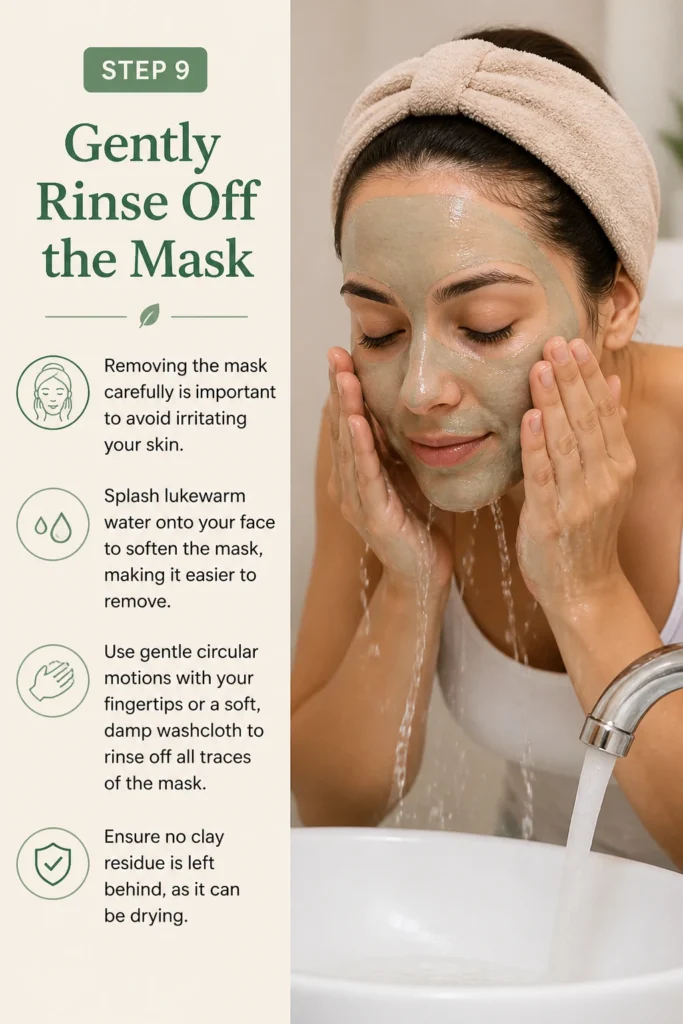
Splash lukewarm water onto your face to soften the mask, making it easier to remove.
Use gentle circular motions with your fingertips or a soft, damp washcloth to rinse off all traces of the mask.
Ensure no clay residue is left behind, as it can be drying.
Step 10: Follow Up with Your Skincare Routine
Lock in the benefits and protect your freshly treated skin.
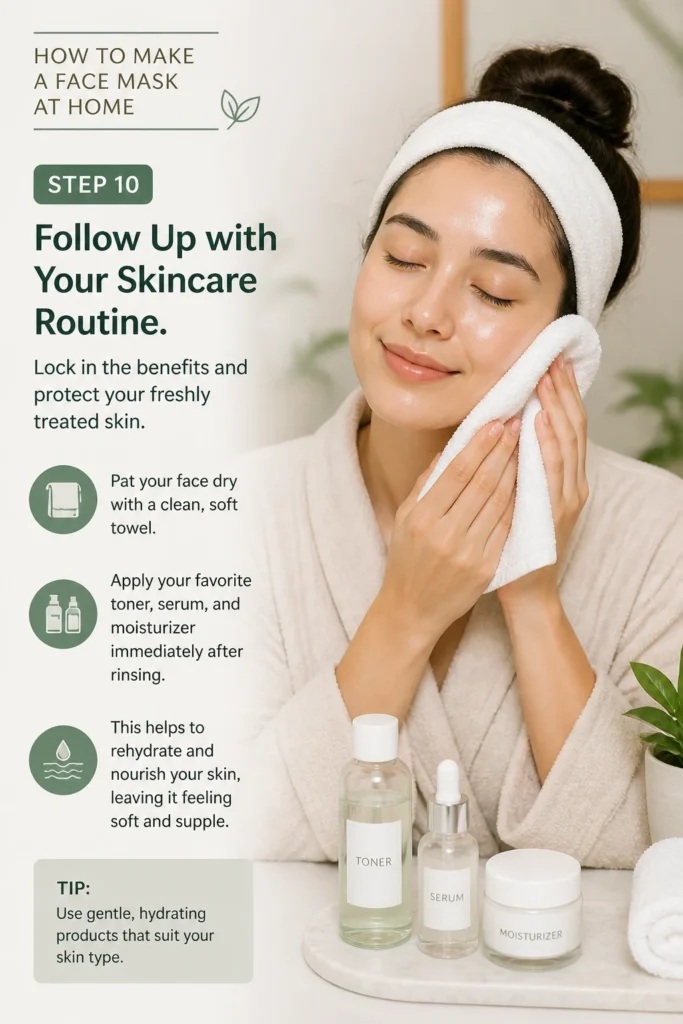
Pat your face dry with a clean, soft towel.
Apply your favorite toner, serum, and moisturizer immediately after rinsing.
This helps to rehydrate and nourish your skin, leaving it feeling soft and supple.
Common Mistakes to Avoid
Using Metal Bowls or Spoons
Certain clays, especially bentonite clay, have a negative charge that can interact with metal. This interaction can reduce the clay’s effectiveness in drawing out impurities from your skin.
Always opt for glass, ceramic, wooden, or plastic bowls and spoons when mixing your clay masks. This preserves the integrity and potency of your ingredients, ensuring you get the full benefits.
Letting the Mask Dry Completely
While it might seem logical to let a mask dry fully, allowing clay masks to become completely hard and crack can actually dehydrate and irritate your skin. When a clay mask dries too much, it starts to pull moisture from your skin, leading to tightness and potential redness.
Aim to rinse off your mask when it’s mostly dry, but still slightly damp in places, usually after 10-15 minutes. This allows the beneficial ingredients to work without stripping your skin of essential moisture.
Using Too Much Essential Oil
Essential oils are potent and highly concentrated plant extracts. While they can offer wonderful benefits, using too much can lead to skin irritation, sensitivity, or even allergic reactions, especially on the delicate skin of the face.
If you choose to use essential oils, always dilute them properly and use only one or two drops per mask application. Perform a patch test on a small area of your skin first to ensure you don’t have an adverse reaction.
Skipping Skin Preparation
Applying a mask to uncleaned skin is like painting on a dirty canvas. Dirt, oil, and makeup create a barrier, preventing the mask’s active ingredients from properly penetrating and treating your skin.
Always cleanse your face thoroughly before applying any mask. This ensures that your pores are clean and open, allowing the mask to deliver its full benefits and effectively draw out impurities.
Troubleshooting
Mask is Too Runny
If your mask mixture turns out too thin and watery, it won’t adhere properly to your skin, making application difficult and reducing its effectiveness.
Simply add a small amount of extra clay (about half a teaspoon at a time) to the mixture. Stir well until you achieve the desired thick, spreadable consistency. Remember, it’s easier to add more dry ingredients than to correct an overly thick mask.
Mask is Too Thick or Crumbly
A mask that is too thick or crumbly will be hard to spread evenly and may feel uncomfortable on your skin, potentially flaking off before it has a chance to work.
Gradually add a few drops of your chosen liquid base (water, rose water, etc.) to the mixture. Stir continuously until the mask softens and becomes smooth and pliable. Take your time to avoid making it too runny.
Skin Feels Tight or Irritated After Use
Feeling excessive tightness, dryness, or irritation after a mask indicates that it might have been left on too long, or the ingredients were too strong for your skin type.
Next time, reduce the mask’s application time. Consider switching to a gentler clay, like white kaolin, or adding more hydrating ingredients such as honey or a carrier oil to your mixture. Always follow up with a good moisturizer to soothe and rehydrate your skin.
Key Takeaways
- Always use non-metal tools to mix clay masks to preserve their efficacy.
- Choose your clay type based on your specific skin concerns for targeted benefits.
- Gradually add liquid to achieve a smooth, spreadable, yogurt-like consistency.
- Personalize your mask with optional additives like honey or oils for enhanced nourishment.
- Never let a clay mask dry completely on your face to prevent dehydration and irritation.
- Cleanse your skin thoroughly before application to maximize the mask’s effectiveness.
- Always follow up with your regular skincare routine to lock in moisture and protect your skin.
Frequently Asked Questions
Can I store leftover mask mixture?
It’s generally not recommended to store leftover homemade mask mixtures. Without preservatives, they can quickly grow bacteria or mold, even in the refrigerator. Always mix a fresh batch for each application to ensure hygiene and potency.
How often should I use a homemade face mask?
The frequency depends on your skin type and the mask’s ingredients. For most gentle masks, 1-2 times a week is a good routine. If you have very sensitive skin or are using a stronger clay, once a week or every other week might be more suitable. Listen to your skin and adjust accordingly.
What if I don’t have clay? Are there other options?
Absolutely! You can make nourishing masks without clay. Ingredients like finely ground oatmeal mixed with yogurt and honey create a soothing, hydrating mask. Mashed avocado, banana, or pureed cucumber can also form excellent bases for moisturizing and vitamin-rich masks.
Can I add essential oils to my mask?
Yes, but with caution. Essential oils are potent and some can cause irritation. Always use skin-safe essential oils, like lavender or tea tree, and only add 1-2 drops for the entire mask. It’s wise to do a patch test first to ensure your skin tolerates them well. If you have sensitive skin, it’s best to omit them entirely.
Our Top Recommended Finds
- Ceramic Mixing Bowl Set: A small, non-reactive bowl is essential for mixing your clay masks without compromising their effectiveness. Look for a set that includes a small spoon.
- Soft Facial Mask Brush: Applying your mask with a dedicated brush ensures an even, hygienic application and makes the whole process feel more luxurious.
- High-Quality Kaolin Clay: Having a pure, gentle kaolin clay on hand is perfect for creating soothing masks suitable for almost all skin types, including sensitive skin.
Embrace Your Radiance
Making your own face mask at home is more than just a beauty treatment; it’s an act of self-care and creativity.
You’re taking control of what goes onto your skin, choosing natural ingredients that truly nourish.
Why not gather your ingredients today and treat yourself to a moment of calm and rejuvenation?
Beginner-friendly templates, step-by-step guides,
and weekly project ideas in your inbox.