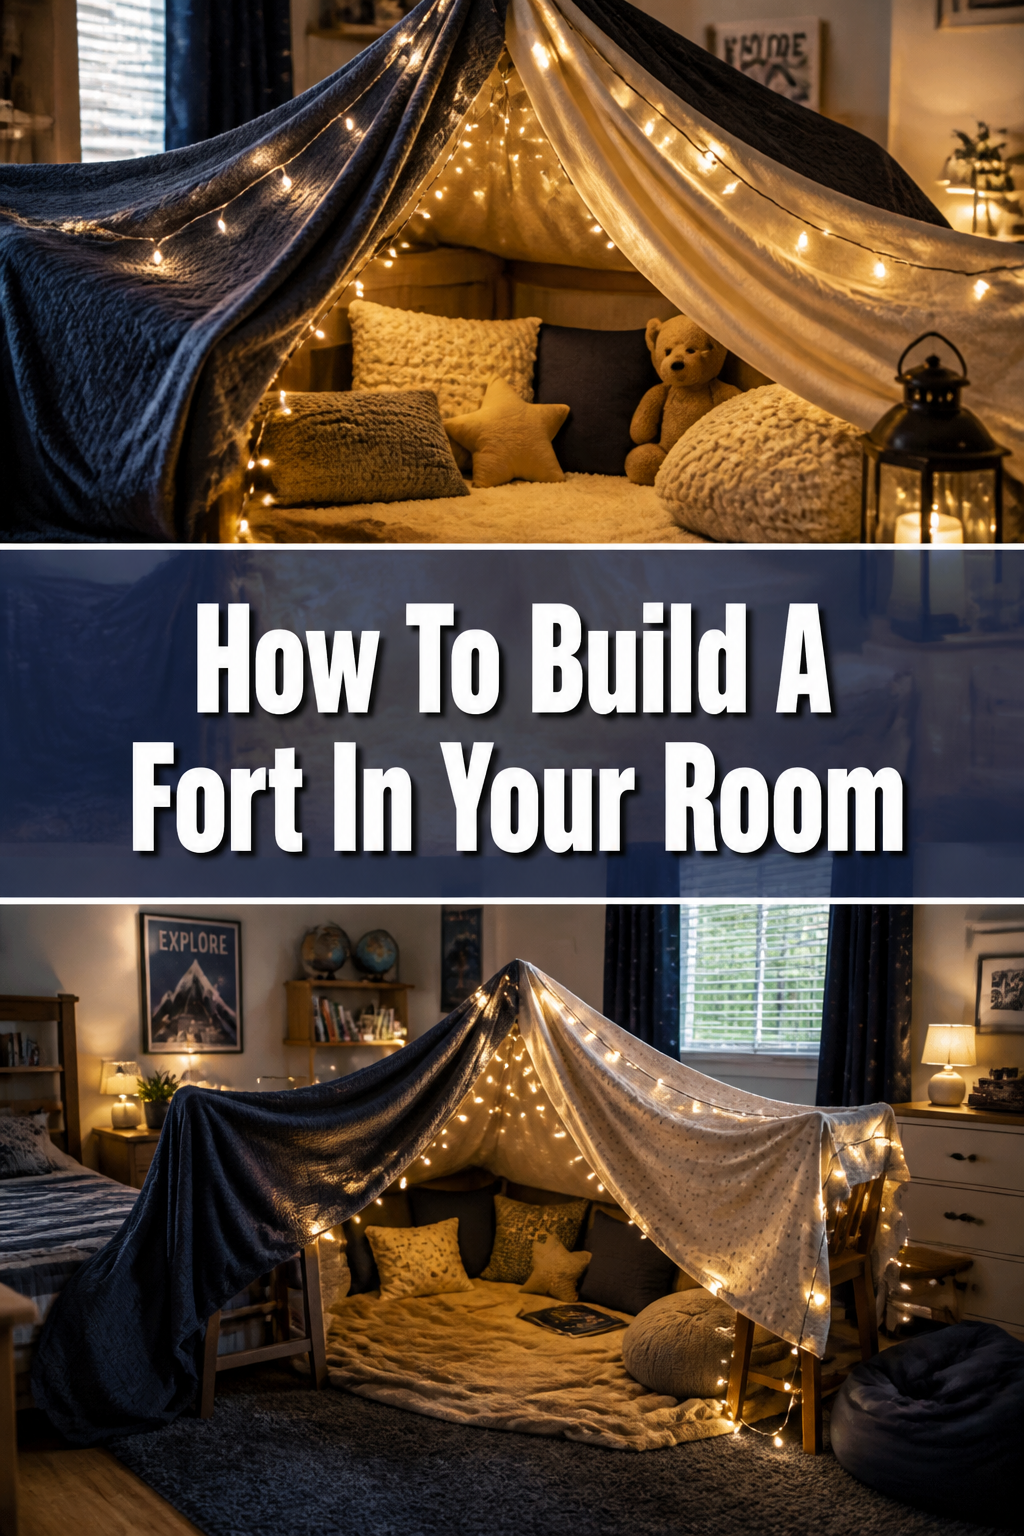
⛺ How To Build A Fort In Your Room

Beginner-friendly templates, step-by-step guides,
and weekly project ideas in your inbox.
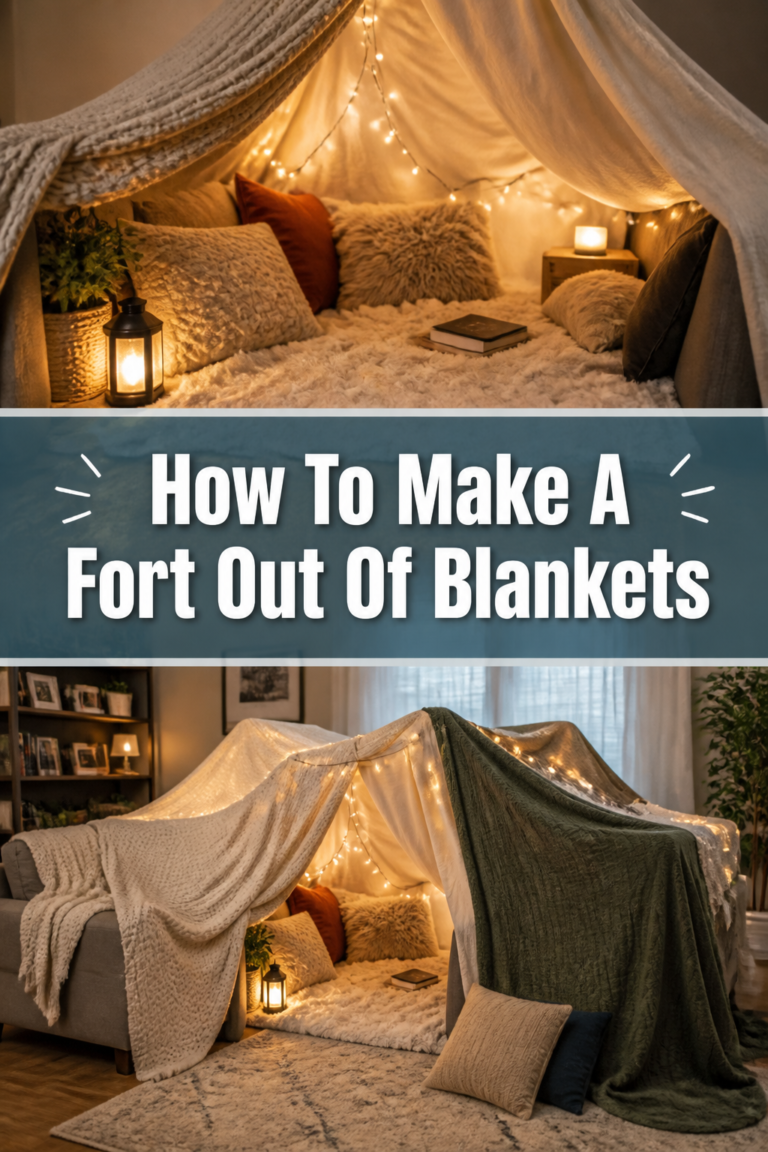
Building a fort in your room brings a special kind of joy. It transforms an ordinary space into a secret hideaway, perfect for reading, playing, or just dreaming. I remember spending countless afternoons creating my own fabric castles, and the feeling of accomplishment was unmatched.
This guide will show you how to build a sturdy, cozy fort, drawing on years of personal fort-building expertise. You’ll learn the practical steps to construct a magical space right in your own room. Get ready to unleash your inner architect and create something truly unique.
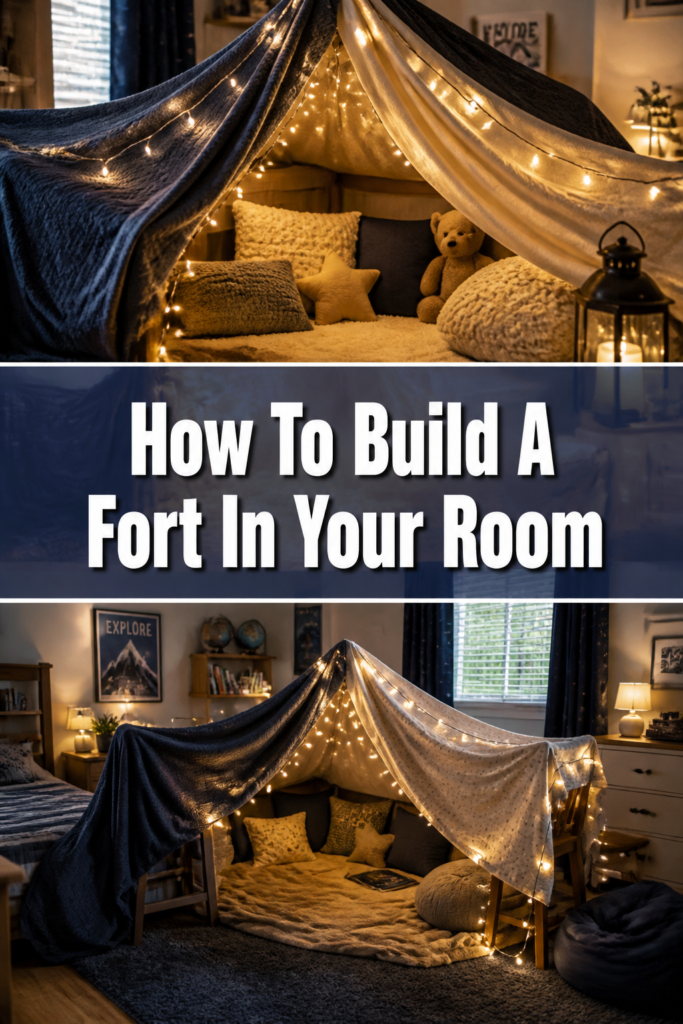
Quick Overview
You’re about to create a fantastic personal retreat within your room. This project is all about creativity, comfort, and a little bit of engineering. You’ll have a cozy spot ready for adventure or relaxation in no time.
- Time needed: 1-2 hours (depending on complexity and materials)
- Difficulty: Beginner
- What you’ll need: Blankets, sheets, pillows, chairs, furniture, clips or tape, optional string/rope.
Step-by-Step Instructions
Step 1: Gather Your Supplies
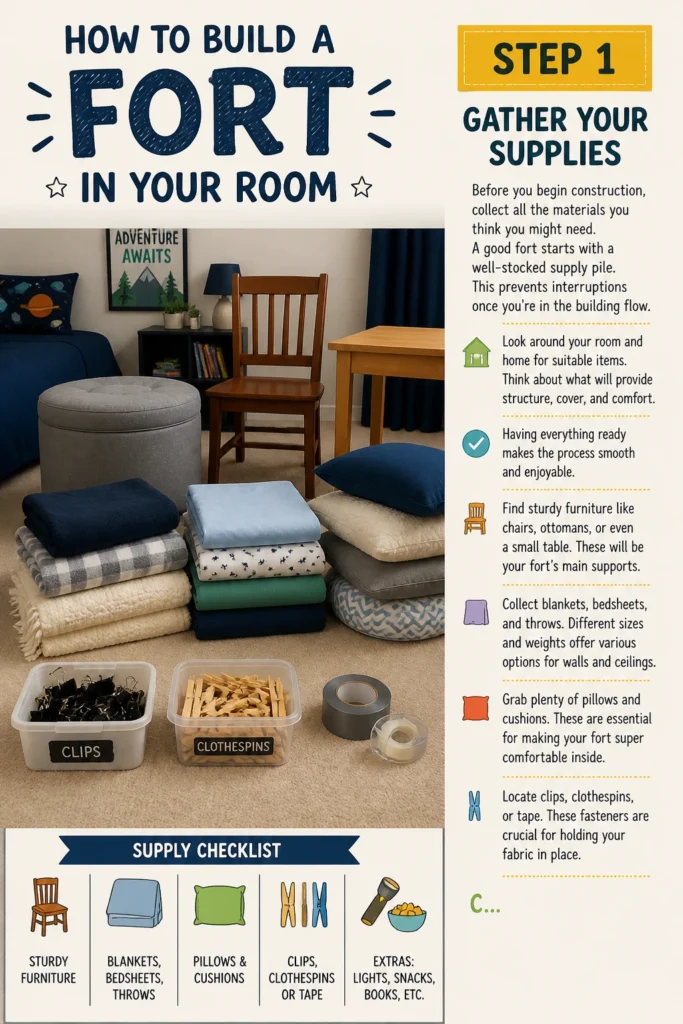
Before you begin construction, collect all the materials you think you might need. A good fort starts with a well-stocked supply pile. This prevents interruptions once you’re in the building flow.
Look around your room and home for suitable items. Think about what will provide structure, cover, and comfort. Having everything ready makes the process smooth and enjoyable.
- Find sturdy furniture like chairs, ottomans, or even a small table. These will be your fort’s main supports.
- Collect blankets, bedsheets, and throws. Different sizes and weights offer various options for walls and ceilings.
- Grab plenty of pillows and cushions. These are essential for making your fort super comfortable inside.
- Locate clips, clothespins, or tape. These fasteners are crucial for holding your fabric in place.
- Consider string or rope. A long piece of string can be strung across a room to create an elevated support line.
Pro Tip: Look for blankets with different textures. A heavy quilt can provide good structural support, while a light sheet might be perfect for a airy ceiling.
Step 2: Plan Your Layout
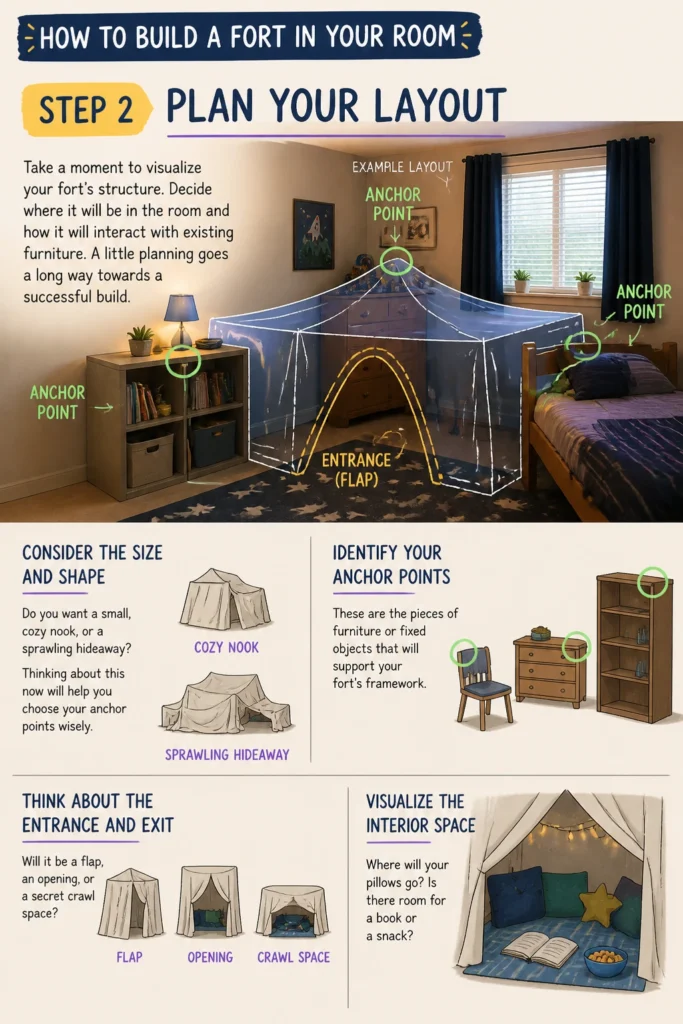
Take a moment to visualize your fort’s structure. Decide where it will be in the room and how it will interact with existing furniture. A little planning goes a long way towards a successful build.
Consider the size and shape you want your fort to be. Do you want a small, cozy nook, or a sprawling hideaway? Thinking about this now will help you choose your anchor points wisely.
- Identify your anchor points. These are the pieces of furniture or fixed objects that will support your fort’s framework.
- Think about the entrance and exit. Will it be a flap, an opening, or a secret crawl space?
- Visualize the interior space. Where will your pillows go? Is there room for a book or a snack?
Step 3: Establish Your Framework
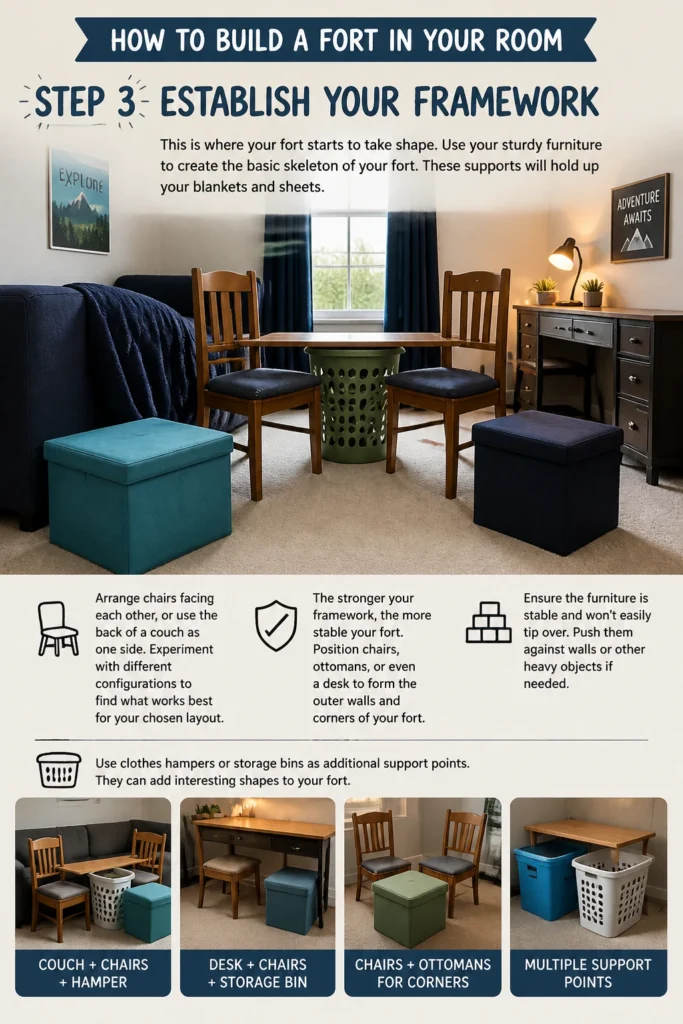
This is where your fort starts to take shape. Use your sturdy furniture to create the basic skeleton of your fort. These supports will hold up your blankets and sheets.
Arrange chairs facing each other, or use the back of a couch as one side. Experiment with different configurations to find what works best for your chosen layout. The stronger your framework, the more stable your fort.
- Position chairs, ottomans, or even a desk to form the outer walls and corners of your fort.
- Ensure the furniture is stable and won’t easily tip over. Push them against walls or other heavy objects if needed.
- Use clothes hampers or storage bins as additional support points. They can add interesting shapes to your fort.
Step 4: Drape Your Ceilings and Walls
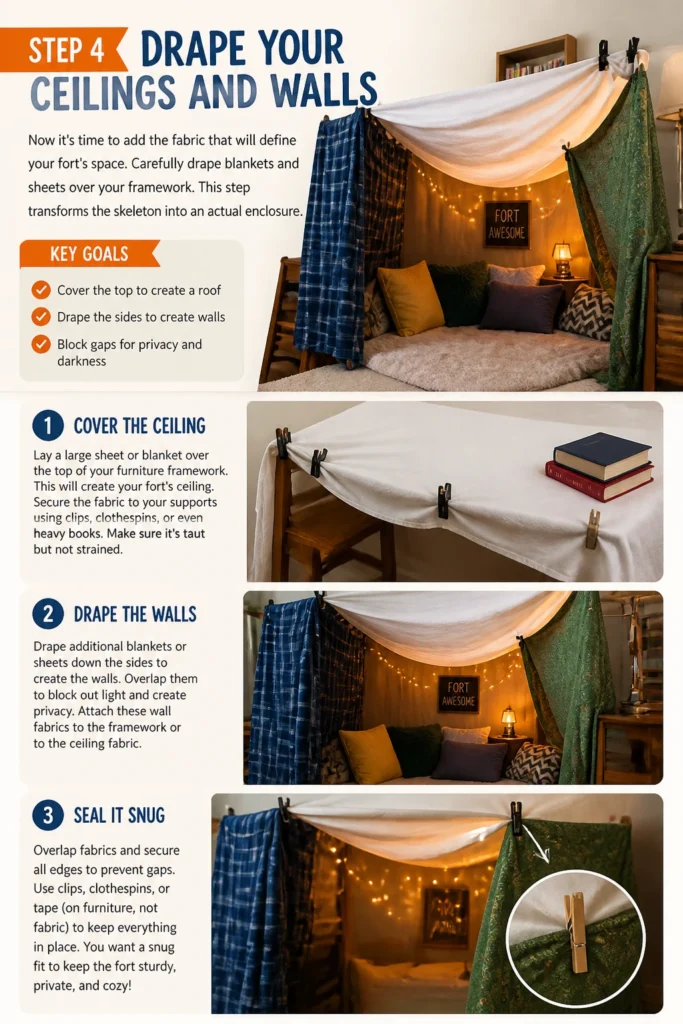
Now it’s time to add the fabric that will define your fort’s space. Carefully drape blankets and sheets over your framework. This step transforms the skeleton into an actual enclosure.
Start with the largest pieces of fabric to cover the main areas. These will form the ceiling and the primary walls. Overlap them slightly to prevent gaps.
- Lay a large sheet or blanket over the top of your furniture framework. This will create your fort’s ceiling.
- Secure the fabric to your supports using clips, clothespins, or even heavy books. Make sure it’s taut but not strained.
- Drape additional blankets or sheets down the sides to create the walls. Overlap them to block out light and create privacy.
- Attach these wall fabrics to the framework or to the ceiling fabric. You want a snug fit to keep the fort stable.
Pro Tip: For extra ceiling height, try stringing a rope between two tall pieces of furniture (like dressers or bedposts). Drape a sheet over the rope to create a peaked roof.
Step 5: Reinforce and Secure
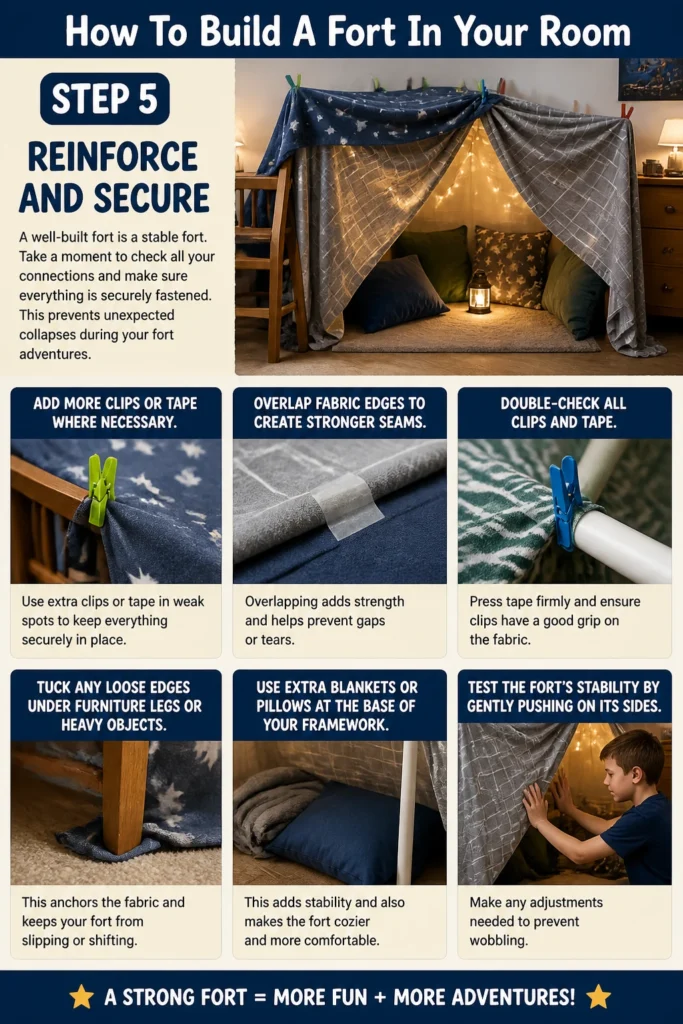
A well-built fort is a stable fort. Take a moment to check all your connections and make sure everything is securely fastened. This prevents unexpected collapses during your fort adventures.
Add more clips or tape where necessary. Overlap fabric edges to create stronger seams. The goal is to make it as sturdy as possible.
- Double-check all clips and tape. Press tape firmly and ensure clips have a good grip on the fabric.
- Tuck any loose edges of blankets under furniture legs or heavy objects to anchor them.
- Use extra blankets or pillows at the base of your framework. This adds stability and also makes the fort cozier.
- Test the fort’s stability by gently pushing on its sides. Make any adjustments needed to prevent wobbling.
Step 6: Furnish the Interior
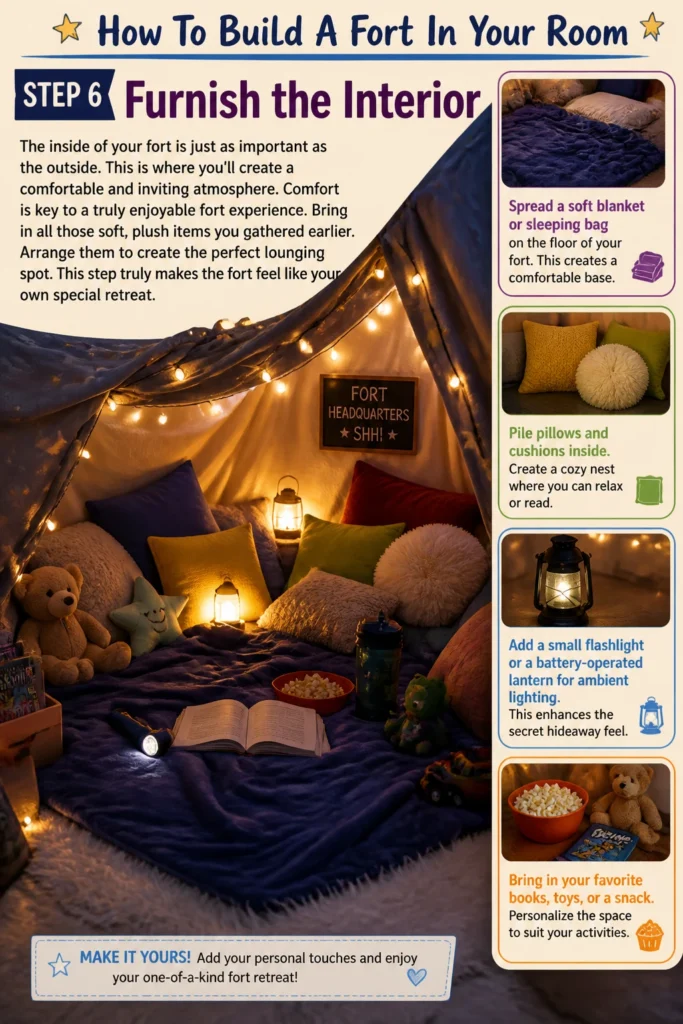
The inside of your fort is just as important as the outside. This is where you’ll create a comfortable and inviting atmosphere. Comfort is key to a truly enjoyable fort experience.
Bring in all those soft, plush items you gathered earlier. Arrange them to create the perfect lounging spot. This step truly makes the fort feel like your own special retreat.
- Spread a soft blanket or sleeping bag on the floor of your fort. This creates a comfortable base.
- Pile pillows and cushions inside. Create a cozy nest where you can relax or read.
- Add a small flashlight or a battery-operated lantern for ambient lighting. This enhances the secret hideaway feel.
- Bring in your favorite books, toys, or a snack. Personalize the space to suit your activities.
Step 7: Personalize and Enjoy
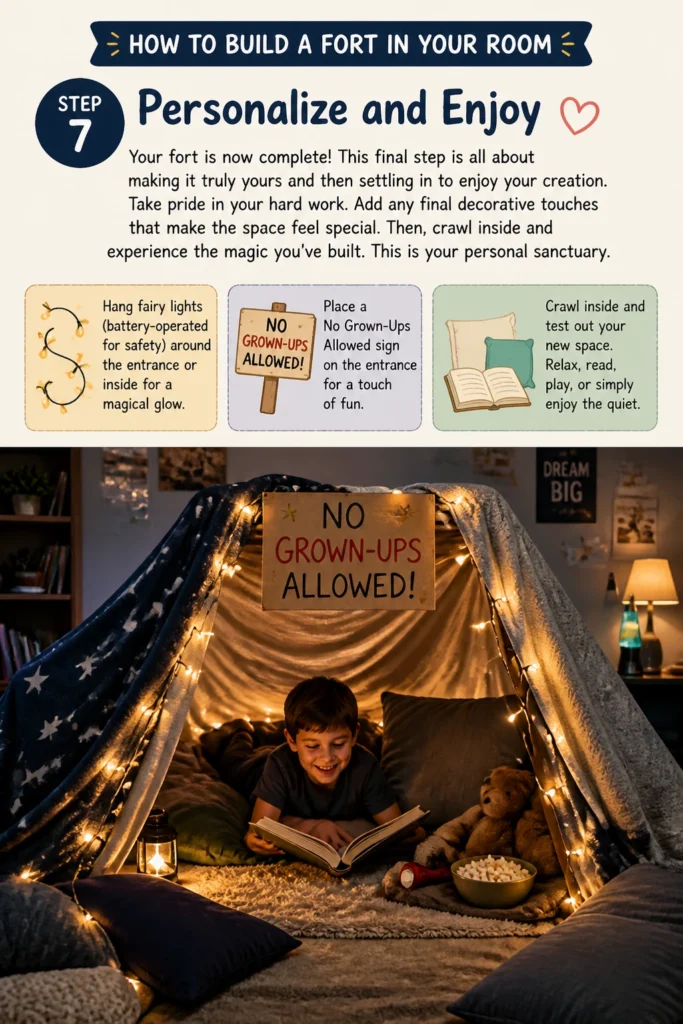
Your fort is now complete! This final step is all about making it truly yours and then settling in to enjoy your creation. Take pride in your hard work.
Add any final decorative touches that make the space feel special. Then, crawl inside and experience the magic you’ve built. This is your personal sanctuary.
- Hang fairy lights (battery-operated for safety) around the entrance or inside for a magical glow.
- Place a “No Grown-Ups Allowed” sign on the entrance for a touch of fun.
- Crawl inside and test out your new space. Relax, read, play, or simply enjoy the quiet.
Common Mistakes to Avoid
Using Unstable Supports
Trying to build your fort with wobbly chairs or lightweight cardboard boxes will lead to frustration and frequent collapses. Your fort needs a strong foundation to stand tall. Always choose sturdy furniture like dining chairs, armchairs, or even bed frames as your primary supports.
Ignoring Fabric Tension
Draping blankets too loosely or pulling them too tight can both be problematic. Loose fabric sags and creates an untidy, unstable fort. Fabric pulled too tightly can strain your supports and cause them to tip over, or tear the fabric itself. Aim for a taut but not overly stretched fit, securing with clips or tape.
Forgetting Interior Comfort
A fort is more than just an outer shell; its inside needs to be inviting. Neglecting to add pillows, blankets, or soft lighting can make the fort feel cold and unappealing. Remember to furnish the interior to make it a true sanctuary, not just an empty enclosure.
Building Too Close to Obstacles
Setting up your fort too close to a door, window, or busy walkway can cause issues. It might block access, get in the way of natural light, or be prone to accidental bumps and collapses. Give your fort ample space and build it in an area where it won’t impede movement or be easily disturbed.
Troubleshooting
Fort Keeps Collapsing
If your fort repeatedly falls down, the issue is likely with your framework or how the fabric is secured. First, check that all your furniture supports are stable and not wobbly; try pushing them against a wall for added stability. Next, ensure your blankets are securely attached with enough clips or tape, and that the tension isn’t too loose or too tight. Add more anchor points or heavier objects to the base of your supports.
Not Enough Light Inside
A dark fort can feel a bit too enclosed rather than cozy. The easiest solution is to add a light source. A small battery-operated lantern, a string of LED fairy lights, or even a powerful flashlight can make a huge difference. You can also try using lighter-colored sheets for the ceiling, which will allow some ambient room light to filter through.
Gaps in the Walls/Ceiling
Finding unwanted gaps means your fort isn’t as private or draft-free as you might like. The best way to fix this is by overlapping your blankets more generously where they meet. Use extra clips or tape to seal any remaining gaps. You can also drape a smaller, lighter sheet over problematic areas to act as a patch.
Key Takeaways
- Strong, stable furniture forms the essential skeleton of your fort.
- Gathering all your materials beforehand saves time and effort during construction.
- Securely fasten all blankets and sheets with clips or tape to ensure stability.
- Comfort is crucial, so pile on the pillows, blankets, and add soft lighting inside.
- Don’t be afraid to experiment with different layouts and materials to create unique designs.
- Always prioritize safety by using stable supports and battery-operated lights.
Frequently Asked Questions
How can I make my fort extra sturdy?
To make your fort extra sturdy, focus on robust anchor points. Use heavy, stable furniture like dressers or couches as primary supports. Ensure all fabric is taut but not over-stretched, and use plenty of clips or clothespins to secure it. You can also place heavy books or weights at the base of your supports for added stability.
What if I don’t have enough clips or clothespins?
No problem! You can get creative with alternatives. Try using heavy books to weigh down fabric edges on furniture. Tuck sheets under chair legs or couch cushions to hold them in place. Even rubber bands can work in a pinch for wrapping around fabric and furniture pieces.
Can I use a fan inside my fort?
It’s generally not recommended to use electric fans inside a fabric fort due to potential safety risks. The fan could tip over, or the fabric could get caught in the blades, posing a fire or electrical hazard. Stick to passive ventilation by leaving a small opening, or rely on battery-operated, low-power personal fans if absolutely necessary, ensuring they are well-secured and not near fabric.
How do I make my fort dark for sleeping?
To make your fort dark for sleeping, use dark-colored, heavy blankets or quilts for your walls and ceiling. Overlap all fabric edges generously to prevent light leaks. You can also place the fort in a naturally darker corner of the room, away from windows or direct light sources.
Our Top Recommended Finds
- Heavy-Duty Clothespins: Essential for strong, reliable grips on your blankets without slipping.
- Battery-Operated Fairy Lights: Perfect for adding a magical, safe glow inside your fort without needing an outlet.
- Large, Soft Throw Blanket: An extra-large, plush blanket provides both comfortable flooring and versatile wall material.
Your Cozy Retreat Awaits
You now have all the tools and knowledge to construct an amazing fort in your room. This isn’t just about building a structure; it’s about creating a personal sanctuary, a place where imagination can roam free. Every blanket and pillow adds a layer of magic to your space.
Don’t wait another moment to start this fun project. Gather your supplies, unleash your creativity, and build the fort of your dreams today. You’ll be amazed at the cozy haven you can create with just a few simple items.
Beginner-friendly templates, step-by-step guides,
and weekly project ideas in your inbox.