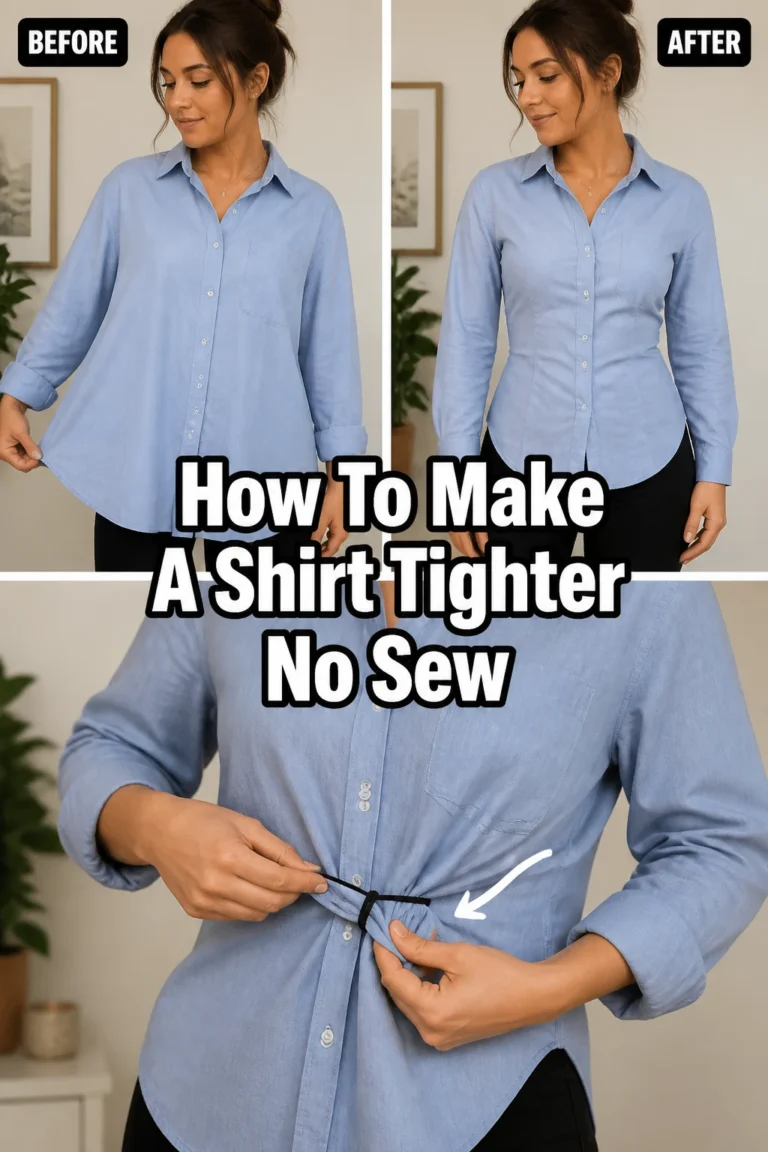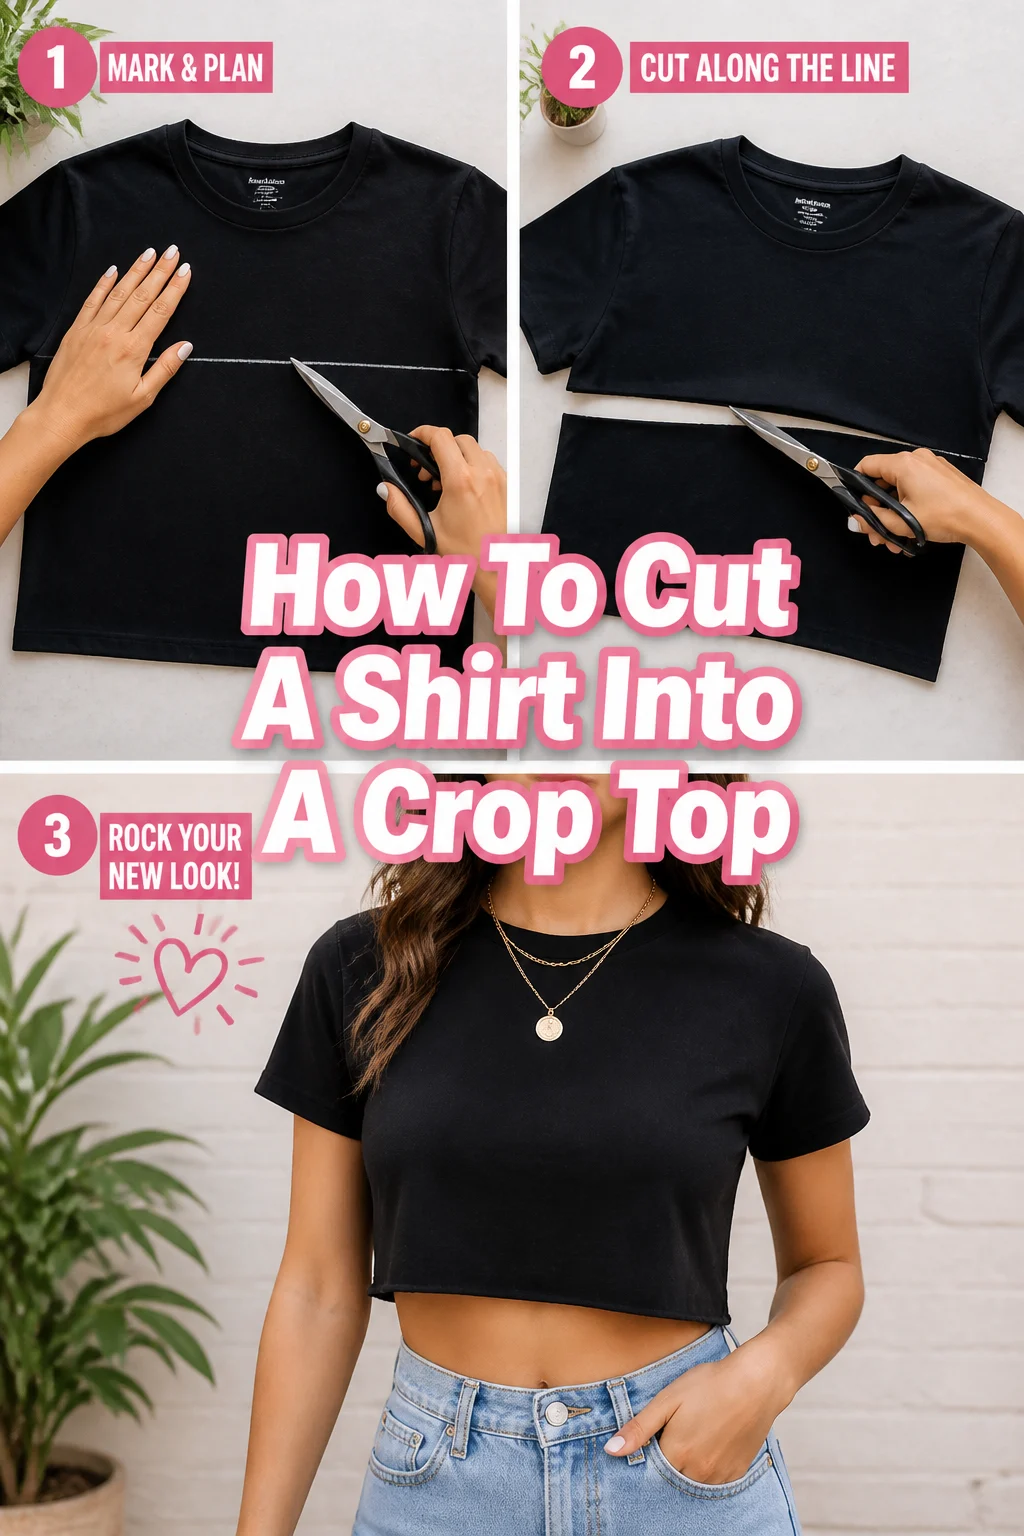
✂️ How To Cut A Shirt Into A Crop Top

Beginner-friendly templates, step-by-step guides,
and weekly project ideas in your inbox.
I have spent years transforming thrift store finds into my favorite wardrobe staples.
There is nothing quite like the satisfaction of turning a bulky, oversized t-shirt into a perfectly fitted crop top in under ten minutes.
This guide draws on my personal experience of trial and error to ensure you get a clean, professional-looking cut every single time.

Quick Overview
Transforming your clothes is a simple way to refresh your style without spending any money.
This project is perfect for beginners who want to dip their toes into the world of DIY fashion and clothing customization.
- Time needed: 10 to 15 minutes
- Difficulty: Beginner
- What you’ll need: A t-shirt, sharp fabric scissors, tailor’s chalk or a pencil, and a ruler.
Step-by-Step Instructions
Step 1: Choose Your Fabric Wisely
Inspect the material of the shirt you plan to cut before you grab your scissors.
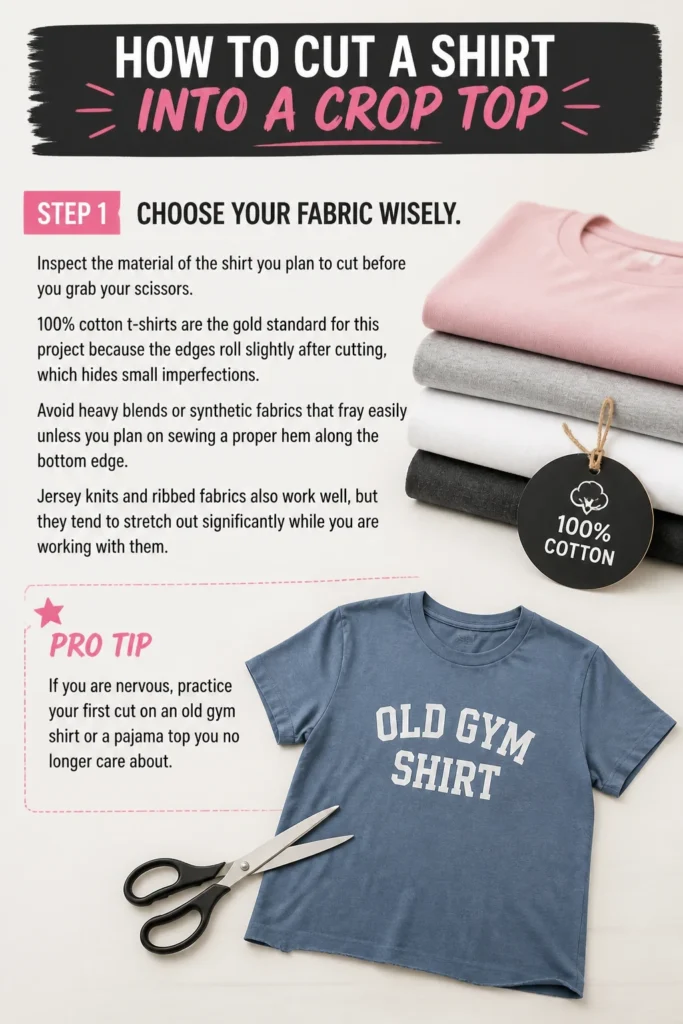
100% cotton t-shirts are the gold standard for this project because the edges roll slightly after cutting, which hides small imperfections.
Avoid heavy blends or synthetic fabrics that fray easily unless you plan on sewing a proper hem along the bottom edge.
Jersey knits and ribbed fabrics also work well, but they tend to stretch out significantly while you are working with them.
Pro Tip: If you are nervous, practice your first cut on an old gym shirt or a pajama top you no longer care about.
Step 2: Wash and Dry the Shirt
Pre-shrink your garment by putting it through a standard wash and dry cycle before you start measuring.
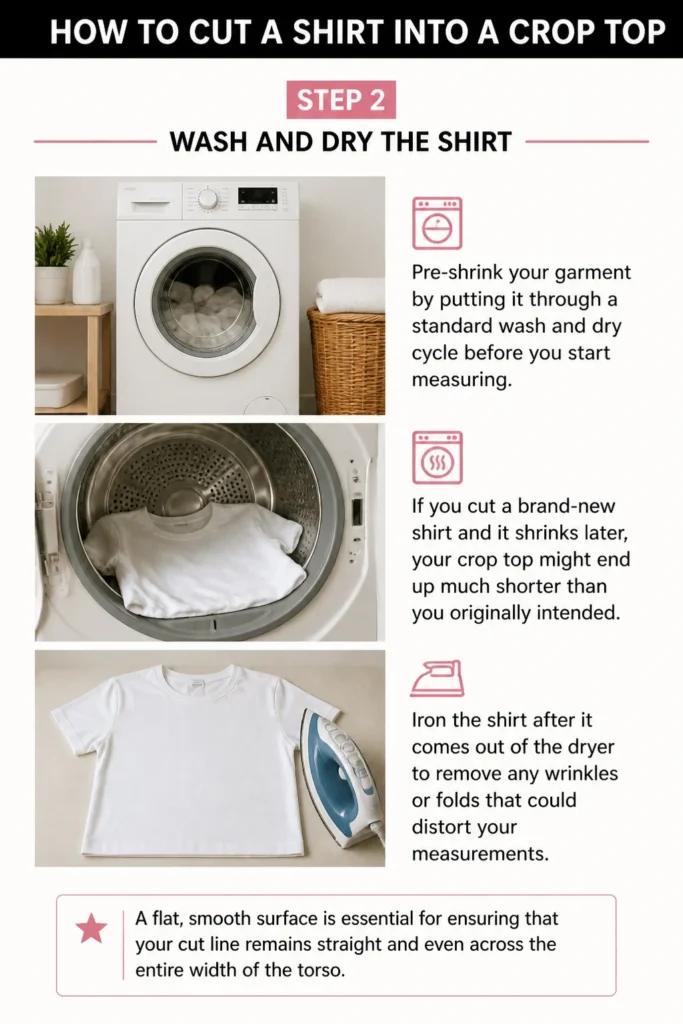
If you cut a brand-new shirt and it shrinks later, your crop top might end up much shorter than you originally intended.
Iron the shirt after it comes out of the dryer to remove any wrinkles or folds that could distort your measurements.
A flat, smooth surface is essential for ensuring that your cut line remains straight and even across the entire width of the torso.
Step 3: Determine Your Ideal Length
Put the shirt on and stand in front of a full-length mirror to visualize where you want the new hem to sit.
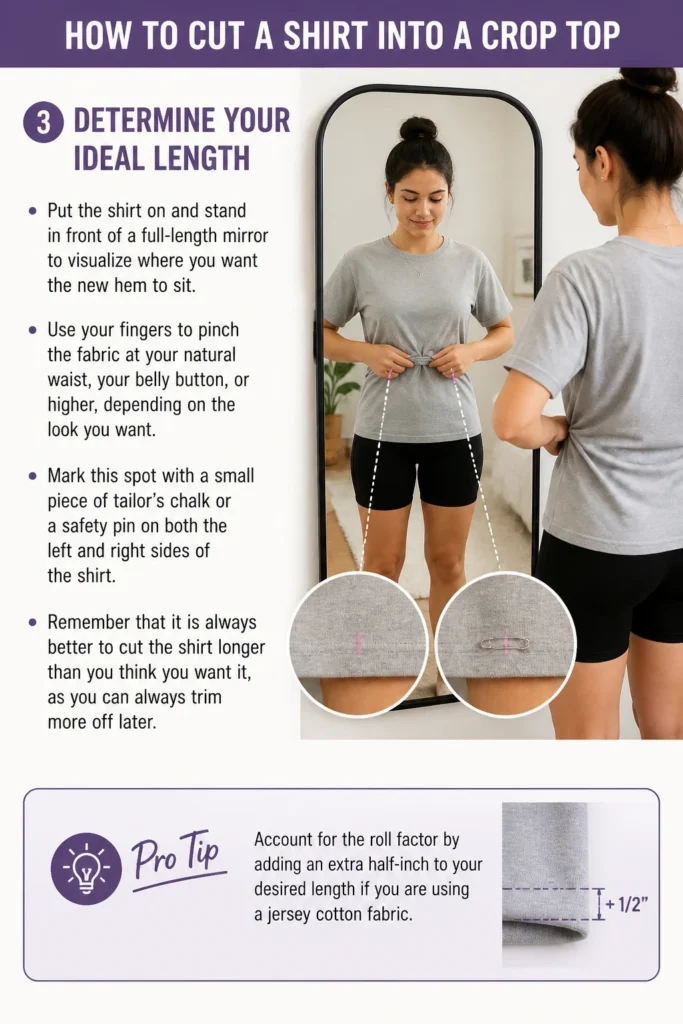
Use your fingers to pinch the fabric at your natural waist, your belly button, or higher, depending on the look you want.
Mark this spot with a small piece of tailor’s chalk or a safety pin on both the left and right sides of the shirt.
Remember that it is always better to cut the shirt longer than you think you want it, as you can always trim more off later.
Pro Tip: Account for the “roll factor” by adding an extra half-inch to your desired length if you are using a jersey cotton fabric.
Step 4: Prepare Your Workspace
Clear a large, flat area like a kitchen table or a hardwood floor to lay your shirt out for the actual cutting process.
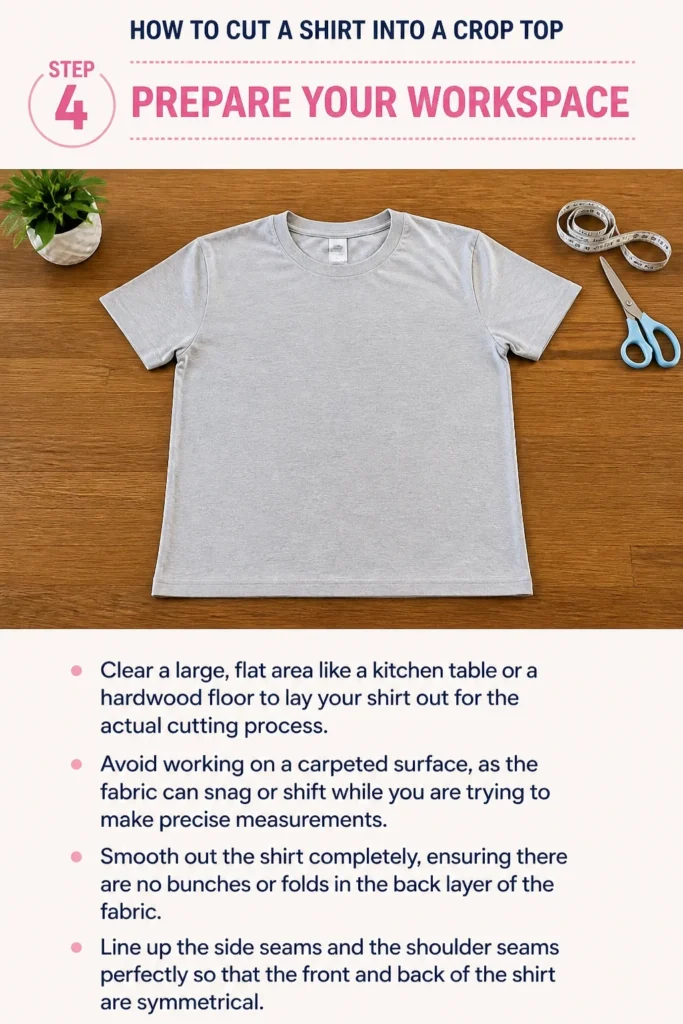
Avoid working on a carpeted surface, as the fabric can snag or shift while you are trying to make precise measurements.
Smooth out the shirt completely, ensuring there are no bunches or folds in the back layer of the fabric.
Line up the side seams and the shoulder seams perfectly so that the front and back of the shirt are symmetrical.
Step 5: Draw Your Cutting Line
Connect the two marks you made earlier using a long ruler or a straight edge to create a solid guide for your scissors.
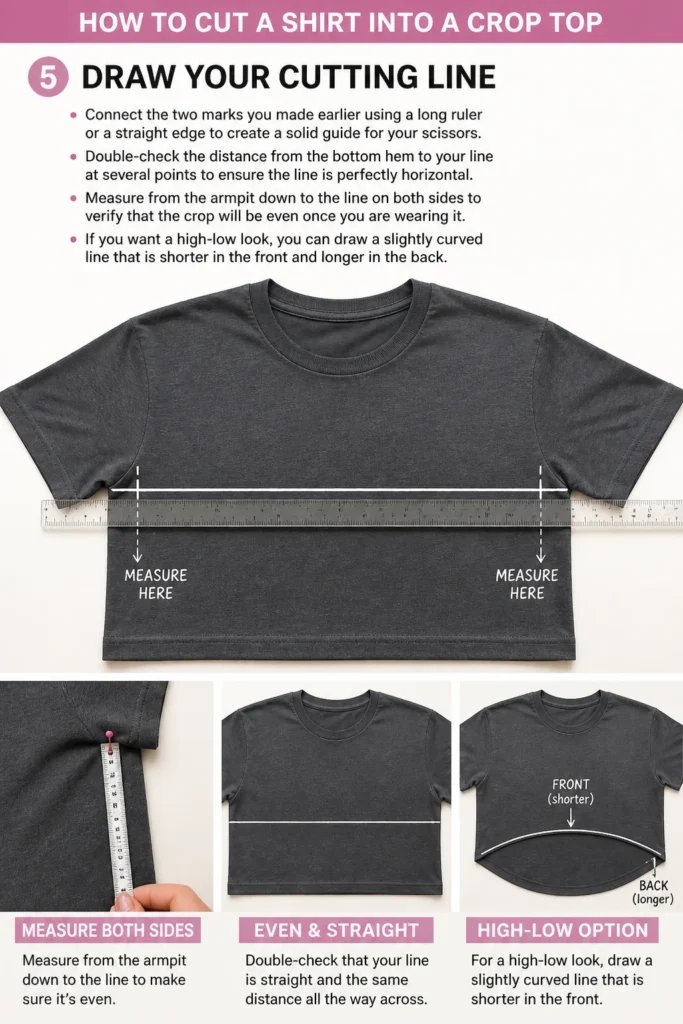
Double-check the distance from the bottom hem to your line at several points to ensure the line is perfectly horizontal.
Measure from the armpit down to the line on both sides to verify that the crop will be even once you are wearing it.
If you want a “high-low” look, you can draw a slightly curved line that is shorter in the front and longer in the back.
Step 6: Make the Initial Cut
Insert your fabric scissors at one of the side seams and begin cutting slowly along the chalk line you drew.
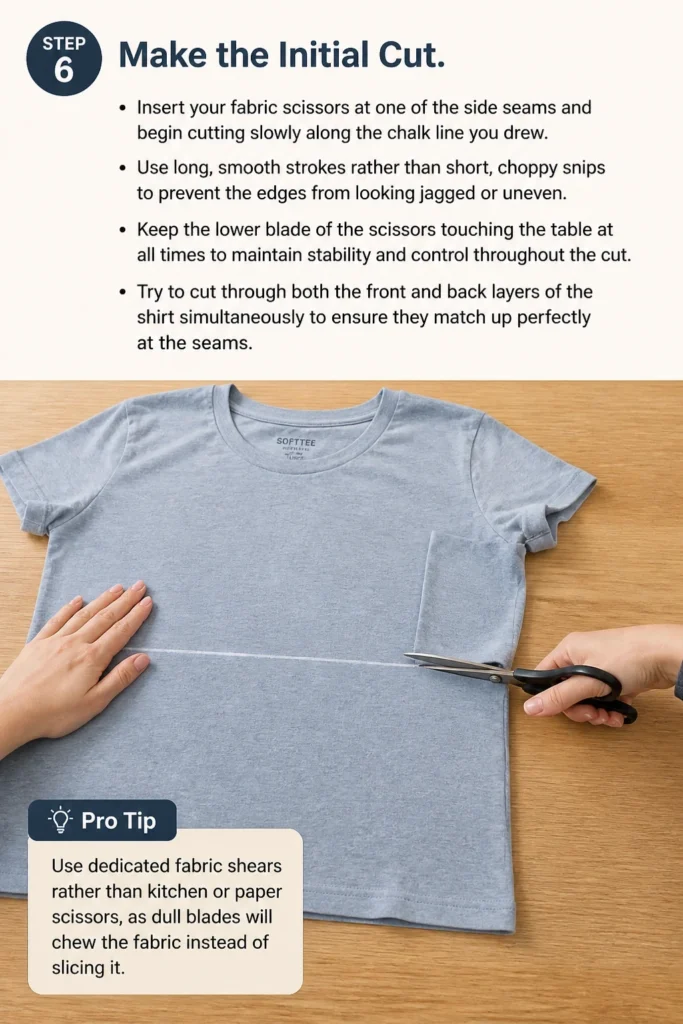
Use long, smooth strokes rather than short, choppy snips to prevent the edges from looking jagged or uneven.
Keep the lower blade of the scissors touching the table at all times to maintain stability and control throughout the cut.
Try to cut through both the front and back layers of the shirt simultaneously to ensure they match up perfectly at the seams.
Pro Tip: Use dedicated fabric shears rather than kitchen or paper scissors, as dull blades will chew the fabric instead of slicing it.
Step 7: Refine the Edges
Examine the raw edge for any stray threads or small points that look out of place once the bottom portion of the shirt is removed.
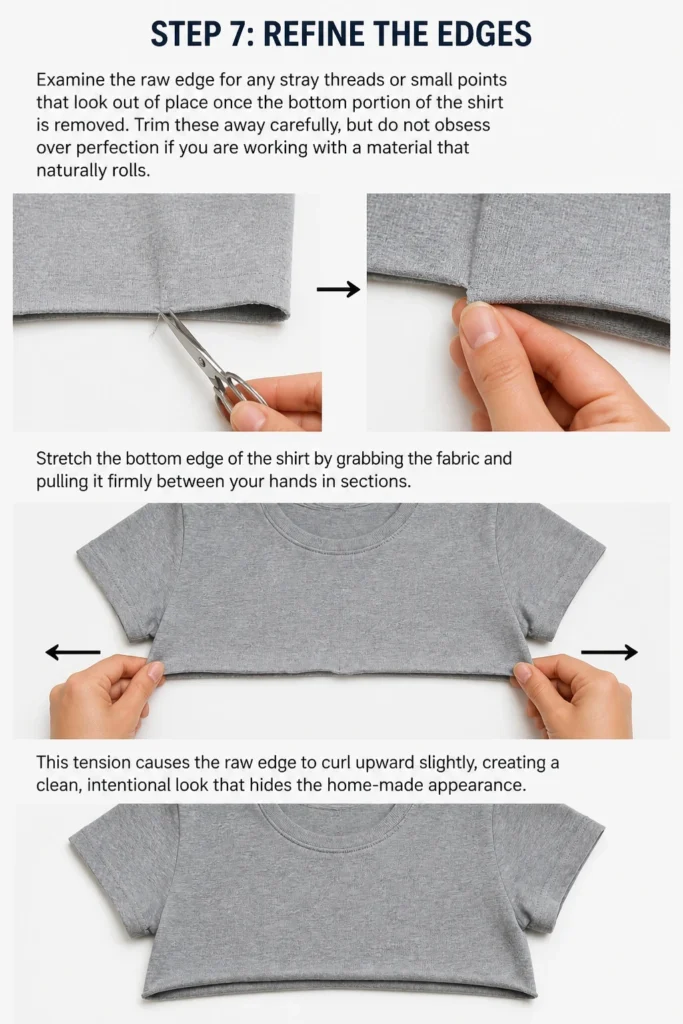
Trim these away carefully, but do not obsess over perfection if you are working with a material that naturally rolls.
Stretch the bottom edge of the shirt by grabbing the fabric and pulling it firmly between your hands in sections.
This tension causes the raw edge to curl upward slightly, creating a clean, intentional look that hides the “home-made” appearance.
Step 8: Final Fitting and Adjustments
Try the shirt on one last time to see how the fabric drapes and where the new hem lands on your body.
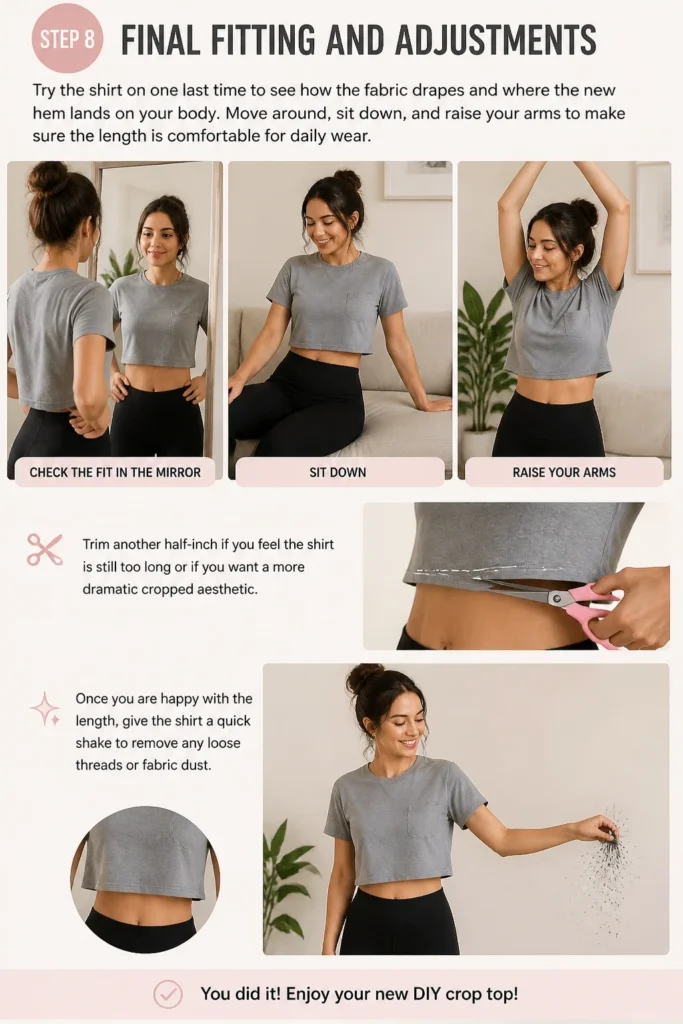
Move around, sit down, and raise your arms to make sure the length is comfortable for daily wear.
Trim another half-inch if you feel the shirt is still too long or if you want a more dramatic cropped aesthetic.
Once you are happy with the length, give the shirt a quick shake to remove any loose threads or fabric dust.
Common Mistakes to Avoid
Cutting Too Short Initially
The most frequent error people make is cutting the shirt exactly where they want it to end without considering how the fabric moves.
When you move your arms or walk, the shirt will naturally ride up, often revealing more skin than you intended.
Always leave a “safety margin” of at least one inch during your first cut so you have room to adjust the length downward if needed.
Using Dull Household Scissors
Standard kitchen or craft scissors are rarely sharp enough to slice through two layers of knit fabric without snagging.
This results in a “sawtooth” edge that looks messy and can cause the fabric to fray prematurely.
Invest in a pair of sharp fabric shears, which are designed to glide through textiles without pulling the fibers out of alignment.
Forgetting the Back of the Shirt
Many beginners focus so much on the front view in the mirror that they forget the back needs to be level as well.
If you don’t lay the shirt perfectly flat, you might end up with a back hem that is significantly shorter or longer than the front.
Always use a ruler to measure from the collar down to the cut line on both the front and the back to ensure total symmetry.
Troubleshooting
The Hem Is Jagged or Uneven
If you finish cutting and notice the line looks like a mountain range, do not panic or try to fix it while wearing the shirt.
Lay the shirt back down on your flat surface and use your ruler to find the highest point of the jagged edge.
Draw a new, straight line slightly above that point and re-cut the entire hem in one continuous motion to reset the edge.
The Fabric Is Rolling Too Much
Some thin jersey fabrics will roll up several inches after being cut, making the shirt much shorter than you planned.
If this happens, you can try ironing the hem flat with a bit of spray starch to encourage the fibers to stay down.
If the rolling is extreme, you may need to sew a simple hem or add a decorative trim to the bottom to weigh the fabric down.
The Side Seams Are Splitting
When you cut through the reinforced bottom hem of a shirt, the side seams can sometimes begin to unravel at the new opening.
To prevent this, you can apply a tiny drop of clear nail polish or fabric glue to the very end of the thread at the side seam.
Alternatively, use a needle and thread to add two or three small “tack” stitches at the seam to lock the thread in place.
Key Takeaways
- Preparation is key: Always wash, dry, and iron your shirt before cutting to avoid shrinkage issues later.
- Measure twice: Use tailor’s chalk and a ruler to create a guide rather than “eyeballing” the cut.
- Start long: You can always take more fabric off, but you can never put it back on once it is cut.
- Use the right tools: High-quality fabric shears are the difference between a professional look and a ruined shirt.
- Stretch the hem: Gently pulling the raw edge helps create a natural, rolled finish that looks polished.
- Check symmetry: Ensure the distance from the armpits to the hem is identical on both sides of the garment.
Frequently Asked Questions
Can I crop a sweatshirt or hoodie using this same method?
Yes, you can certainly crop heavier garments, but you should be aware that the fabric will behave differently than a thin t-shirt.
Fleece-lined materials are much thicker and may require more force to cut, so ensure your scissors are extremely sharp.
The edges of a sweatshirt won’t roll as tightly as a t-shirt, so you might end up with a bulkier look at the bottom hem.
How do I stop the raw edge from fraying?
Most t-shirt fabrics are knits, which means they generally roll rather than fray into long loose strings.
However, if you are working with a woven fabric like a button-down shirt, you must finish the edge to prevent it from falling apart.
You can use “fray check” liquid, a sewing machine for a rolled hem, or even a line of fabric glue to secure the edges.
What if I accidentally cut the shirt too short?
If the shirt ends up shorter than you are comfortable with, you can turn it into a layered piece by wearing a camisole underneath.
Another creative solution is to add a lace trim or a contrasting fabric panel to the bottom to regain some of the lost length.
You can also embrace the “extreme crop” look, which is popular for gym wear or layering over high-waisted leggings.
Our Top Recommended Finds
- Professional Fabric Shears: Look for a pair with ergonomic handles and high-carbon steel blades for the cleanest cuts possible.
- Tailor’s Chalk Set: These are much better than pencils because the marks brush off easily once you are finished with your project.
- Acrylic Quilting Ruler: A clear, wide ruler allows you to see the fabric underneath while ensuring your lines are perfectly straight.
Taking Your Style Into Your Own Hands
Now that you have mastered the basic crop, you can start experimenting with different styles like raw hems, v-notches, or even tie-front designs.
This simple skill is the gateway to a more sustainable wardrobe where you can repurpose old clothes instead of buying new ones.
Grab that old band tee from the back of your closet and give it a second life today.
Once you see how easy it is to customize your fit, you will likely find yourself looking at every shirt you own with a pair of scissors in hand.
Beginner-friendly templates, step-by-step guides,
and weekly project ideas in your inbox.