🌿 How To Dye Hair At Home Without Dye

Beginner-friendly templates, step-by-step guides,
and weekly project ideas in your inbox.
Tired of harsh chemicals and expensive salon visits, but still dream of a fresh hair color? You’re in the right place.
I’ve personally experimented with countless natural hair coloring methods over the years, learning what truly works and what’s best avoided.
This guide shares all my hands-on insights, helping you achieve beautiful, vibrant hair color using ingredients straight from nature.
Quick Overview
This guide will walk you through the process of changing your hair color naturally, without relying on synthetic dyes. You’ll learn how to select the right ingredients, prepare them, and apply them for stunning, chemical-free results.
- Time needed: 2-4 hours (preparation, application, processing)
- Difficulty: Intermediate
- What you’ll need: Natural coloring agents, mixing bowls, gloves, applicator brush, old towels, plastic wrap.
Step-by-Step Instructions
Step 1: Choose Your Natural Coloring Agent
The first step is to decide which natural ingredient best suits your desired hair color and current hair shade. Each agent offers unique tones and intensity.
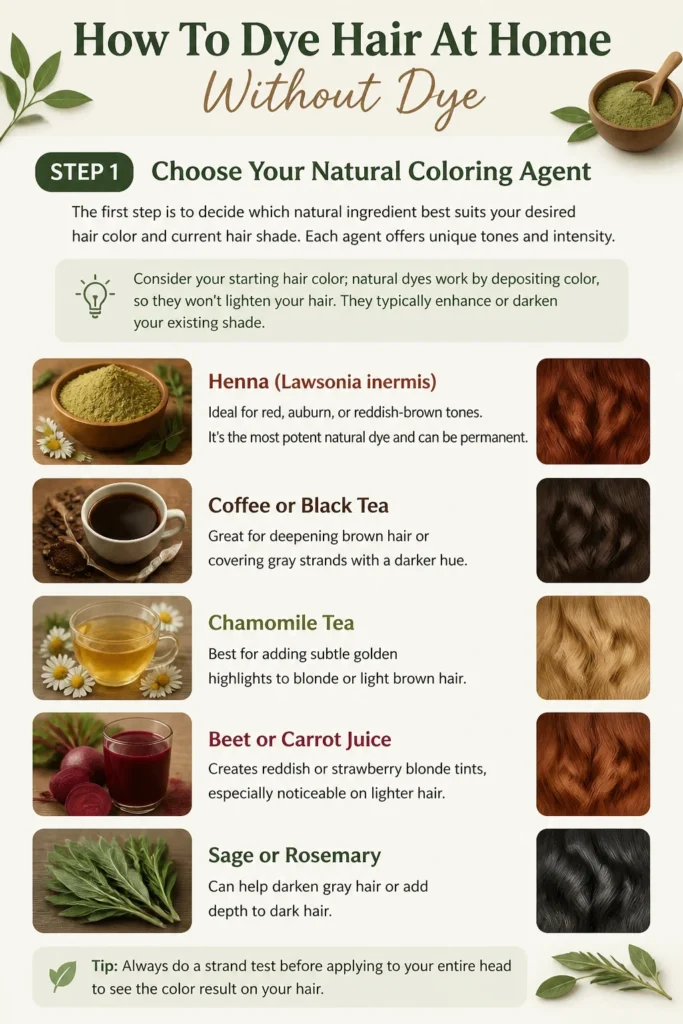
Consider your starting hair color; natural dyes work by depositing color, so they won’t lighten your hair. They typically enhance or darken your existing shade.
- Henna (Lawsonia inermis): Ideal for red, auburn, or reddish-brown tones. It’s the most potent natural dye and can be permanent.
- Coffee or Black Tea: Great for deepening brown hair or covering gray strands with a darker hue.
- Chamomile Tea: Best for adding subtle golden highlights to blonde or light brown hair.
- Beet or Carrot Juice: Creates reddish or strawberry blonde tints, especially noticeable on lighter hair.
- Sage or Rosemary: Can help darken gray hair or add depth to dark brown and black hair.
Pro Tip: For significant color change, especially reddish tones, henna is your most reliable choice. Other options offer more subtle shifts.
Step 2: Gather Your Supplies
Having everything ready before you start mixing and applying will make the process much smoother. Natural dyes can be messy, so preparation is key.
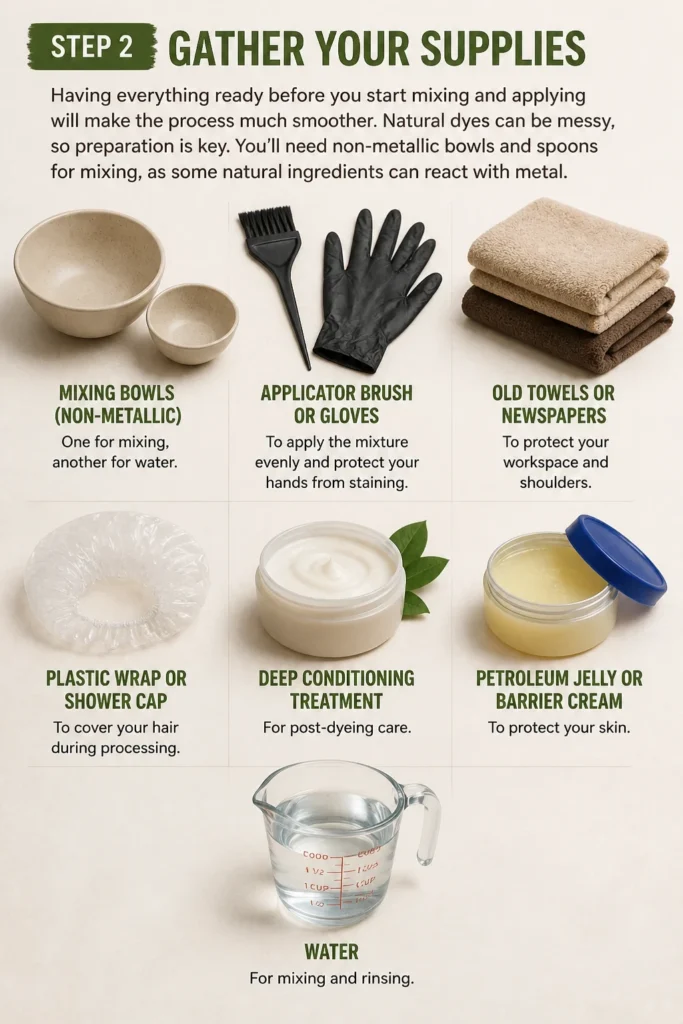
You’ll need non-metallic bowls and spoons for mixing, as some natural ingredients can react with metal. Old towels and clothes are essential to protect your surfaces and garments.
- Mixing bowls (non-metallic): One for mixing, another for water.
- Applicator brush or gloves: To apply the mixture evenly and protect your hands from staining.
- Old towels or newspapers: To protect your workspace and shoulders.
- Plastic wrap or shower cap: To cover your hair during processing.
- Deep conditioning treatment: For post-dyeing care.
- Petroleum jelly or barrier cream: To protect your skin.
- Water: For mixing and rinsing.
Step 3: Prepare Your Hair
Start with clean, dry hair. This ensures the natural dye can fully penetrate the hair shaft without interference from oils or product buildup.
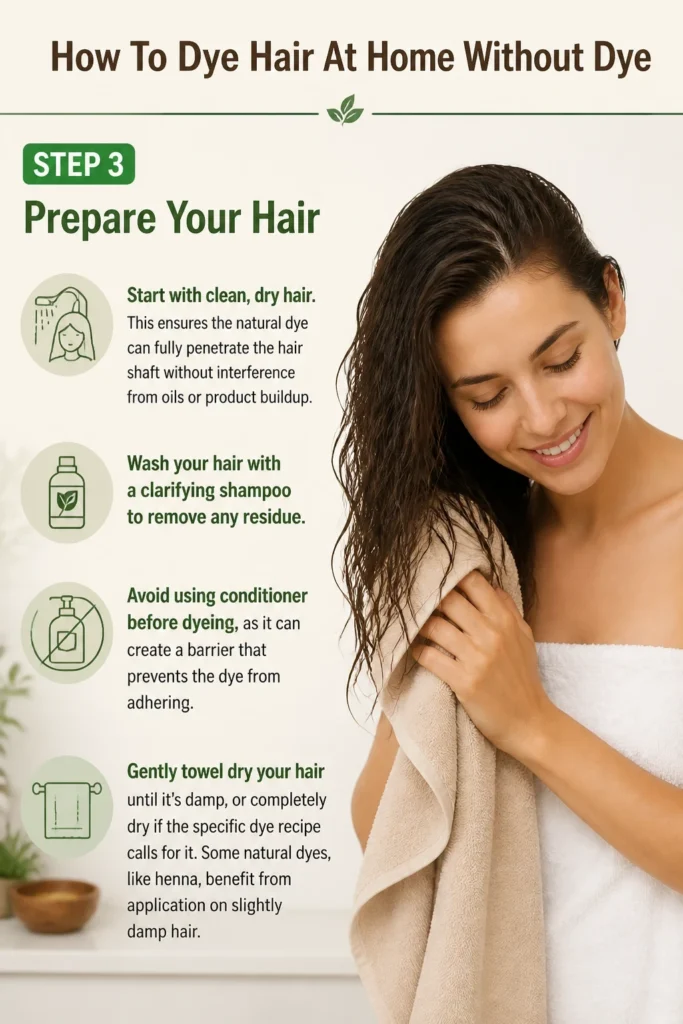
Wash your hair with a clarifying shampoo to remove any residue. Avoid using conditioner before dyeing, as it can create a barrier that prevents the dye from adhering.
Gently towel dry your hair until it’s damp, or completely dry if the specific dye recipe calls for it. Some natural dyes, like henna, benefit from application on slightly damp hair.
Step 4: Mix Your Natural Dye Solution
The mixing process varies significantly depending on the natural ingredient you’ve chosen. Follow the specific instructions for your selected agent carefully.
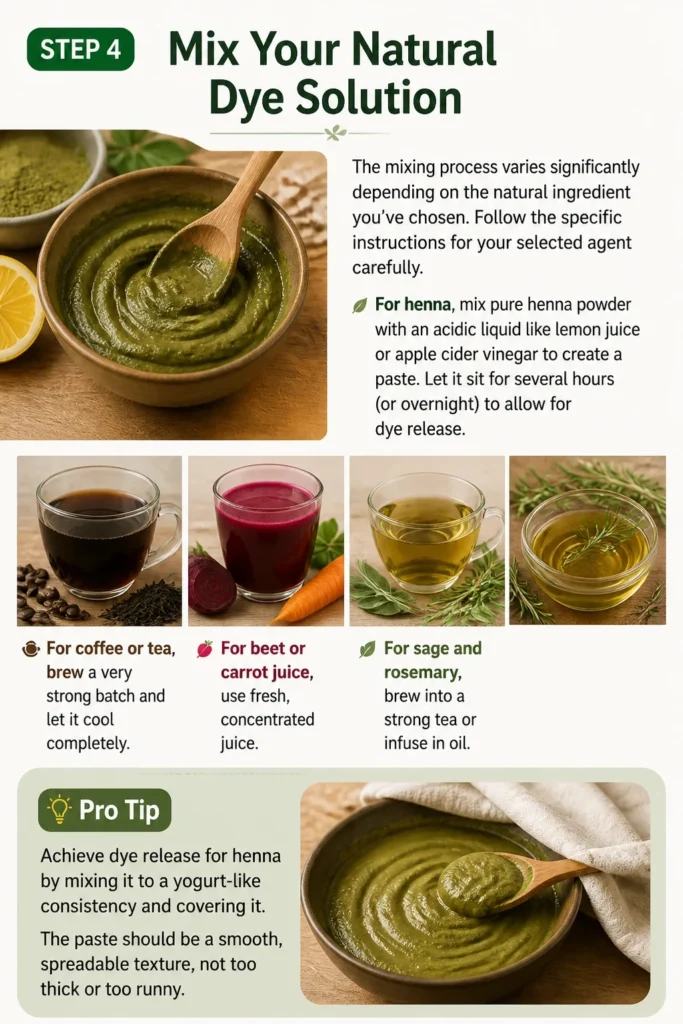
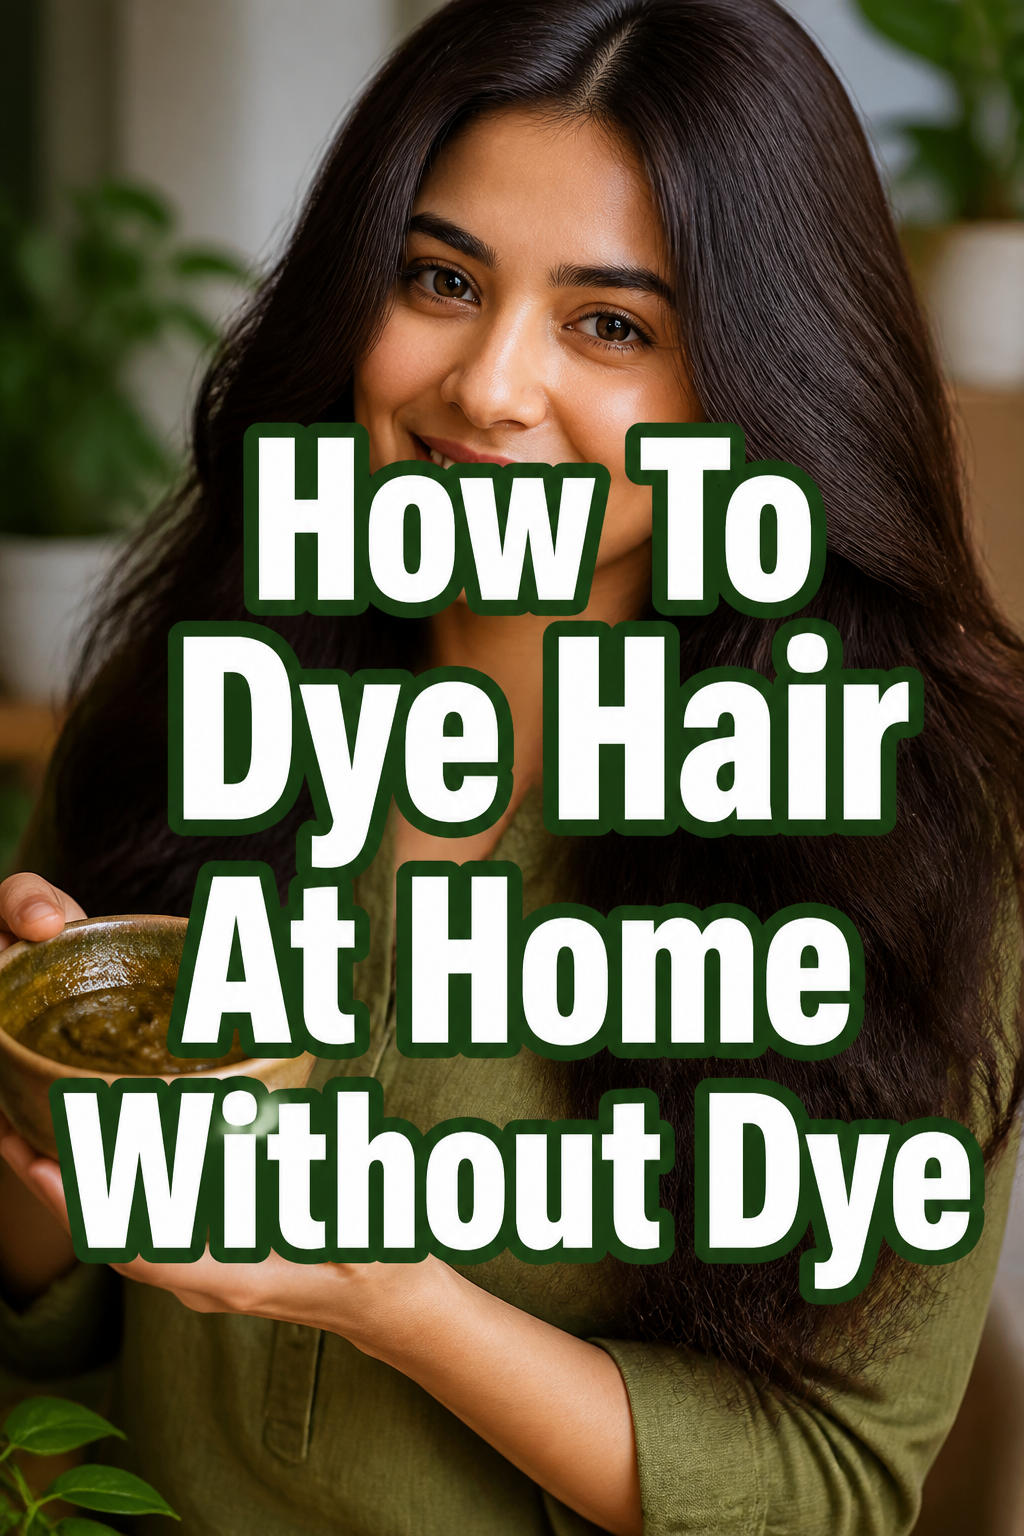
For henna, mix pure henna powder with an acidic liquid like lemon juice or apple cider vinegar to create a paste. Let it sit for several hours (or overnight) to allow for “dye release.”
For coffee or tea, brew a very strong batch and let it cool completely. For beet or carrot juice, use fresh, concentrated juice. Sage and rosemary can be brewed into a strong tea or infused in oil.
Pro Tip: Achieve dye release for henna by mixing it to a yogurt-like consistency and covering it. The paste should be a smooth, spreadable texture, not too thick or too runny.
Step 5: Perform a Strand and Patch Test
This step is absolutely crucial, especially with natural dyes, as results can vary wildly based on your hair type and starting color. Don’t skip it.
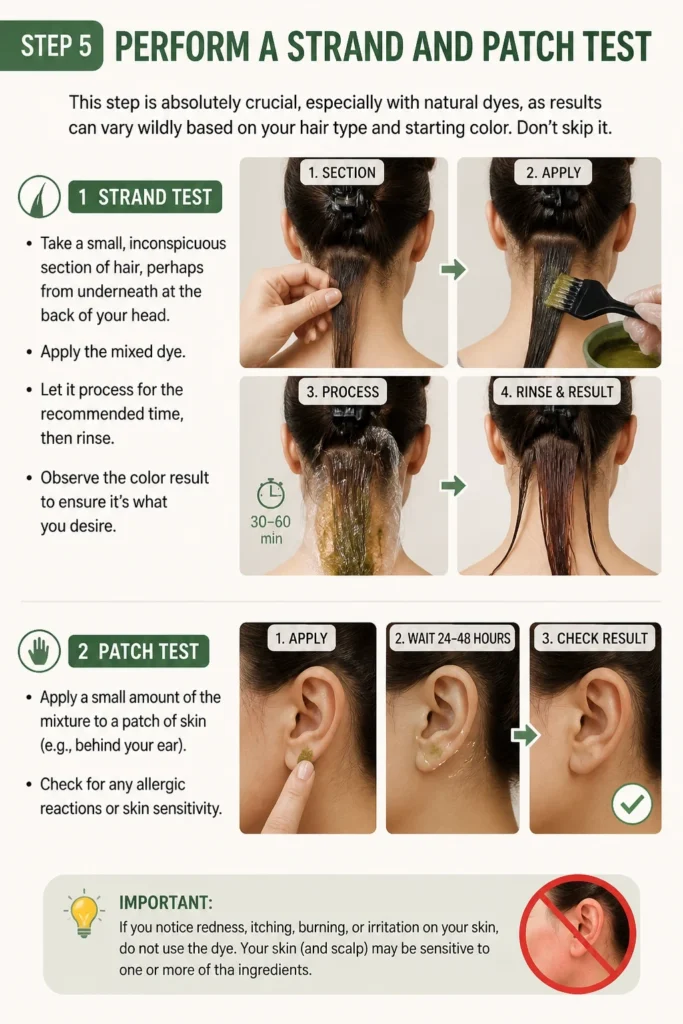
Take a small, inconspicuous section of hair, perhaps from underneath at the back of your head. Apply the mixed dye, let it process for the recommended time, then rinse.
Observe the color result to ensure it’s what you desire. Also, apply a small amount of the mixture to a patch of skin (e.g., behind your ear) to check for any allergic reactions or skin sensitivity.
Step 6: Protect Your Skin and Surroundings
Natural dyes can stain skin, clothing, and surfaces just as easily as chemical dyes. Take precautions to avoid unwanted discoloration.
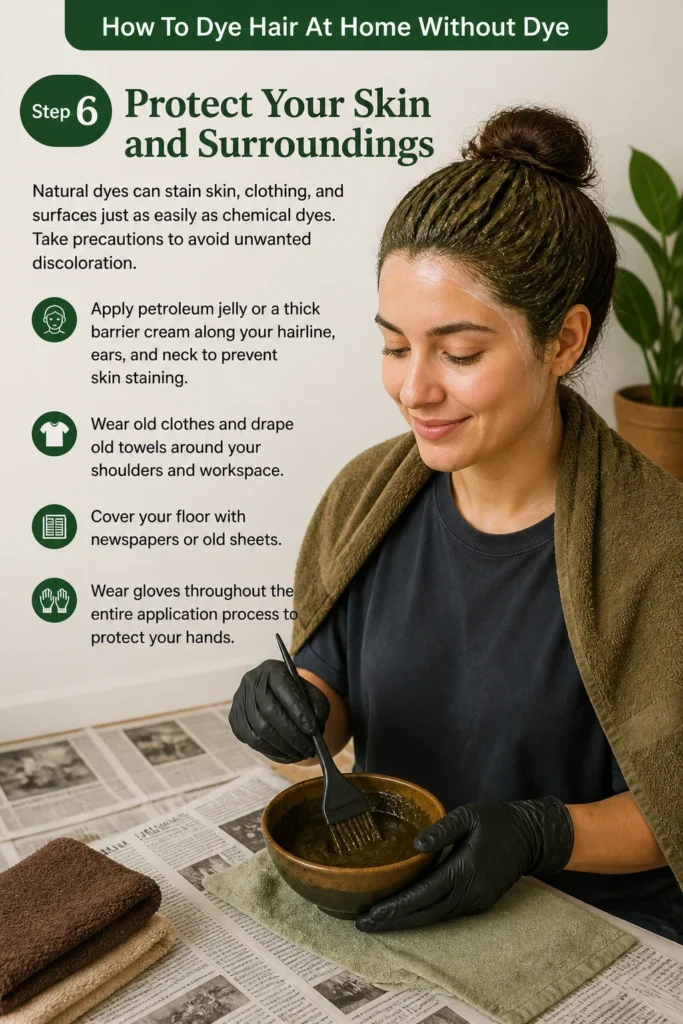
Apply petroleum jelly or a thick barrier cream along your hairline, ears, and neck to prevent skin staining. Wear old clothes and drape old towels around your shoulders and workspace.
Cover your floor with newspapers or old sheets. Wear gloves throughout the entire application process to protect your hands.
Step 7: Apply the Dye Evenly
Even application is key to achieving consistent color results. Sectioning your hair will help you cover every strand thoroughly.
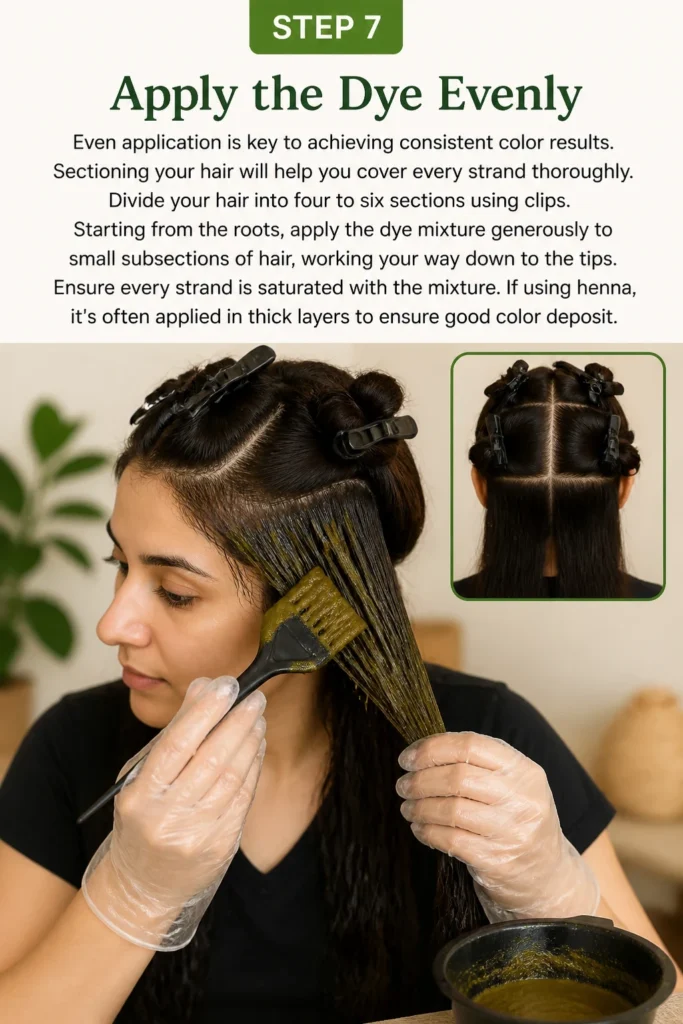
Divide your hair into four to six sections using clips. Starting from the roots, apply the dye mixture generously to small subsections of hair, working your way down to the tips.
Ensure every strand is saturated with the mixture. If using henna, it’s often applied in thick layers to ensure good color deposit.
Step 8: Let It Process
Processing time varies significantly depending on the natural dye used and the intensity of color you desire. Patience is important here.
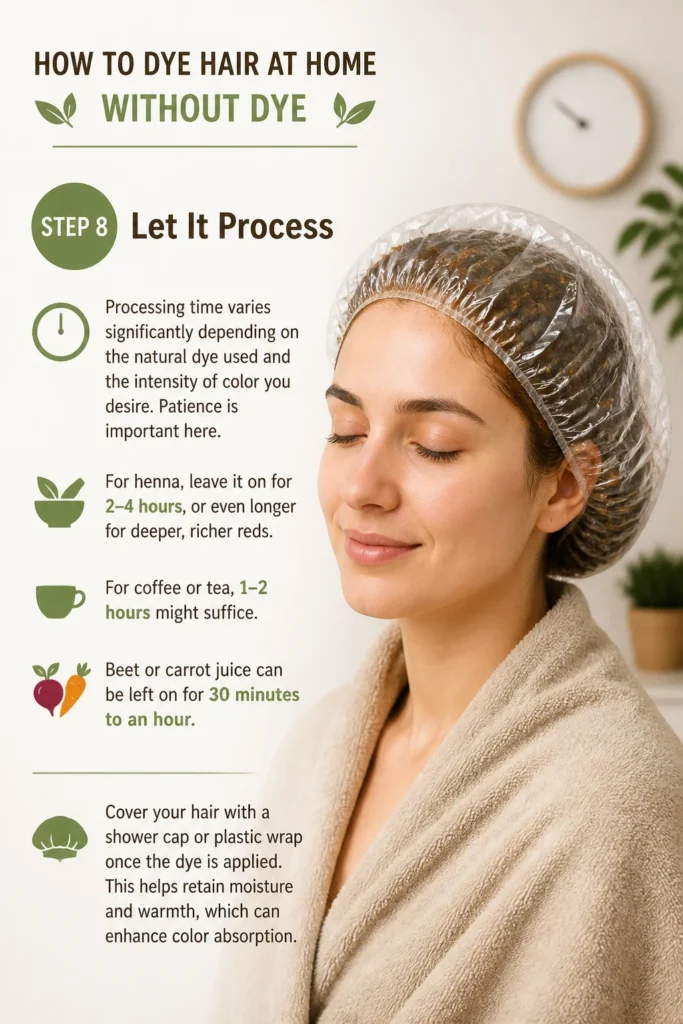
For henna, leave it on for 2-4 hours, or even longer for deeper, richer reds. For coffee or tea, 1-2 hours might suffice. Beet or carrot juice can be left on for 30 minutes to an hour.
Cover your hair with a shower cap or plastic wrap once the dye is applied. This helps retain moisture and warmth, which can enhance color absorption.
Step 9: Rinse and Condition
Once the processing time is complete, thoroughly rinse your hair until the water runs clear. This can take a while, especially with henna.
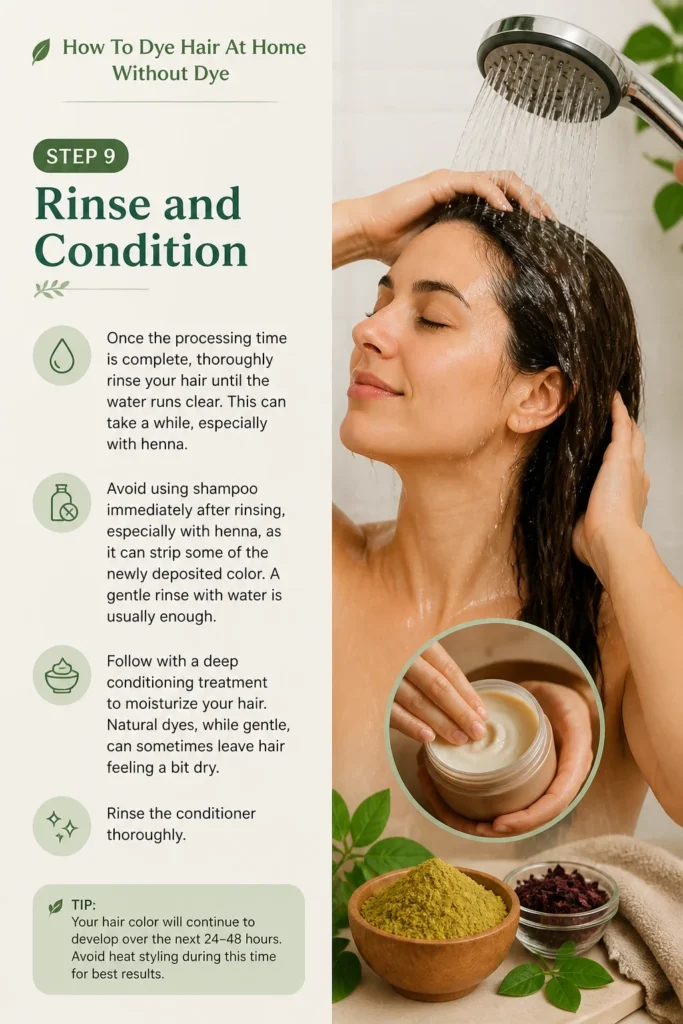
Avoid using shampoo immediately after rinsing, especially with henna, as it can strip some of the newly deposited color. A gentle rinse with water is usually enough.
Follow with a deep conditioning treatment to moisturize your hair. Natural dyes, while gentle, can sometimes leave hair feeling a bit dry. Rinse the conditioner thoroughly.
Step 10: Assess Results and Maintain
After rinsing and drying, evaluate your new hair color. Keep in mind that natural dyes, especially henna, can take up to 48 hours for the color to fully oxidize and deepen.
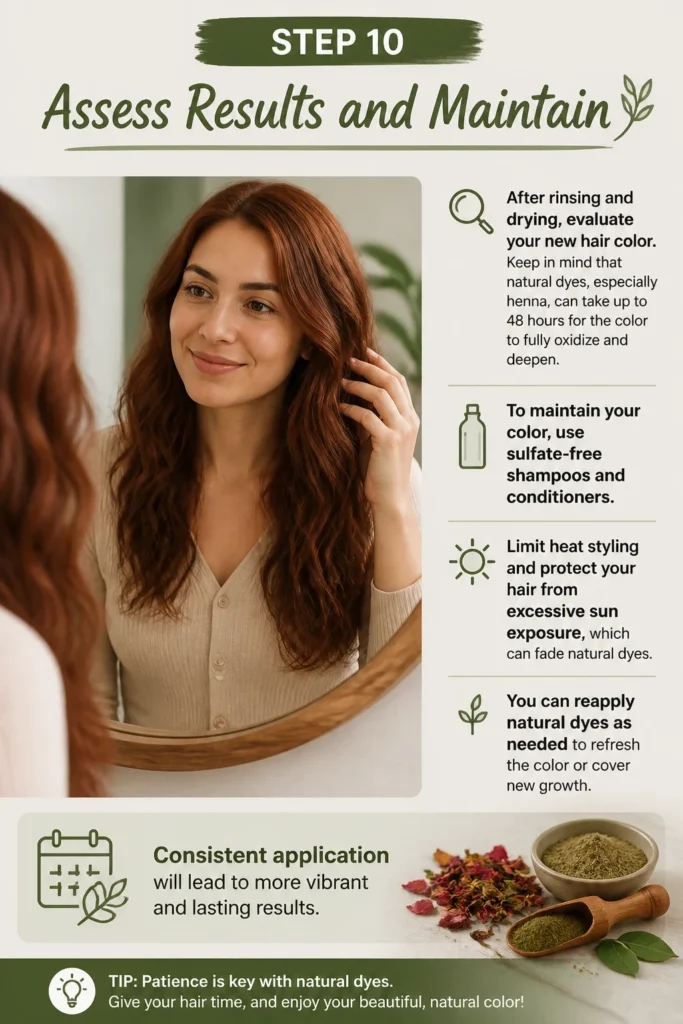
To maintain your color, use sulfate-free shampoos and conditioners. Limit heat styling and protect your hair from excessive sun exposure, which can fade natural dyes.
You can reapply natural dyes as needed to refresh the color or cover new growth. Consistent application will lead to more vibrant and lasting results.
Common Mistakes to Avoid
Not Performing a Strand Test
Skipping the strand test is a common error that can lead to unexpected color results. Natural hair dyes react uniquely with different hair types and existing colors.
What works for one person may produce a completely different shade on another. Always test a small section first to ensure you’ll love the final outcome.
Uneven Application
Rushing the application process or not sectioning your hair properly can result in patchy, inconsistent color. Some areas might be vibrant, while others appear barely touched.
Take your time, work in small sections, and ensure every strand is thoroughly saturated from root to tip. This diligence ensures a uniform and beautiful finish.
Unrealistic Expectations
Natural dyes deposit color; they cannot lighten your hair. Expecting to go from dark brown to blonde using chamomile tea will only lead to disappointment.
Understand the limitations and capabilities of each natural ingredient. Focus on enhancing your current shade or achieving subtle shifts within your hair’s natural color range.
Ignoring Dye Release Times
Especially with henna, proper dye release is critical for maximum color potency. Mixing and immediately applying the paste won’t yield the best results.
Allowing the mixture to sit for the recommended time ensures the natural pigments are fully active and ready to bind to your hair for a deeper, more lasting color.
Troubleshooting
Color Too Light or Not Visible Enough
If your desired color is too subtle or barely noticeable, it often means the dye didn’t process long enough or the mixture wasn’t strong enough.
You can reapply the same dye mixture and leave it on for a longer duration during your next application. For stronger results, ensure your natural ingredients are highly concentrated (e.g., strong tea, pure henna).
Patchy or Uneven Color
Uneven results usually stem from inconsistent application. Some areas of your hair likely received more dye than others, or were missed entirely.
Next time, section your hair more meticulously and apply the dye in smaller, more manageable portions. Ensure complete saturation of every strand for a uniform finish.
Unwanted Undertones (e.g., Greenish Tint)
This is a rare but possible issue, especially if mixing certain natural dyes or applying them over chemically treated hair. For instance, some indigo-based mixes can go green if not used correctly.
Research your chosen ingredients thoroughly before combining them. If you experience an unwanted tint, a clarifying shampoo can sometimes help to gently strip some of the color, or a subsequent application with a different natural dye might neutralize it.
Key Takeaways
- Always perform a strand and patch test before full application to predict color and check for allergies.
- Natural dyes work by depositing color and cannot lighten your hair; manage your expectations accordingly.
- Henna is the most potent natural dye for red and auburn tones, requiring specific dye release time.
- Ensure even application by sectioning your hair meticulously to avoid patchy results.
- Protect your skin and surroundings thoroughly, as natural dyes can stain.
- Follow up with a deep conditioning treatment to keep your hair moisturized after dyeing.
Frequently Asked Questions
How long does natural hair dye last?
The longevity of natural hair dye varies significantly depending on the ingredient. Henna can be quite permanent and grows out with your hair. Coffee and tea rinses are temporary and may last only a few washes, gradually fading over time.
Can I go lighter with natural dyes?
No, natural dyes primarily work by depositing pigment onto the hair shaft, which means they can only add color or darken your existing shade. They do not contain bleaching agents that would lighten hair.
Is it safe to use natural dyes on chemically treated hair?
Generally, yes, but caution is advised. Henna, in particular, can react unpredictably with certain chemical dyes, especially those containing metallic salts. Always do a strand test on chemically treated hair to observe the reaction before full application.
How often can I dye my hair naturally?
You can dye your hair naturally as often as you like, as these methods are typically gentle and nourishing. Many people use natural dyes like henna or tea rinses regularly to refresh color, cover roots, or condition their hair.
Our Top Recommended Finds
- Applicator Brush and Bowl Set: Essential for precise mixing and applying your natural dye mixture evenly, reducing mess.
- Nitrile Gloves: Protect your hands from staining and ensure a hygienic application process. Always have a few pairs on hand.
- Sulfate-Free Deep Conditioning Mask: Helps to lock in moisture and keep your hair soft and healthy after any dyeing process, natural or otherwise.
Ready to Transform Your Tresses Naturally?
Dyeing your hair at home without chemicals opens up a world of gentle, beautiful possibilities. It’s a journey of discovery, connecting you to ancient traditions of hair care.
Embrace the process, enjoy the natural aromas, and delight in the subtle, rich colors you can achieve. Your hair will thank you for the nourishment.
Why wait? Gather your chosen ingredients and start your natural hair coloring adventure today. Your vibrant, healthy hair awaits.
Beginner-friendly templates, step-by-step guides,
and weekly project ideas in your inbox.