💅 How To Do Gel Nails At Home

Beginner-friendly templates, step-by-step guides,
and weekly project ideas in your inbox.
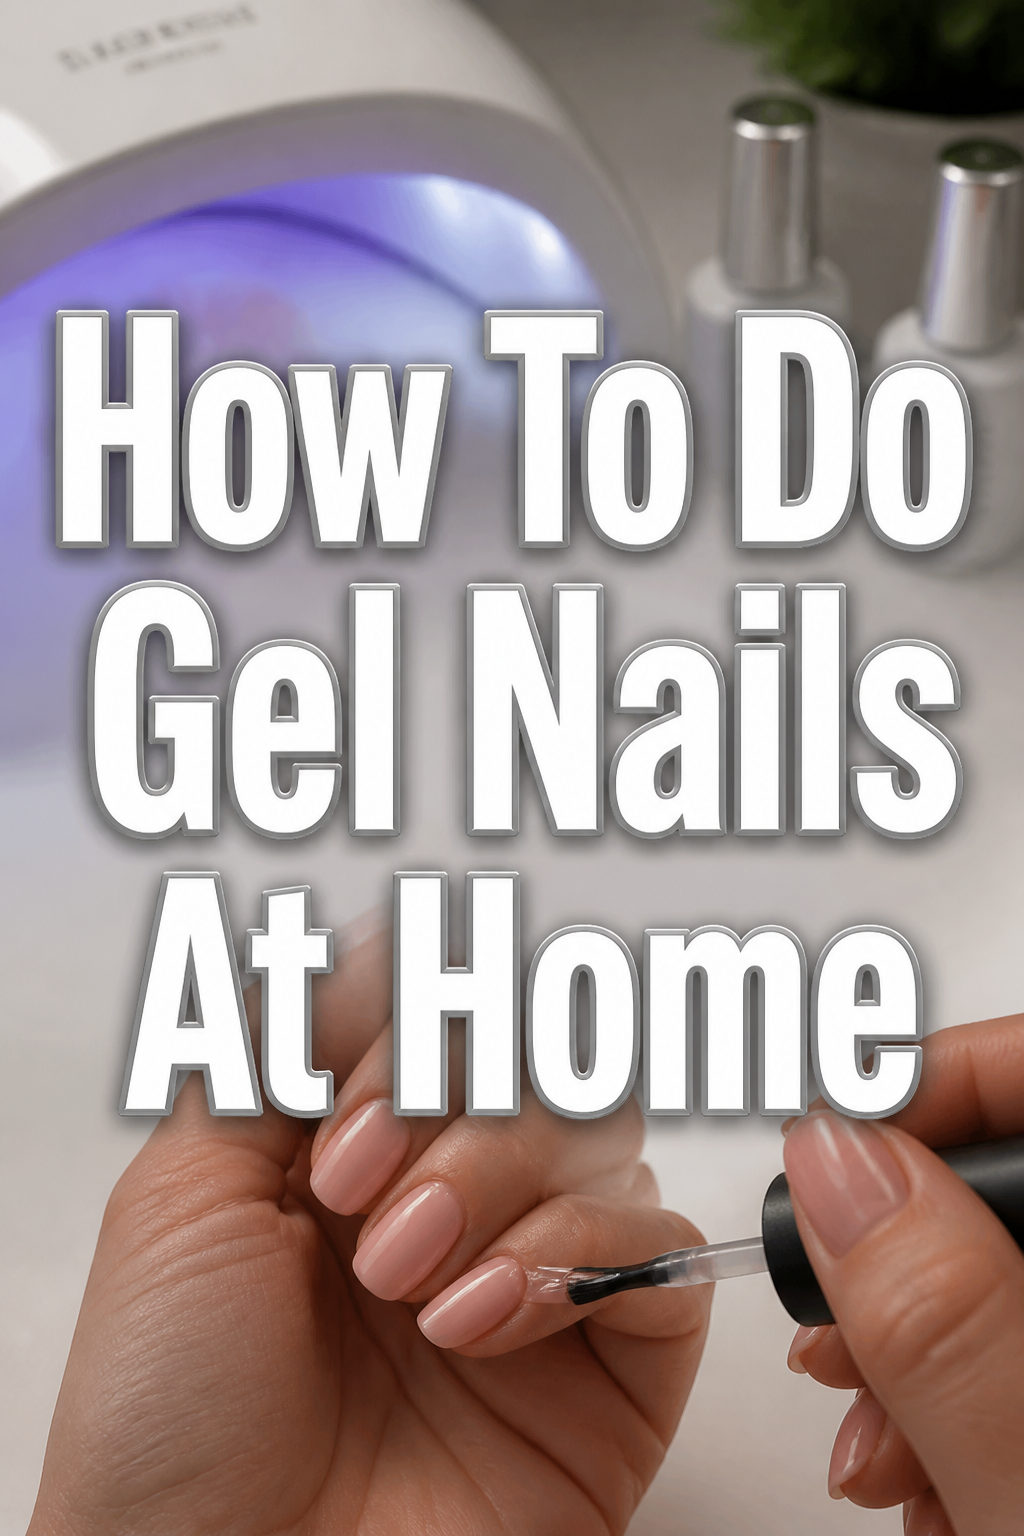
I remember the first time I tried gel nails at home, convinced it would be a disaster. With a bit of practice and the right steps, you can achieve salon-quality results right from your living room. This guide shares my tried-and-true methods for perfect gel manicures.
Quick Overview
Mastering gel nails at home means enjoying chip-free, glossy manicures that last weeks. You’ll learn the essential techniques to prep, apply, and cure your way to beautiful nails.
- Time needed: 60-90 minutes
- Difficulty: Beginner
- What you’ll need: UV/LED lamp, gel base coat, gel color polish, gel top coat, nail file, buffer, cuticle pusher, dehydrator, primer, lint-free wipes, rubbing alcohol.
Step-by-Step Instructions
Step 1: Gather Your Tools
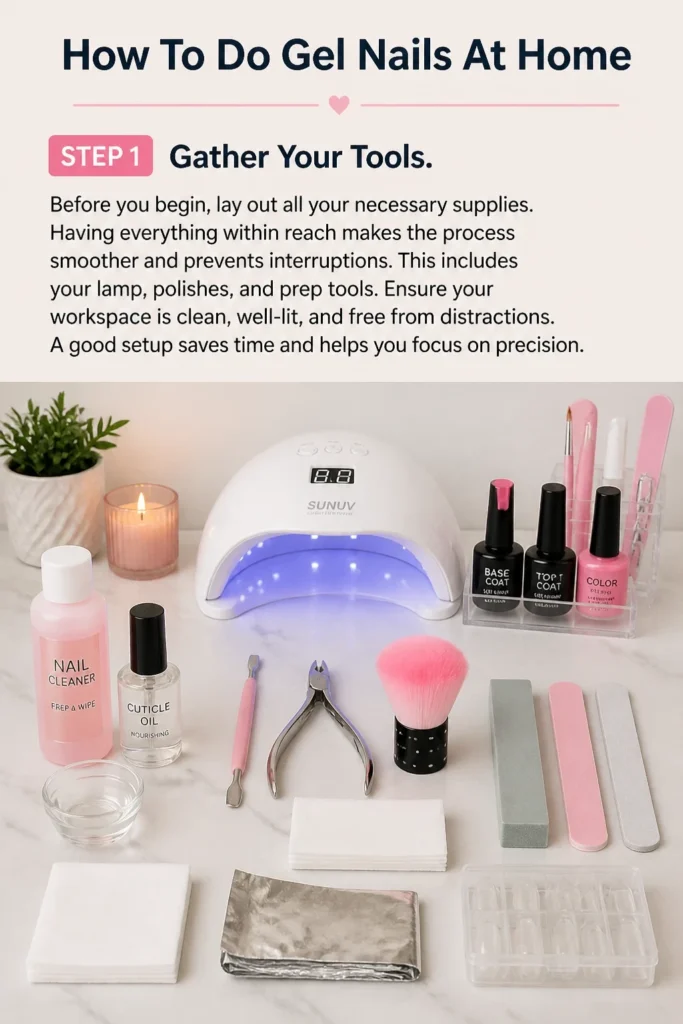
Before you begin, lay out all your necessary supplies. Having everything within reach makes the process smoother and prevents interruptions. This includes your lamp, polishes, and prep tools.
Ensure your workspace is clean, well-lit, and free from distractions. A good setup saves time and helps you focus on precision.
Step 2: Prep Your Nails Thoroughly
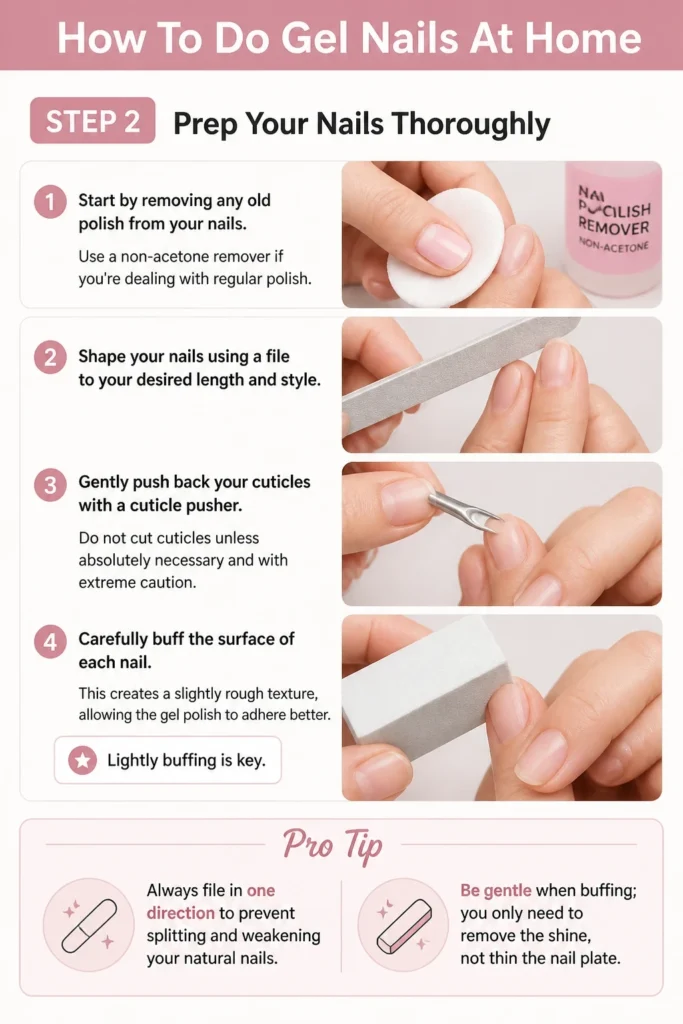
Start by removing any old polish from your nails. Use a non-acetone remover if you’re dealing with regular polish.
Shape your nails using a file to your desired length and style. Gently push back your cuticles with a cuticle pusher. Do not cut cuticles unless absolutely necessary and with extreme caution.
Carefully buff the surface of each nail. This creates a slightly rough texture, allowing the gel polish to adhere better. Lightly buffing is key.
Pro Tip: Always file in one direction to prevent splitting and weakening your natural nails. Be gentle when buffing; you only need to remove the shine, not thin the nail plate.
Step 3: Cleanse and Dehydrate
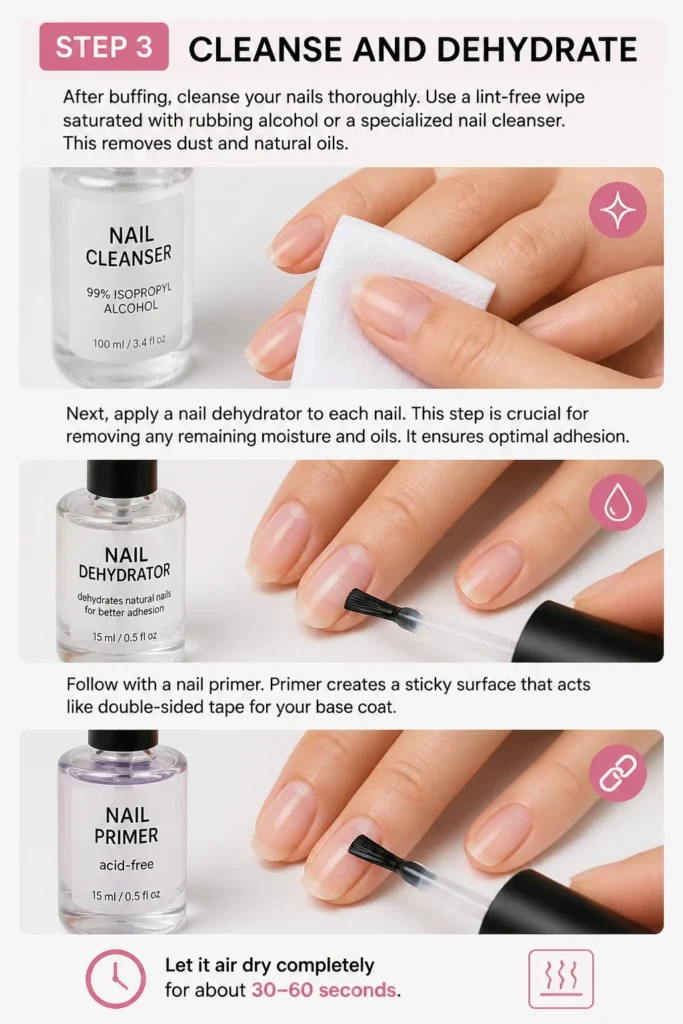
After buffing, cleanse your nails thoroughly. Use a lint-free wipe saturated with rubbing alcohol or a specialized nail cleanser. This removes dust and natural oils.
Next, apply a nail dehydrator to each nail. This step is crucial for removing any remaining moisture and oils. It ensures optimal adhesion.
Follow with a nail primer. Primer creates a sticky surface that acts like double-sided tape for your base coat. Let it air dry completely for about 30-60 seconds.
Step 4: Apply Gel Base Coat
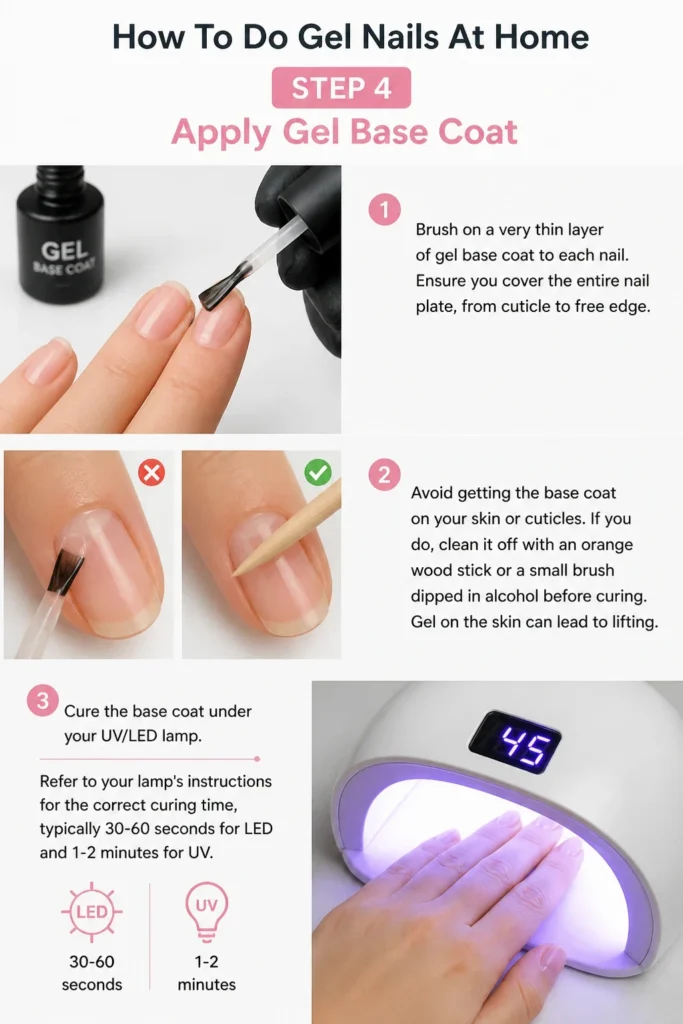
Brush on a very thin layer of gel base coat to each nail. Ensure you cover the entire nail plate, from cuticle to free edge.
Avoid getting the base coat on your skin or cuticles. If you do, clean it off with an orange wood stick or a small brush dipped in alcohol before curing. Gel on the skin can lead to lifting.
Cure the base coat under your UV/LED lamp. Refer to your lamp’s instructions for the correct curing time, typically 30-60 seconds for LED and 1-2 minutes for UV.
Step 5: Apply Gel Color Layers
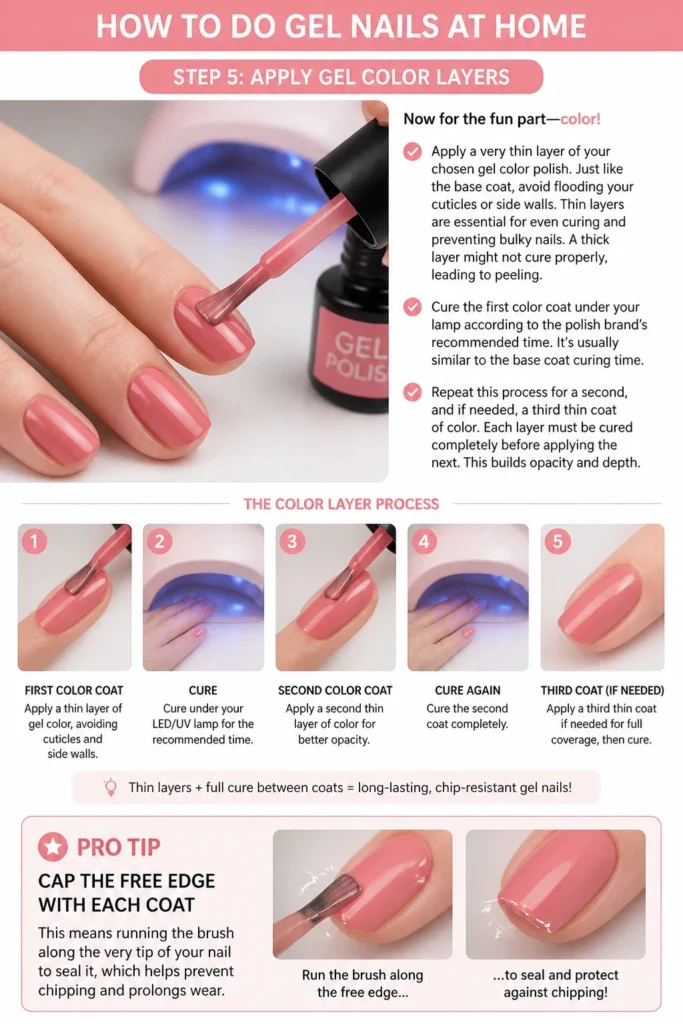
Now for the fun part: color! Apply a very thin layer of your chosen gel color polish. Just like the base coat, avoid flooding your cuticles or side walls.
Thin layers are essential for even curing and preventing bulky nails. A thick layer might not cure properly, leading to peeling.
Cure the first color coat under your lamp according to the polish brand’s recommended time. It’s usually similar to the base coat curing time.
Repeat this process for a second, and if needed, a third thin coat of color. Each layer must be cured completely before applying the next. This builds opacity and depth.
Pro Tip: “Cap” the free edge of your nail with each coat (base, color, top). This means running the brush along the very tip of your nail to seal it, which helps prevent chipping and prolongs wear.
Step 6: Seal with Gel Top Coat
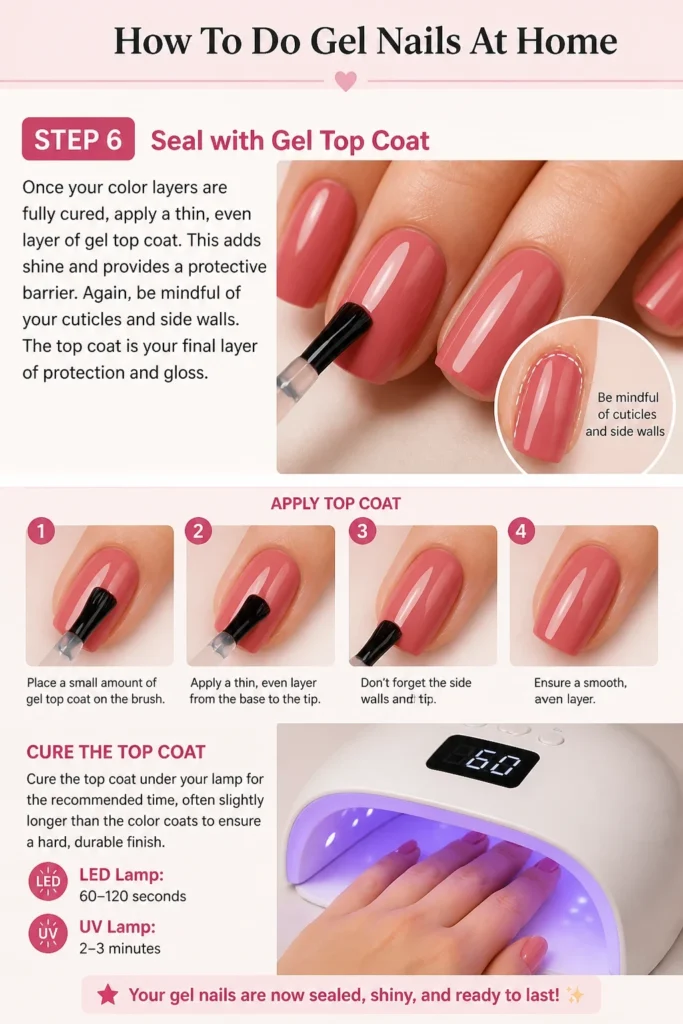
Once your color layers are fully cured, apply a thin, even layer of gel top coat. This adds shine and provides a protective barrier.
Again, be mindful of your cuticles and side walls. The top coat is your final layer of protection and gloss.
Cure the top coat under your lamp for the recommended time, often slightly longer than the color coats to ensure a hard, durable finish. This is typically 60-120 seconds for LED and 2-3 minutes for UV.
Step 7: Cleanse the Inhibition Layer
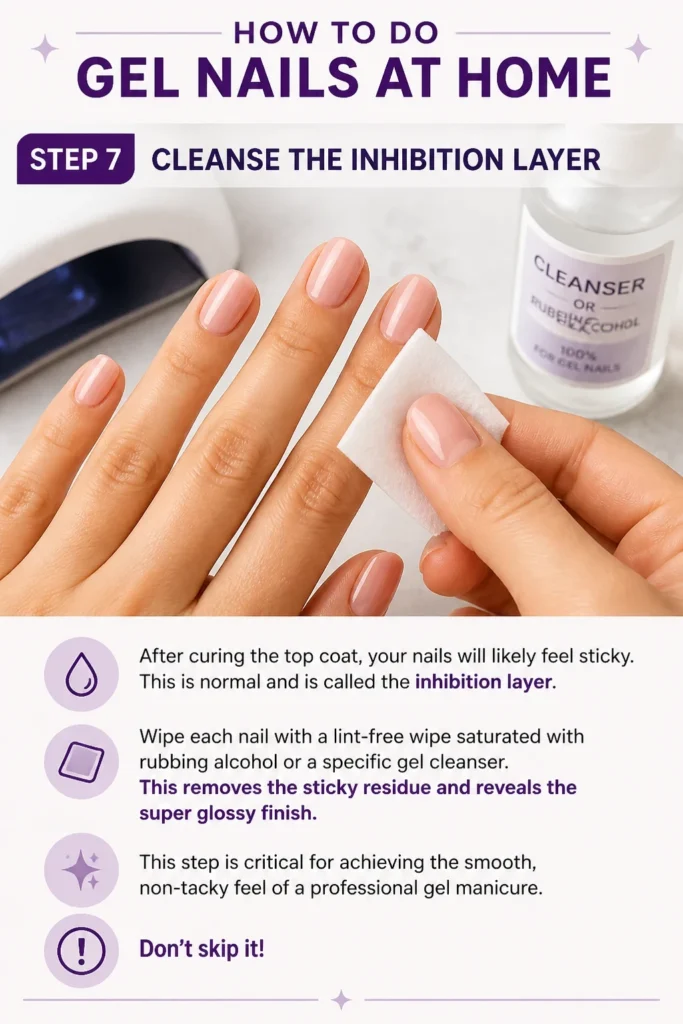
After curing the top coat, your nails will likely feel sticky. This is normal and is called the “inhibition layer.”
Wipe each nail with a lint-free wipe saturated with rubbing alcohol or a specific gel cleanser. This removes the sticky residue and reveals the super glossy finish.
This step is critical for achieving the smooth, non-tacky feel of a professional gel manicure. Don’t skip it!
Step 8: Hydrate Your Hands and Cuticles
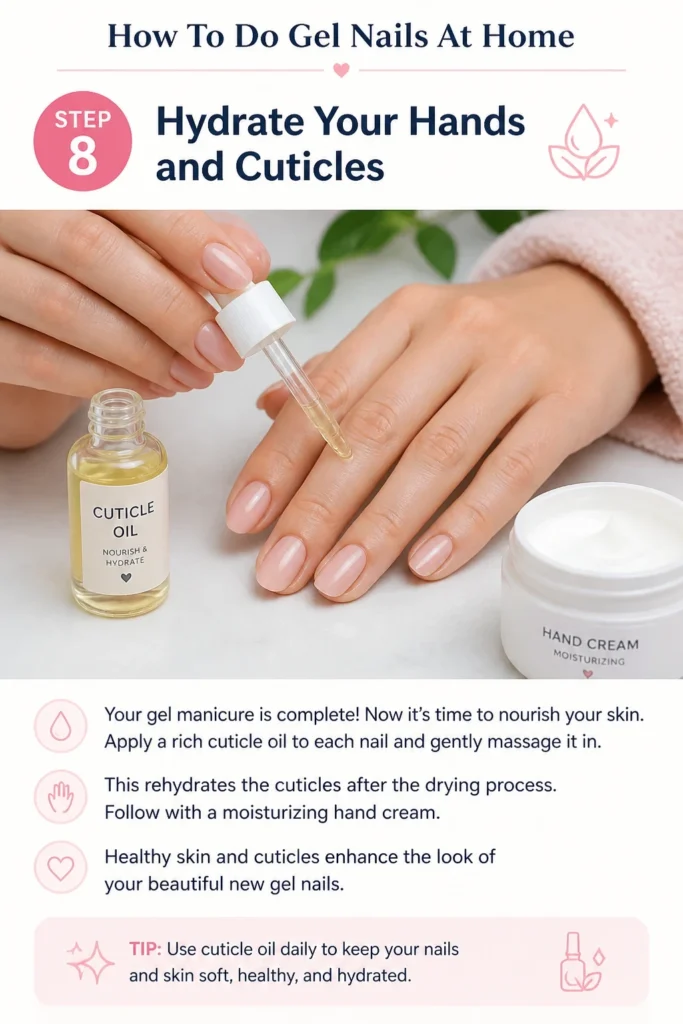
Your gel manicure is complete! Now it’s time to nourish your skin.
Apply a rich cuticle oil to each nail and gently massage it in. This rehydrates the cuticles after the drying process.
Follow with a moisturizing hand cream. Healthy skin and cuticles enhance the look of your beautiful new gel nails.
Common Mistakes to Avoid
Skipping Nail Prep
Many beginners rush or skip crucial prep steps like buffing, dehydrating, and priming. This is a common reason why gel polish lifts or peels prematurely. Proper preparation ensures the gel adheres securely to the natural nail, extending the life of your manicure. Always take your time with this foundational step.
Applying Thick Coats
It’s tempting to apply a thick layer of gel polish to achieve opaque color faster. However, thick layers do not cure properly under the lamp. This can lead to bubbling, wrinkling, or a soft, uncured center, making the polish prone to chipping or lifting. Always apply multiple thin, even coats, curing each one fully.
Getting Gel on Skin or Cuticles
Applying gel polish directly onto your skin or cuticles creates an immediate weak point in your manicure. The gel won’t adhere to skin, and as your nail grows, it will lift, allowing moisture and air underneath. This leads to premature peeling and can even cause allergic reactions. Always clean up any gel on your skin before curing.
Improper Curing
Not curing your gel polish for the recommended time, or using a lamp that isn’t powerful enough, will result in soft, sticky, and weak nails. Under-cured gel is not durable and can easily chip or smudge. Over-curing can also cause issues, such as brittleness. Always follow the specific curing times for your lamp and gel polish brand.
Troubleshooting
Gel Peeling or Lifting
If your gel manicure is peeling or lifting after a few days, the issue is likely inadequate nail preparation or getting gel on the skin. Ensure you thoroughly buff, dehydrate, and prime your nails, and meticulously clean any gel from your cuticles or sidewalls before curing. Capping the free edge with each layer also significantly helps.
Sticky Nails After Curing
A sticky layer on your nails after curing the top coat is completely normal; it’s called the inhibition layer. Simply wipe each nail with a lint-free wipe saturated with rubbing alcohol (or a specialized gel cleanser). This will remove the stickiness and reveal your super glossy, hardened manicure.
Dull or Uneven Finish
If your gel nails look dull instead of glossy, it could be due to not properly wiping the inhibition layer, or using an incompatible top coat. Ensure you’re using a quality gel top coat specifically designed for gel polish, and always finish by wiping with alcohol. Unevenness might indicate too-thick or poorly leveled coats, so practice applying thin, consistent layers.
Key Takeaways
- Thorough nail preparation is the foundation for a long-lasting gel manicure.
- Always apply gel in very thin, even layers, curing each one completely.
- Avoid getting gel polish on your skin or cuticles to prevent lifting.
- “Capping” the free edge of your nail helps seal the manicure and prevent chips.
- Don’t forget to wipe the sticky inhibition layer after the top coat for a glossy finish.
- Hydrating your cuticles and hands post-manicure keeps them healthy and beautiful.
Frequently Asked Questions
How long do gel nails last?
With proper application and care, a gel manicure done at home can typically last between 2 to 3 weeks. Longevity depends on your nail prep, the quality of your products, and how well you protect your nails during daily activities.
Can I use regular polish under gel?
No, you cannot use regular nail polish under gel polish. Gel systems are designed to work together, with each layer bonding to the next. Regular polish creates a barrier that prevents this adhesion, leading to immediate lifting and peeling of the gel.
Is gel bad for my nails?
Gel polish itself isn’t inherently bad for your nails when applied and removed correctly. Damage often comes from improper removal, such as peeling or prying off the gel, or excessive buffing during preparation. Proper removal involves soaking off the gel, not forcing it.
What’s the difference between UV and LED lamps?
UV and LED lamps both cure gel polish, but they use different wavelengths of light. LED lamps are generally faster, curing most gels in 30-60 seconds, while UV lamps take 1-2 minutes. Many modern gel polishes are formulated to be “UV/LED” compatible, meaning they will cure under either type of lamp.
Our Top Recommended Finds
- UV/LED Nail Lamp: Essential for curing gel polish. Look for a dual-light source lamp for versatility.
- Complete Gel Polish Kit: Often includes a base coat, top coat, multiple color polishes, and sometimes prep liquids. A great way to start.
- Electric Nail File with Gentle Bits: Useful for safe and efficient gel polish removal, but requires careful handling.
Your Journey to Perfect Nails Begins Now
You now have all the knowledge to start creating beautiful, salon-quality gel nails right at home. The key is practice and patience. Don’t get discouraged if your first attempt isn’t perfect; every manicure is a chance to refine your technique.
Enjoy the satisfaction of a long-lasting, glossy finish you achieved yourself. Experiment with colors and designs as you gain confidence. Your journey to stunning, durable nails has just begun!
Beginner-friendly templates, step-by-step guides,
and weekly project ideas in your inbox.