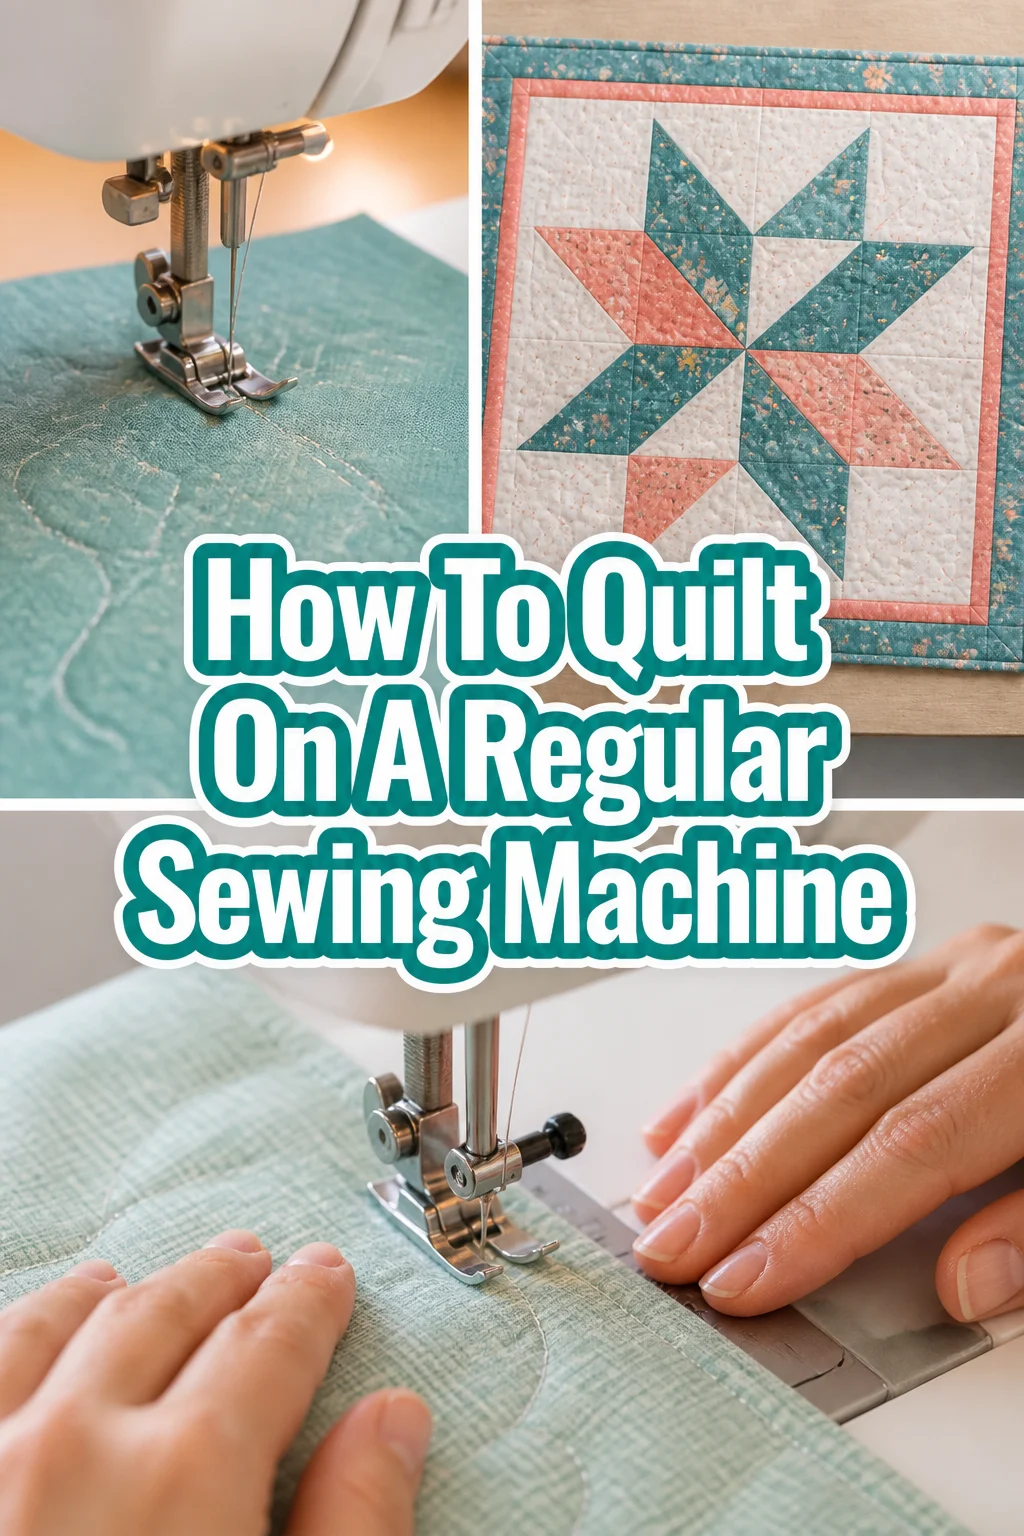
🧵 How To Quilt On A Regular Sewing Machine

Beginner-friendly templates, step-by-step guides,
and weekly project ideas in your inbox.
Quilting might seem like a specialized craft, requiring dedicated, expensive equipment. But that’s simply not true.
I started my quilting journey years ago, using the very same basic sewing machine I used for mending clothes. You absolutely can create beautiful, lasting quilts with what you already have.
This guide will show you exactly how to do it, step by step.

Quick Overview
You’re about to learn how to transform fabric layers into a cozy, textured quilt using your standard home sewing machine. We’ll cover everything from preparing your materials to finishing your edges.
- Time needed: 4-8 hours for a small project (e.g., placemat, baby quilt)
- Difficulty: Beginner
- What you’ll need: Fabrics (top, batting, backing), thread, pins or clips, rotary cutter, cutting mat, quilting ruler, sewing machine, walking foot (highly recommended).
Step-by-Step Instructions
Step 1: Gather Your Materials
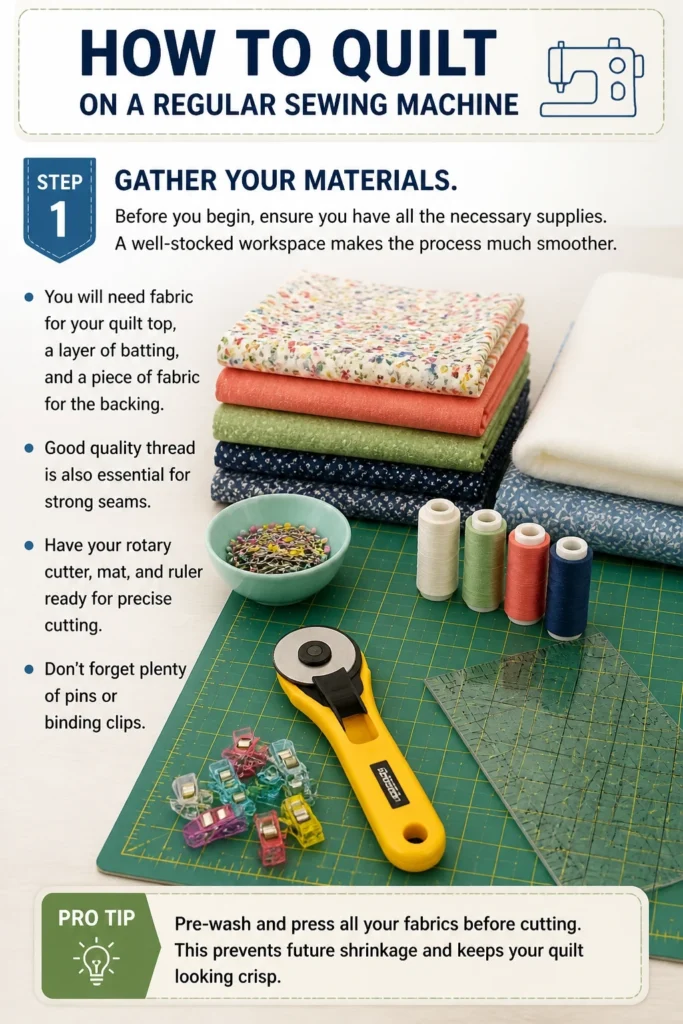
Before you begin, ensure you have all the necessary supplies. A well-stocked workspace makes the process much smoother.
You will need fabric for your quilt top, a layer of batting, and a piece of fabric for the backing. Good quality thread is also essential for strong seams.
Have your rotary cutter, mat, and ruler ready for precise cutting. Don’t forget plenty of pins or binding clips.
Pro Tip: Pre-wash and press all your fabrics before cutting. This prevents future shrinkage and keeps your quilt looking crisp.
Step 2: Prepare Your Quilt Top
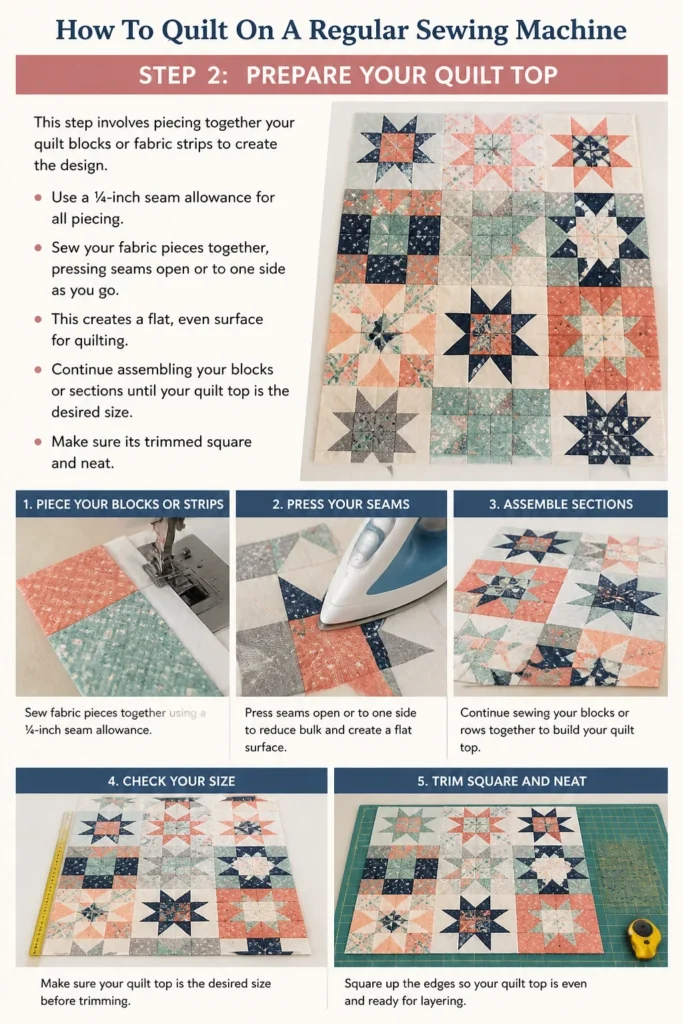
This step involves piecing together your quilt blocks or fabric strips to create the design. Use a ¼-inch seam allowance for all piecing.
Sew your fabric pieces together, pressing seams open or to one side as you go. This creates a flat, even surface for quilting.
Continue assembling your blocks or sections until your quilt top is the desired size. Make sure it’s trimmed square and neat.
Step 3: Create the Quilt Sandwich
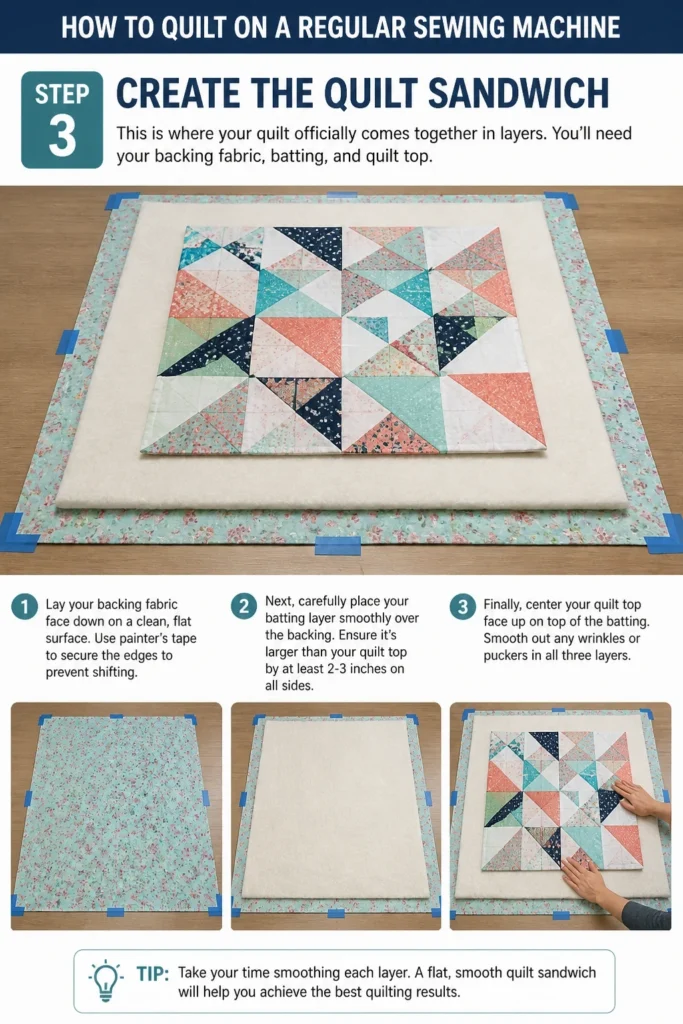
This is where your quilt officially comes together in layers. You’ll need your backing fabric, batting, and quilt top.
Lay your backing fabric face down on a clean, flat surface. Use painter’s tape to secure the edges to prevent shifting.
Next, carefully place your batting layer smoothly over the backing. Ensure it’s larger than your quilt top by at least 2-3 inches on all sides.
Finally, center your quilt top face up on top of the batting. Smooth out any wrinkles or puckers in all three layers.
Step 4: Baste Your Quilt Layers
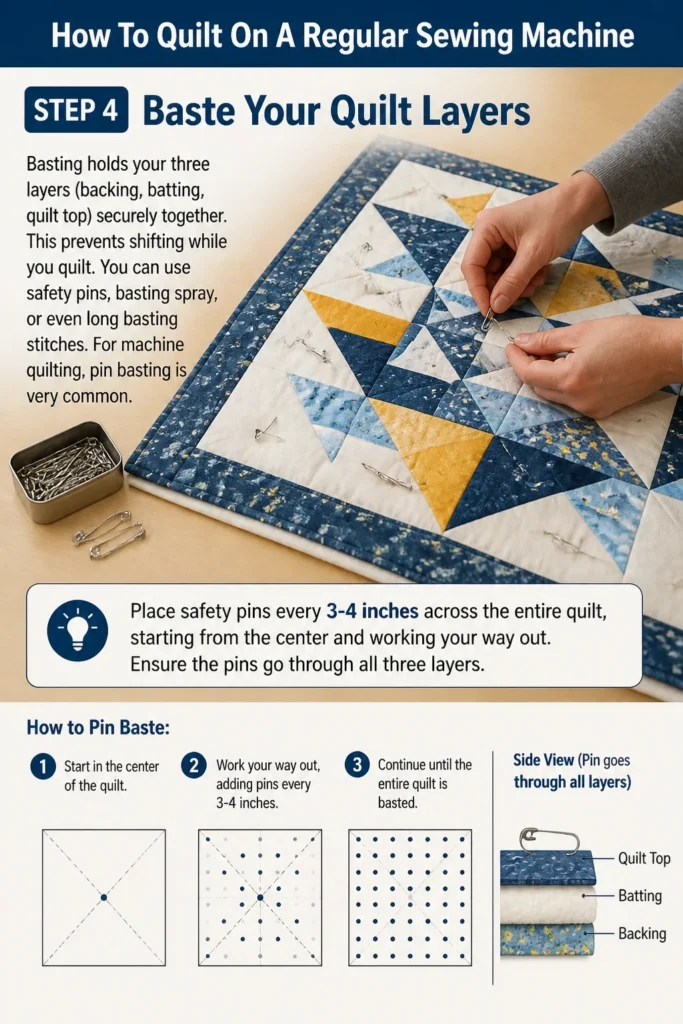
Basting holds your three layers (backing, batting, quilt top) securely together. This prevents shifting while you quilt.
You can use safety pins, basting spray, or even long basting stitches. For machine quilting, pin basting is very common.
Place safety pins every 3-4 inches across the entire quilt, starting from the center and working your way out. Ensure the pins go through all three layers.
Step 5: Set Up Your Sewing Machine
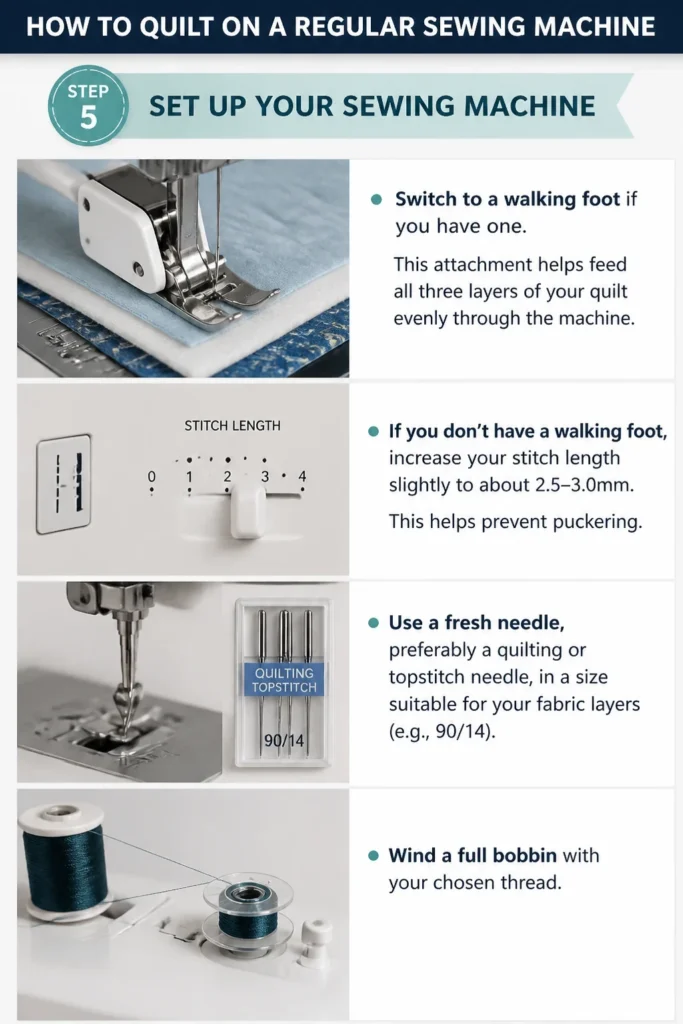
Switch to a walking foot if you have one. This attachment helps feed all three layers of your quilt evenly through the machine.
If you don’t have a walking foot, increase your stitch length slightly to about 2.5-3.0mm. This helps prevent puckering.
Use a fresh needle, preferably a quilting or topstitch needle, in a size suitable for your fabric layers (e.g., 90/14). Wind a full bobbin with your chosen thread.
Step 6: Plan Your Quilting Design
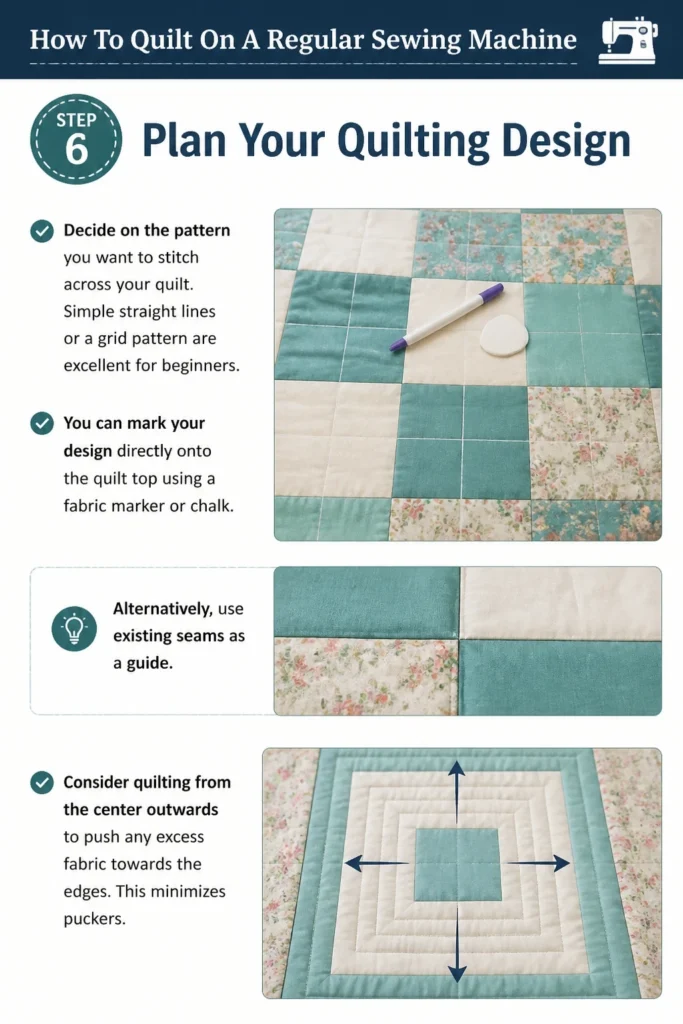
Decide on the pattern you want to stitch across your quilt. Simple straight lines or a grid pattern are excellent for beginners.
You can mark your design directly onto the quilt top using a fabric marker or chalk. Alternatively, use existing seams as a guide.
Consider quilting from the center outwards to push any excess fabric towards the edges. This minimizes puckers.
Step 7: Start Quilting!
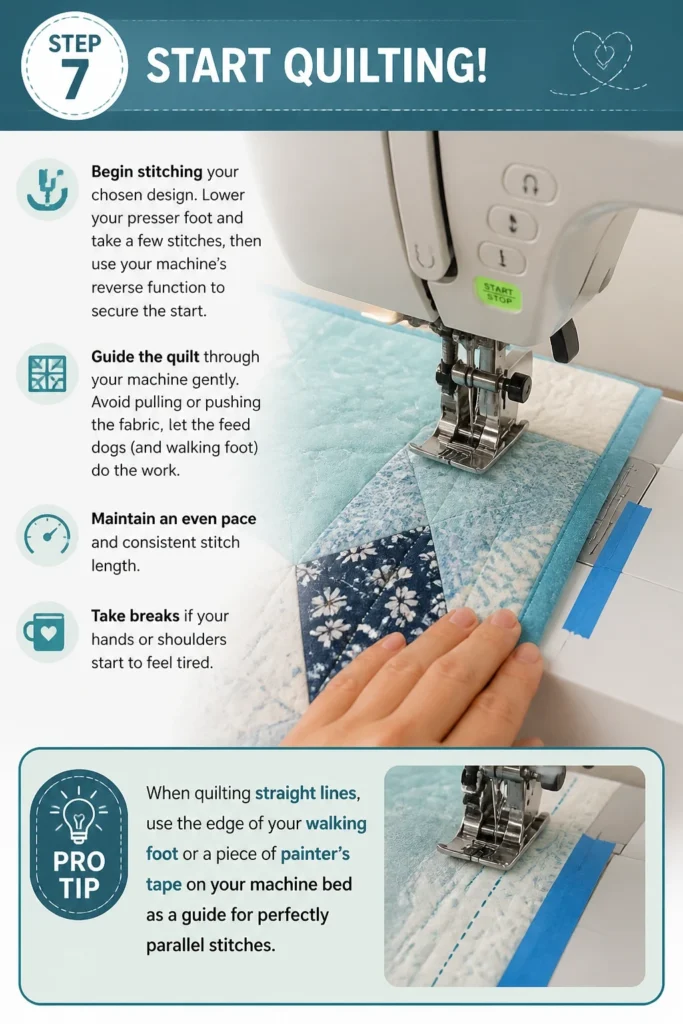
Begin stitching your chosen design. Lower your presser foot and take a few stitches, then use your machine’s reverse function to secure the start.
Guide the quilt through your machine gently. Avoid pulling or pushing the fabric, let the feed dogs (and walking foot) do the work.
Maintain an even pace and consistent stitch length. Take breaks if your hands or shoulders start to feel tired.
Pro Tip: When quilting straight lines, use the edge of your walking foot or a piece of painter’s tape on your machine bed as a guide for perfectly parallel stitches.
Step 8: Trim and Square Up
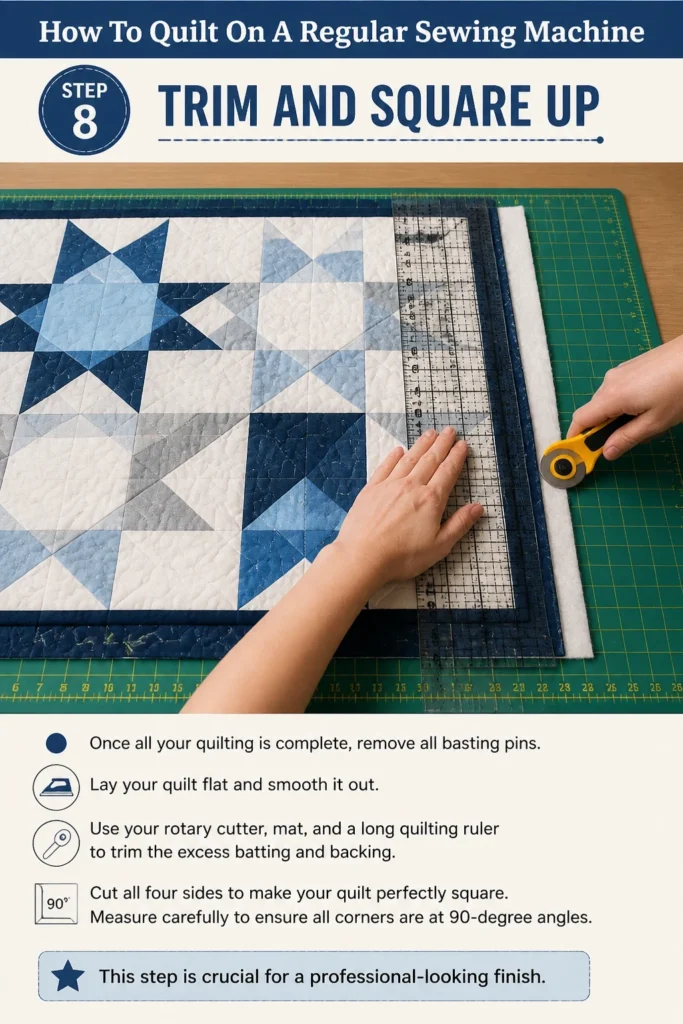
Once all your quilting is complete, remove all basting pins. Lay your quilt flat and smooth it out.
Use your rotary cutter, mat, and a long quilting ruler to trim the excess batting and backing. Cut all four sides to make your quilt perfectly square.
Measure carefully to ensure all corners are at 90-degree angles. This step is crucial for a professional-looking finish.
Step 9: Attach the Binding
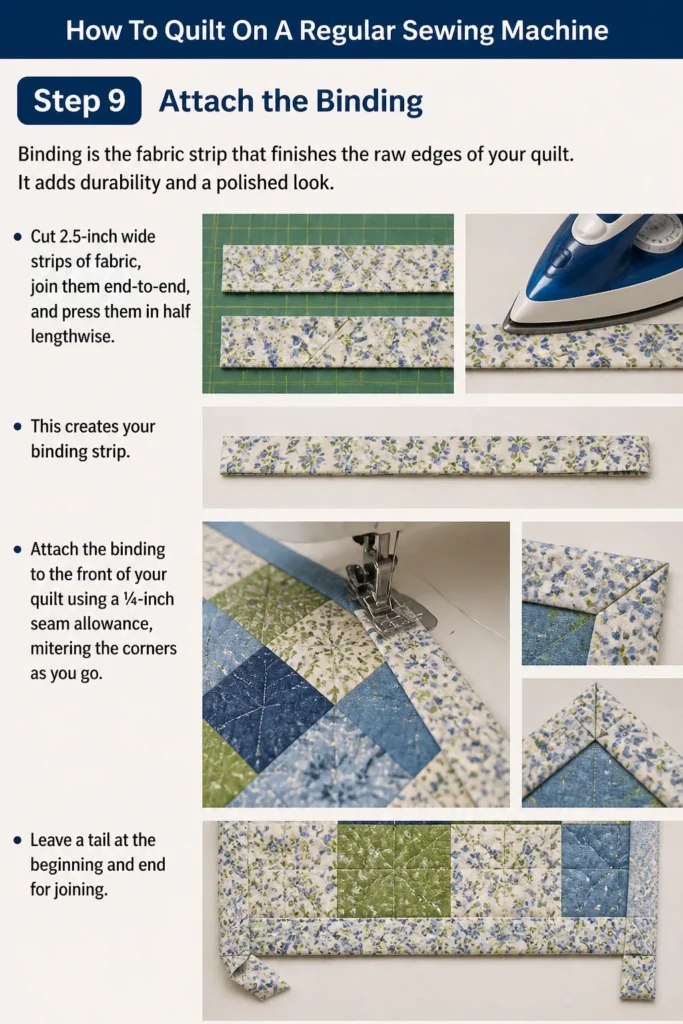
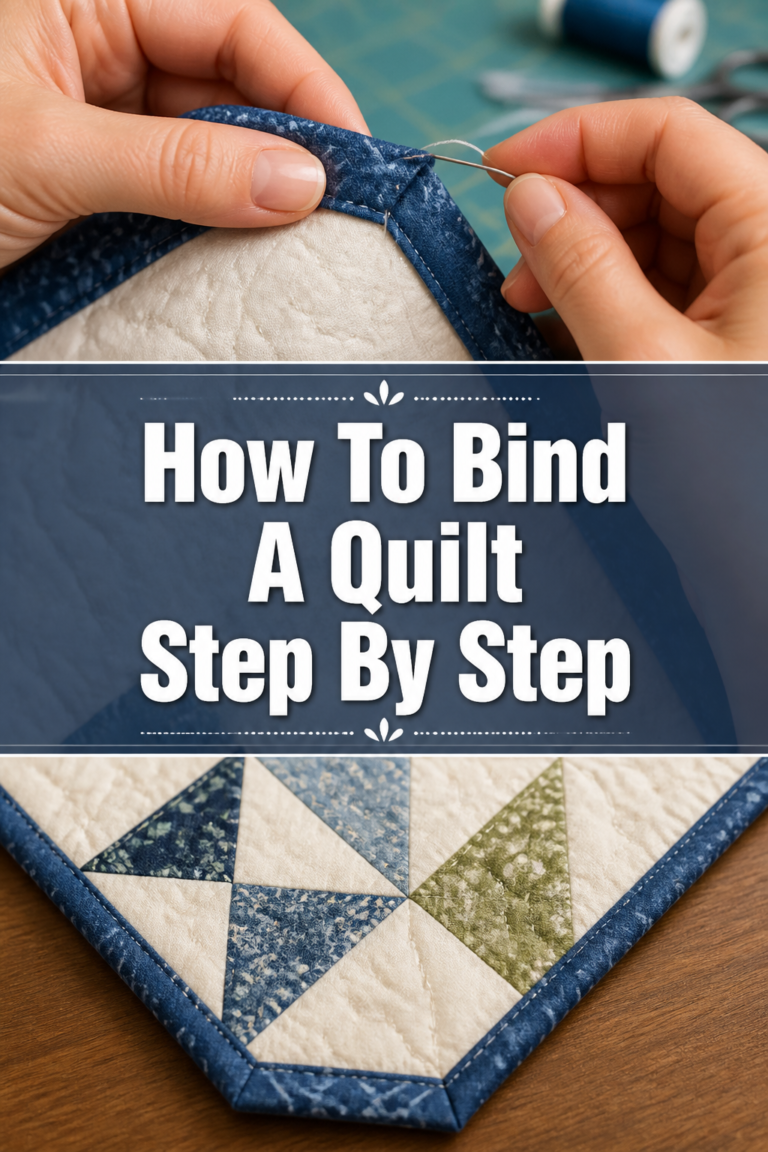
Binding is the fabric strip that finishes the raw edges of your quilt. It adds durability and a polished look.
Cut 2.5-inch wide strips of fabric, join them end-to-end, and press them in half lengthwise. This creates your binding strip.
Attach the binding to the front of your quilt using a ¼-inch seam allowance, mitering the corners as you go. Leave a tail at the beginning and end for joining.
Step 10: Finish the Binding
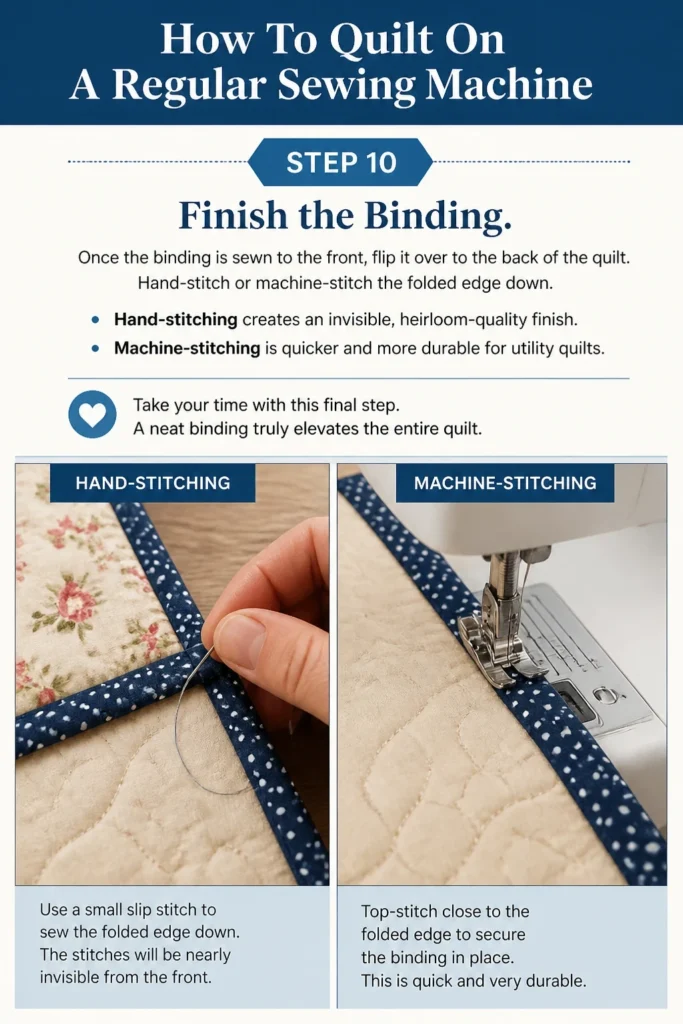
Once the binding is sewn to the front, flip it over to the back of the quilt. Hand-stitch or machine-stitch the folded edge down.
Hand-stitching creates an invisible, heirloom-quality finish. Machine-stitching is quicker and more durable for utility quilts.
Take your time with this final step. A neat binding truly elevates the entire quilt.
Common Mistakes to Avoid
Skipping Basting
It’s tempting to rush into quilting, but skipping proper basting leads to a lumpy, puckered quilt. The layers will shift, and your stitches will look uneven. Always take the time to thoroughly baste your quilt sandwich, ensuring all three layers are securely held together before you start stitching.
Not Using a Walking Foot
While not strictly mandatory, a walking foot is a game-changer for machine quilting. Without it, your sewing machine’s feed dogs only move the bottom layer, causing the top layer to stretch and ripple. Invest in one if you plan to quilt regularly; it makes a huge difference in stitch quality and ease.
Starting Quilting at the Edges
Beginning your quilting stitches around the perimeter of the quilt can trap excess fabric in the center. This often results in noticeable puckers. Always start quilting from the center of your quilt and work your way outwards. This allows any extra fabric to be pushed to the edges where it can be trimmed away.
Incorrect Thread Choice
Using a weak or inappropriate thread can lead to breakage, skipped stitches, and an overall flimsy quilt. Opt for a good quality 100% cotton thread for piecing and quilting. Polyester threads are also durable and can be used. Match your needle size to your thread weight for optimal performance.
Troubleshooting
Fabric Puckering or Rippling
If your quilt top is puckering, it often means the layers are shifting or not being fed evenly. Ensure your quilt is thoroughly basted, with pins placed every few inches. Using a walking foot is crucial, as it helps all three layers feed at the same rate. Also, try increasing your stitch length slightly.
Skipped Stitches
Skipped stitches can be frustrating. The most common culprits are a dull or incorrect needle, or improper threading. Replace your needle with a fresh, sharp quilting or topstitch needle. Re-thread your machine completely, both the top thread and the bobbin, ensuring the thread is seated correctly in all tension guides.
Thread Breaking
Frequent thread breaks can indicate tension issues, a burr on your needle or machine parts, or a low-quality thread. First, try re-threading your machine and bobbin. Check your needle for any signs of damage. Adjust your top tension slightly, either up or down, to find the sweet spot.
Key Takeaways
- Preparation is paramount: Wash, press, and cut your fabrics accurately before you start sewing.
- Basting is non-negotiable: Securely baste your quilt sandwich to prevent shifting and puckering.
- Invest in a walking foot: This accessory is the single most helpful tool for quilting on a regular machine.
- Start quilting from the center: Work outwards to manage fabric excess and achieve a flatter finish.
- Trim carefully: Square up your quilt precisely before adding the binding for a professional look.
- Practice makes perfect: Don’t be afraid to start with smaller projects to build your confidence and skills.
Frequently Asked Questions
Can I quilt a large quilt on a regular sewing machine?
Yes, you absolutely can quilt larger projects on a home machine, but it requires patience and a good strategy. Roll up the excess quilt bulk and use clips or bungee cords to keep it out of the machine’s throat space. Work in sections, rotating the quilt as needed.
Do I really need a walking foot?
While not strictly mandatory, a walking foot dramatically improves the quilting experience on a regular machine. It feeds all three layers of your quilt evenly, preventing puckering and shifting. For smooth, consistent stitches, it’s highly recommended.
What kind of thread is best for quilting?
For piecing and quilting, a good quality 100% cotton thread is generally preferred. It blends well with cotton fabrics and is durable. Polyester threads are also strong and can be used. Choose a thread weight that matches your needle and desired aesthetic.
How do I choose a quilting design?
Start simple! Straight lines, grid patterns, or following existing seams are excellent for beginners. As you gain confidence, you can explore free-motion quilting or more intricate designs. Consider the overall feel of your quilt and what design will complement it best.
Our Top Recommended Finds
- Walking Foot: A machine-specific walking foot will be your best friend for feeding multiple layers evenly.
- Rotary Cutter, Mat, and Ruler Set: Essential for precise, straight cuts, saving you countless hours over scissors.
- Quilting Safety Pins: Curved safety pins are easier to open and close through multiple layers, making basting much simpler.
Your Quilting Adventure Awaits
You now have the practical steps and confidence to begin quilting on your regular sewing machine. This accessible craft is incredibly rewarding, allowing you to create beautiful, functional art.
Don’t let the idea of specialized equipment hold you back any longer. Grab your fabric, set up your machine, and start stitching your first quilt today. You’ll be amazed at what you can create.
Beginner-friendly templates, step-by-step guides,
and weekly project ideas in your inbox.