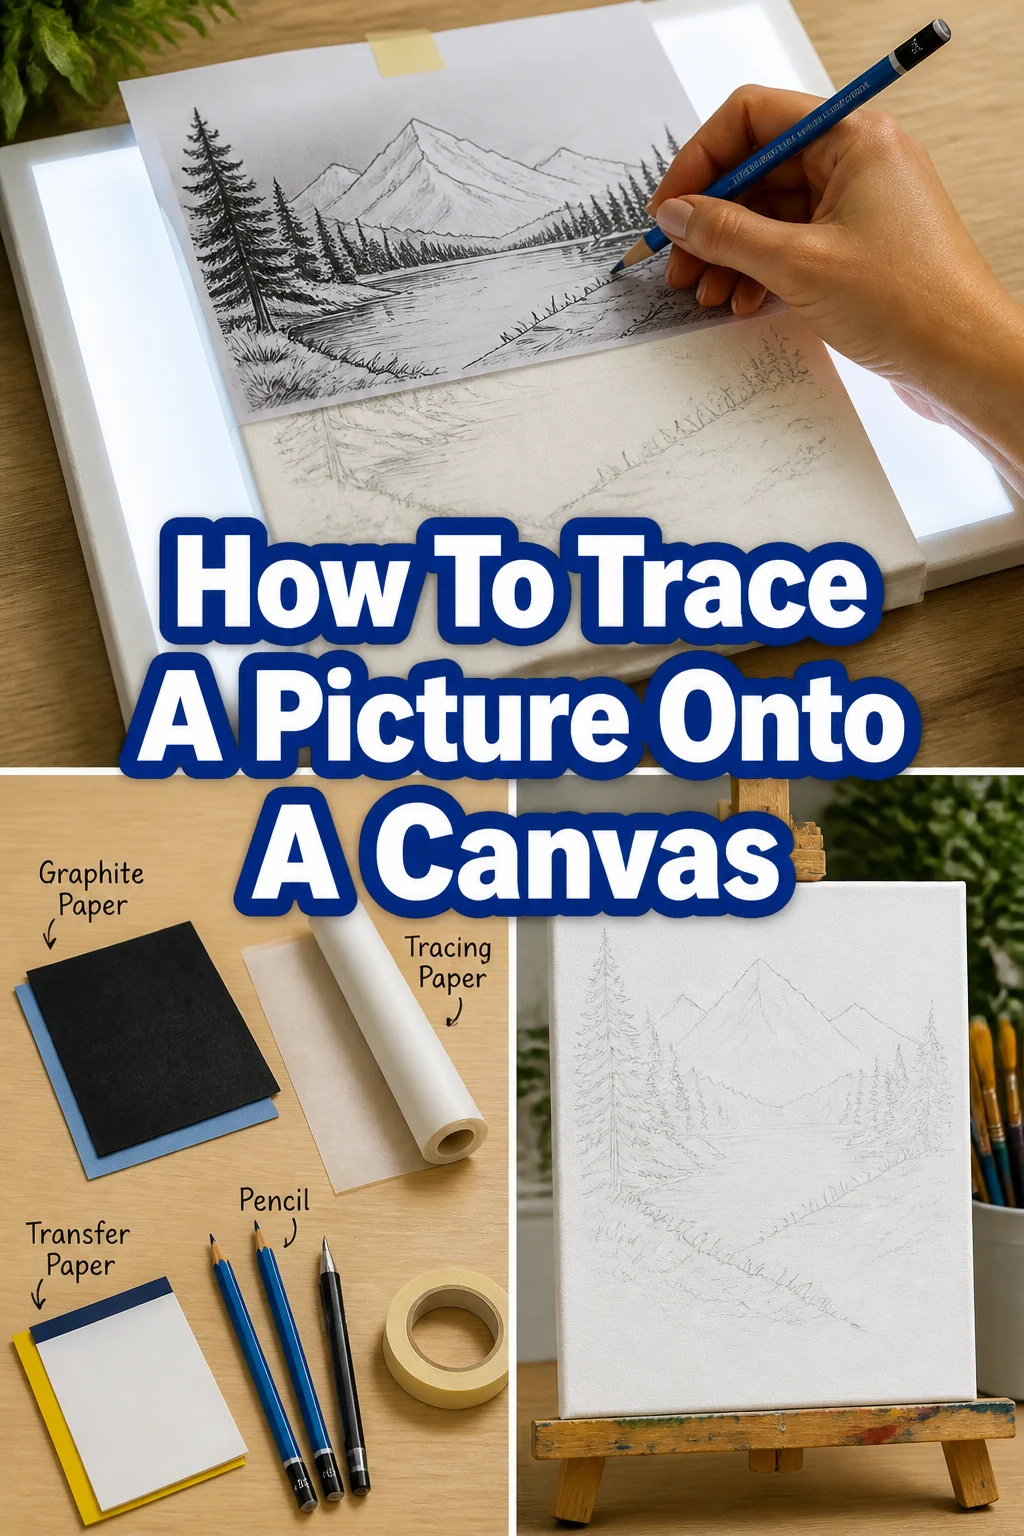
✏️ How To Trace A Picture Onto A Canvas

Beginner-friendly templates, step-by-step guides,
and weekly project ideas in your inbox.
Ever wanted to recreate a beloved photo or intricate design on canvas, but felt intimidated by freehand drawing?
Tracing is a fantastic, accessible way to bring your artistic visions to life, even if you don’t consider yourself an expert sketch artist.
Having used these methods myself to transfer countless designs, I’m here to guide you through a simple, effective process that guarantees great results every time.

Quick Overview
This guide will show you how to accurately transfer any image onto your canvas, setting you up for a successful painting project.
You’ll learn a reliable tracing technique that ensures your initial artwork is perfectly positioned and scaled.
- Time needed: 30-60 minutes (depending on image complexity and size)
- Difficulty: Beginner
- What you’ll need: Printed image, canvas, soft graphite pencil (e.g., 2B-6B), artist’s tape, ballpoint pen or stylus, eraser.
Step-by-Step Instructions
Step 1: Prepare Your Workspace
Start by clearing a flat, stable surface where you can comfortably work. Good lighting is essential to clearly see your lines and avoid strain.
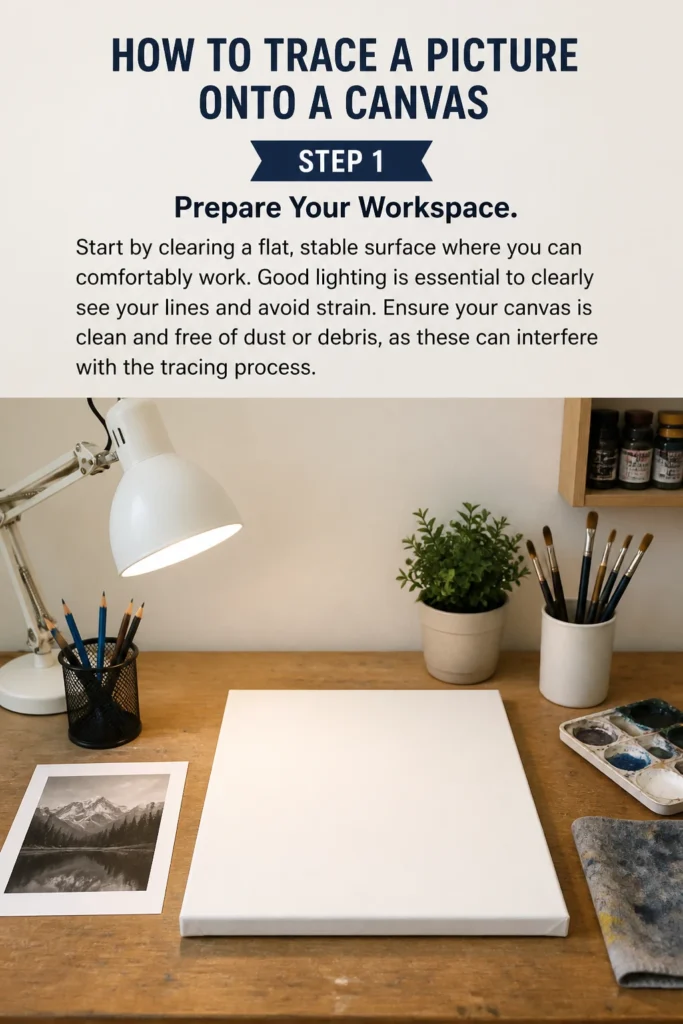
Ensure your canvas is clean and free of dust or debris, as these can interfere with the tracing process.
Step 2: Choose and Prepare Your Image
Select the picture you wish to trace. Consider its complexity and how well it will translate into lines.
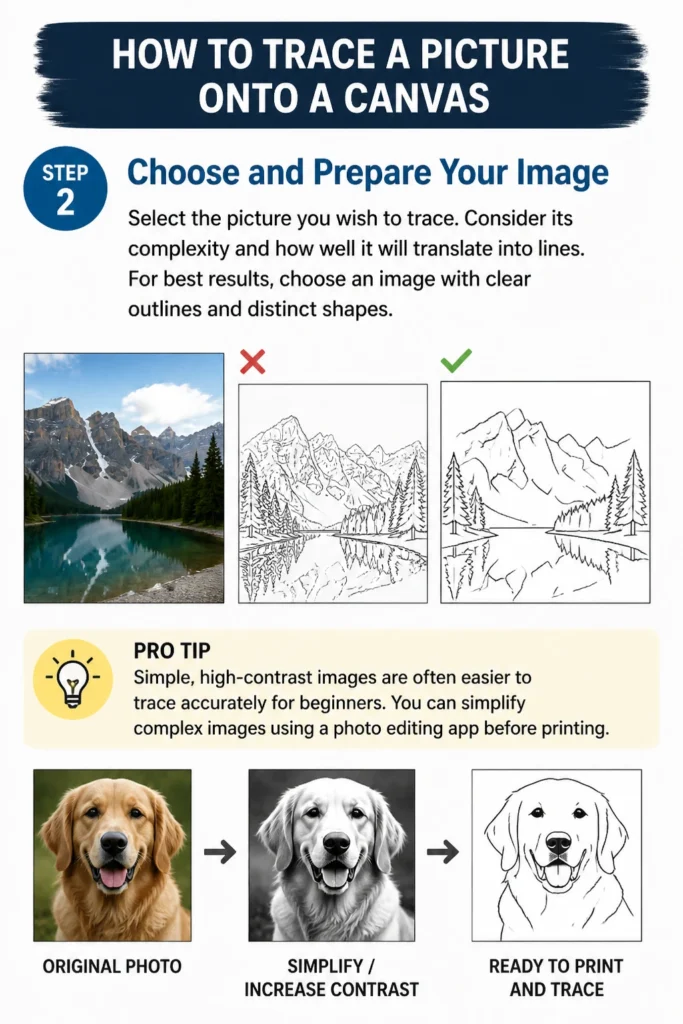
For best results, choose an image with clear outlines and distinct shapes.
Pro Tip: Simple, high-contrast images are often easier to trace accurately for beginners. You can simplify complex images using a photo editing app before printing.
Step 3: Print and Size Your Image
Print your chosen image to the exact size you want it to appear on your canvas. If your image is larger than your printer can handle, you may need to print it in sections.
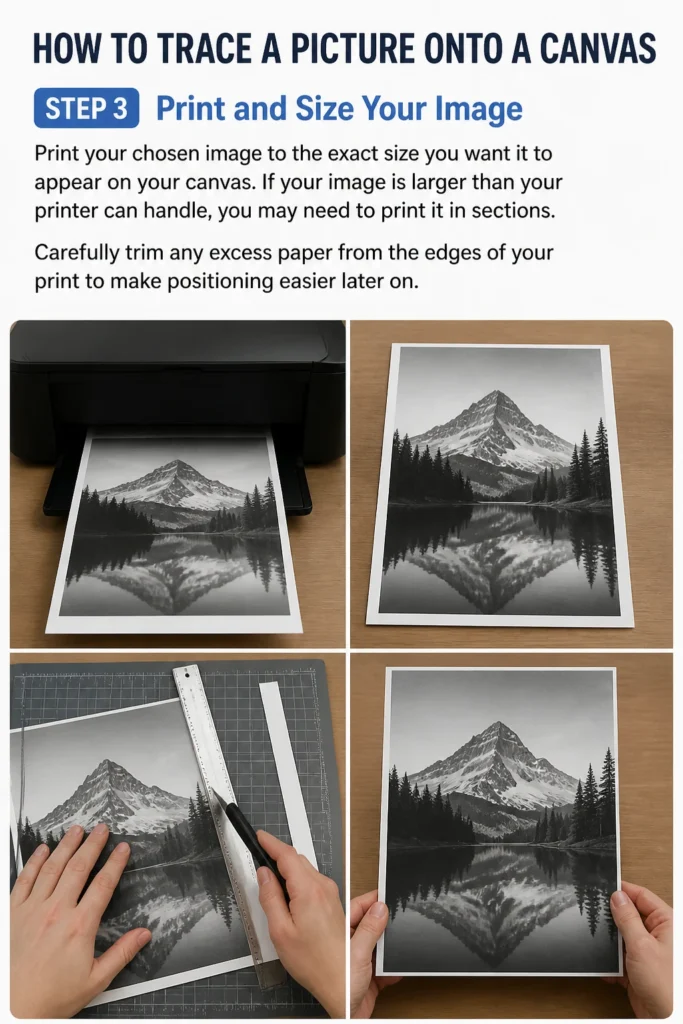
Carefully trim any excess paper from the edges of your print to make positioning easier later on.
Step 4: Prepare the Back of Your Print (Graphite Transfer Method)
Flip your printed image over so the blank back is facing up. Using a soft graphite pencil (like a 2B or 4B), thoroughly shade the entire area where your image lines are.
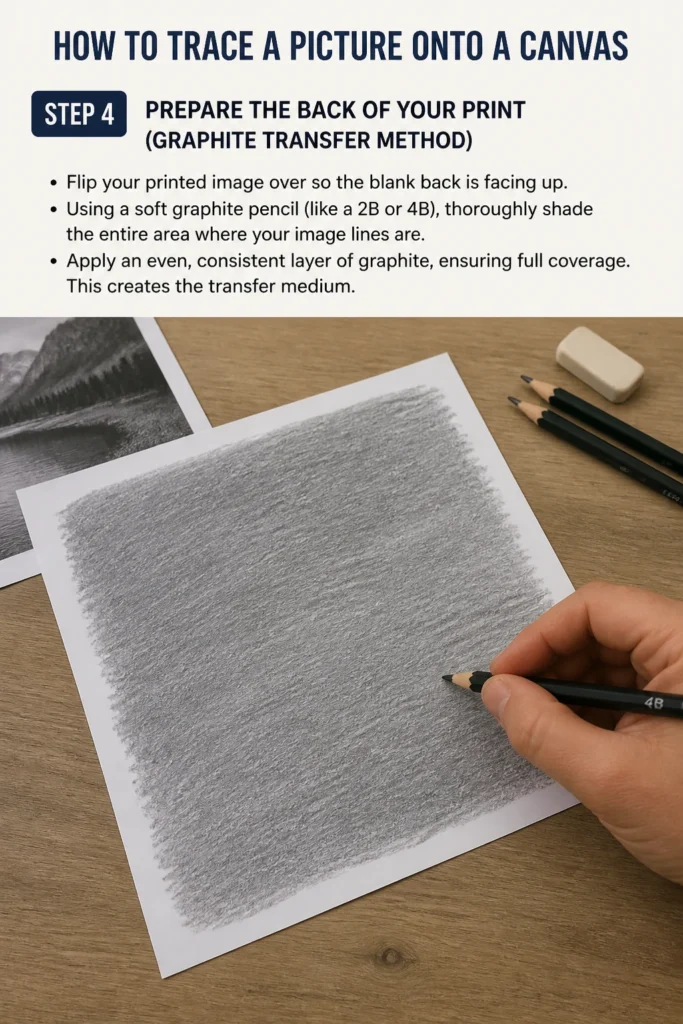
Apply an even, consistent layer of graphite, ensuring full coverage. This creates the transfer medium.
Step 5: Position Your Image on Canvas
Carefully place your graphite-backed print onto your canvas. Decide exactly where you want the image to appear.
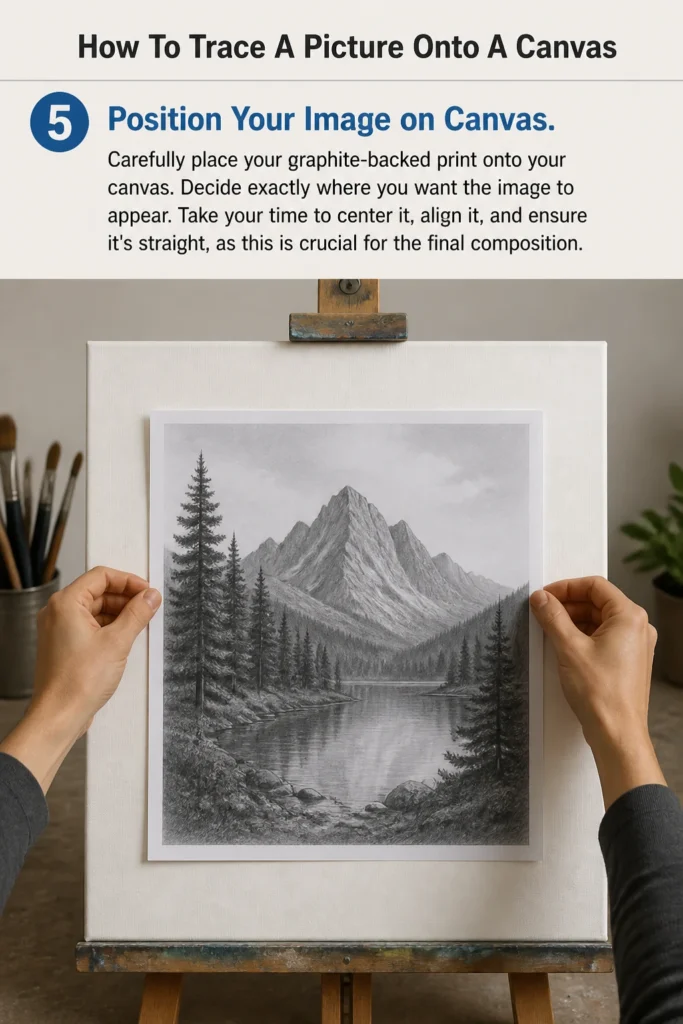
Take your time to center it, align it, and ensure it’s straight, as this is crucial for the final composition.
Step 6: Secure the Image
Once your image is perfectly positioned, use artist’s tape to secure it firmly to the canvas. Apply tape along all four edges of the print.
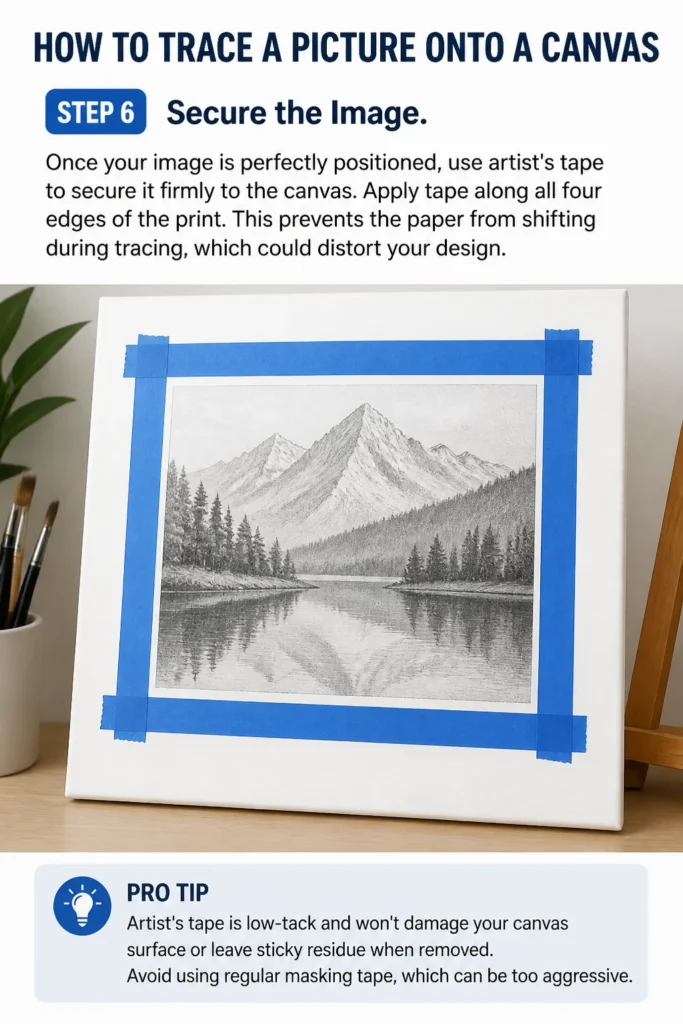
This prevents the paper from shifting during tracing, which could distort your design.
Pro Tip: Artist’s tape is low-tack and won’t damage your canvas surface or leave sticky residue when removed. Avoid using regular masking tape, which can be too aggressive.
Step 7: Trace Your Design
With a ballpoint pen or a blunt stylus, begin tracing over the lines of your image. Apply firm, consistent pressure as you go.
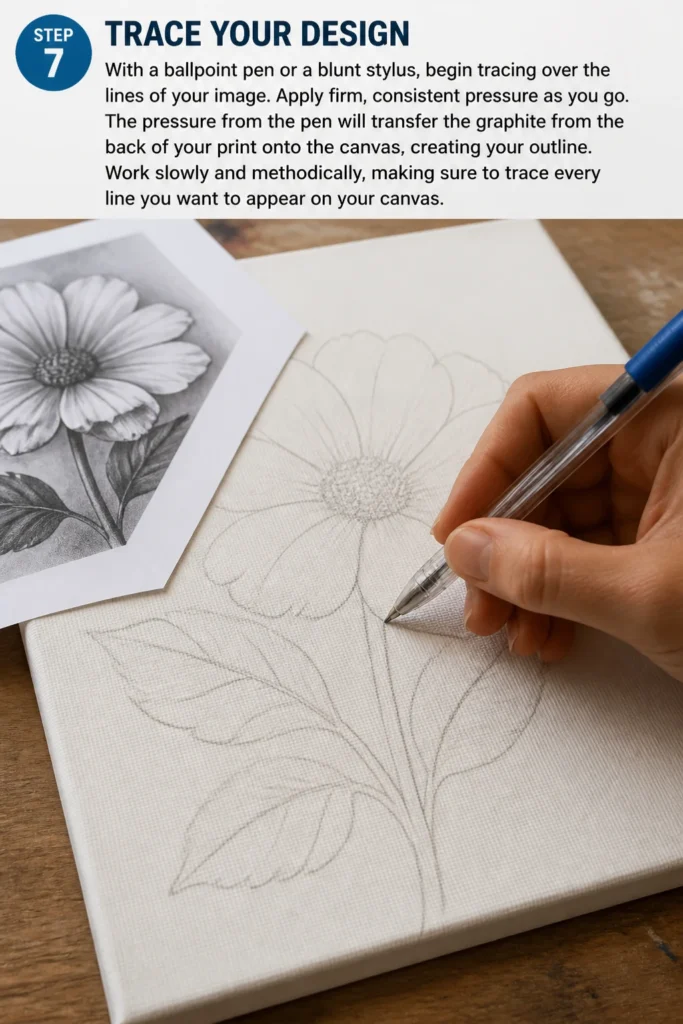
The pressure from the pen will transfer the graphite from the back of your print onto the canvas, creating your outline.
Work slowly and methodically, making sure to trace every line you want to appear on your canvas.
Step 8: Lift and Inspect
After tracing all the lines, carefully peel back a small section of the tape and gently lift a corner of your print.
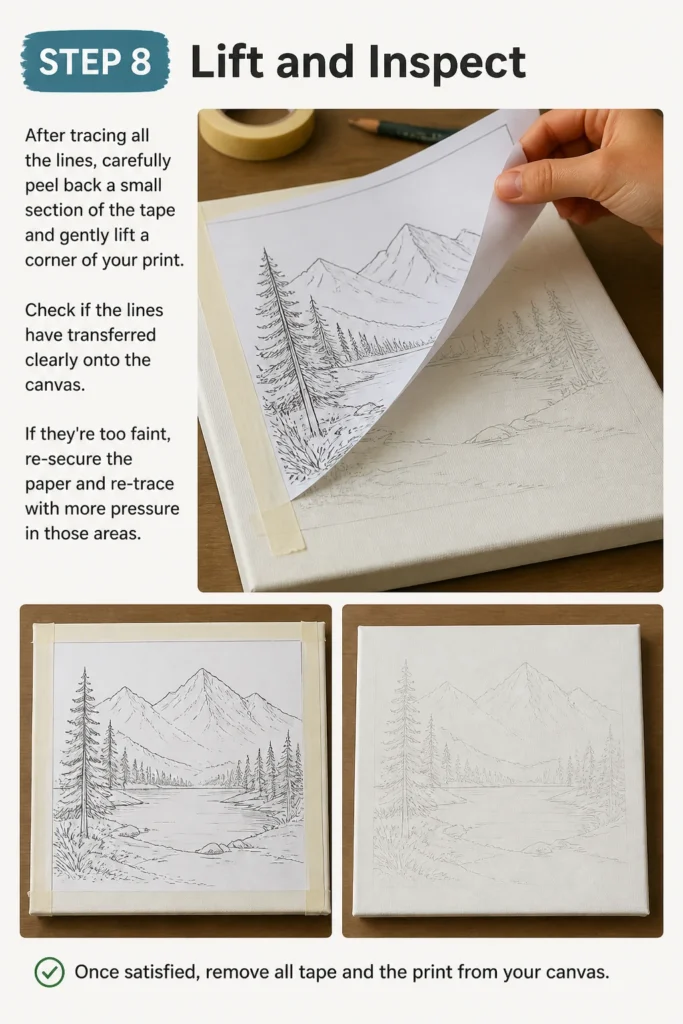
Check if the lines have transferred clearly onto the canvas. If they’re too faint, re-secure the paper and re-trace with more pressure in those areas.
Once satisfied, remove all tape and the print from your canvas.
Step 9: Refine Your Lines
You should now have a clear graphite outline on your canvas. Use a fine-point graphite pencil (e.g., HB or 2B) to go over any faint lines and darken them as needed.
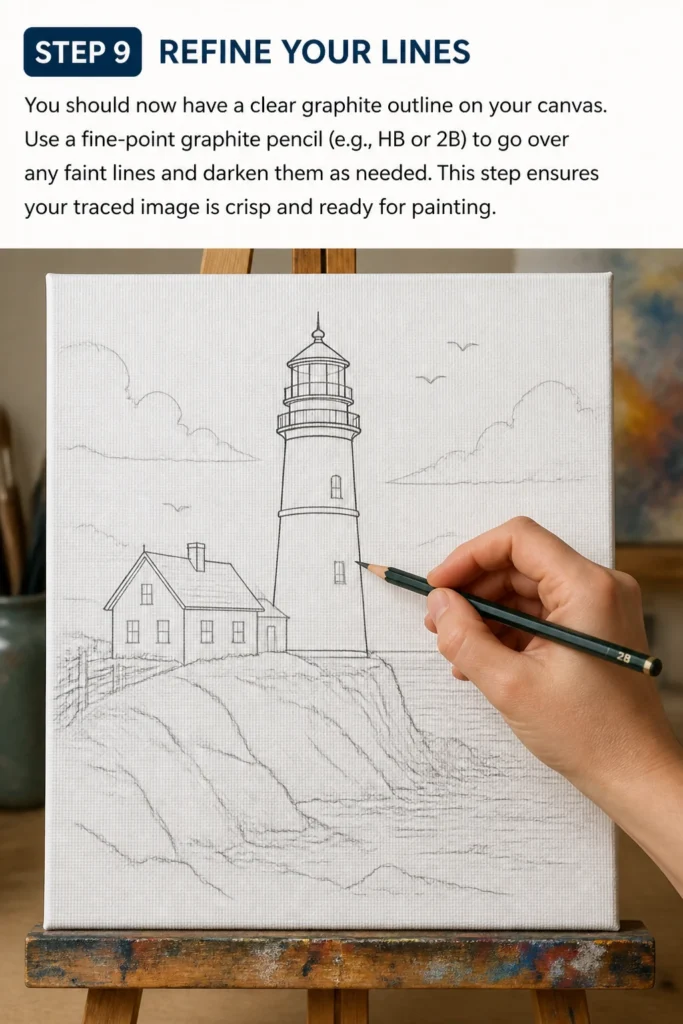
This step ensures your traced image is crisp and ready for painting.
Common Mistakes to Avoid
Not Securing the Image Properly
One common pitfall is using too little tape or not taping all edges of your printed image. If the paper shifts even slightly during tracing, your lines will become blurry or misaligned.
Always use artist’s tape generously around the entire perimeter of your print to ensure it stays absolutely still throughout the process.
Applying Uneven Pressure
When tracing, varying pressure will result in some lines being dark and clear, while others are faint or even missing. This makes your final outline inconsistent and harder to paint over.
Strive for steady, firm pressure across the entire image. Practice on a scrap piece of paper first to get a feel for the right amount of force.
Using the Wrong Pencil Type for Transfer
Attempting to use a hard pencil (like an H or 2H) for the graphite transfer layer on the back of your print will yield very faint or almost invisible lines. Harder pencils don’t release enough graphite.
Always opt for a soft graphite pencil (2B to 6B) for the transfer layer. These pencils contain more graphite and create a much darker, more reliable transfer.
Over-Tracing or Rushing
Tracing too quickly or going over the same lines multiple times without checking can lead to smudged graphite or messy, thick lines on your canvas. This can be difficult to erase cleanly.
Work patiently and methodically. Lift a corner periodically to check your progress, and only re-trace areas that genuinely need it.
Troubleshooting
Lines Are Too Faint or Not Transferring
If your traced lines are barely visible or not appearing at all, the most likely issue is insufficient graphite on the back of your print or not enough pressure during tracing.
Ensure you’ve applied a thick, even layer of soft graphite (2B-6B) to the entire back of your image. Then, re-secure your print and re-trace with firmer, more consistent pressure.
Transferred Lines Are Smudged or Messy
Smudged lines often occur if your hand drags across the freshly transferred graphite, or if there’s too much graphite dust on the canvas surface.
Try to keep your hand elevated or rest it on a clean piece of paper placed on the canvas (away from your tracing area). Use a kneaded eraser to gently lift smudges without damaging the canvas.
The Image Looks Distorted After Tracing
Distortion usually means your printed image shifted while you were tracing. This can happen if the tape wasn’t strong enough or if you didn’t tape all sides.
Prevention is key: always use ample artist’s tape on all edges. If distortion occurs, you might need to erase the problematic section (if the canvas allows) and re-trace it carefully.
Key Takeaways
- Always prepare your workspace and gather all necessary materials before you begin.
- Use a soft graphite pencil (2B-6B) to create a dark, even transfer layer on the back of your print.
- Secure your printed image firmly to the canvas with artist’s tape to prevent any shifting.
- Apply firm, consistent pressure with a ballpoint pen or stylus when tracing over your image lines.
- Periodically check your progress by gently lifting a corner of the paper to ensure clear transfer.
- Refine your traced lines on the canvas with a fine-point pencil to make them crisp and ready for painting.
Frequently Asked Questions
Can I use regular printer paper for my image?
Yes, regular printer paper (standard copy paper) works perfectly well for this tracing method. Its thinness allows for easy transfer of graphite onto the canvas surface.
What if my canvas has a texture?
Tracing onto a textured canvas might require slightly more pressure to ensure the graphite transfers into the canvas’s valleys. You might also need to go over lines a second time to ensure full coverage.
How do I erase mistakes on the canvas?
For graphite lines, a kneaded eraser is your best friend. It lifts graphite without abrading the canvas surface. Gently dab the eraser onto the mistake rather than rubbing it vigorously.
Can I trace onto a canvas that has already been painted?
Yes, you can trace onto a canvas with a base coat, as long as the paint is completely dry and cured. Ensure the base coat is relatively smooth, as heavy texture might make tracing more challenging.
Our Top Recommended Finds
- Soft Graphite Pencil Set (2B-6B): Essential for creating a dark, reliable transfer layer on the back of your print.
- Artist’s Masking Tape: Low-tack tape that secures your image without damaging the canvas surface or leaving residue.
- Kneaded Eraser: Perfect for gently lifting excess graphite or correcting small errors without smudging or harming your canvas.
Your Canvas Awaits Your Vision
You now possess the practical knowledge to accurately trace any picture onto your canvas, transforming a blank surface into a foundation for your next masterpiece.
This technique removes the pressure of freehand drawing, allowing you to focus on the joy of painting and color.
Don’t hesitate any longer. Gather your materials today and start bringing your creative projects to life with confidence.
Beginner-friendly templates, step-by-step guides,
and weekly project ideas in your inbox.