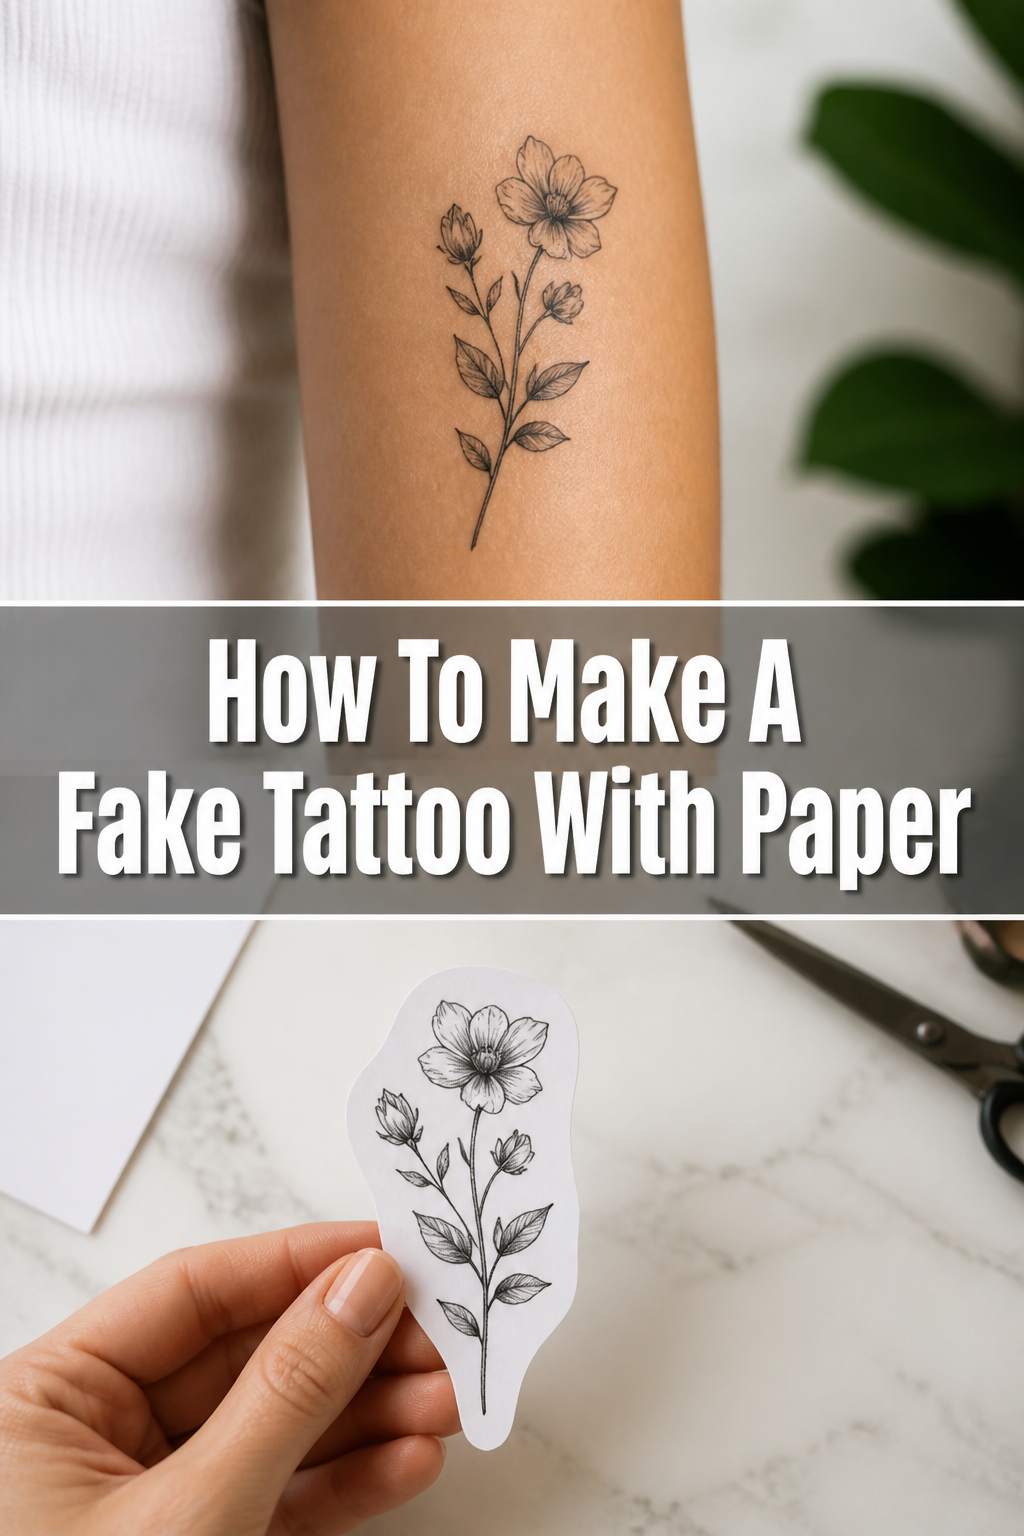
✨ How To Make A Fake Tattoo With Paper

Beginner-friendly templates, step-by-step guides,
and weekly project ideas in your inbox.
Remember those temporary tattoos from childhood?
I used to spend hours trying to get them just right, and honestly, the store-bought ones often disappointed with their sticky feel and quick fade.
Over the years, I’ve perfected a simple paper-based method that works wonders, looks surprisingly real, and is incredibly fun to personalize.
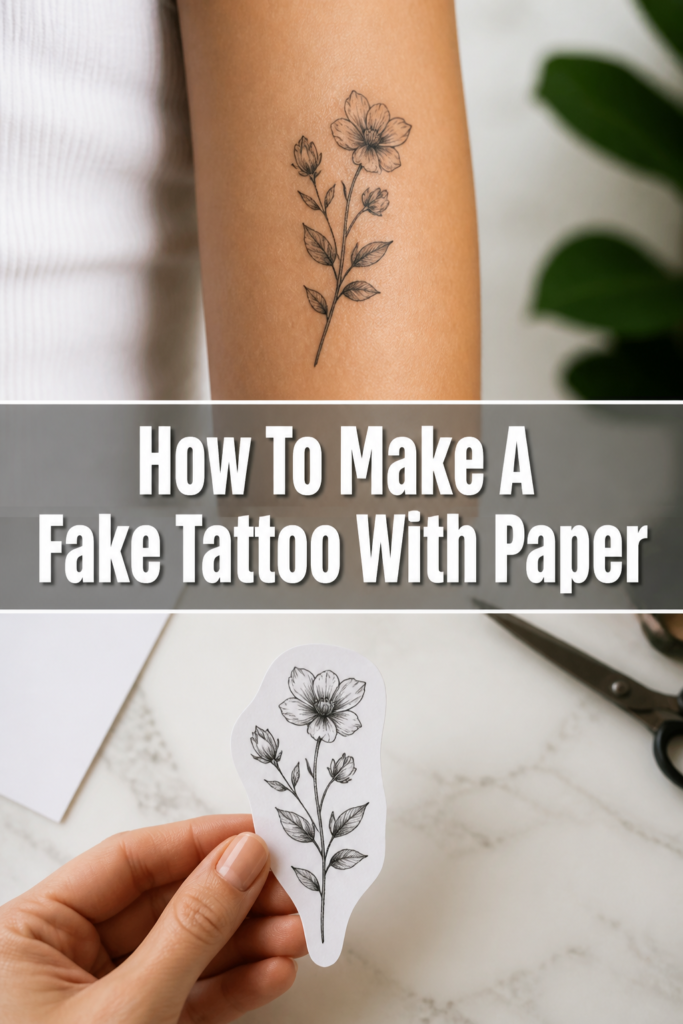
Quick Overview
This guide will walk you through creating your very own custom fake tattoos using common household items and regular paper. You’ll learn how to design, print, and apply a temporary tattoo that can last for days.
- Time needed: 45-90 minutes (including design and drying time)
- Difficulty: Beginner
- What you’ll need: Printer, regular paper, clear coat spray, scissors, rubbing alcohol, water, sponge or cloth
Step-by-Step Instructions
Step 1: Choose Your Design Wisely
The first step is picking the perfect image for your temporary tattoo. You can draw your own design, find one online, or use a favorite photo. Think about where you want to place the tattoo and how big it needs to be to fit comfortably.
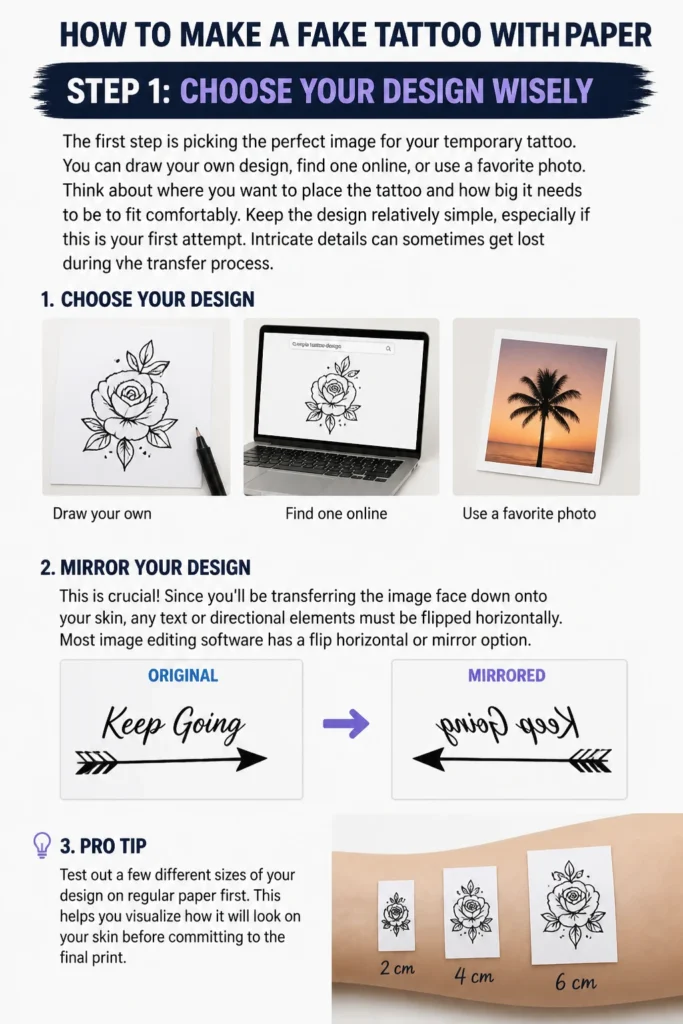
Keep the design relatively simple, especially if this is your first attempt. Intricate details can sometimes get lost during the transfer process.
Mirror your design. This is crucial! Since you’ll be transferring the image face down onto your skin, any text or directional elements must be flipped horizontally. Most image editing software has a “flip horizontal” or “mirror” option.
Pro Tip: Test out a few different sizes of your design on regular paper first. This helps you visualize how it will look on your skin before committing to the final print.
Step 2: Print It Out
Once your design is ready and mirrored, it’s time to print. Use a laser printer if you have access to one, as laser toner is less likely to smudge when wet. If you only have an inkjet printer, that’s perfectly fine; just be extra careful in the next steps.
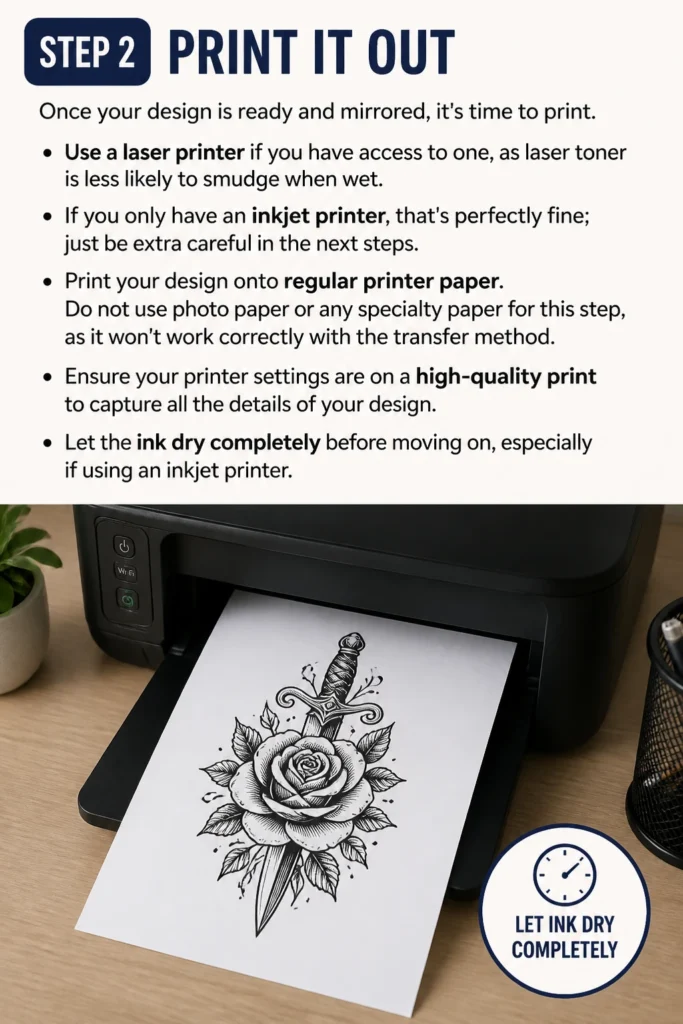
Print your design onto regular printer paper. Do not use photo paper or any specialty paper for this step, as it won’t work correctly with the transfer method.
Ensure your printer settings are on a high-quality print to capture all the details of your design. Let the ink dry completely before moving on, especially if using an inkjet printer.
Step 3: Seal and Protect
This is where the magic happens for creating a transferable layer from regular paper. You’ll need a clear acrylic sealer spray, often found in craft stores. Clear nail polish can also work for smaller designs, but a spray gives a more even coat.
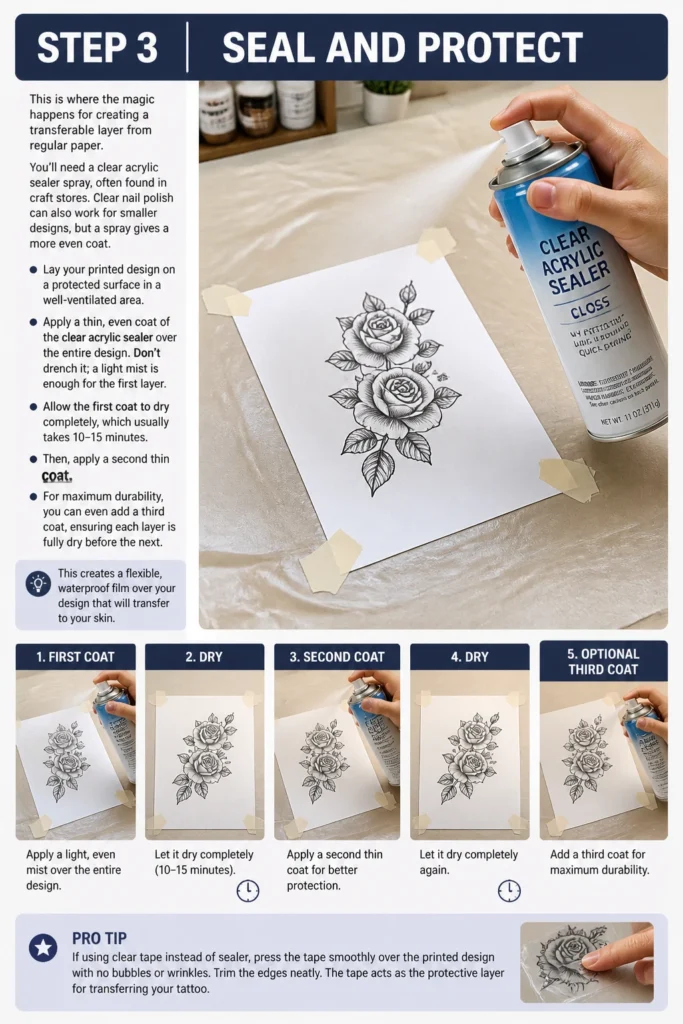
Lay your printed design on a protected surface in a well-ventilated area. Apply a thin, even coat of the clear acrylic sealer over the entire design. Don’t drench it; a light mist is enough for the first layer.
Allow the first coat to dry completely, which usually takes 10-15 minutes. Then, apply a second thin coat. For maximum durability, you can even add a third coat, ensuring each layer is fully dry before the next. This creates a flexible, waterproof film over your design that will transfer to your skin.
Pro Tip: If using clear tape instead of spray, carefully cover the entire design with overlapping strips of clear packing tape, pressing down firmly to remove air bubbles. This method is quicker but often results in a less durable tattoo.
Step 4: Trim with Precision
Once your clear coat is completely dry and cured, carefully cut out your tattoo design. Use sharp scissors or a craft knife for this step. The closer you cut to the edges of your design, the more realistic your fake tattoo will look on your skin.
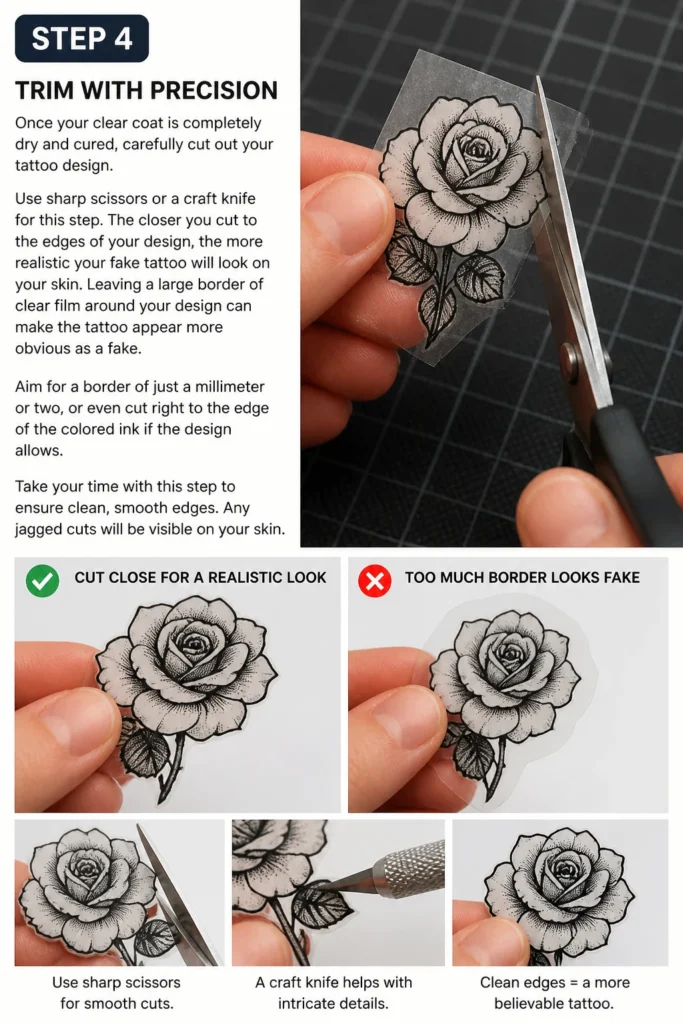
Leaving a large border of clear film around your design can make the tattoo appear more obvious as a fake. Aim for a border of just a millimeter or two, or even cut right to the edge of the colored ink if the design allows.
Take your time with this step to ensure clean, smooth edges. Any jagged cuts will be visible on your skin.
Step 5: Prepare Your Skin
Proper skin preparation is essential for a clean transfer and a long-lasting tattoo. Choose an area of skin that is clean, dry, and relatively hair-free. Areas with less friction and movement tend to be best.
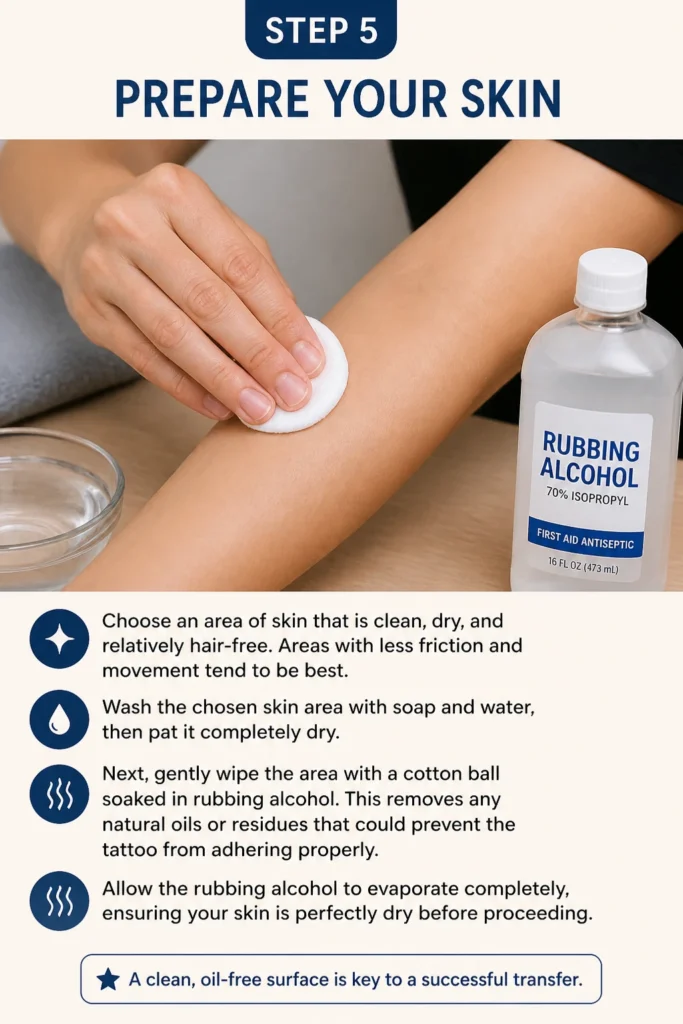
Wash the chosen skin area with soap and water, then pat it completely dry. Next, gently wipe the area with a cotton ball soaked in rubbing alcohol. This removes any natural oils or residues that could prevent the tattoo from adhering properly.
Allow the rubbing alcohol to evaporate completely, ensuring your skin is perfectly dry before proceeding. A clean, oil-free surface is key to a successful transfer.
Step 6: Position and Apply
Carefully peel off the backing paper from your design if you used a method that involved an adhesive layer (like tape). If you used the clear coat spray method, the clear film is your transfer layer, and the paper is still attached.
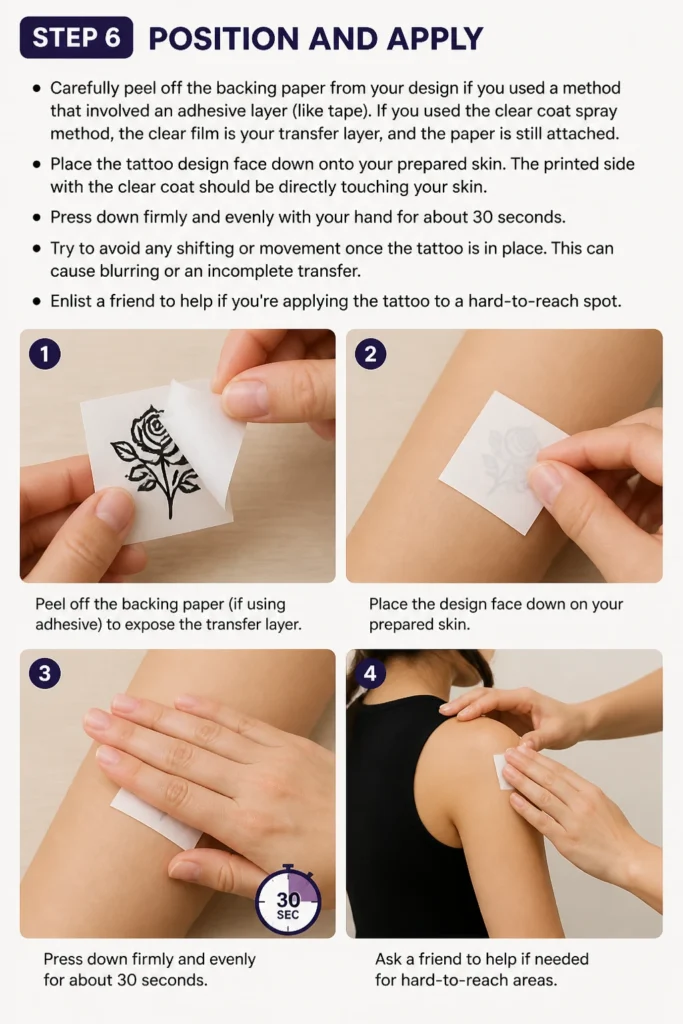
Place the tattoo design face down onto your prepared skin. The printed side with the clear coat should be directly touching your skin. Press down firmly and evenly with your hand for about 30 seconds.
Try to avoid any shifting or movement once the tattoo is in place. This can cause blurring or an incomplete transfer. Enlist a friend to help if you’re applying the tattoo to a hard-to-reach spot.
Step 7: The Water Transfer
With the tattoo held firmly in place, it’s time to introduce water. Dampen a sponge or a soft cloth with clean water. Make sure it’s wet, but not dripping excessively.
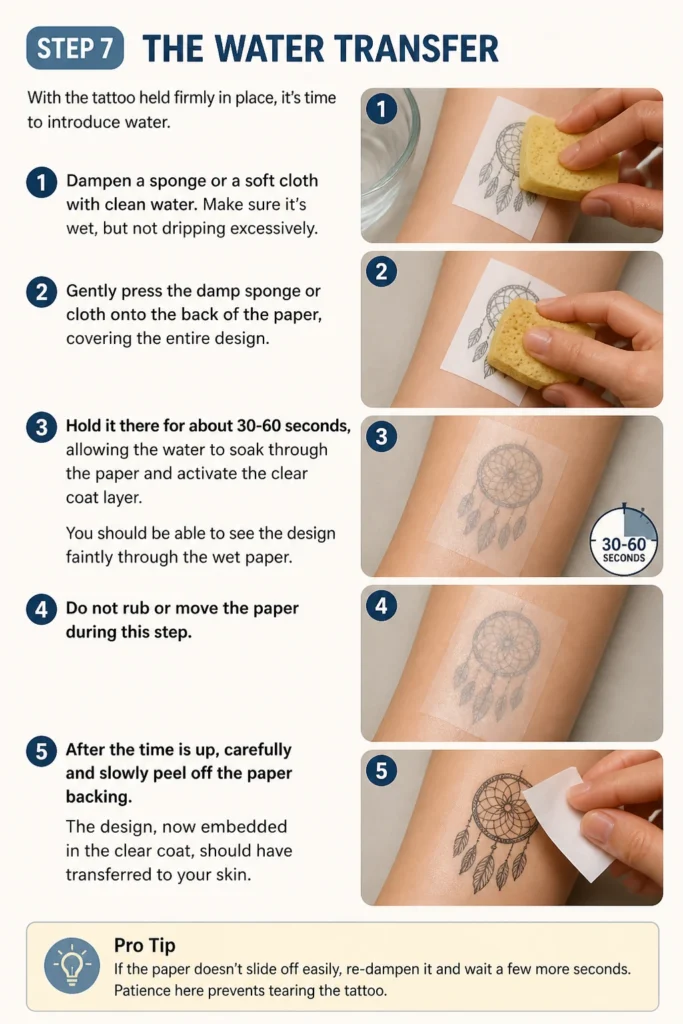
Gently press the damp sponge or cloth onto the back of the paper, covering the entire design. Hold it there for about 30-60 seconds, allowing the water to soak through the paper and activate the clear coat layer.
You should be able to see the design faintly through the wet paper. Do not rub or move the paper during this step. After the time is up, carefully and slowly peel off the paper backing. The design, now embedded in the clear coat, should have transferred to your skin.
Pro Tip: If the paper doesn’t slide off easily, re-dampen it and wait a few more seconds. Patience here prevents tearing the tattoo.
Step 8: Final Touches and Sealing
Once the paper is removed, gently pat the transferred tattoo with a dry cloth to remove any excess moisture. Avoid rubbing, as the tattoo is still delicate at this stage.
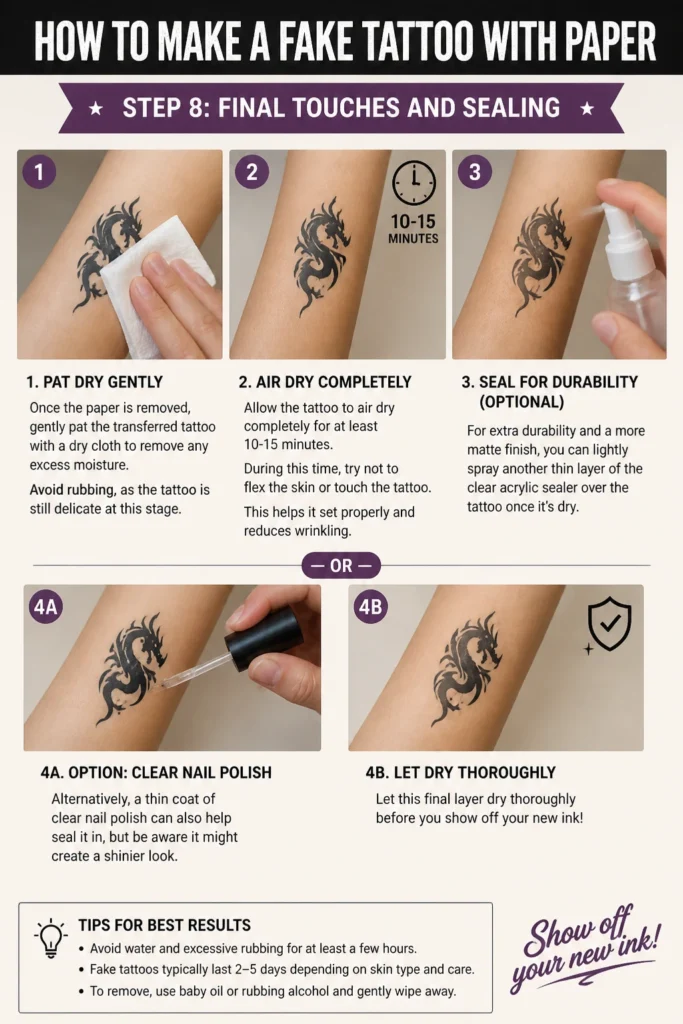
Allow the tattoo to air dry completely for at least 10-15 minutes. During this time, try not to flex the skin or touch the tattoo. This helps it set properly and reduces wrinkling.
For extra durability and a more matte finish, you can lightly spray another thin layer of the clear acrylic sealer over the tattoo once it’s dry. Alternatively, a thin coat of clear nail polish can also help seal it in, but be aware it might create a shinier look. Let this final layer dry thoroughly before you show off your new ink!
Common Mistakes to Avoid
Rushing the Drying Process
It’s tempting to want to see your finished tattoo right away, but rushing the drying of the clear coat or the final tattoo can lead to smudges and an uneven finish. Each layer of clear coat needs ample time to cure properly, creating a strong, flexible film. Similarly, the transferred tattoo needs to air dry completely to set on your skin. Impatience often results in a less durable or blurry design.
Not Mirroring the Design
Forgetting to flip your design horizontally before printing is a very common oversight. While it might not matter for abstract patterns, any text or recognizable images will appear backward on your skin. Always double-check your design in your editing software to ensure it’s mirrored, so it reads correctly once transferred.
Using Too Much Water During Transfer
While water is crucial for the transfer, saturating the paper can be detrimental. Too much water can cause the paper to disintegrate, making it difficult to peel away cleanly. It can also lead to the ink bleeding or the clear coat dissolving unevenly, resulting in a blurry or patchy tattoo. A damp, not soaking wet, sponge is key.
Rough Handling During Application
The clear coat layer, especially when wet, is quite delicate. Shifting the paper or rubbing aggressively during the transfer process can cause wrinkles, tears, or an incomplete transfer. Apply firm, steady pressure, and peel the paper slowly and carefully to ensure the entire design adheres smoothly to your skin.
Troubleshooting
Tattoo Won’t Transfer Properly
If your tattoo isn’t transferring well, several factors could be at play. First, ensure you applied enough clear coat spray to create a robust film. If the film is too thin, it might not hold the ink effectively. Second, check if your skin was clean and dry; any oils or lotions can prevent adhesion. Finally, you might not have used enough pressure or held the damp sponge on the paper for long enough. Try re-dampening the paper and holding it for an additional 30 seconds before peeling slowly.
Tattoo Looks Faded or Blurry
A faded or blurry tattoo often indicates that the ink smudged or the transfer wasn’t clean. If using an inkjet printer, the ink might not have been completely dry before applying the clear coat, causing it to run. Excessive water during transfer can also lead to blurring. Ensure your clear coat layers are fully dry, use a laser printer if possible, and be gentle with the damp sponge to avoid disturbing the ink.
Tattoo Peels Off Quickly
If your fake tattoo doesn’t last as long as you’d like, consider your initial skin preparation. Oils, lotions, or even fine hairs can prevent the tattoo from bonding properly. Always clean the area with rubbing alcohol. Additionally, ensure you applied enough clear coat layers to create a durable film. Applying a final thin layer of clear acrylic sealer or clear nail polish after the tattoo has dried on your skin can significantly extend its lifespan by protecting it from friction and water.
Key Takeaways
- Always mirror your design to ensure text and directional elements appear correctly.
- Clean and dry skin, free of oils, is crucial for proper tattoo adhesion.
- Patience is vital, especially during the clear coat drying and water transfer stages.
- Applying multiple thin layers of clear coat creates a stronger, more transferable film.
- Trim your design closely to the edges for a more realistic and seamless appearance.
- A final protective layer can significantly extend the life of your fake tattoo.
Frequently Asked Questions
How long do these homemade tattoos typically last?
With proper application and care, a fake tattoo made with this method can last anywhere from 1 to 3 days. Longevity depends on where it’s placed on your body (areas with less friction last longer) and how well it’s sealed. Avoid scrubbing the tattooed area in the shower to help it last.
Can I use any type of printer for this method?
While a laser printer is recommended because its toner is less prone to smudging when wet, an inkjet printer can also work. If using an inkjet, ensure the ink is completely dry before applying the clear coat spray. You might also need an extra clear coat layer for inkjet prints to protect the ink effectively.
Is this method safe for all skin types?
Generally, yes, the materials used (printer ink, clear acrylic sealer, rubbing alcohol) are widely used and considered safe for external skin contact. However, if you have sensitive skin or known allergies, it’s always wise to perform a small patch test with the clear coat spray on a discreet area of your skin first. Discontinue use if any irritation occurs.
How do I remove the fake tattoo when I’m ready?
Removing these fake tattoos is straightforward. You can gently rub them off with rubbing alcohol, nail polish remover (use sparingly and cautiously), or even baby oil. Applying a piece of adhesive tape over the tattoo and then peeling it off can also lift some of the design. Always moisturize your skin afterward.
Our Top Recommended Finds
- Clear Acrylic Sealer Spray: A good quality clear acrylic sealer, like Mod Podge Clear Acrylic Sealer, provides a durable and flexible transfer layer.
- 70% Isopropyl Rubbing Alcohol: Essential for thoroughly cleaning your skin, ensuring optimal tattoo adhesion and longevity.
- Precision Craft Knife or Small Scissors: For clean, accurate cuts around your design, resulting in a more professional-looking tattoo.
Your Canvas Awaits
Creating your own fake tattoos with paper is a fantastic way to express yourself, experiment with new looks, or just have some creative fun. It’s a simple project that yields impressive results, allowing you to wear your art temporarily.
Imagine trying out a full sleeve design for a party, or a subtle symbol to match your outfit. The possibilities are endless, limited only by your imagination.
So, gather your supplies and give this DIY tattoo method a try today. Unleash your inner artist and enjoy your personalized, temporary body art!
Beginner-friendly templates, step-by-step guides,
and weekly project ideas in your inbox.