🎨 How To Water Marble With Acrylic Paint

Beginner-friendly templates, step-by-step guides,
and weekly project ideas in your inbox.
The mesmerizing art of water marbling offers a unique way to create stunning, one-of-a-kind patterns. I first discovered this technique years ago and was instantly captivated by its fluid beauty. This guide draws from my own experiences and experiments, providing you with practical, actionable steps. You’ll learn everything needed to create your own beautiful marbled designs with acrylic paint.
Quick Overview
This guide will walk you through transforming simple acrylic paints and water into intricate, swirling works of art. You’ll master the technique of creating beautiful patterns on a liquid surface and transferring them onto various items. Get ready to unleash your creativity with this surprisingly accessible craft.
- Time needed: 1-2 hours (including initial setup and drying time)
- Difficulty: Beginner (with a dash of patience and willingness to experiment)
- What you’ll need: Acrylic paints, a shallow tray, distilled water, a marbling medium, toothpicks or skewers, paper or objects to marble, and paper towels.
Step-by-Step Instructions
Step 1: Gather Your Essential Supplies
Before you begin, gather everything you need. Having all your tools within reach will make the process smoother and more enjoyable. Missing an item mid-marble can disrupt the flow.
You will need a shallow tray, larger than the item you plan to marble. A disposable aluminum baking pan or a plastic storage container works well. Distilled water is crucial for consistent results; tap water often contains minerals that interfere with paint spreading.
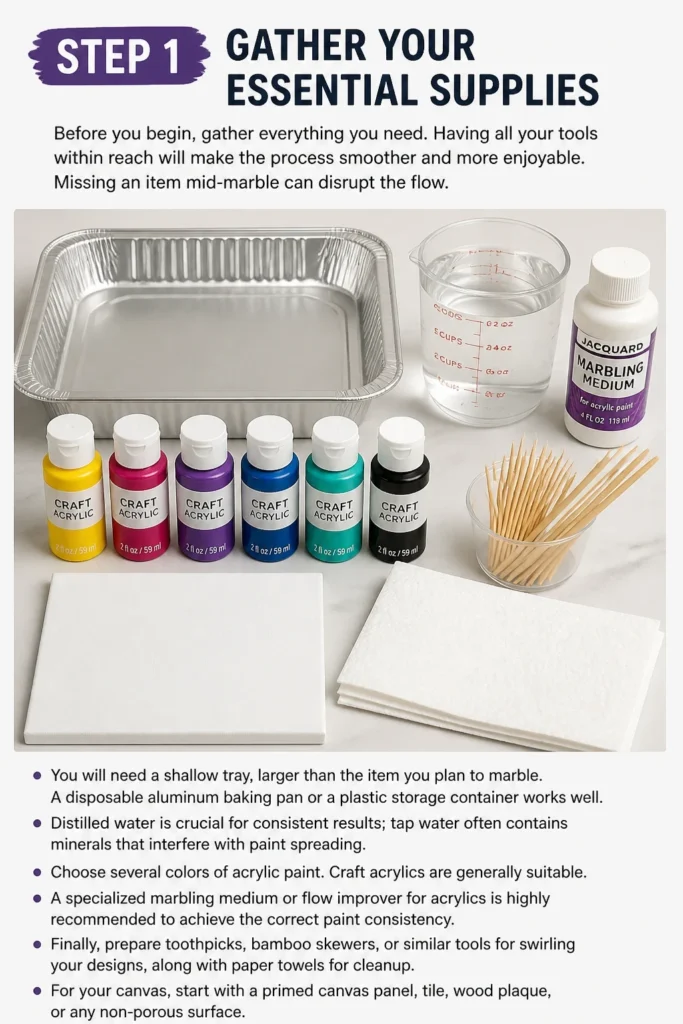
Choose several colors of acrylic paint. Craft acrylics are generally suitable. A specialized marbling medium or flow improver for acrylics is highly recommended to achieve the correct paint consistency. Finally, prepare toothpicks, bamboo skewers, or similar tools for swirling your designs, along with paper towels for cleanup.
For your canvas, start with heavy cardstock or watercolor paper. You can also marble on small wooden items, ceramic tiles, or fabric, provided they are properly prepped. Ensure your chosen items are clean and dry.
Step 2: Prepare Your Workstation
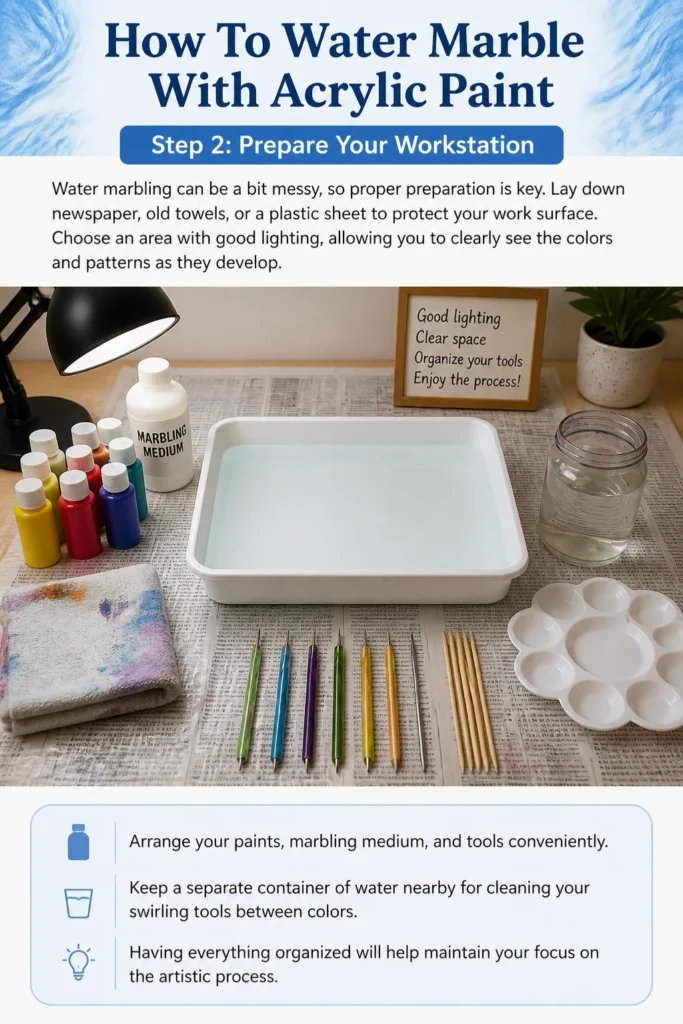
Water marbling can be a bit messy, so proper preparation is key. Lay down newspaper, old towels, or a plastic sheet to protect your work surface. Choose an area with good lighting, allowing you to clearly see the colors and patterns as they develop.
Arrange your paints, marbling medium, and tools conveniently. Keep a separate container of water nearby for cleaning your swirling tools between colors. Having everything organized will help maintain your focus on the artistic process.
Step 3: Prepare Your Water Bath
Fill your chosen shallow tray with distilled water. The water should be deep enough to fully submerge your item without touching the bottom of the tray. Aim for about 1-2 inches of water depth, depending on your item’s thickness.
The temperature of the water is important. Room temperature water, around 70-75°F (21-24°C), generally works best. Water that is too cold can make the paint reluctant to spread, while water that is too warm might cause it to sink.
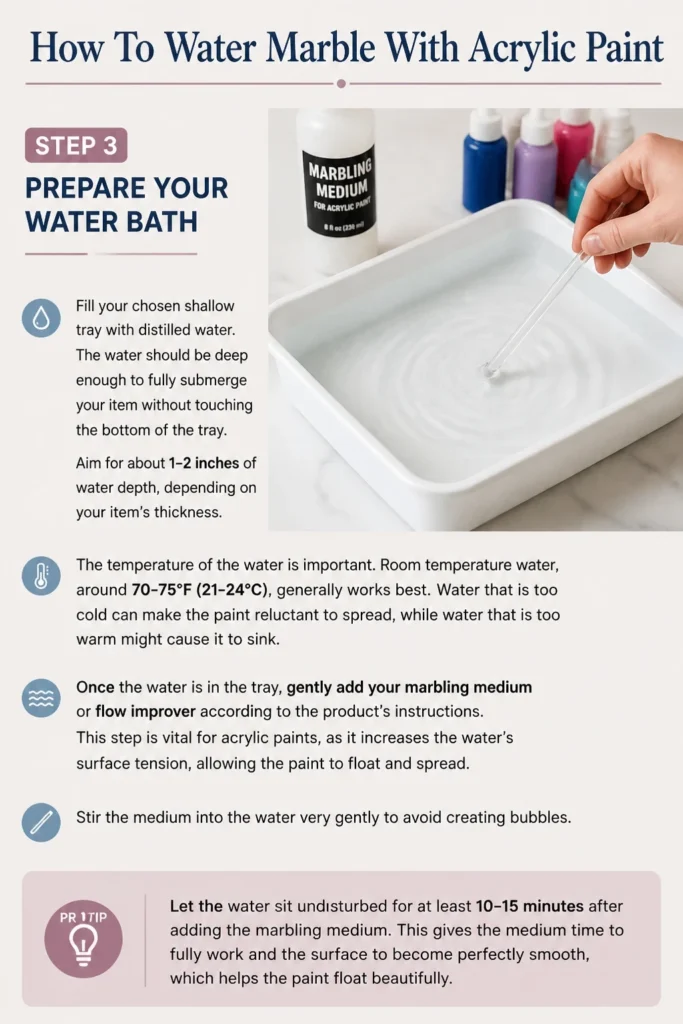
Once the water is in the tray, gently add your marbling medium or flow improver according to the product’s instructions. This step is vital for acrylic paints, as it increases the water’s surface tension, allowing the paint to float and spread. Stir the medium into the water very gently to avoid creating bubbles.
Pro Tip: Let the water bath sit for 10-15 minutes after adding the medium. This allows the solution to stabilize and any small bubbles to dissipate, ensuring a perfectly smooth surface for your paint.
Step 4: Prepare Your Acrylic Paints
Acrylic paints need to be thinned to the right consistency for marbling. They should be fluid enough to spread on the water but not so thin that they sink. This is where the marbling medium or flow improver becomes essential.
In separate small containers, mix each color of acrylic paint with a few drops of your marbling medium. Start with a 1:1 ratio of paint to medium and adjust as needed. The consistency should be similar to thin cream or milk. When you drip a small amount into the water, it should spread out immediately into a thin film.
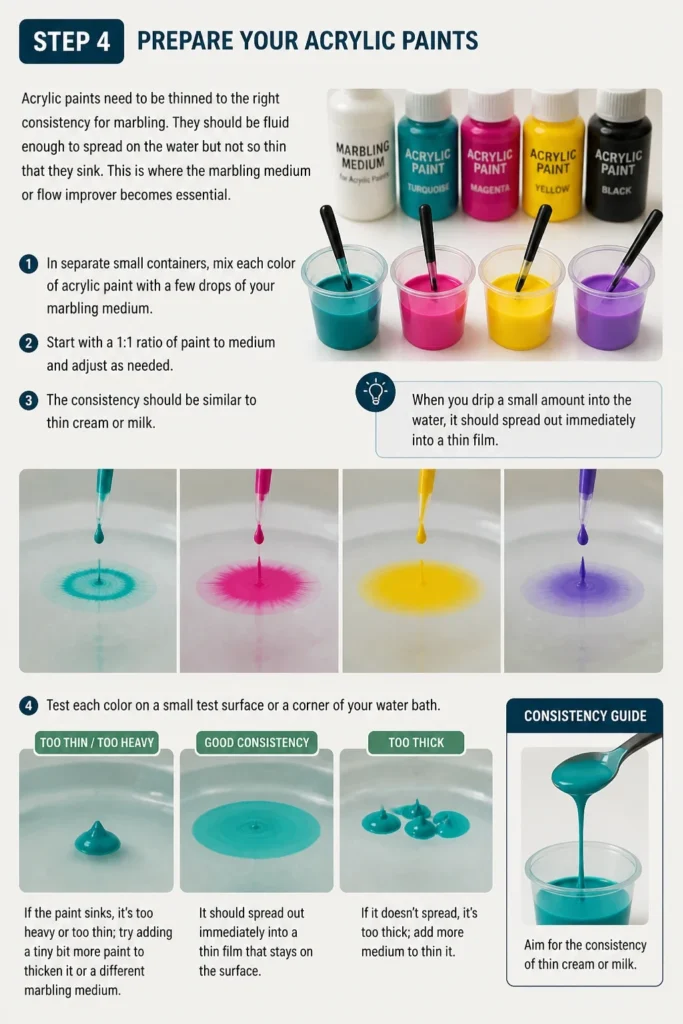
Test each color on a small test surface or a corner of your water bath. If the paint sinks, it’s too heavy or too thin; try adding a tiny bit more paint to thicken it or a different marbling medium. If it doesn’t spread, it’s too thick; add more medium or a drop of water to thin it slightly. Consistency is the most critical factor for success.
Step 5: Create Your Marbled Design
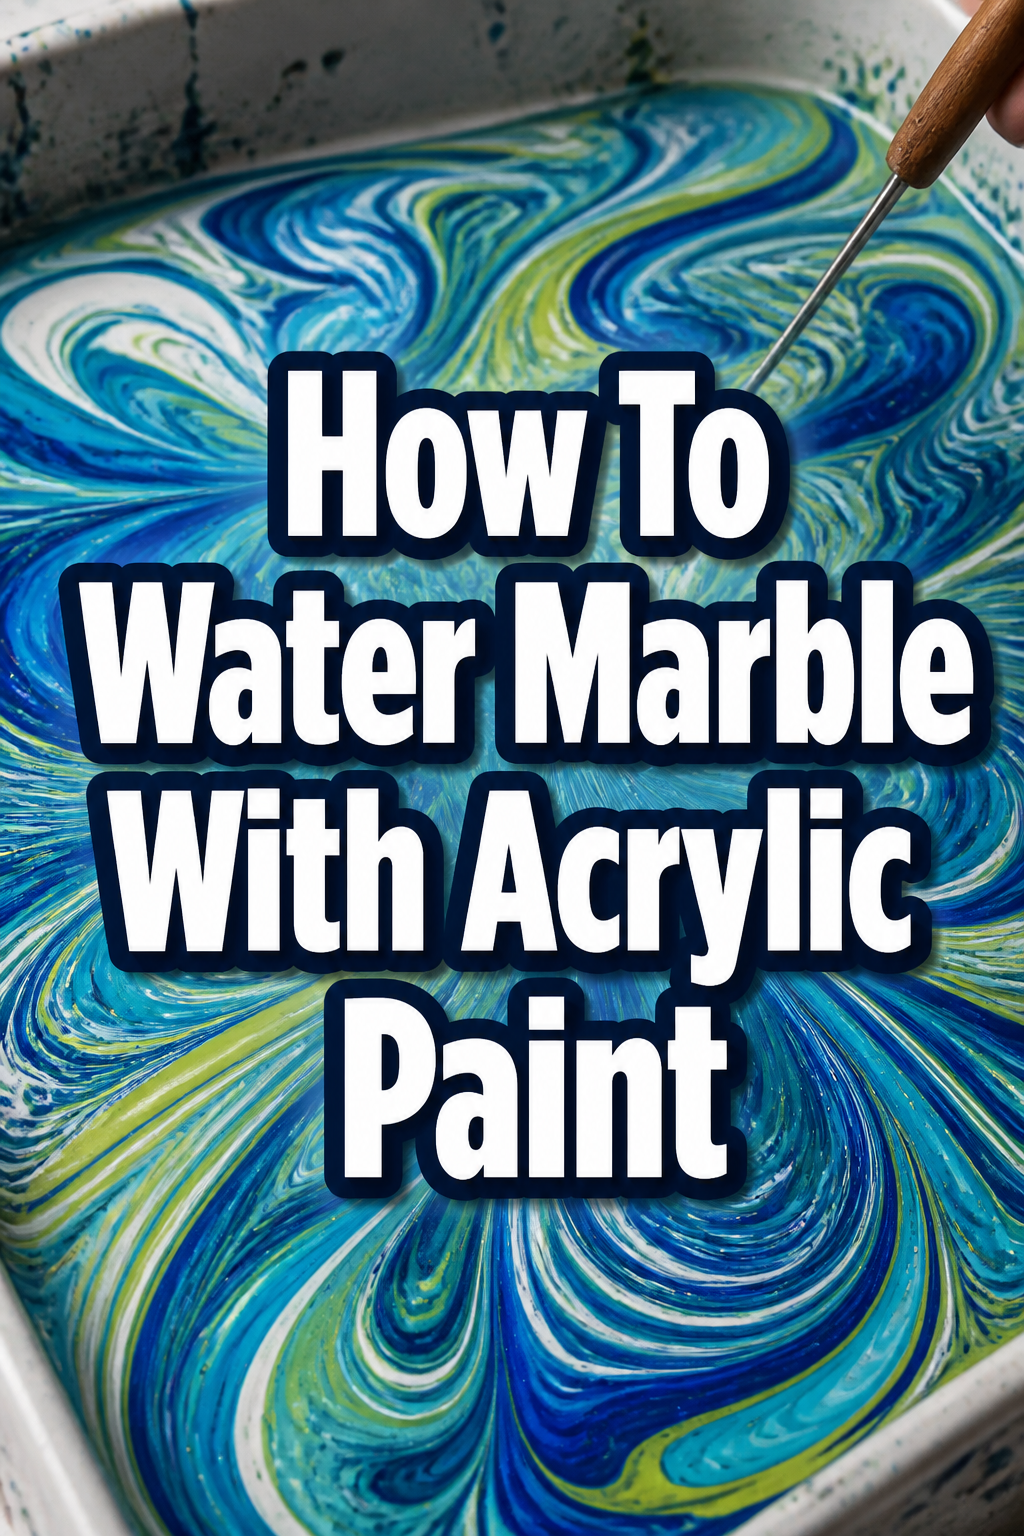
Now for the fun part: adding paint to the water. Gently drip one color of paint onto the surface of the water bath using a dropper, a small brush, or by carefully tapping a skewer dipped in paint. Watch as it spreads into a circle.
Next, drip a second color into the center of the first circle. It will push the previous color outwards, creating concentric rings. Continue adding colors in this manner, building layers of paint.
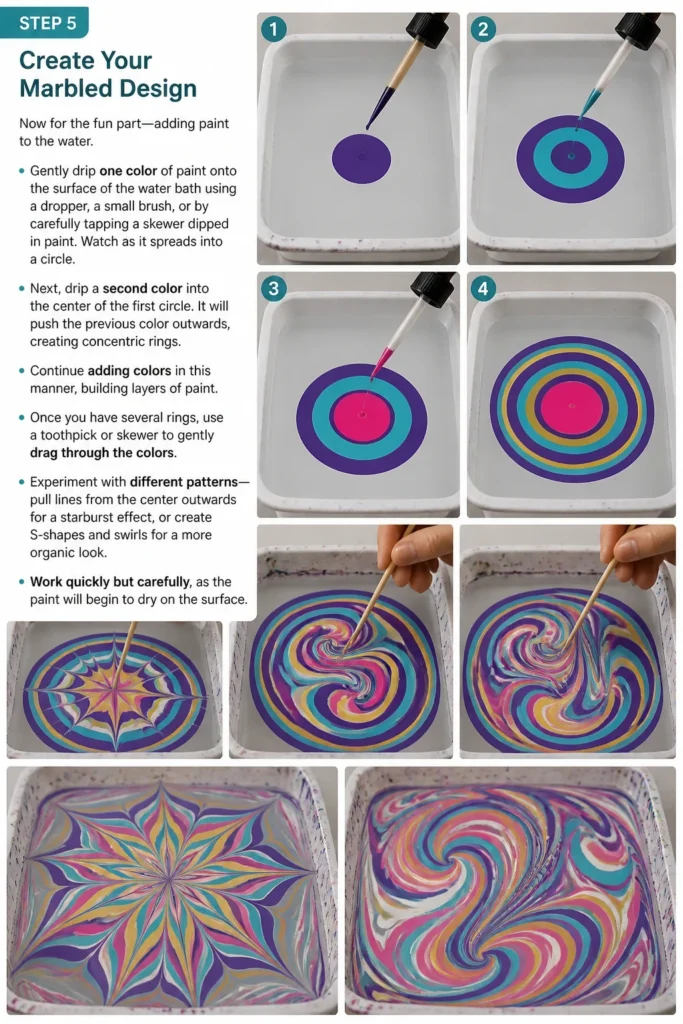
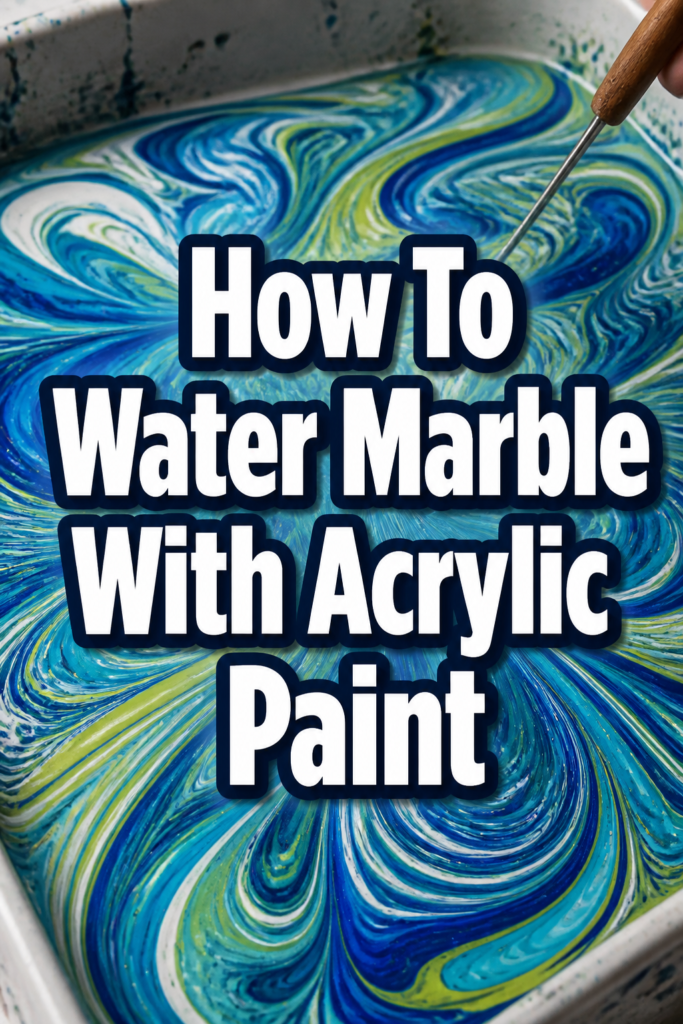
Once you have several rings, use a toothpick or skewer to gently drag through the colors. Experiment with different patterns: pull lines from the center outwards for a starburst effect, or create S-shapes and swirls for a more organic look. Work quickly but carefully, as the paint will begin to dry on the surface.
Step 6: Dip Your Item
Once you are happy with your design, it’s time to transfer it. Hold your chosen item (paper, wood, ceramic) by the edges or corners. Slowly and steadily lower it onto the surface of the water, ensuring it makes full contact with the paint film. Avoid splashing or creating air bubbles.
Allow the item to rest on the water’s surface for just a few seconds. This gives the paint enough time to adhere properly. Don’t leave it too long, or the paint might start to dry and create a thicker, less defined transfer.
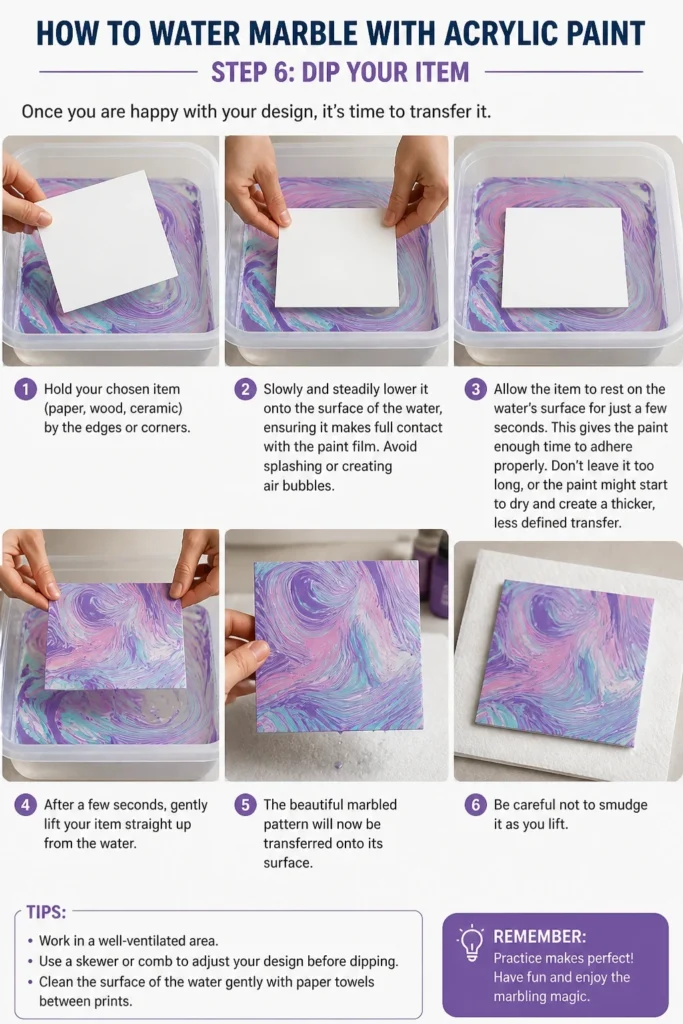
After a few seconds, gently lift your item straight up from the water. The beautiful marbled pattern will now be transferred onto its surface. Be careful not to smudge it as you lift.
Step 7: Clean the Water Surface
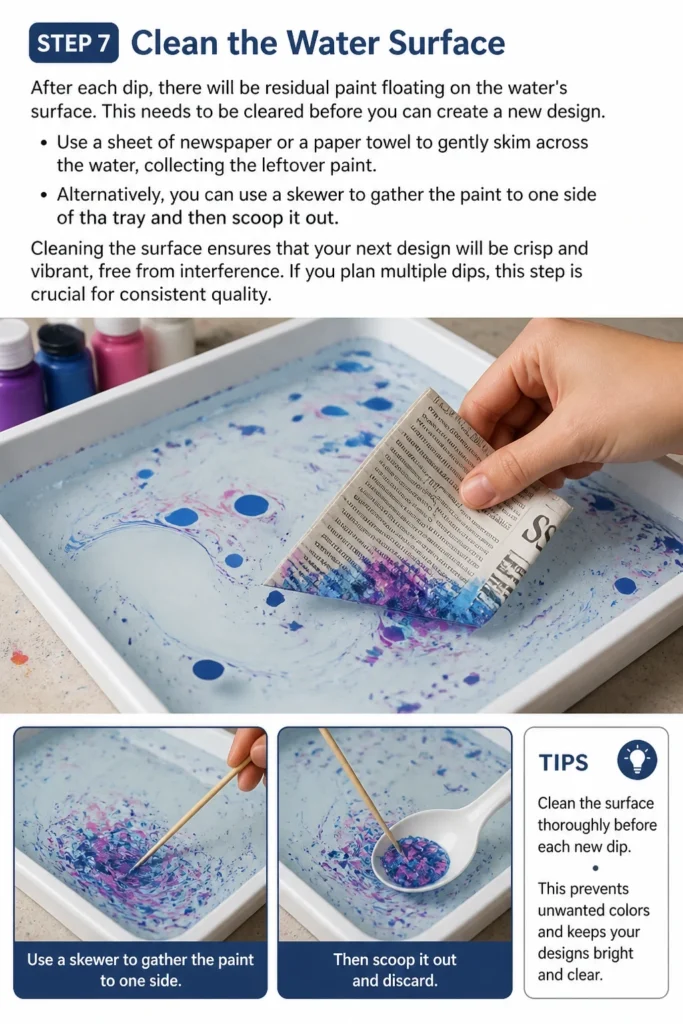
After each dip, there will be residual paint floating on the water’s surface. This needs to be cleared before you can create a new design. Use a sheet of newspaper or a paper towel to gently skim across the water, collecting the leftover paint.
Alternatively, you can use a skewer to gather the paint to one side of the tray and then scoop it out. Cleaning the surface ensures that your next design will be crisp and vibrant, free from interference. If you plan multiple dips, this step is crucial for consistent quality.
Step 8: Dry Your Masterpiece
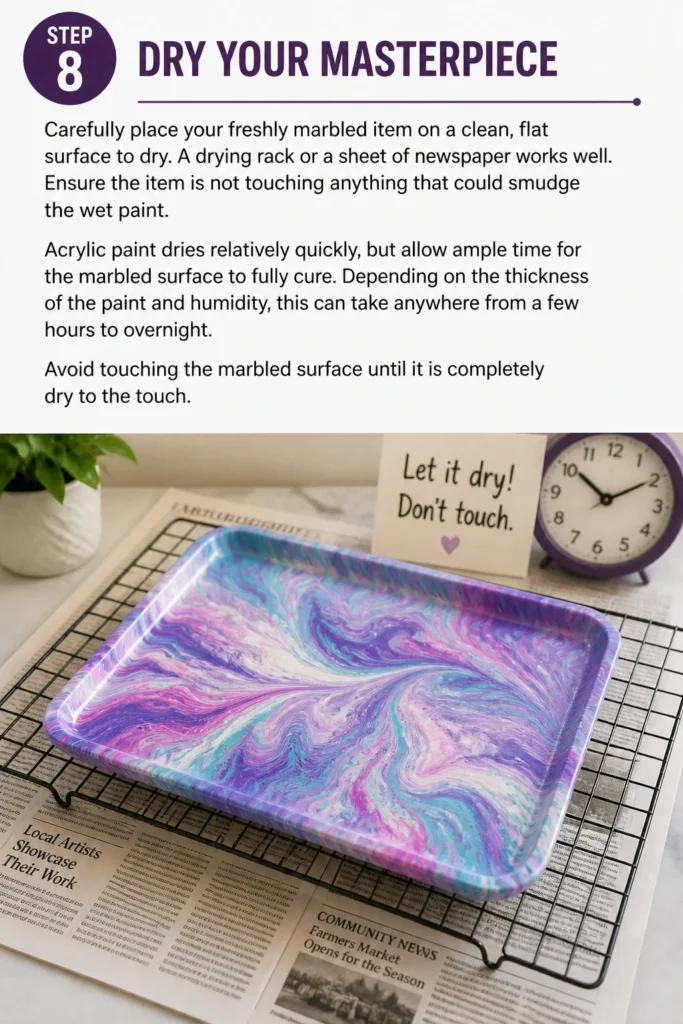
Carefully place your freshly marbled item on a clean, flat surface to dry. A drying rack or a sheet of newspaper works well. Ensure the item is not touching anything that could smudge the wet paint.
Acrylic paint dries relatively quickly, but allow ample time for the marbled surface to fully cure. Depending on the thickness of the paint and humidity, this can take anywhere from a few hours to overnight. Avoid touching the marbled surface until it is completely dry to the touch.
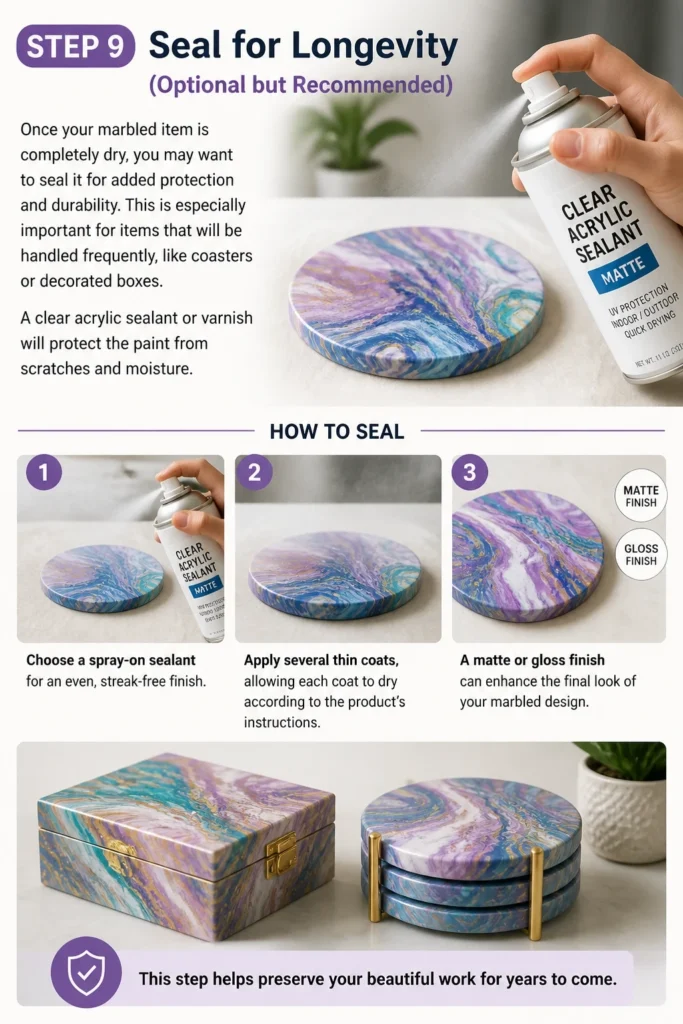
Step 9: Seal for Longevity (Optional but Recommended)
Once your marbled item is completely dry, you may want to seal it for added protection and durability. This is especially important for items that will be handled frequently, like coasters or decorated boxes. A clear acrylic sealant or varnish will protect the paint from scratches and moisture.
Choose a spray-on sealant for an even, streak-free finish. Apply several thin coats, allowing each coat to dry according to the product’s instructions. A matte or gloss finish can enhance the final look of your marbled design. This step helps preserve your beautiful work for years to come.
Common Mistakes to Avoid
Incorrect Paint Consistency
One of the most frequent issues is paint that is either too thick or too thin. If your acrylic paint is too thick, it won’t spread properly on the water’s surface, resulting in small, blob-like dots. Conversely, if it’s too thin, it might sink to the bottom of the tray immediately, creating no pattern at all. Always test your paint consistency on a small area of the water bath before committing to a full design. Adjust by adding more marbling medium to thin it or a tiny bit more paint to thicken it, aiming for that “thin cream” texture.
Overworking the Design
It’s tempting to keep swirling and manipulating the paint on the water, but this often leads to muddy, indistinct patterns. Overworking the design mixes the colors too much, causing them to blend into an unappealing brown or grey. Aim for quick, deliberate movements with your swirling tool. Once you’ve achieved a pattern you like, stop and dip your item. Less is often more when it comes to creating crisp, vibrant marbled designs.
Using Tap Water
Tap water contains various minerals, chlorine, and other impurities that can significantly interfere with the paint’s ability to spread and float. These impurities can break the surface tension, causing paints to sink or refuse to expand into even circles. Always use distilled water for your marbling bath. Distilled water is purified and free of contaminants, providing a clean and stable surface for your acrylic paints to perform as intended. This simple swap can dramatically improve your results.
Dipping Too Fast or Too Slow
The speed at which you dip your item into the water is crucial for a successful transfer. Dipping too quickly can trap air bubbles under your item, resulting in blank spots in your design. It can also create splashes that distort the pattern. Dipping too slowly, however, might cause the paint to partially dry on the water’s surface before it fully adheres to your item, leading to an incomplete or patchy transfer. Aim for a steady, even descent, allowing the entire surface of your item to contact the paint film at roughly the same time.
Troubleshooting
Paint Sinks Immediately
If your paint drops straight to the bottom of the tray, it’s usually an issue with the paint’s density or the water’s surface tension. The paint might be too heavy or too thin, lacking the necessary buoyancy. Try adding more marbling medium to your paint mixture, as this often helps lighten it and improve its spreadability. Also, ensure your water bath contains enough marbling medium and is at room temperature; cold water can reduce surface tension.
Paint Won’t Spread
When paint just sits on the water surface without expanding into a circle, it’s typically too thick or the water’s surface tension isn’t high enough. First, check your paint consistency; it should be like thin cream. Add a tiny bit more marbling medium or a single drop of water to thin it. Second, ensure you’ve added enough marbling medium to your water bath. If the water itself isn’t prepped correctly, the paint won’t have the surface to spread on.
Bubbles on Marbled Item
Finding small, unmarbled circles or “holes” on your finished piece indicates air bubbles were trapped during the dipping process. This usually happens when the item is dipped too quickly or unevenly. Practice a slow, steady, and even lowering motion. Ensure your item is completely clean and dry before dipping, as dust or oils can also create localized surface tension issues, leading to bubbles. Skim the water surface for any pre-existing bubbles before dipping.
Key Takeaways
- Achieving the correct paint consistency is paramount. Your acrylics should be thinned to a milk-like consistency with marbling medium to float and spread properly.
- Distilled water is essential for a clean, stable marbling bath. Avoid tap water due to its mineral content and impurities.
- Patience and gentle movements are key when dropping paints and swirling designs to prevent muddying.
- Clean the water surface after every dip. This ensures crisp, vibrant patterns for subsequent marbled items.
- Experimentation is highly encouraged. Don’t be afraid to try different color combinations, swirling techniques, and items to marble.
- Allow ample drying time and consider sealing your finished pieces. This protects your artwork and enhances its longevity.
Frequently Asked Questions
Can I use regular acrylic paint straight from the tube?
No, regular acrylic paint straight from the tube is generally too thick and heavy for water marbling. It will likely sink to the bottom of your water bath instead of floating and spreading. You must thin it with a specialized marbling medium or flow improver to achieve the correct consistency and ensure it floats on the water’s surface.
What kind of paper works best for marbling?
Heavy cardstock, watercolor paper, or art paper with a slight tooth works exceptionally well for water marbling. These papers are absorbent enough to pick up the paint efficiently but sturdy enough not to buckle or tear when wet. Avoid thin printer paper, as it tends to wrinkle and may not hold the paint well.
How do I clean my tools and tray after marbling?
Clean your tools and tray immediately after marbling, while the paint is still wet. Acrylic paint, especially when mixed with marbling medium, can be difficult to remove once dry. Use warm water and soap to wash your skewers, droppers, and the marbling tray. Paper towels are useful for wiping away excess paint from the water surface and tools.
Can I marble on objects other than paper?
Absolutely! Water marbling works beautifully on a variety of objects, provided they have a clean, non-porous surface. You can marble small wooden boxes, ceramic tiles (unglazed or prepped), fabric pieces, or even smooth stones. For best results, ensure the object is pre-cleaned and sometimes lightly sanded or primed to help the paint adhere.
Our Top Recommended Finds
- Acrylic Marbling Medium: This specialized additive is crucial for helping your acrylic paints float and spread effectively on water. It makes the entire process much smoother.
- Craft Acrylic Paint Set: A diverse set of good quality, affordable acrylic paints will give you a wide range of colors to experiment with in your marbling projects.
- Shallow Dipping Tray: A dedicated plastic or aluminum tray, larger than your intended items, ensures you have ample space to create your designs and dip your items comfortably.
Your Artistic Journey Begins Now
Water marbling with acrylic paint is a wonderfully creative and accessible art form. Each piece you create will be a unique expression, a testament to the fluid dance of color and water. Don’t be discouraged by initial attempts; practice and experimentation are part of the joy.
Now that you have the knowledge and steps, gather your supplies and dive into the magical world of marbling. Share your creations, explore new color palettes, and perhaps even try marbling on different surfaces. Embrace the unpredictable beauty and let your creativity flow.
Beginner-friendly templates, step-by-step guides,
and weekly project ideas in your inbox.