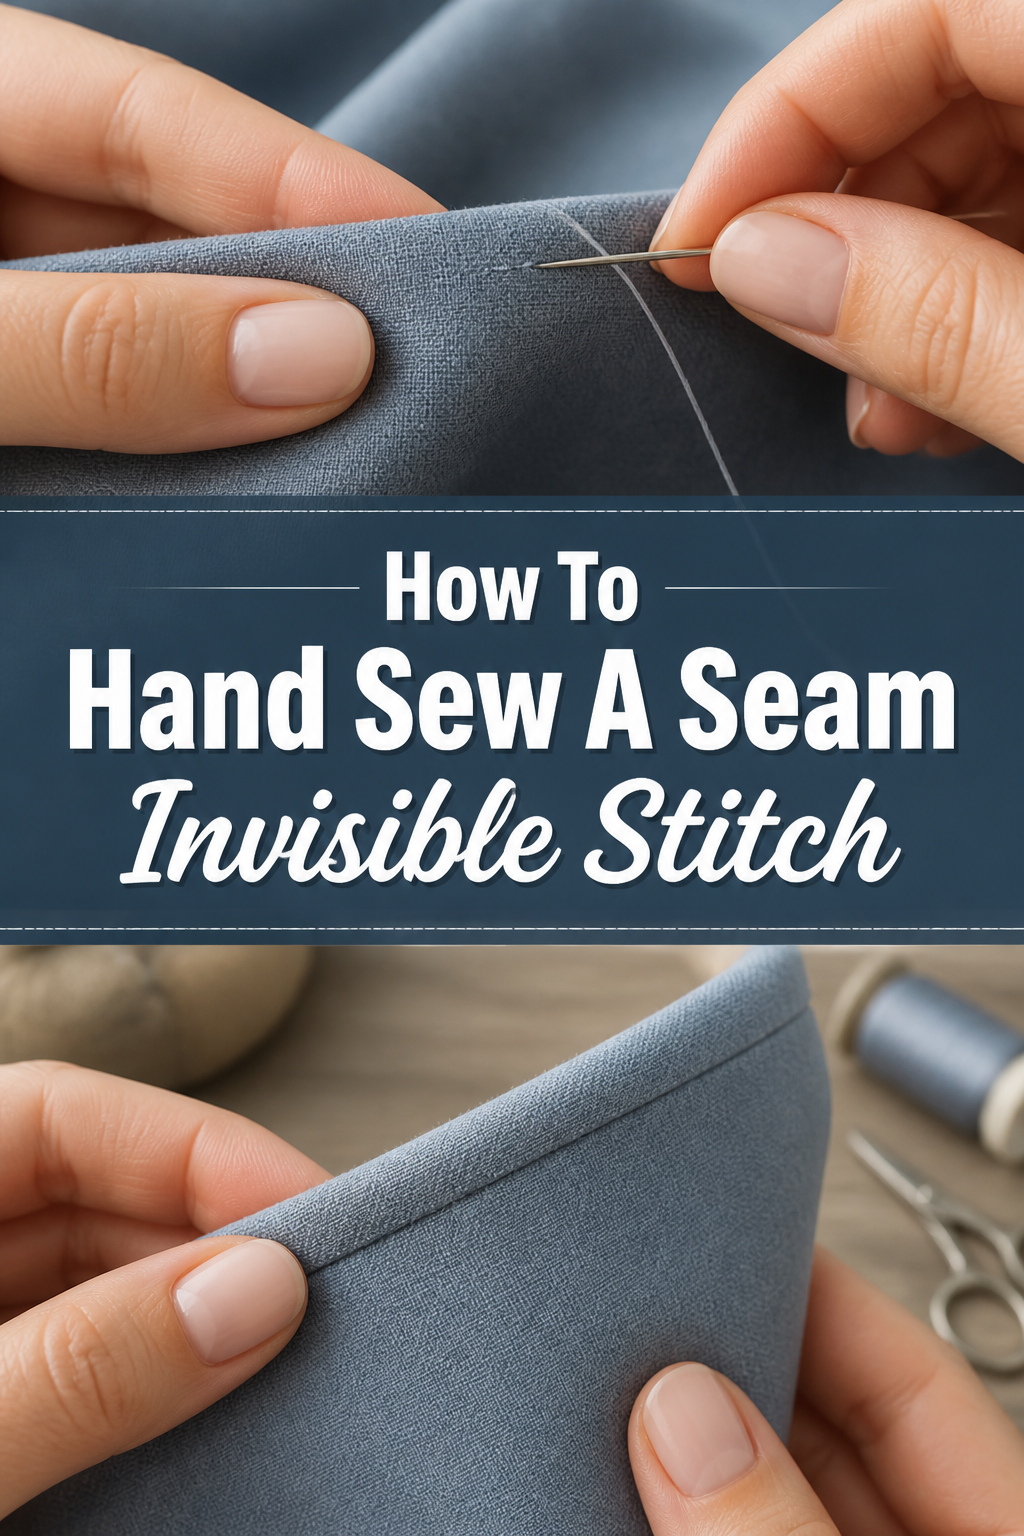
🧵 How To Hand Sew A Seam Invisible Stitch

Beginner-friendly templates, step-by-step guides,
and weekly project ideas in your inbox.
There’s a special kind of satisfaction that comes from finishing a sewing project with a perfectly concealed seam.
I remember my early days, struggling with visible stitches that betrayed my efforts.
This guide draws on years of practice to show you how to achieve that flawless, professional finish every time.
Quick Overview
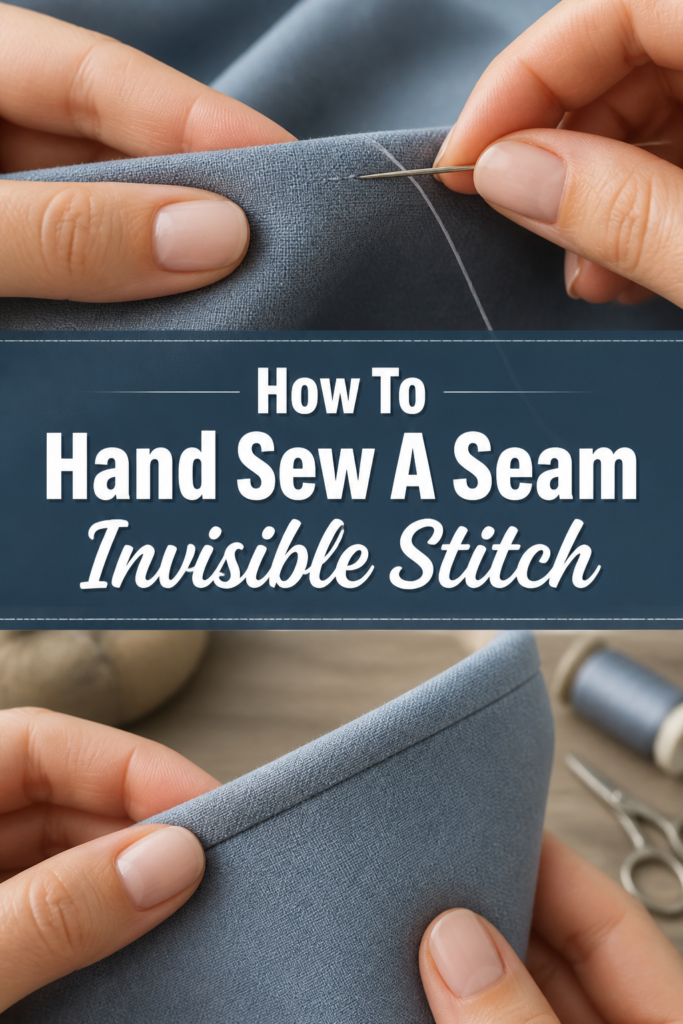
You’re about to learn the techniques for creating a truly invisible hand-sewn seam.
This method is perfect for garment repairs, closing linings, or adding decorative elements without visible threads.
- Time needed: 30-60 minutes (depending on seam length)
- Difficulty: Intermediate
- What you’ll need: Fabric, needle, thread, scissors, pins, thimble (optional)
Step-by-Step Instructions
Step 1: Prepare Your Fabric Edges
Align the two fabric edges you wish to join, ensuring they are perfectly matched.
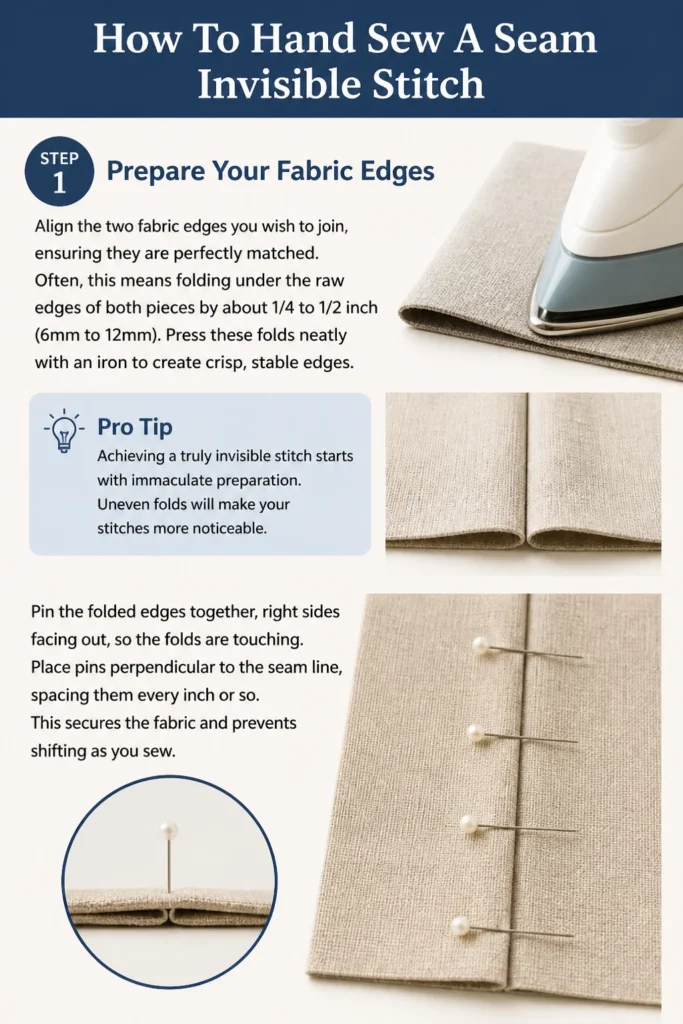
Often, this means folding under the raw edges of both pieces by about 1/4 to 1/2 inch (6mm to 12mm).
Press these folds neatly with an iron to create crisp, stable edges.
Pro Tip: Achieving a truly invisible stitch starts with immaculate preparation. Uneven folds will make your stitches more noticeable.
Pin the folded edges together, right sides facing out, so the folds are touching.
Place pins perpendicular to the seam line, spacing them every inch or so.
This secures the fabric and prevents shifting as you sew.
Step 2: Choose Your Needle and Thread
Select a sharp, fine needle that glides easily through your fabric without snagging.
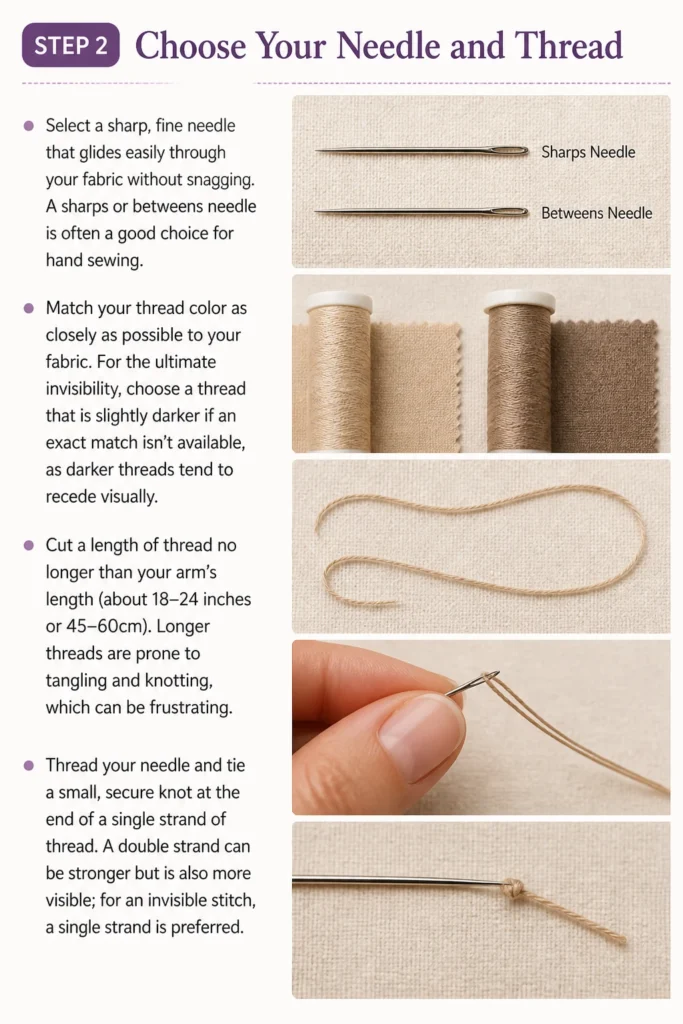
A “sharps” or “betweens” needle is often a good choice for hand sewing.
Match your thread color as closely as possible to your fabric.
For the ultimate invisibility, choose a thread that is slightly darker if an exact match isn’t available, as darker threads tend to recede visually.
Cut a length of thread no longer than your arm’s length (about 18-24 inches or 45-60cm).
Longer threads are prone to tangling and knotting, which can be frustrating.
Thread your needle and tie a small, secure knot at the end of a single strand of thread.
A double strand can be stronger but is also more visible; for an invisible stitch, a single strand is preferred.
Step 3: Anchor Your Thread Invisibly
Begin your stitch inside one of the folded edges, about 1/4 inch (6mm) from the end of your seam.
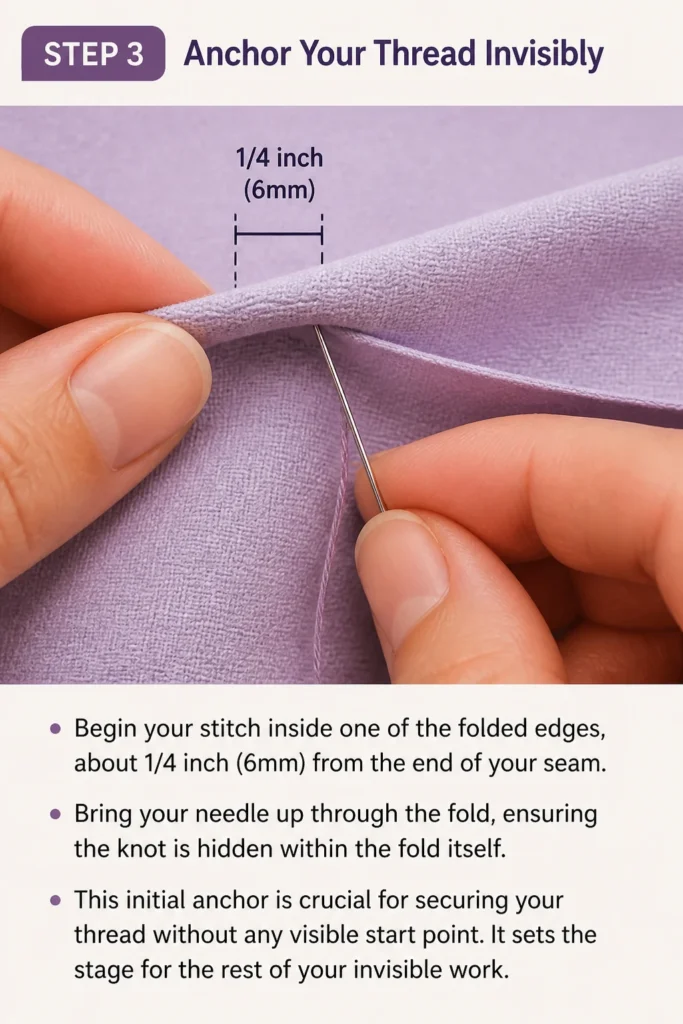
Bring your needle up through the fold, ensuring the knot is hidden within the fold itself.
This initial anchor is crucial for securing your thread without any visible start point.
It sets the stage for the rest of your invisible work.
Step 4: Execute the Ladder Stitch (or Blind Stitch)
This is the core of the invisible seam.
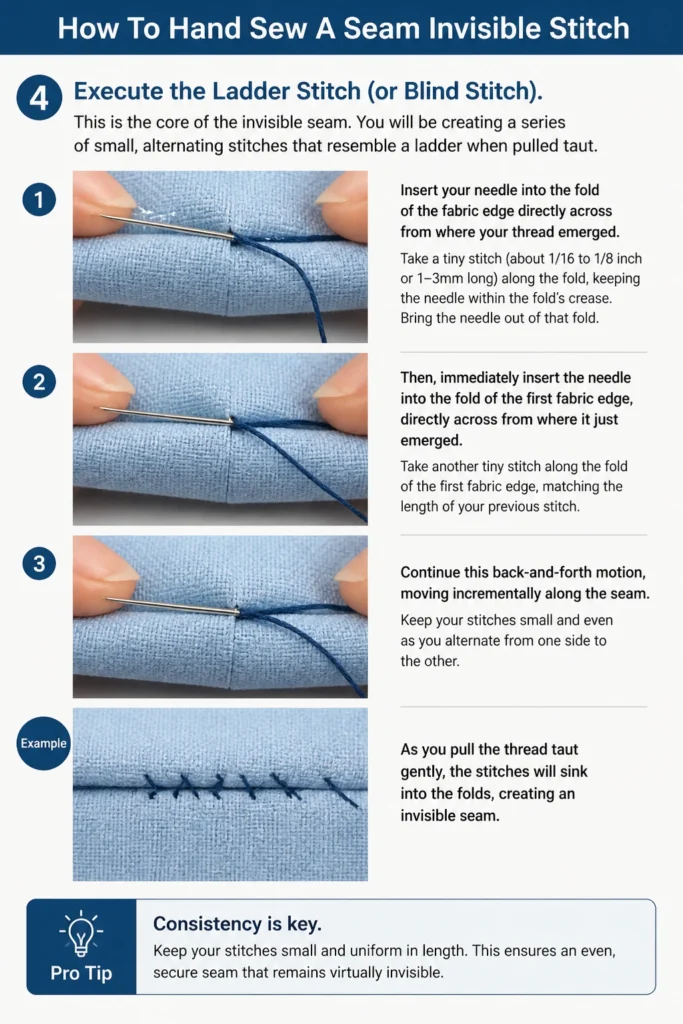
You will be creating a series of small, alternating stitches that resemble a ladder when pulled taut.
Insert your needle into the fold of the fabric edge directly across from where your thread emerged.
Take a tiny stitch (about 1/16 to 1/8 inch or 1-3mm long) along the fold, keeping the needle within the fold’s crease.
Bring the needle out of that fold.
Then, immediately insert the needle into the fold of the first fabric edge, directly across from where it just emerged.
Take another tiny stitch along the fold of the first fabric edge, matching the length of your previous stitch.
Continue this back-and-forth motion, moving incrementally along the seam.
Pro Tip: Consistency is key. Keep your stitches small and uniform in length. This ensures an even, strong, and truly invisible seam when tightened.
Step 5: Maintain Even Tension
Avoid pulling your thread too tightly after each individual stitch.
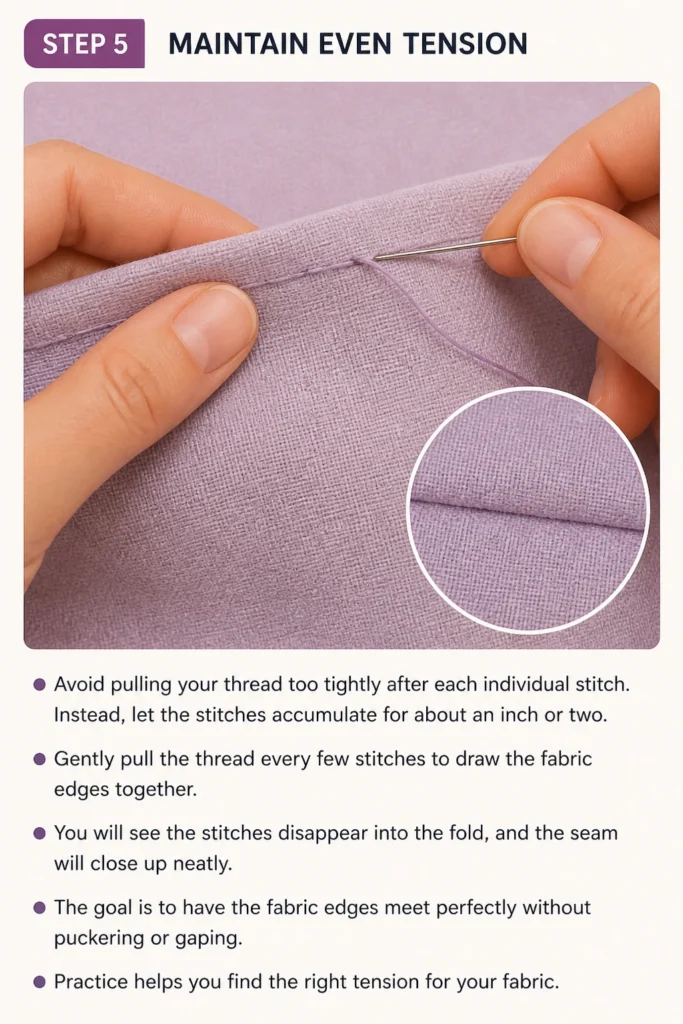
Instead, let the stitches accumulate for about an inch or two.
Gently pull the thread every few stitches to draw the fabric edges together.
You will see the stitches disappear into the fold, and the seam will close up neatly.
The goal is to have the fabric edges meet perfectly without puckering or gaping.
Practice helps you find the right tension for your fabric.
Step 6: Continue Along the Seam
Work your way along the entire length of the seam, repeating the ladder stitch technique.
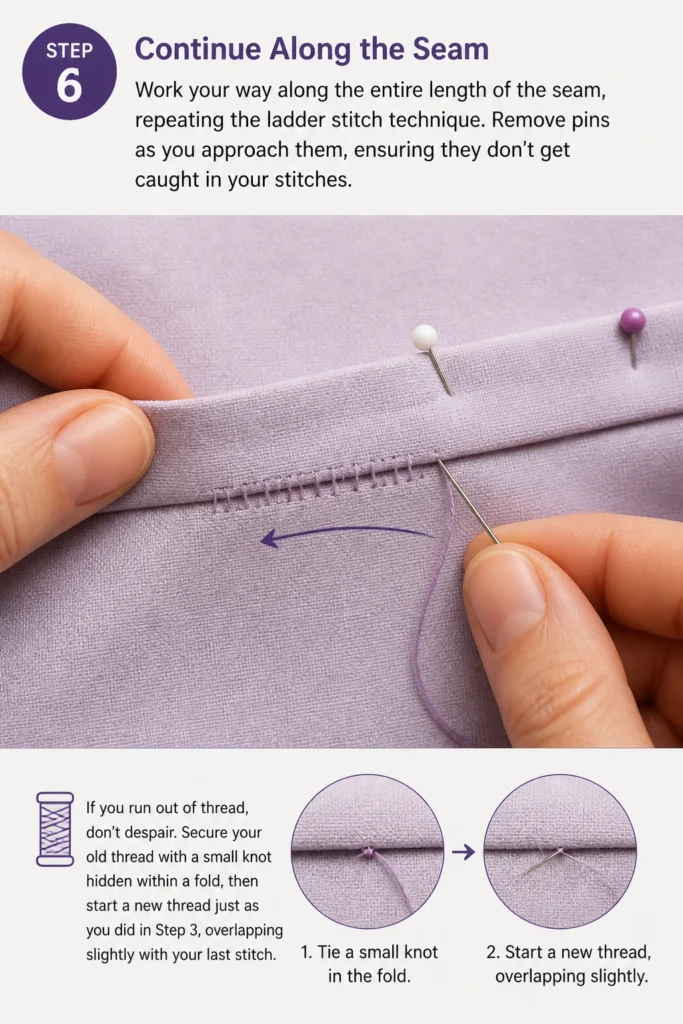
Remove pins as you approach them, ensuring they don’t get caught in your stitches.
If you run out of thread, don’t despair.
Secure your old thread with a small knot hidden within a fold, then start a new thread just as you did in Step 3, overlapping slightly with your last stitch.
Step 7: Finish the Seam Securely
Once you reach the end of your seam, it’s time to secure your thread.
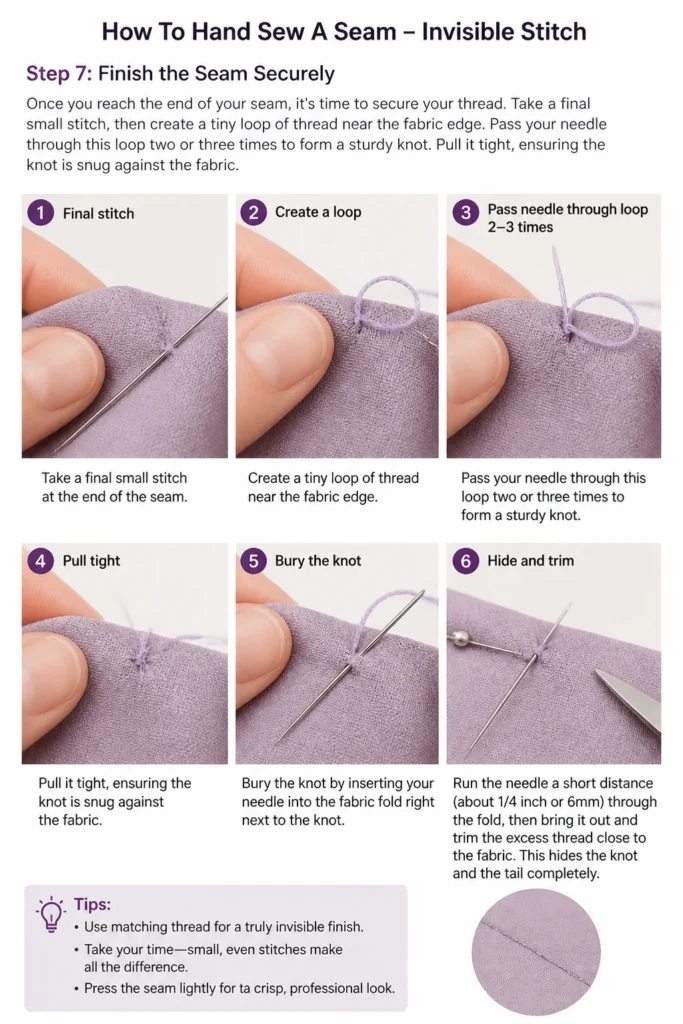
Take a final small stitch, then create a tiny loop of thread near the fabric edge.
Pass your needle through this loop two or three times to form a sturdy knot.
Pull it tight, ensuring the knot is snug against the fabric.
Bury the knot by inserting your needle into the fabric fold right next to the knot.
Run the needle a short distance (about 1/4 inch or 6mm) through the fold, then bring it out and trim the excess thread close to the fabric.
This hides the knot and the tail completely.
Step 8: Press Your Finished Seam
Press the newly sewn seam with an iron.
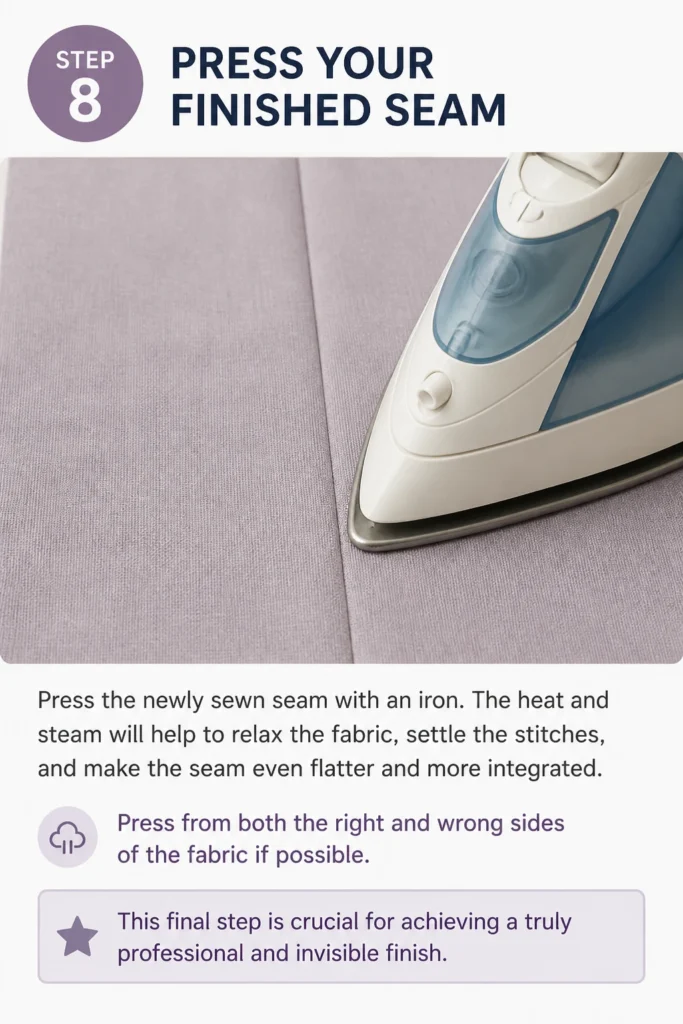
The heat and steam will help to relax the fabric, settle the stitches, and make the seam even flatter and more integrated.
Press from both the right and wrong sides of the fabric if possible.
This final step is crucial for achieving a truly professional and invisible finish.
Common Mistakes to Avoid
Using a Contrasting Thread Color
It might seem obvious, but using a thread that doesn’t match your fabric is a common oversight.
Even a slightly different shade can make your stitches stand out, defeating the purpose of an invisible seam.
Always take the time to find the closest possible match, or opt for a slightly darker shade if you’re between colors.
Taking Stitches That Are Too Long
Long stitches are weaker and much more visible, especially when the fabric is pulled or stretched.
They also make the seam look less refined and more prone to gapping.
Focus on taking tiny, consistent stitches, ideally no longer than 1/8 inch (3mm), to ensure your seam remains truly hidden.
Pulling Thread Too Tightly Too Soon
If you pull the thread tight after every single stitch, you risk puckering the fabric.
This creates an uneven, gathered look rather than a smooth, flat seam.
Instead, allow several stitches to accumulate before gently tugging the thread to close the seam, distributing the tension evenly.
Not Preparing Fabric Edges Properly
Skipping the pressing step for your folded edges can lead to a messy, imprecise seam.
Crisp, well-pressed folds provide a stable foundation for your stitches.
Without them, your needle might wander, and the seam won’t lie flat, making your stitches more apparent.
Troubleshooting
Seam is Puckered or Gathered
This usually indicates that the thread was pulled too tightly during sewing, or the stitches were not evenly spaced.
Go back and gently release some tension if possible, or unpick a section and re-sew, ensuring you pull the thread only after several stitches have been made.
Also, make sure your stitch length is consistent to avoid uneven gathering.
Stitches Are Visible on the Right Side
If your stitches are showing, it means you’re likely catching too much fabric from the right side, or your stitches are too long.
When taking your tiny stitch within the fold, ensure your needle only picks up a thread or two from the very edge of the folded fabric, not a larger bite.
Practice making your stitches shallower and shorter within the fold.
Seam is Not Closing Neatly
This often happens if your fabric edges weren’t perfectly aligned and pressed before you started sewing.
It can also occur if your stitches are too far apart, leaving gaps.
Ensure your folded edges are crisp and touching, and increase the frequency of your small stitches to draw the seam closed more effectively.
Key Takeaways
- Proper fabric preparation, including pressing precise folds, is fundamental for an invisible seam.
- Always choose a needle that suits your fabric and thread that matches perfectly or is slightly darker.
- The ladder stitch, characterized by tiny, alternating stitches within the folds, is the technique for invisibility.
- Maintain even, gentle tension and pull the thread taut only after several stitches to avoid puckering.
- Finish by securely knotting and burying your thread within the fabric fold for a clean end.
- A final press with an iron helps to set the stitches and fully integrate the seam into the fabric.
Frequently Asked Questions
Can I use this stitch on any fabric?
Yes, the invisible stitch is versatile and can be used on most woven and knit fabrics. However, very sheer or slippery fabrics might require extra care and even tinier stitches to maintain invisibility.
How do I make sure my knot is truly invisible?
To hide your knot, always start and end your sewing by bringing the needle up and down within the folded edge of the fabric. This tucks the knot securely inside the fold, making it undetectable from the outside.
Is a thimble necessary for hand sewing?
While not strictly necessary, a thimble is highly recommended, especially for thicker fabrics or longer sewing sessions. It protects your finger from the needle’s eye and helps push the needle through fabric with greater ease and control.
What if my thread keeps tangling?
Thread tangling is often caused by using a thread that is too long. Try cutting shorter lengths of thread (arm’s length or less). You can also run your thread over a block of beeswax before sewing; this strengthens the thread and reduces tangles.
Our Top Recommended Finds
- Assorted Hand Sewing Needles: A good set provides various sizes and types, ensuring you always have the right needle for your fabric.
- High-Quality All-Purpose Thread Kit: A kit with a wide range of colors ensures you can find a perfect match for almost any project.
- Seam Ripper with Ergonomic Handle: Essential for carefully unpicking mistakes without damaging your fabric, a comfortable handle makes the task less tedious.
Mastering the Art of the Invisible Seam
Achieving an invisible hand-sewn seam is a skill that elevates your sewing projects from good to truly exceptional.
It requires patience and attention to detail, but the results are incredibly rewarding.
Now that you have these practical steps, take out some fabric and a needle.
Start practicing this technique today, and watch your sewing confidence grow with every perfectly hidden stitch.
Beginner-friendly templates, step-by-step guides,
and weekly project ideas in your inbox.