⛺ How To Make A Tent Out Of Blankets

Beginner-friendly templates, step-by-step guides,
and weekly project ideas in your inbox.
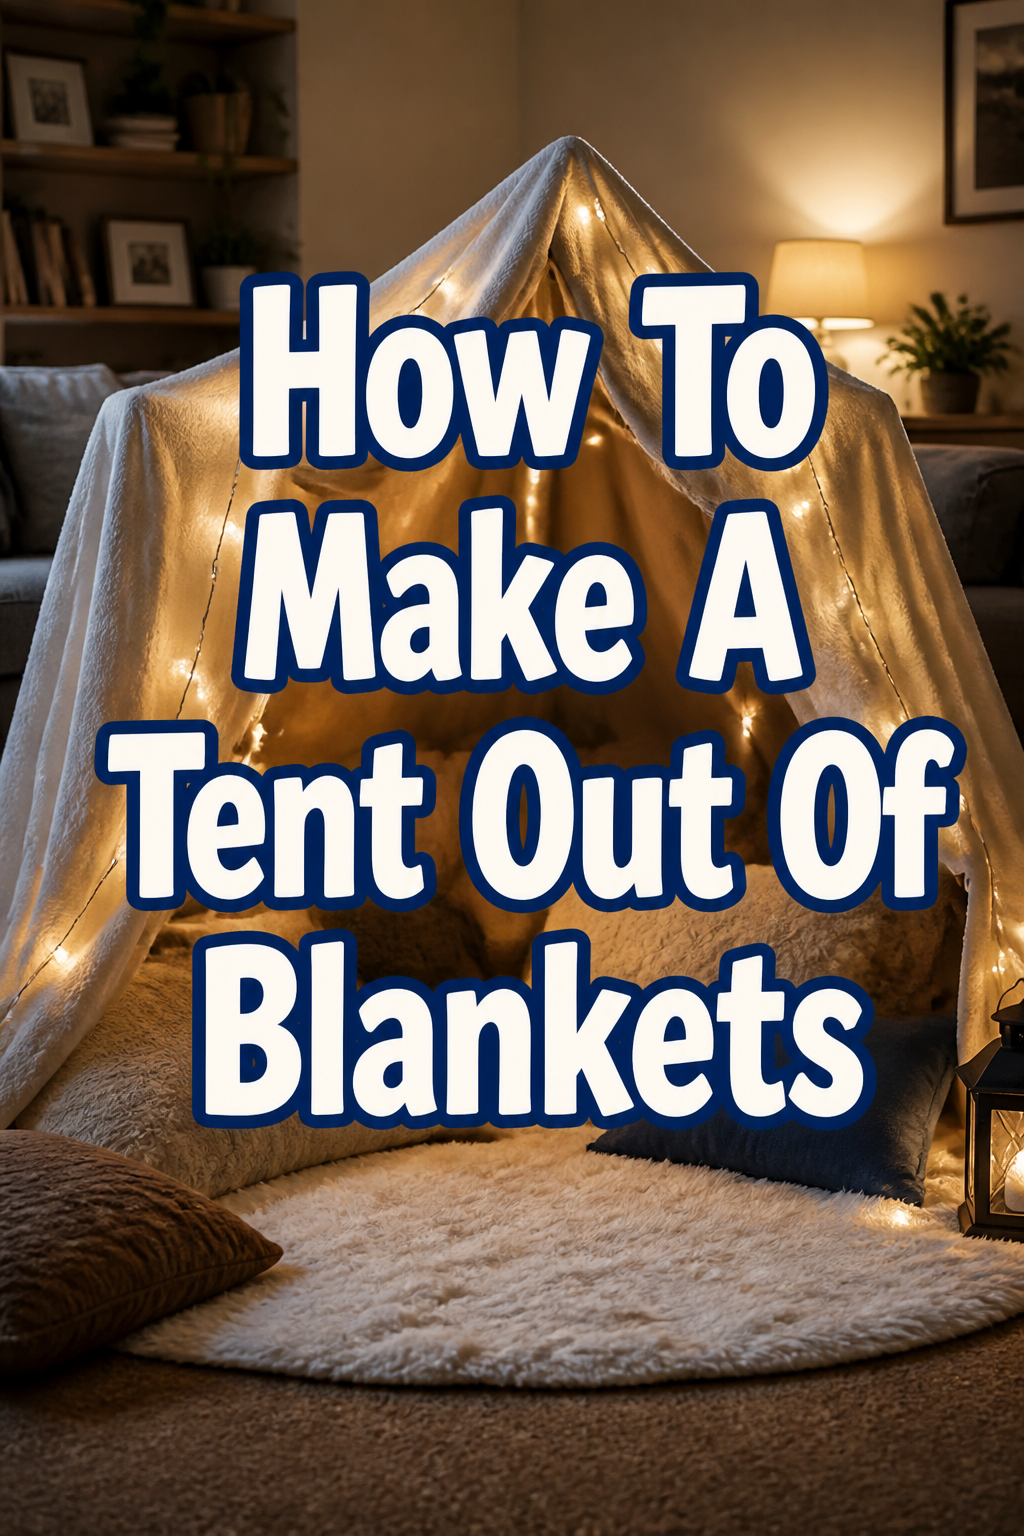
There’s a special kind of magic in building a cozy hideaway right in your living room.
I’ve spent countless hours crafting blanket forts, from simple lean-tos to elaborate multi-room structures, ever since I was a child.
This guide shares my tried-and-true methods, ensuring you can build a stable, fun blanket tent for endless adventures.
Quick Overview
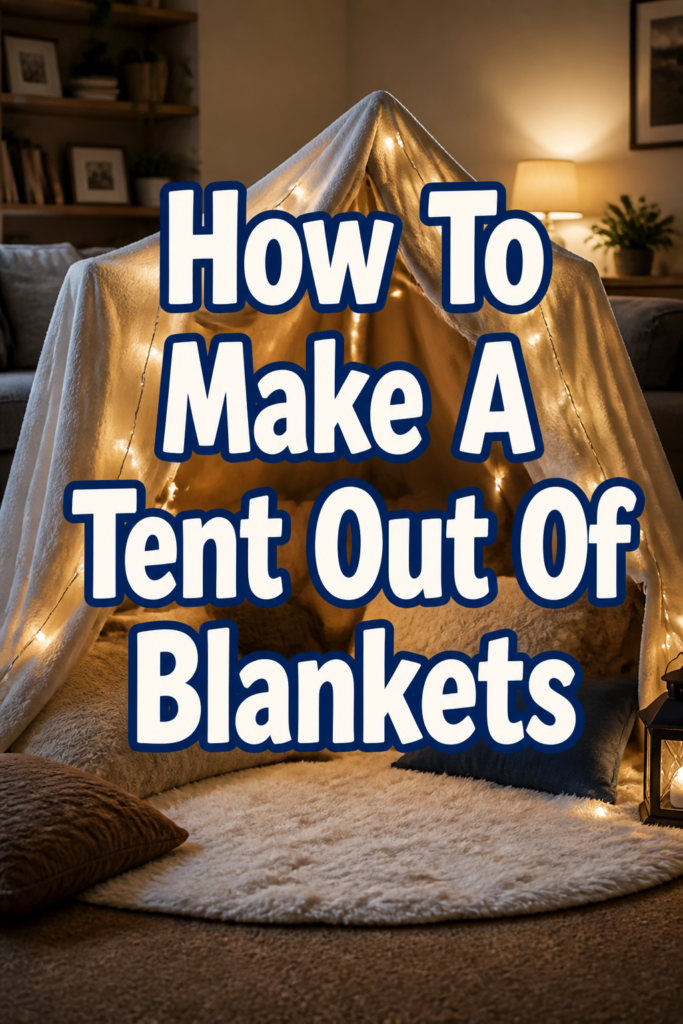
You’re about to create a fantastic, imaginative space using everyday household items. This project transforms your living area into a snug, private tent perfect for reading, playing, or simply relaxing.
- Time needed: 20-40 minutes
- Difficulty: Beginner
- What you’ll need: Blankets, pillows, chairs or furniture, clothespins or clips, heavy books or objects.
Step-by-Step Instructions
Step 1: Gather Your Essential Supplies
Before you begin construction, collect all the necessary materials. A good selection of blankets is crucial for both structure and comfort.
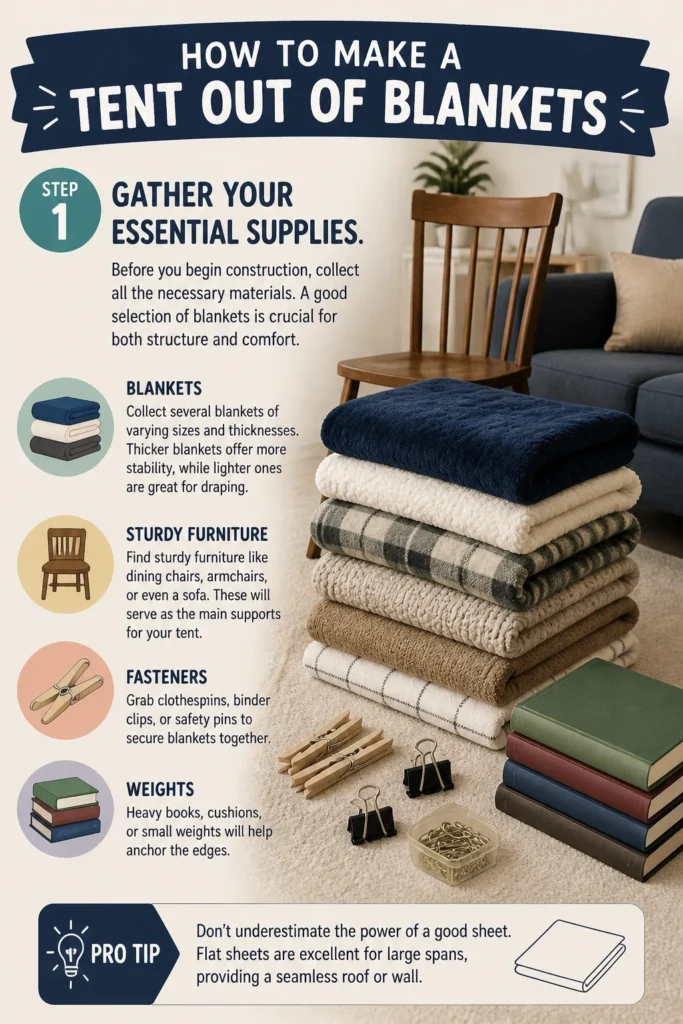
Collect several blankets of varying sizes and thicknesses. Thicker blankets offer more stability, while lighter ones are great for draping.
Find sturdy furniture like dining chairs, armchairs, or even a sofa. These will serve as the main supports for your tent.
Grab clothespins, binder clips, or safety pins to secure blankets together. Heavy books, cushions, or small weights will help anchor the edges.
Pro Tip: Don’t underestimate the power of a good sheet. Flat sheets are excellent for large spans, providing a seamless roof or wall.
Step 2: Choose Your Ideal Location
The right spot makes all the difference for your blanket tent. Consider both space and existing structural advantages.
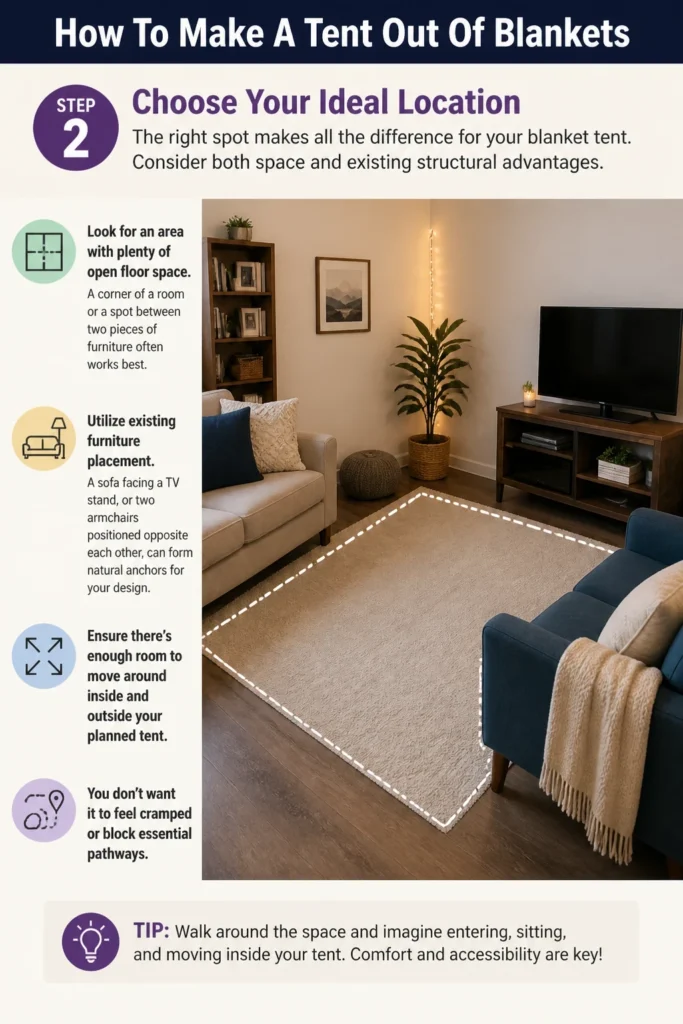
Look for an area with plenty of open floor space. A corner of a room or a spot between two pieces of furniture often works best.
Utilize existing furniture placement. A sofa facing a TV stand, or two armchairs positioned opposite each other, can form natural anchors for your design.
Ensure there’s enough room to move around inside and outside your planned tent. You don’t want it to feel cramped or block essential pathways.
Step 3: Establish Your Primary Supports
Your blanket tent needs a strong foundation. This step creates the basic framework that will hold your blankets aloft.
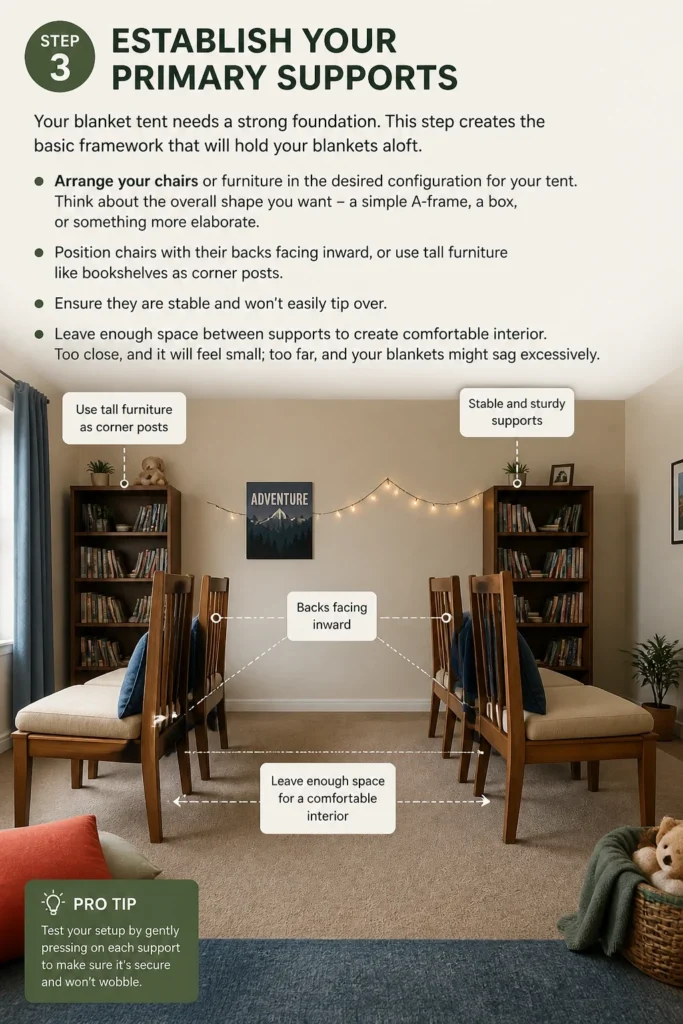
Arrange your chairs or furniture in the desired configuration for your tent. Think about the overall shape you want – a simple A-frame, a box, or something more elaborate.
Position chairs with their backs facing inward, or use tall furniture like bookshelves as corner posts. Ensure they are stable and won’t easily tip over.
Leave enough space between supports to create a comfortable interior. Too close, and it will feel small; too far, and your blankets might sag excessively.
Step 4: Drape Your Main Canopy Blanket
This is where your tent truly starts to take shape. The main canopy forms the roof and primary structure.
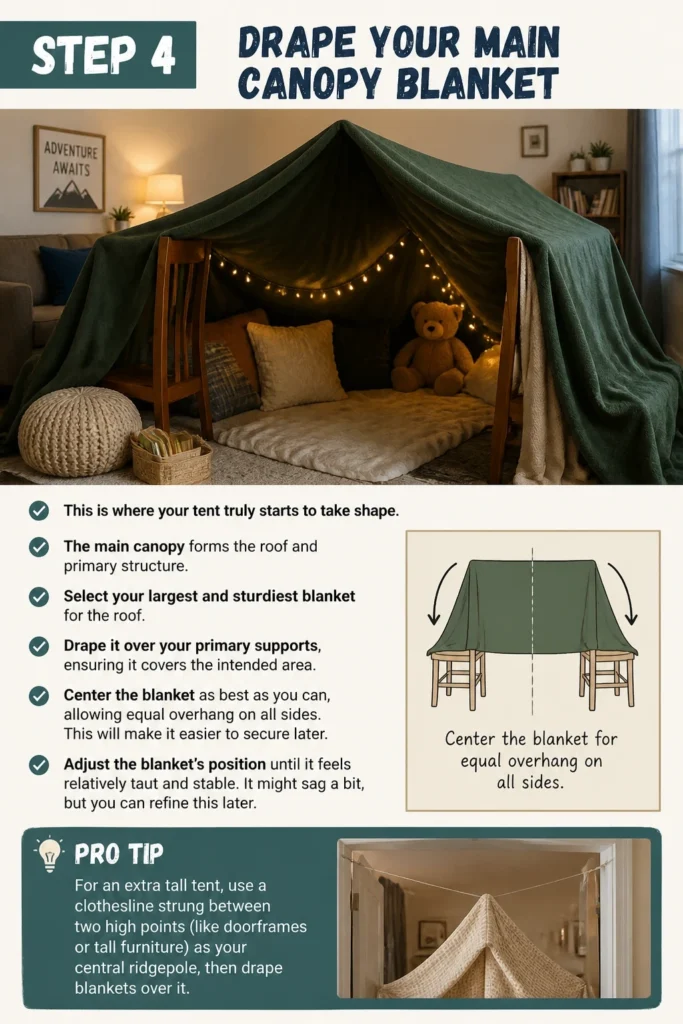
Select your largest and sturdiest blanket for the roof. Drape it over your primary supports, ensuring it covers the intended area.
Center the blanket as best as you can, allowing equal overhang on all sides. This will make it easier to secure later.
Adjust the blanket’s position until it feels relatively taut and stable. It might sag a bit, but you can refine this later.
Pro Tip: For an extra tall tent, use a clothesline strung between two high points (like doorframes or tall furniture) as your central ridgepole, then drape blankets over it.
Step 5: Secure the Blanket Edges
Preventing your tent from collapsing is key. This step involves anchoring the blankets firmly to your supports.
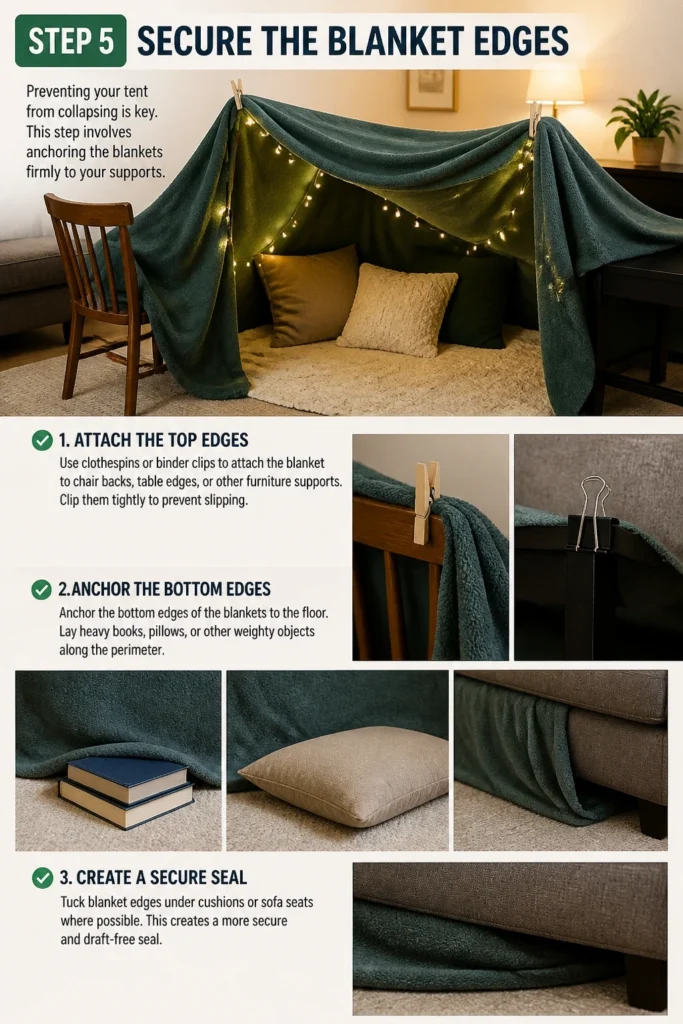
Use clothespins or binder clips to attach the blanket to chair backs, table edges, or other furniture supports. Clip them tightly to prevent slipping.
Anchor the bottom edges of the blankets to the floor. Lay heavy books, pillows, or other weighty objects along the perimeter.
Tuck blanket edges under cushions or sofa seats where possible. This creates a more secure and draft-free seal.
Step 6: Add Side Walls and Entrances
Now, fill in the gaps and create a way to enter your cozy space. Side walls offer privacy and insulation.
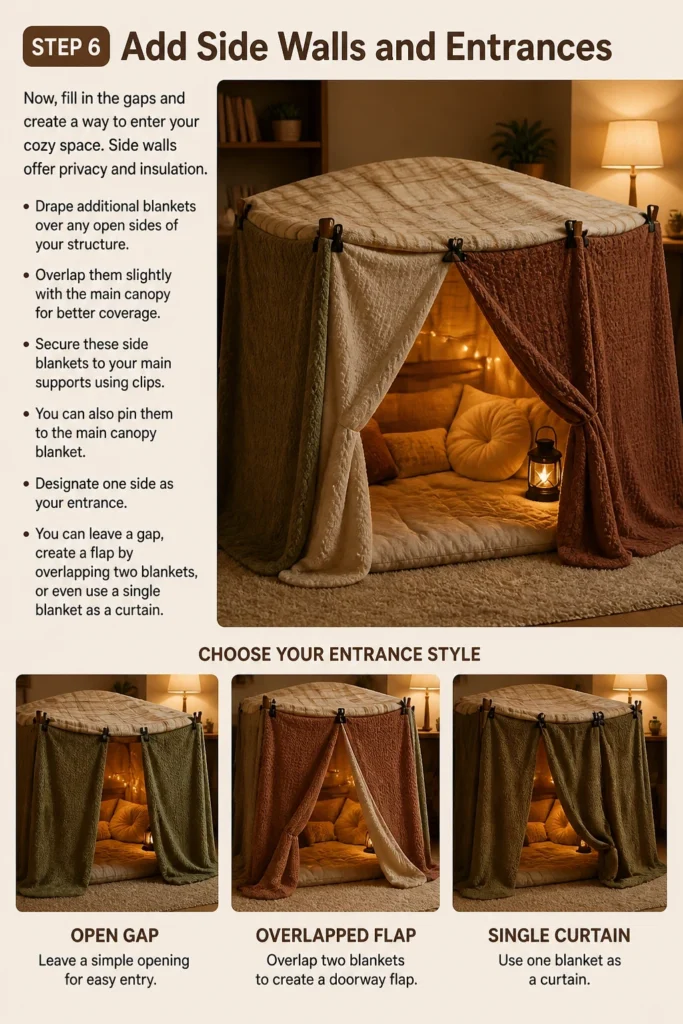
Drape additional blankets over any open sides of your structure. Overlap them slightly with the main canopy for better coverage.
Secure these side blankets to your main supports using clips. You can also pin them to the main canopy blanket.
Designate one side as your entrance. You can leave a gap, create a flap by overlapping two blankets, or even use a single blanket as a curtain.
Step 7: Furnish and Decorate Your Interior
The inside of your blanket tent should be as inviting as possible. This is where comfort comes into play.
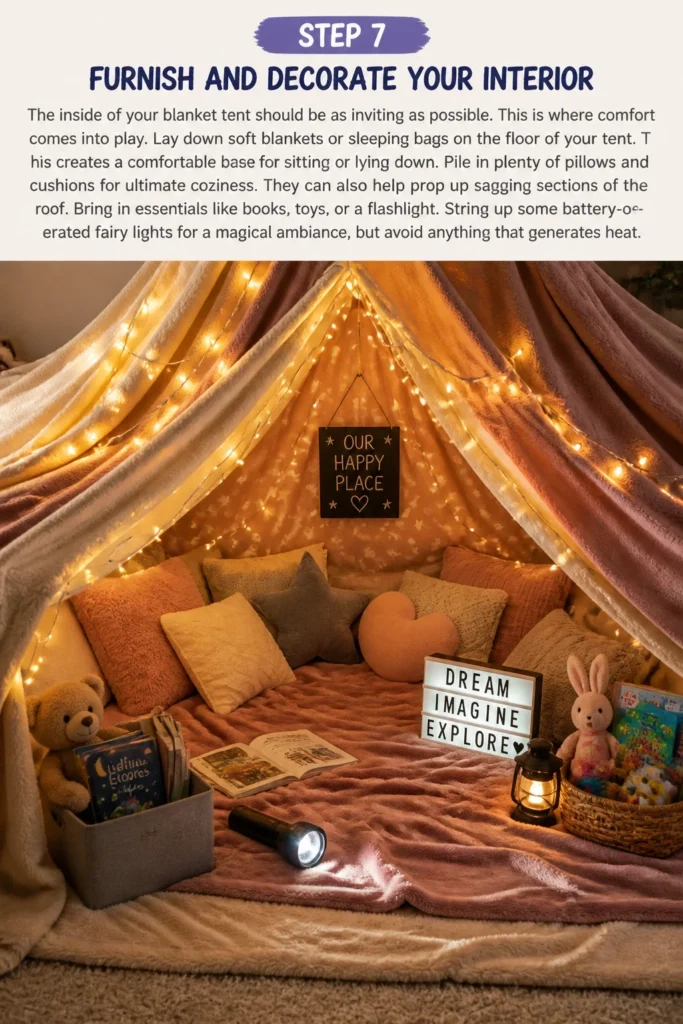
Lay down soft blankets or sleeping bags on the floor of your tent. This creates a comfortable base for sitting or lying down.
Pile in plenty of pillows and cushions for ultimate coziness. They can also help prop up sagging sections of the roof.
Bring in essentials like books, toys, or a flashlight. String up some battery-operated fairy lights for a magical ambiance, but avoid anything that generates heat.
Common Mistakes to Avoid
Using Too Few Supports
A common pitfall is relying on just one or two weak points for your entire tent. This inevitably leads to a saggy, unstable structure that collapses easily.
Ensure you have a good number of sturdy chairs or furniture pieces. Distribute them strategically to create a robust frame that can support the weight of your blankets and resist minor bumps.
Ignoring Overlapping Blankets
Simply laying blankets next to each other creates gaps and drafts. This compromises the enclosed, cozy feel of your tent.
Always overlap your blankets where they meet, especially at the roof and wall junctions. This provides better insulation, blocks light more effectively, and adds to the overall structural integrity.
Forgetting to Anchor Edges
Leaving the bottom edges of your blankets free allows them to shift, let in light, and make the whole tent feel less secure. It’s an easy step to overlook.
Use heavy objects like books, pillows, or even shoes to weigh down the perimeter of your tent. This seals off the bottom, keeps out drafts, and makes the structure much more stable against movement.
Troubleshooting
My Tent Keeps Sagging in the Middle
Excessive sagging usually means your primary support isn’t strong enough or your blanket is too heavy for the span. This is a common issue with larger tents.
Try adding an extra support in the middle, such as a tall lamp, a broom propped up, or even a stack of sturdy books. You can also use a lighter blanket for the roof or shorten the distance between your main supports.
The Blankets Keep Sliding Off
This happens when blankets aren’t secured firmly to their supports. Smooth fabrics on smooth furniture can be particularly prone to slipping.
Utilize more clips or clothespins. For very slippery surfaces, try draping a non-slip mat or a rougher towel over the furniture before adding the blanket. Tying a knot around a chair leg with a corner of the blanket can also help.
It’s Not Dark Enough Inside
Light seeping in can break the illusion of a secret hideout. This often occurs due to gaps or thin blankets.
Check for any unsealed edges or small openings and overlap blankets more generously. Use thicker, darker blankets for the roof and primary walls. You can also add an extra layer of blankets over particularly bright spots.
Key Takeaways
- Always start by gathering all your supplies to prevent interruptions during construction.
- Choose a stable location and sturdy furniture to create a strong foundation for your tent.
- Drape your largest, strongest blanket first to form the primary roof and structure.
- Secure all blanket edges with clips and heavy objects to prevent collapses and drafts.
- Overlap blankets where they meet to ensure maximum coverage and coziness.
- Furnish the interior with soft blankets, pillows, and gentle lighting for ultimate comfort.
Frequently Asked Questions
Can I make a blanket tent outdoors?
While you can certainly try, outdoor blanket tents are often less stable and susceptible to wind, dew, or rain. They are best suited for indoor use where conditions are controlled. If outdoors, choose a calm day and anchor it exceptionally well.
What’s the best type of blanket to use?
A mix is ideal. Thicker, heavier blankets like quilts or wool blankets are excellent for structural support and warmth. Lighter sheets or fleece blankets are perfect for filling in gaps, creating intricate walls, or adding decorative touches.
How can I make my blanket tent more stable?
Stability comes from strong supports and good anchoring. Use more furniture pieces, ensure they are stable, and clip blankets securely. Weigh down all ground-level edges with heavy items. Consider tying blankets to furniture legs if possible.
Is it safe to use lights inside a blanket tent?
Only use battery-operated lights, such as LED fairy lights or small lanterns. Never use lights that plug into an outlet or generate heat, like incandescent bulbs, as they pose a fire risk. Always supervise children when lights are in use.
Our Top Recommended Finds
- Heavy-Duty Binder Clips: Essential for securely attaching blankets to furniture without causing damage.
- Battery-Operated Fairy Lights: Add a magical, cozy glow to your tent’s interior safely.
- Large Fleece Throw Blankets: Versatile for both structural coverage and soft, comfortable flooring.
Your Next Adventure Awaits
Building a blanket tent is more than just stacking fabrics; it’s about crafting a personal sanctuary.
It ignites imagination, offers a quiet retreat, and creates lasting memories. This simple project brings so much joy and creative satisfaction.
Don’t wait another moment to transform your living space into an extraordinary hideaway. Gather your blankets and start building your ultimate fort today!
Beginner-friendly templates, step-by-step guides,
and weekly project ideas in your inbox.