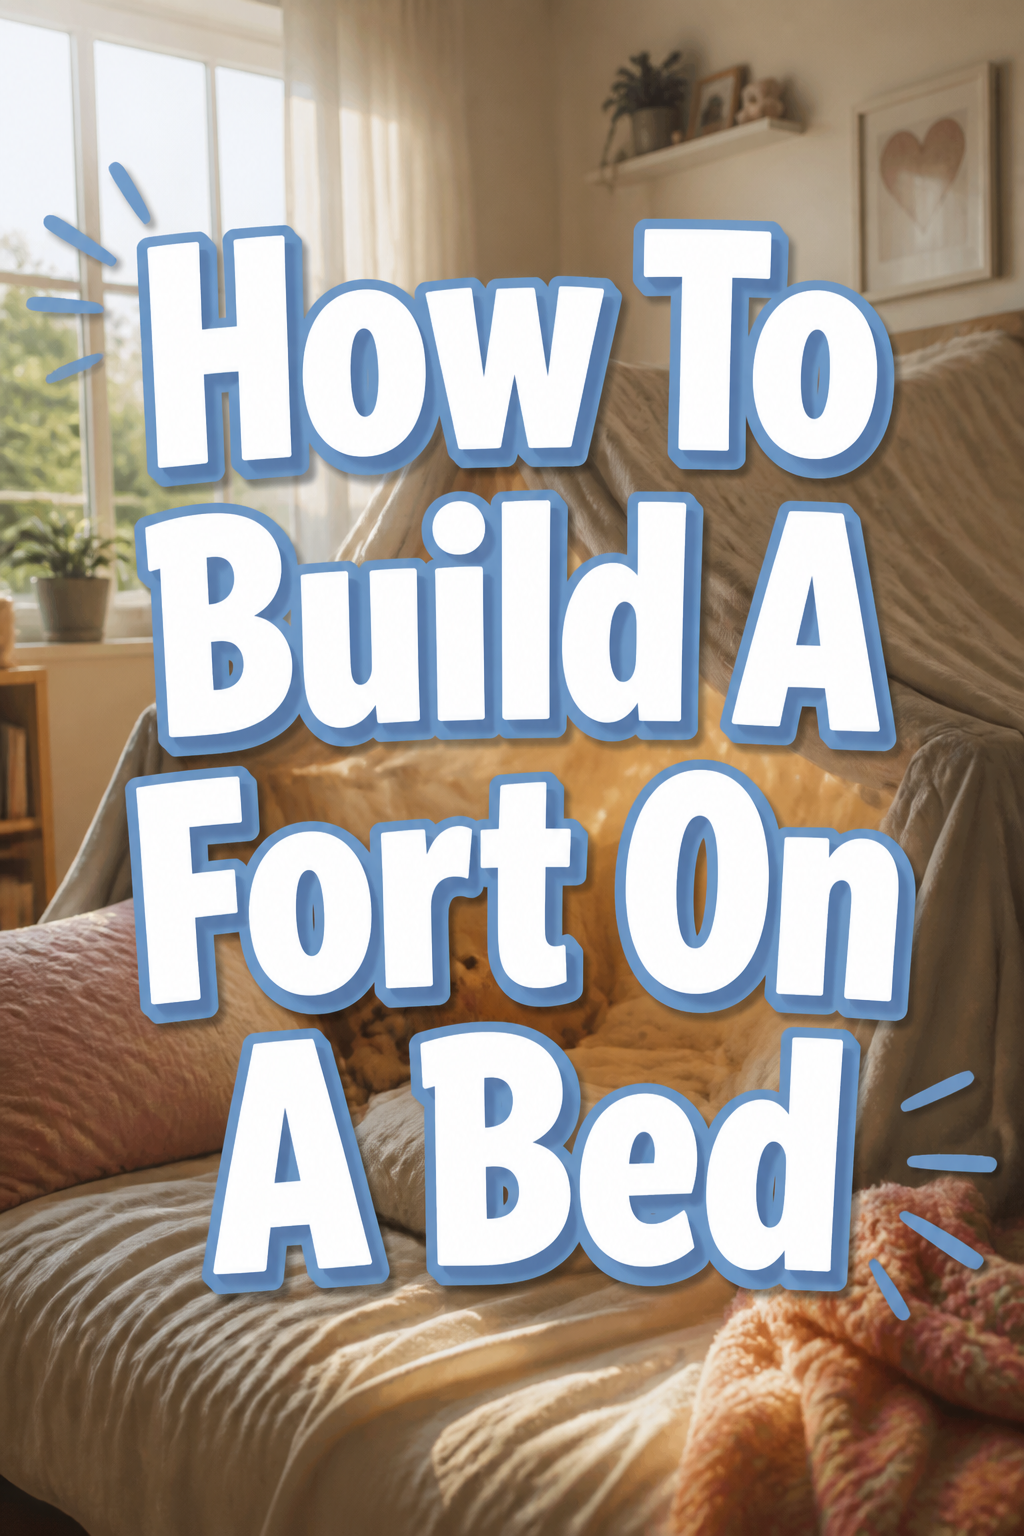
🏰 How To Build A Fort On A Bed

Beginner-friendly templates, step-by-step guides,
and weekly project ideas in your inbox.
Remember those magical childhood days spent crafting secret hideaways? Building a fort on your bed brings all that cozy nostalgia right back. I’ve spent countless hours, both as a kid and an adult, perfecting the art of the ultimate bed fort. This guide will help you create your own perfect, snug sanctuary.
Quick Overview
Get ready to transform your sleeping space into a personal fortress of comfort and fun. You’ll learn how to construct a sturdy, inviting fort using everyday bedroom items. It’s an adventure in coziness waiting to happen.
- Time needed: 30-60 minutes
- Difficulty: Beginner
- What you’ll need: Sheets, blankets, pillows, sturdy objects (books, chairs), clips/clothespins, fairy lights (optional)
Step-by-Step Instructions
Step 1: Gather Your Supplies
Collect all your potential fort-building materials. This includes a variety of sheets, from fitted to flat, and blankets of different weights. Think about the size of your bed and the desired fort.
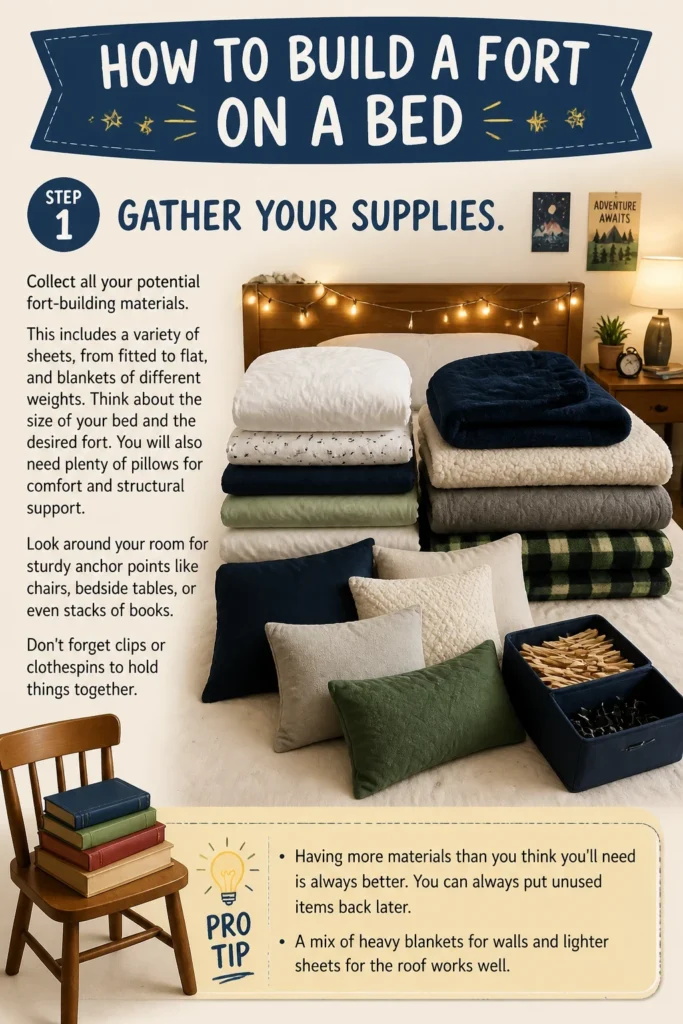
You will also need plenty of pillows for comfort and structural support. Look around your room for sturdy anchor points like chairs, bedside tables, or even stacks of books. Don’t forget clips or clothespins to hold things together.
Pro Tip: Having more materials than you think you’ll need is always better. You can always put unused items back later. A mix of heavy blankets for walls and lighter sheets for the roof works well.
Step 2: Clear and Prepare Your Bed
Remove all existing bedding from your mattress. This gives you a clean slate to work with. You’ll want to ensure the bed is free of clutter to maximize your fort’s interior space.
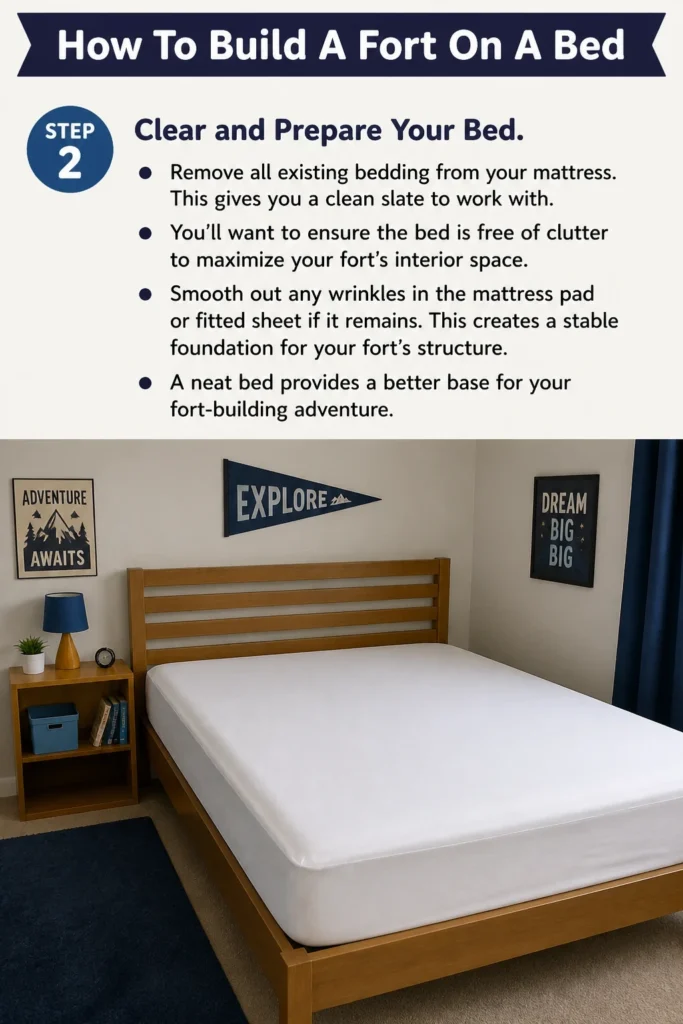
Smooth out any wrinkles in the mattress pad or fitted sheet if it remains. This creates a stable foundation for your fort’s structure. A neat bed provides a better base for your fort-building adventure.
Step 3: Establish Your Fort’s Foundation
Position your anchor points around the bed. Chairs are excellent for creating height and width. Place them strategically at the corners or sides of your bed.
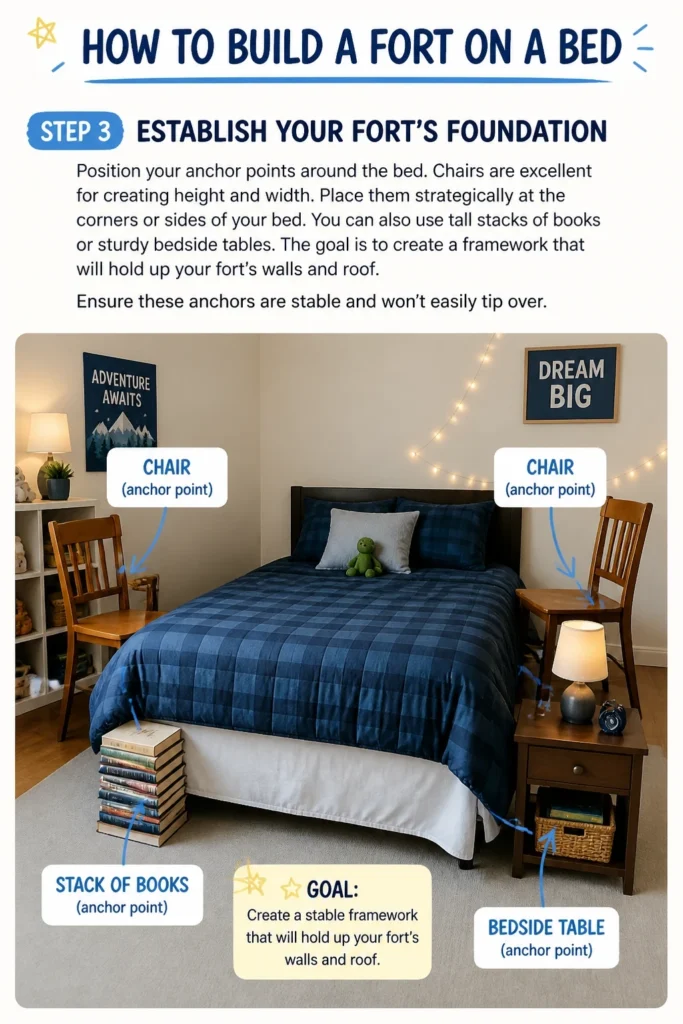
You can also use tall stacks of books or sturdy bedside tables. The goal is to create a framework that will hold up your fort’s walls and roof. Ensure these anchors are stable and won’t easily tip over.
Step 4: Drape the Main Roof Sheets
Drape your largest sheets or light blankets over your chosen anchor points. These will form the primary roof of your fort. Start by laying one sheet over two opposing chairs.
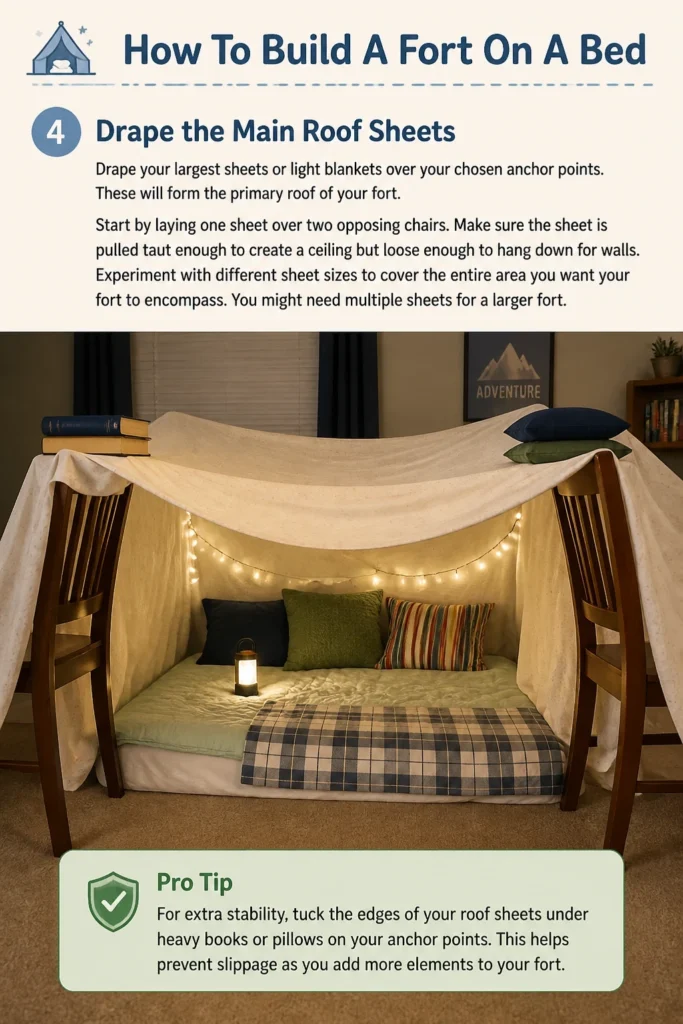
Make sure the sheet is pulled taut enough to create a ceiling but loose enough to hang down for walls. Experiment with different sheet sizes to cover the entire area you want your fort to encompass. You might need multiple sheets for a larger fort.
Pro Tip: For extra stability, tuck the edges of your roof sheets under heavy books or pillows on your anchor points. This helps prevent slippage as you add more elements to your fort.
Step 5: Secure the Walls and Entrances
Secure additional sheets or blankets to create the walls of your fort. Use clothespins or binder clips to attach these wall pieces to your roof sheets. Overlap them slightly to block out light.
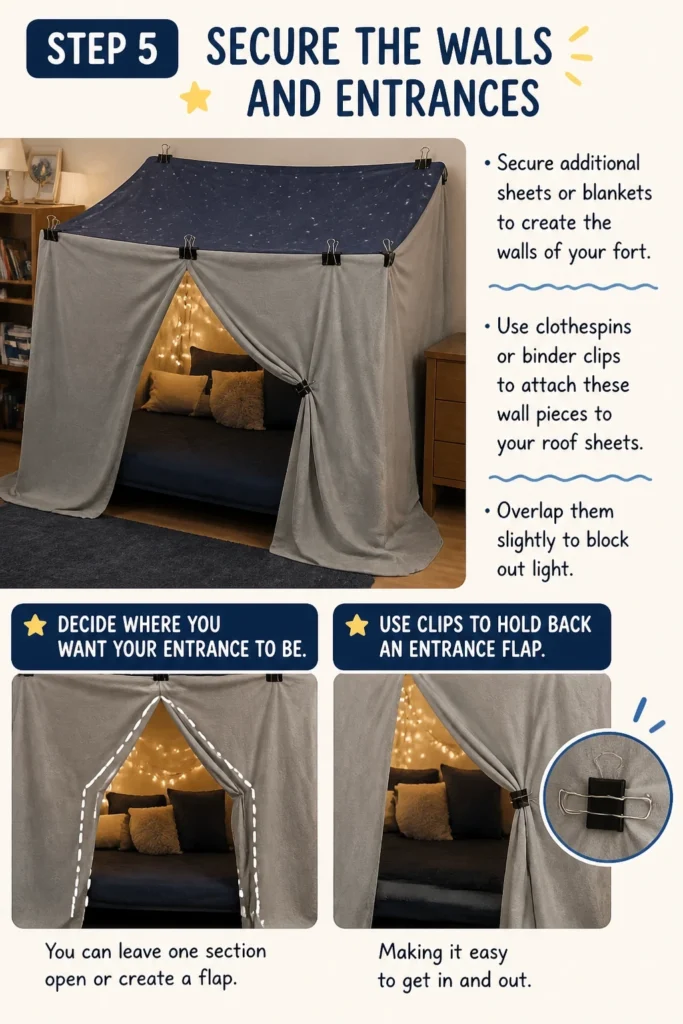
Decide where you want your entrance to be. You can leave one section open or create a flap. Use clips to hold back an entrance flap, making it easy to get in and out.
Step 6: Reinforce and Stabilize
Add more blankets or heavier throws over the roof sheets for extra insulation and darkness. This also helps weigh down the structure, making it more stable. Distribute the weight evenly.
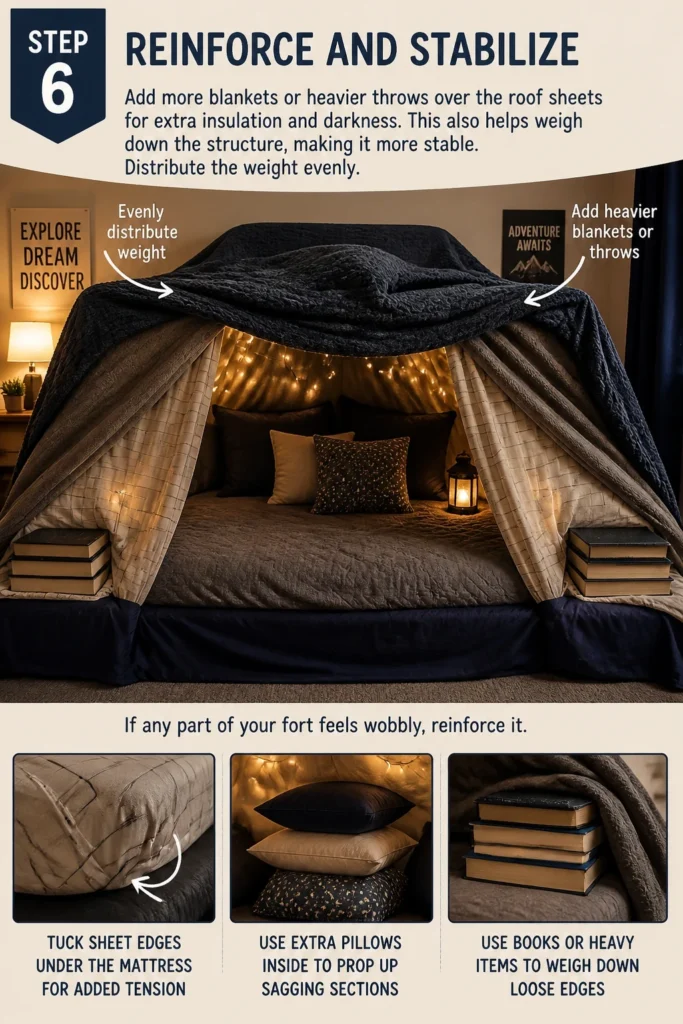
If any part of your fort feels wobbly, reinforce it. You can tuck sheet edges under the mattress for added tension. Use extra pillows or books inside to prop up sagging sections.
Step 7: Create a Cozy Interior
Arrange your pillows and softer blankets inside the fort. This is where the true comfort comes in. Pile pillows against the walls for back support.
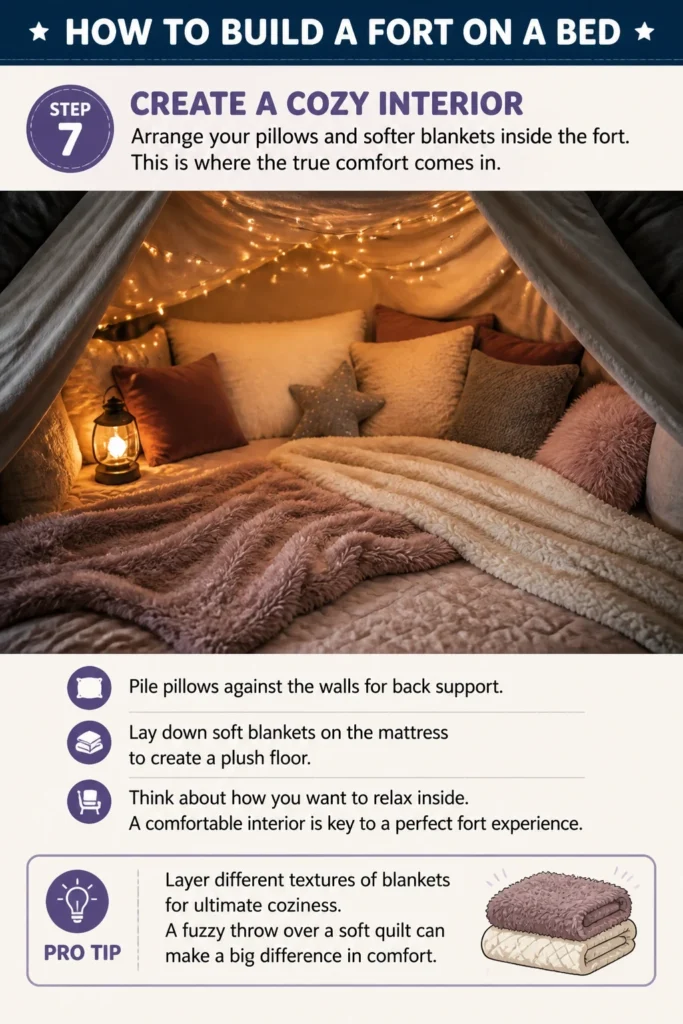
Lay down soft blankets on the mattress to create a plush floor. Think about how you want to relax inside. A comfortable interior is key to a perfect fort experience.
Pro Tip: Layer different textures of blankets for ultimate coziness. A fuzzy throw over a soft quilt can make a big difference in comfort.
Step 8: Personalize Your Space
Decorate your fort to make it uniquely yours. String up battery-operated fairy lights for a magical glow. These add a wonderful ambiance without needing an outlet.
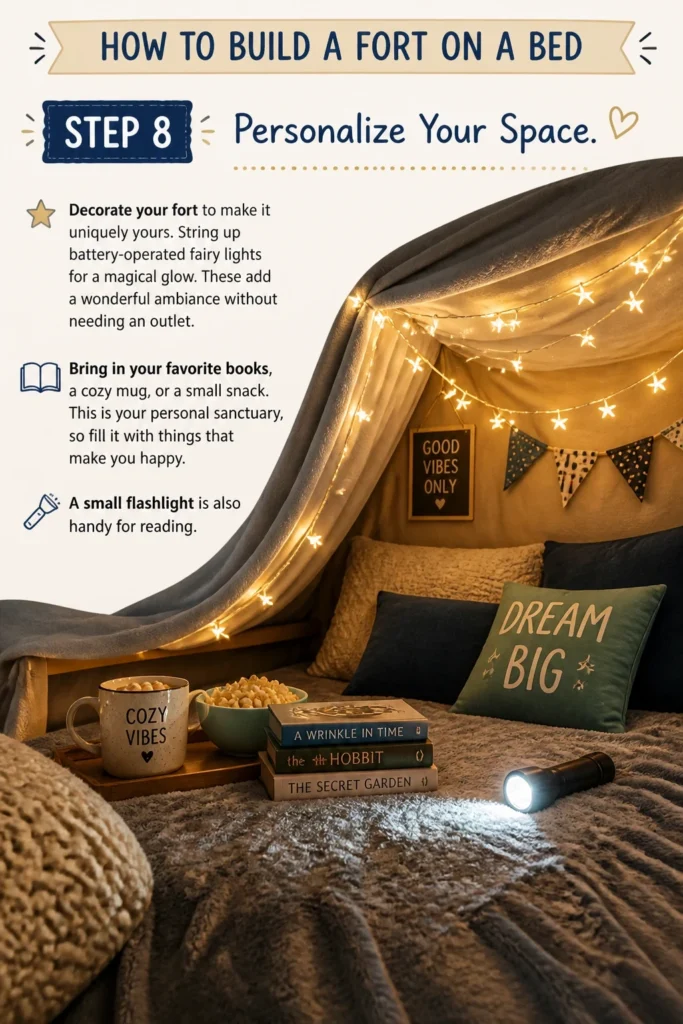
Bring in your favorite books, a cozy mug, or a small snack. This is your personal sanctuary, so fill it with things that make you happy. A small flashlight is also handy for reading.
Step 9: Test and Enjoy Your Creation
Crawl inside your newly built fort. Check for any weak spots or areas that need adjustment. Make sure there’s enough room to sit comfortably.
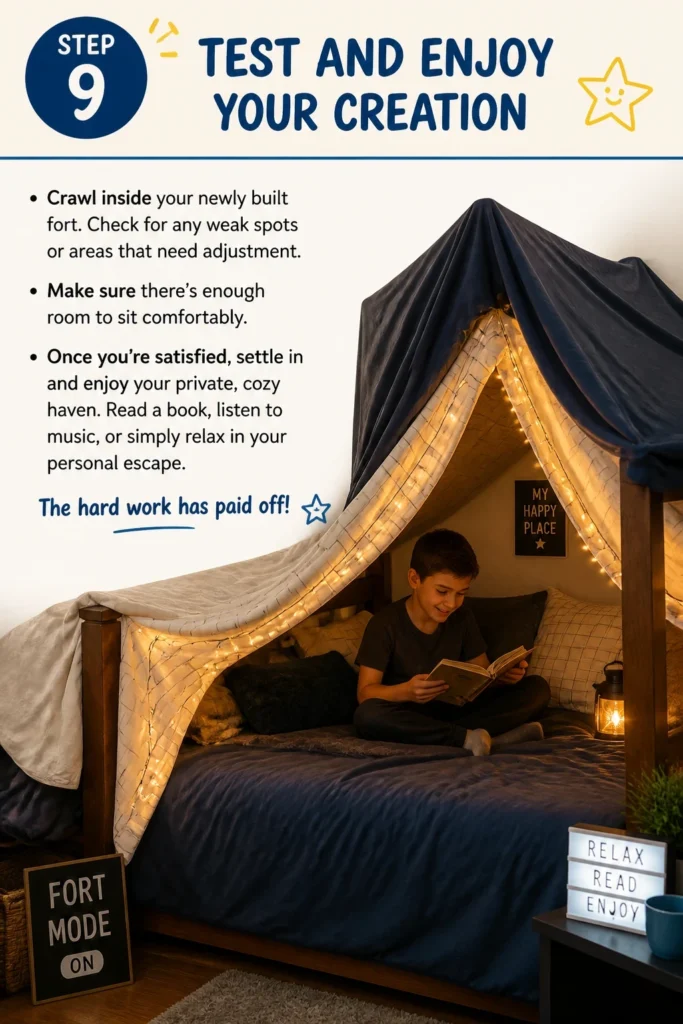
Once you’re satisfied, settle in and enjoy your private, cozy haven. Read a book, listen to music, or simply relax in your personal escape. The hard work has paid off!
Common Mistakes to Avoid
Using Too Few Anchor Points
Trying to build a large fort with only one or two support points will inevitably lead to collapse. The weight of the sheets and blankets needs to be distributed across multiple stable objects. Always ensure you have enough chairs, tall furniture, or sturdy book stacks to create a robust frame.
Not Securing Sheets Properly
Loose sheets are the enemy of a strong fort. If you don’t use clips, clothespins, or tuck-ins, your fort will constantly sag or fall apart. Take the time to secure every sheet, especially at connection points and where it drapes over anchors. This provides much-needed tension and stability.
Ignoring Ventilation
A fort can quickly become stuffy and uncomfortable if there’s no airflow. While you want it dark and cozy, completely sealing off your fort can make it too warm. Ensure there’s a small gap or a loosely draped section to allow some air circulation, especially if you plan to spend a while inside.
Overloading the Structure
While more blankets add coziness, too many heavy items can overwhelm your fort’s frame. If your anchor points aren’t incredibly sturdy, excessive weight will cause them to buckle. Use a mix of lighter sheets for the roof and heavier blankets for walls or reinforcing the base.
Troubleshooting
Fort Keeps Collapsing
This usually means your anchor points aren’t strong enough or your sheets aren’t secured. Add more chairs or heavier objects around the bed to better support the structure. Also, make sure all sheets are clipped tightly or tucked firmly under mattresses or books. Distribute the weight of blankets more evenly.
It’s Too Dark Inside
While some darkness is desired, too much can make it hard to read or see. Incorporate fairy lights or a small battery-operated lantern. You can also use lighter-colored sheets for the roof, which will allow more ambient light to filter through. Consider a small opening near the top for natural light.
The Fort Feels Stuffy or Warm
Lack of proper ventilation is the culprit here. Create a small opening or loosen a sheet flap to allow fresh air to circulate. You can also strategically place a small, quiet fan outside the fort, aiming it towards an opening, to gently push air in. Avoid using too many heavy blankets if you tend to get warm.
Key Takeaways
- Start with a strong foundation: Use multiple sturdy anchor points like chairs or books.
- Secure everything: Clips, clothespins, and tucking sheets are crucial for stability.
- Layer for comfort: Combine different blankets and pillows for ultimate coziness.
- Don’t forget airflow: Ensure some ventilation to prevent stuffiness.
- Personalize your space: Add lights, books, and snacks to make it your own.
- Test and adjust: Crawl inside and make any necessary tweaks before settling in.
Frequently Asked Questions
Can I build a fort on any size bed?
Yes, you absolutely can! The principles remain the same whether you have a twin, full, queen, or king-sized bed. You might need more materials for larger beds, but the process of using anchor points and draping sheets is universal. Adjust your anchor strategy to fit your bed’s dimensions.
What if I don’t have enough chairs?
No problem! You can use tall stacks of books, sturdy boxes, bedside tables, or even floor lamps as anchor points. The key is to find objects that are stable and tall enough to create the desired height for your fort. Be creative with what you have available.
How do I make my fort stay up for a long time?
For a long-lasting fort, focus on robust anchor points and secure connections. Use heavy-duty clips or binder clips for extra grip. Tucking sheets tightly under the mattress or around furniture legs adds tension. Also, avoid overloading the structure with excessive weight.
Is it safe to use lights inside a fort?
Only use battery-operated fairy lights or LED lanterns. These produce very little heat and pose no fire risk. Avoid using plug-in lights or anything with exposed wires, as these can overheat or cause hazards in a confined space. Safety first!
Our Top Recommended Finds
- Battery-Operated Fairy Lights: These add a magical glow and are perfectly safe for enclosed spaces.
- Extra-Large Throw Blanket: A super soft, oversized blanket can serve as a luxurious floor or an extra cozy wall.
- Heavy-Duty Binder Clips: More robust than clothespins, these provide a strong grip for securing sheets to each other or to furniture.
Your Cozy Escape Awaits
Building a bed fort is more than just stacking blankets; it’s about crafting a personal haven. It’s a chance to unplug, unwind, and reconnect with a sense of simple joy. Imagine curling up with a good book, enjoying a quiet moment, or sharing giggles with a loved one in your very own custom-built sanctuary.
Don’t wait for a special occasion. Gather your materials today and transform your bed into an extraordinary escape. Your inner child, or perhaps your actual child, will thank you for it. Dive into the delightful world of fort-building and discover the ultimate cozy retreat.
Beginner-friendly templates, step-by-step guides,
and weekly project ideas in your inbox.