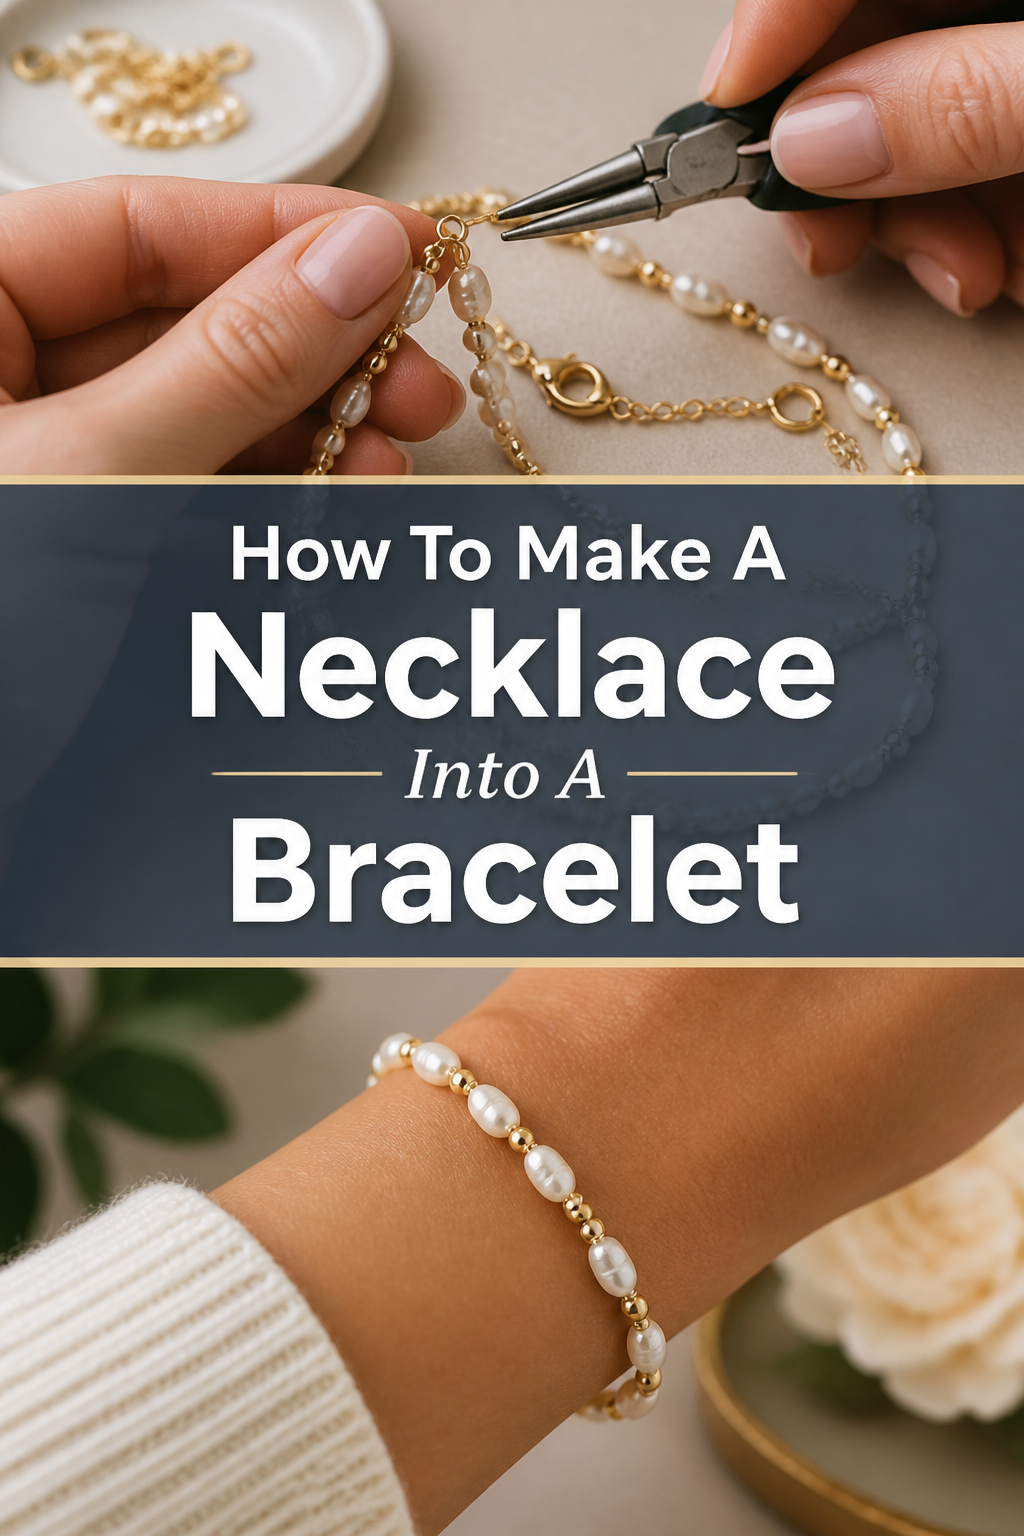
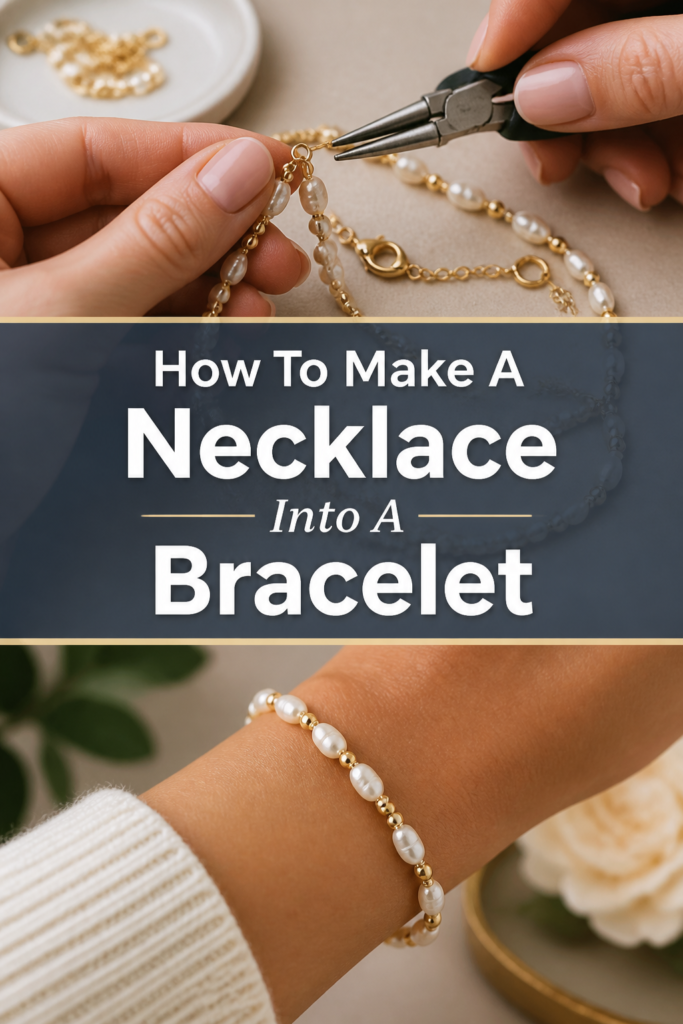
🧵 How To Make A Necklace Into A Bracelet

Beginner-friendly templates, step-by-step guides,
and weekly project ideas in your inbox.
I’ve always loved repurposing old items, especially jewelry that holds sentimental value but no longer fits my style. Transforming a beloved necklace into a wearable bracelet is a wonderfully satisfying project. This guide shares the exact steps I’ve used to give cherished pieces a new life on my wrist.
You’ll discover how simple it can be to adapt your favorite necklace, ensuring it gets worn and admired once more.
Quick Overview
This guide will walk you through the process of converting a necklace into a custom-fit bracelet. You’ll learn how to select the right tools, measure accurately, and securely attach new findings. The goal is to create a durable and beautiful piece you’ll love.
- Time needed: 45-90 minutes (depending on necklace complexity and experience)
- Difficulty: Beginner to Intermediate
- What you’ll need: Pliers (round-nose, chain-nose, flush cutters), measuring tape, new clasps, jump rings, crimp beads/covers (optional), safety glasses.
Step-by-Step Instructions
Step 1: Assess Your Necklace and Vision
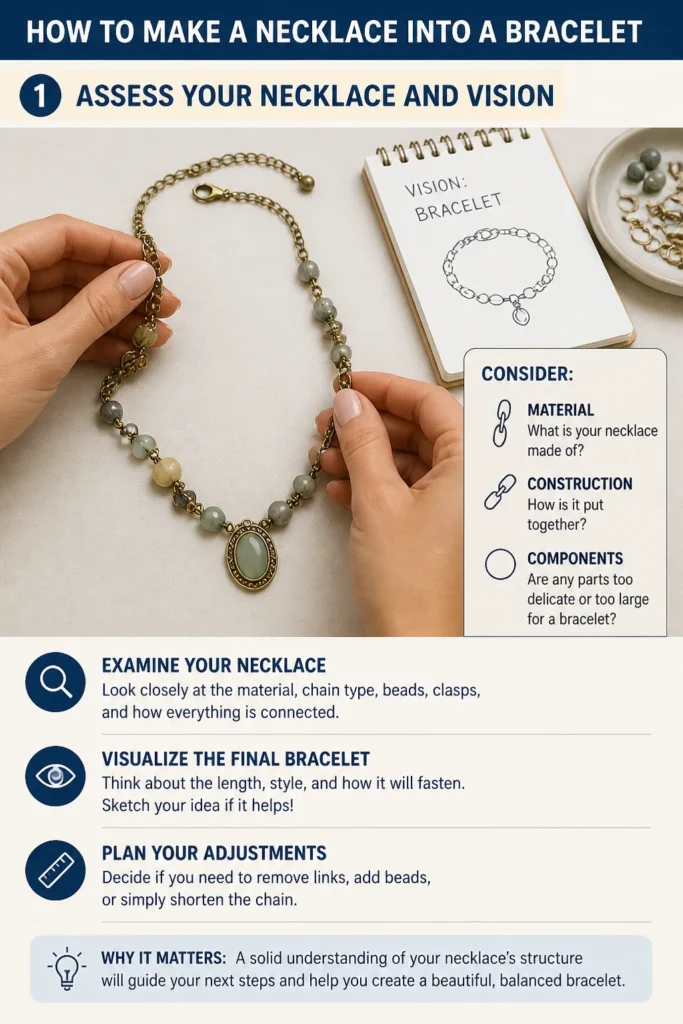
Begin by carefully examining your necklace. Consider its material, how it’s constructed, and if any components are too delicate or large for a bracelet. Visualize the final bracelet design, thinking about its length and how it will fasten.
This initial assessment helps determine if you’ll need to remove links, add beads, or simply shorten the existing chain. A solid understanding of the necklace’s structure will guide your next steps.
Step 2: Gather Your Tools and Materials
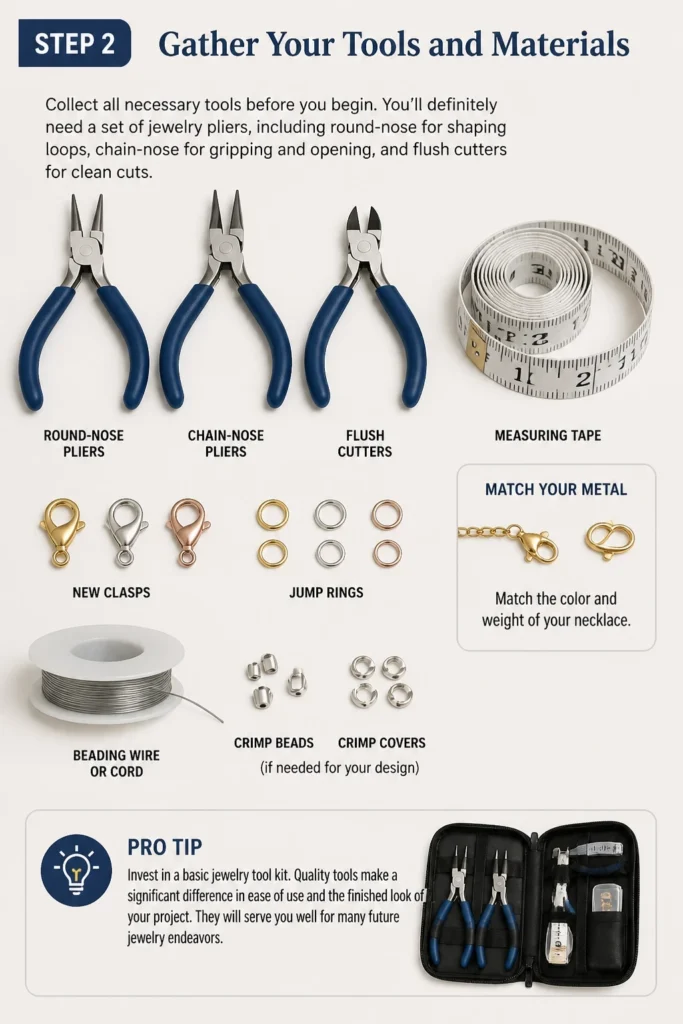
Collect all necessary tools before you begin. You’ll definitely need a set of jewelry pliers, including round-nose for shaping loops, chain-nose for gripping and opening, and flush cutters for clean cuts. A good quality measuring tape is also essential.
Obtain new clasps and jump rings that match your necklace’s metal color and weight. If your necklace uses a specific beading wire or cord, you might need crimp beads and covers for a professional finish. Having everything on hand prevents interruptions.
Pro Tip: Invest in a basic jewelry tool kit. Quality tools make a significant difference in ease of use and the finished look of your project. They will serve you well for many future jewelry endeavors.
Step 3: Measure and Mark Your Bracelet Length
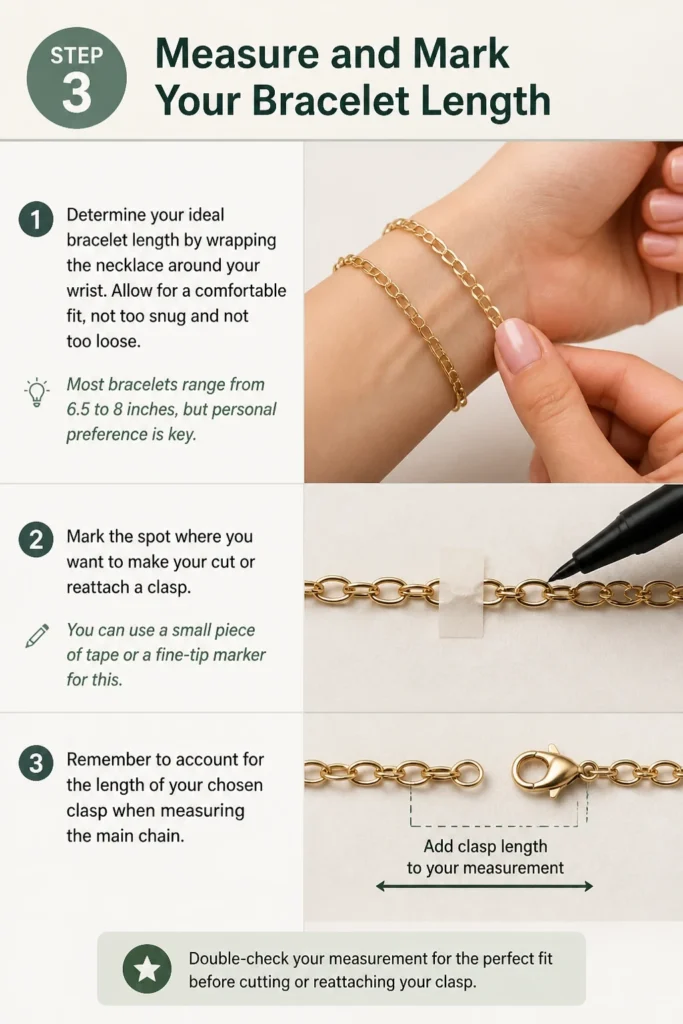
Determine your ideal bracelet length by wrapping the necklace around your wrist. Allow for a comfortable fit, not too snug and not too loose. Most bracelets range from 6.5 to 8 inches, but personal preference is key.
Mark the spot where you want to make your cut or reattach a clasp. You can use a small piece of tape or a fine-tip marker for this. Remember to account for the length of your chosen clasp when measuring the main chain.
Step 4: Carefully Disassemble the Necklace (if needed)
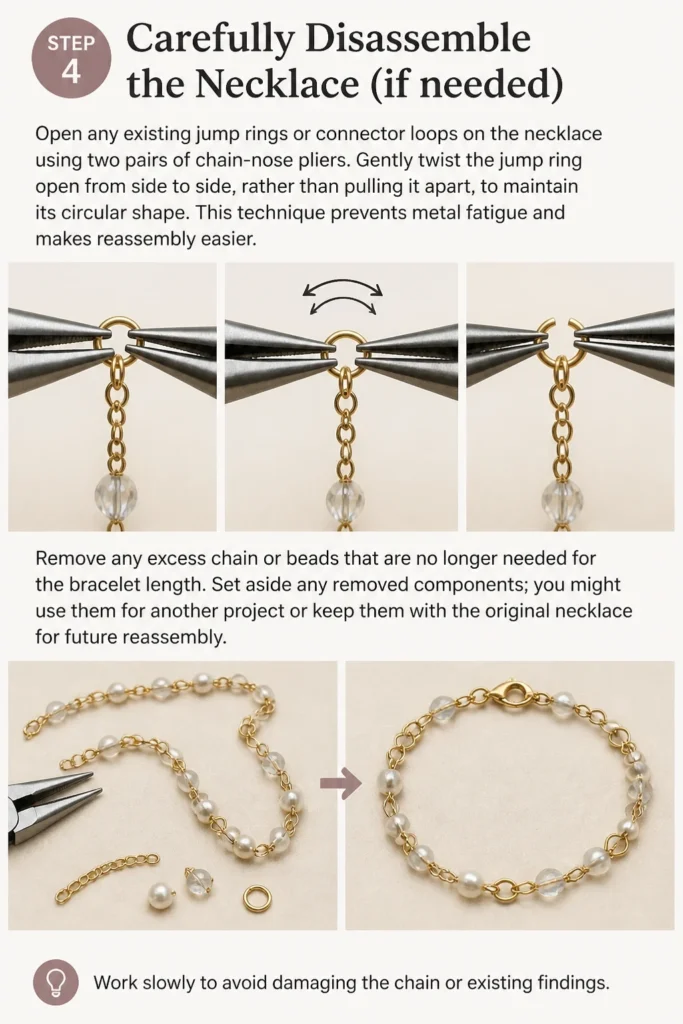
Open any existing jump rings or connector loops on the necklace using two pairs of chain-nose pliers. Gently twist the jump ring open from side to side, rather than pulling it apart, to maintain its circular shape. This technique prevents metal fatigue and makes reassembly easier.
Remove any excess chain or beads that are no longer needed for the bracelet length. Set aside any removed components; you might use them for another project or keep them with the original necklace for future reassembly. Work slowly to avoid damaging the chain or existing findings.
Step 5: Prepare the Ends for New Clasps
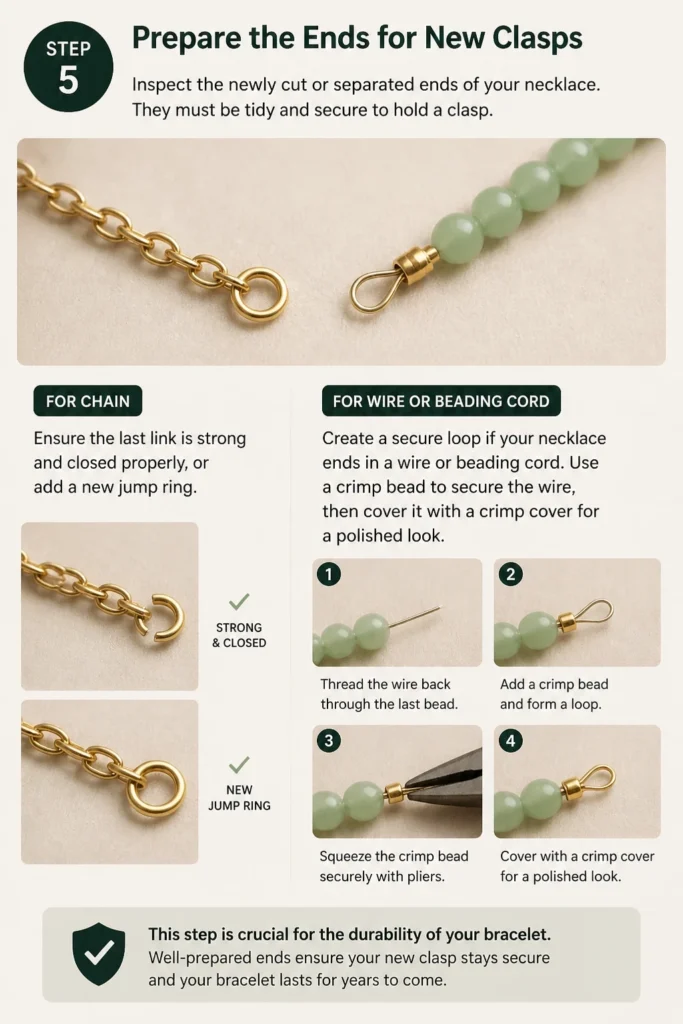
Inspect the newly cut or separated ends of your necklace. They must be tidy and secure to hold a clasp. If you’re working with a chain, ensure the last link is strong and closed properly, or add a new jump ring.
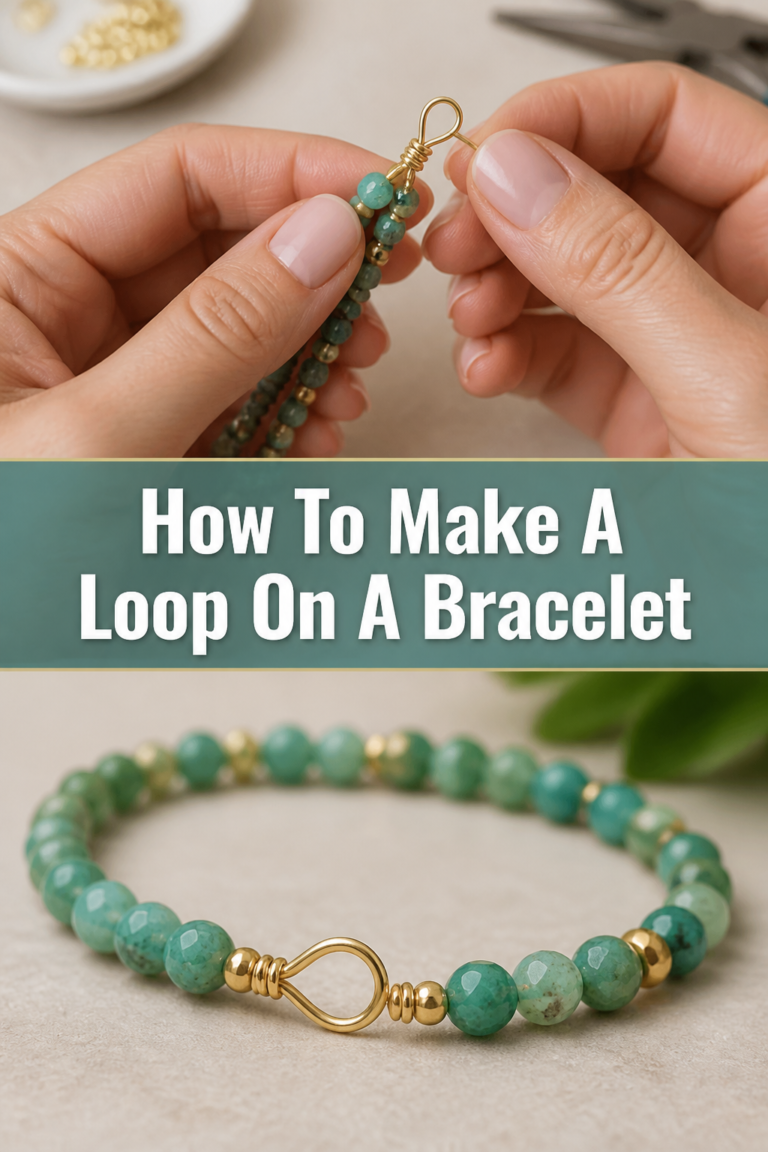
Create a secure loop if your necklace ends in a wire or beading cord. Use a crimp bead to secure the wire, then cover it with a crimp cover for a polished look. This step is crucial for the durability of your bracelet.
Step 6: Attach the New Clasps and Findings
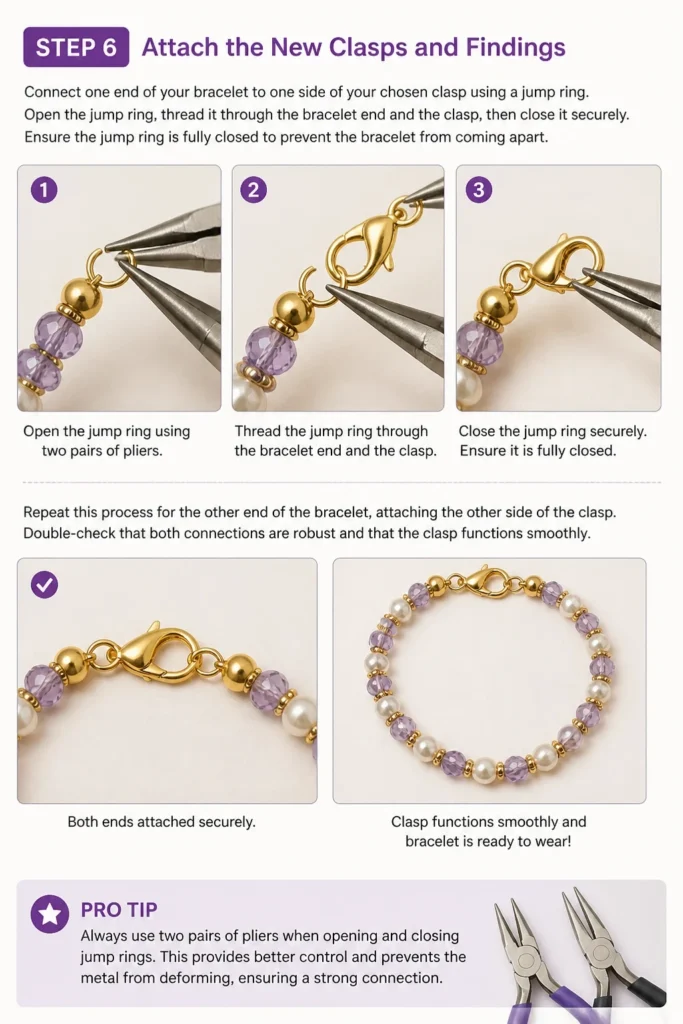
Connect one end of your bracelet to one side of your chosen clasp using a jump ring. Open the jump ring, thread it through the bracelet end and the clasp, then close it securely. Ensure the jump ring is fully closed to prevent the bracelet from coming apart.
Repeat this process for the other end of the bracelet, attaching the other side of the clasp. Double-check that both connections are robust and that the clasp functions smoothly. A well-attached clasp is vital for the bracelet’s security.
Pro Tip: Always use two pairs of pliers when opening and closing jump rings. This provides better control and prevents the metal from deforming, ensuring a strong connection.
Step 7: Test and Adjust the Fit
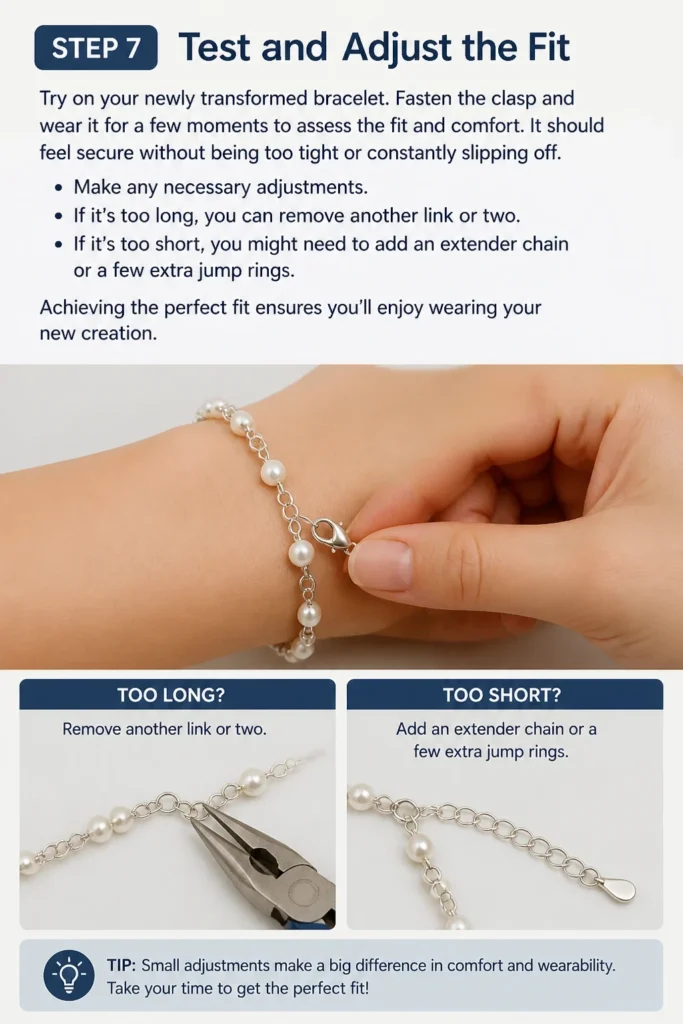
Try on your newly transformed bracelet. Fasten the clasp and wear it for a few moments to assess the fit and comfort. It should feel secure without being too tight or constantly slipping off.
Make any necessary adjustments. If it’s too long, you can remove another link or two. If it’s too short, you might need to add an extender chain or a few extra jump rings. Achieving the perfect fit ensures you’ll enjoy wearing your new creation.
Step 8: Finishing Touches and Care
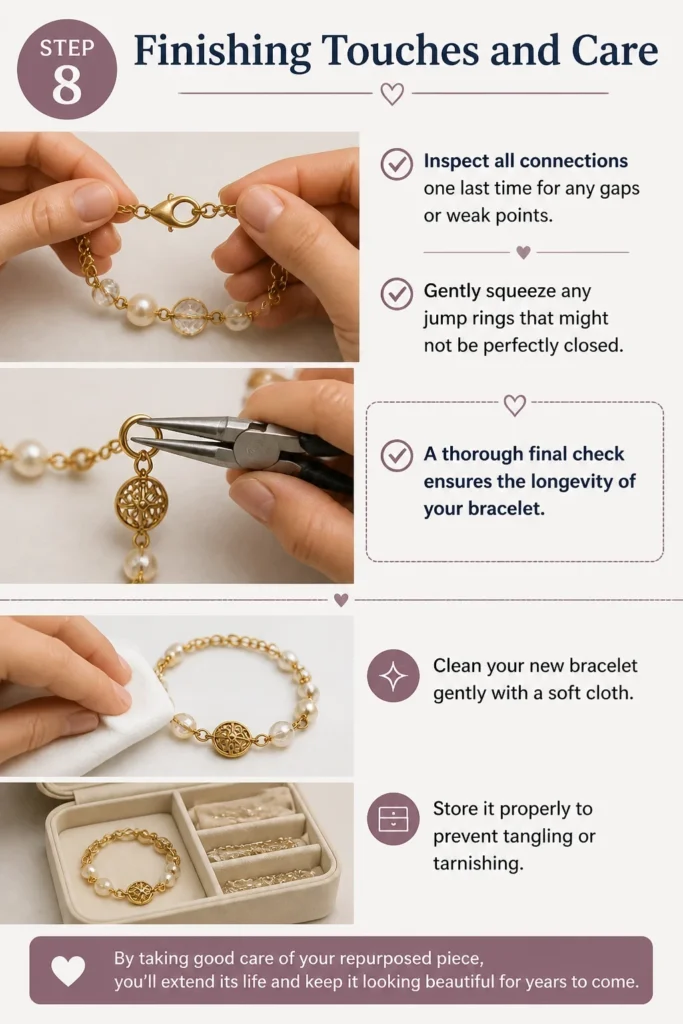
Inspect all connections one last time for any gaps or weak points. Gently squeeze any jump rings that might not be perfectly closed. A thorough final check ensures the longevity of your bracelet.
Clean your new bracelet gently with a soft cloth. Store it properly to prevent tangling or tarnishing. By taking good care of your repurposed piece, you’ll extend its life and keep it looking beautiful for years to come.
Common Mistakes to Avoid
Rushing the Measurement
Many people hurry through the measuring step, leading to a bracelet that is either too tight or too loose. An ill-fitting bracelet is uncomfortable and often ends up unworn. Always take your time and measure your wrist precisely, considering how you prefer your bracelets to sit.
Remember to account for the clasp’s length in your final measurement. It’s better to cut slightly longer and trim if needed than to cut too short. A well-fitting bracelet is a joy to wear.
Using Weak Clasps
Opting for a clasp that is too small or flimsy for the weight of your necklace material is a common oversight. A weak clasp will eventually fail, causing your bracelet to break or get lost. Always choose a clasp that is proportionate in size and strength to the bracelet itself.
Think about the daily wear and tear your bracelet will endure. A sturdy lobster claw or toggle clasp might be a better choice for heavier pieces, while a spring ring could suffice for very delicate chains. Prioritize durability.
Damaging Original Components
When disassembling the necklace, it’s easy to inadvertently bend or scratch the original links, beads, or charms. This can diminish the aesthetic value of the components, especially if you plan to reuse them. Always use the correct tools and apply gentle pressure.
Avoid pulling or prying components apart forcefully. Instead, use the proper twisting motion for jump rings and precise cuts with flush cutters. Preservation of original elements is key to a professional-looking result.
Ignoring Material Compatibility
Mixing different metal types, especially base metals with precious metals, can lead to tarnishing or discoloration over time. For example, using a cheap iron jump ring on a sterling silver chain can cause unsightly marks. Always try to match your new findings to the existing necklace material.
Consider the aesthetic as well; a bright silver clasp might clash with an antique bronze chain. Aim for consistency in both material and finish to create a cohesive and attractive bracelet.
Troubleshooting
Bracelet feels too tight/loose
If your bracelet isn’t fitting quite right, don’t worry, this is a common issue. For a bracelet that’s too tight, you can easily add an extender chain. These are small lengths of chain with a jump ring at one end and a small decorative charm at the other, allowing for adjustable length.
If it’s too loose, you’ll need to carefully reopen the jump ring on one end and remove a link or two from the chain. Reattach the clasp and retest the fit. Always make small adjustments to avoid over-correcting.
Clasp keeps opening
A clasp that repeatedly opens usually indicates a problem with the clasp itself or its attachment. First, inspect the clasp to ensure it’s not bent or faulty. Sometimes, a spring ring clasp can lose its spring, or a lobster claw’s mechanism can become loose.
If the clasp is fine, check the jump rings connecting it to the bracelet. They might not be fully closed. Use two pairs of chain-nose pliers to gently but firmly close any gaps in the jump rings.
Ends look messy/unprofessional
Untidy ends can detract from an otherwise beautiful bracelet. If you’ve cut a chain and the last link looks uneven or unfinished, you can add a small jump ring to that end before attaching the clasp. This creates a neat, uniform loop.
For beading wire or cord, always use crimp beads and crimp covers. Crimp beads secure the wire, and crimp covers hide the crimp, giving a smooth, polished finish. Practice crimping on scrap wire if you’re new to it.
Key Takeaways
- Careful Planning is Crucial: Before making any cuts, thoroughly assess your necklace and plan your bracelet design.
- Invest in Quality Tools: A good set of jewelry pliers will make the process smoother and yield better results.
- Measure Twice, Cut Once: Accurate wrist measurement is essential for a comfortable and well-fitting bracelet.
- Secure All Connections: Ensure all jump rings are fully closed and clasps are robustly attached for durability.
- Match Materials Thoughtfully: Use new findings that are compatible in metal type and finish with your existing necklace components.
- Don’t Rush the Process: Take your time with each step, especially disassembling and reassembling, to avoid damage and ensure a professional finish.
Frequently Asked Questions
Can any necklace be turned into a bracelet?
Most necklaces can be adapted, but some are more suitable than others. Delicate chains, beaded strands, or those with easily removable links work best. Very thick, rigid, or intricately designed necklaces might be challenging to reshape into a comfortable bracelet.
Consider the weight and drape of the original piece. A necklace with heavy pendants might not translate well into a bracelet without significant modification.
What if my necklace is very delicate?
For delicate necklaces, extra care is paramount. Use very fine-tipped pliers and apply minimal pressure to avoid bending or breaking fragile links. You might consider using smaller, lighter clasps and jump rings to maintain its delicate aesthetic.
Working on a soft, padded surface can also prevent scratches. If the necklace is extremely old or an heirloom, consider consulting a professional jeweler.
Where can I buy jewelry findings?
Jewelry findings like clasps, jump rings, and crimp beads are widely available. You can find them at local craft stores, bead shops, or online retailers specializing in jewelry supplies. Online stores often offer a wider selection of materials and finishes.
Look for reputable sellers who offer good quality, hypoallergenic options if you have sensitive skin. Buying in bulk can also be more cost-effective for future projects.
Can I make a necklace shorter instead?
Absolutely! The same principles for shortening a necklace to make a bracelet apply to shortening a necklace for a different necklace length. You would simply measure the desired necklace length, remove excess chain, and reattach the clasp.
This is a great way to update a piece that might feel too long for current styles or personal preference. It’s a quick and easy jewelry customization.
Our Top Recommended Finds
- Jewelry Pliers Set (3-piece): A basic set including round-nose, chain-nose, and flush cutters is indispensable. These tools provide the precision needed for delicate work and secure connections.
- Assorted Clasps and Jump Rings Kit: A starter kit with various sizes and types of clasps (lobster, toggle, spring ring) and jump rings in different metals. This ensures you have options to match your project.
- Jewelry Polishing Cloth: A soft, treated cloth is perfect for cleaning and maintaining the shine of your repurposed jewelry. It helps remove tarnish and fingerprints without harsh chemicals.
Embrace Your Inner Jewelry Designer
Transforming a necklace into a bracelet is more than just a craft project; it’s an act of rediscovery. You’re giving a cherished item a new purpose, a new story, and a new life on your wrist. This process allows you to express your creativity and personal style.
Don’t let those beautiful necklaces sit unworn in your jewelry box. Take this guide, gather your tools, and begin your next jewelry transformation today. You’ll be amazed at what you can create with a little imagination and a few simple steps.
Beginner-friendly templates, step-by-step guides,
and weekly project ideas in your inbox.